I recently watched this Westcott tutorial that walks through five completely different beauty lighting setups — all in one session, same model, progressing from soft natural looks to bold creative effects. It’s one of the best demonstrations I’ve seen of how much you can change a portrait just by rearranging light.
Here’s my breakdown of each setup with the key takeaways.
The Studio Setup
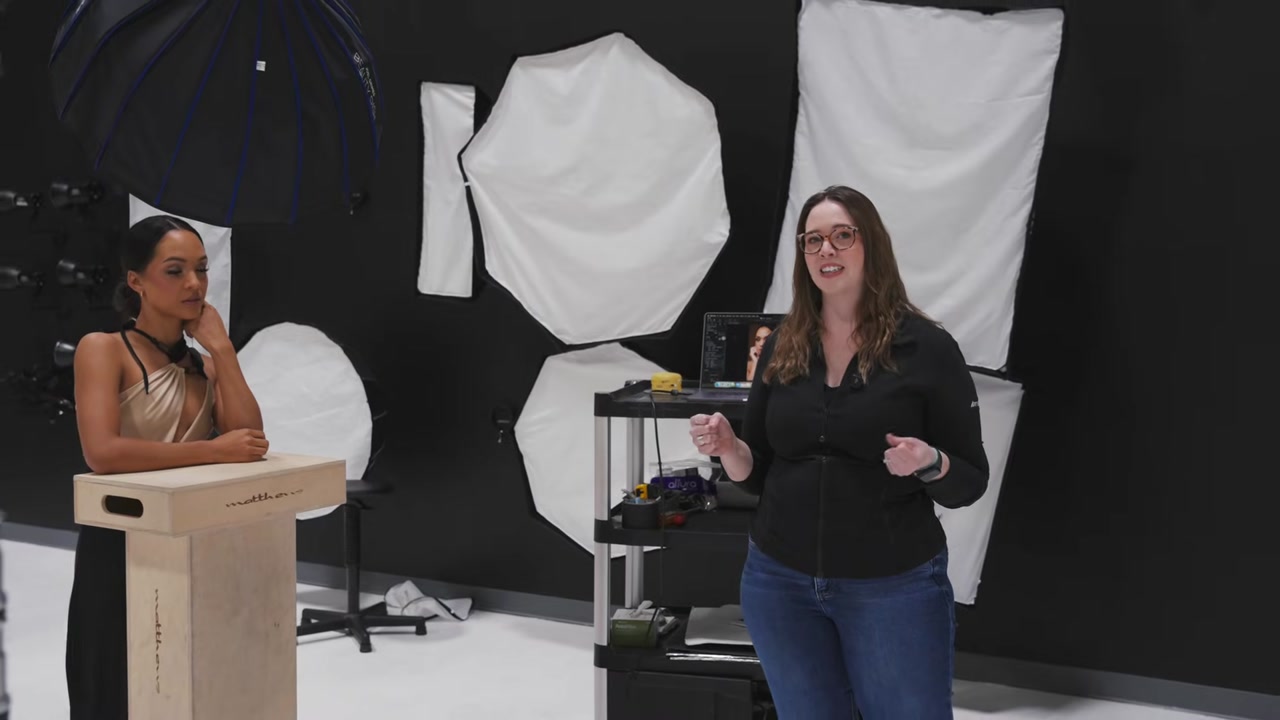
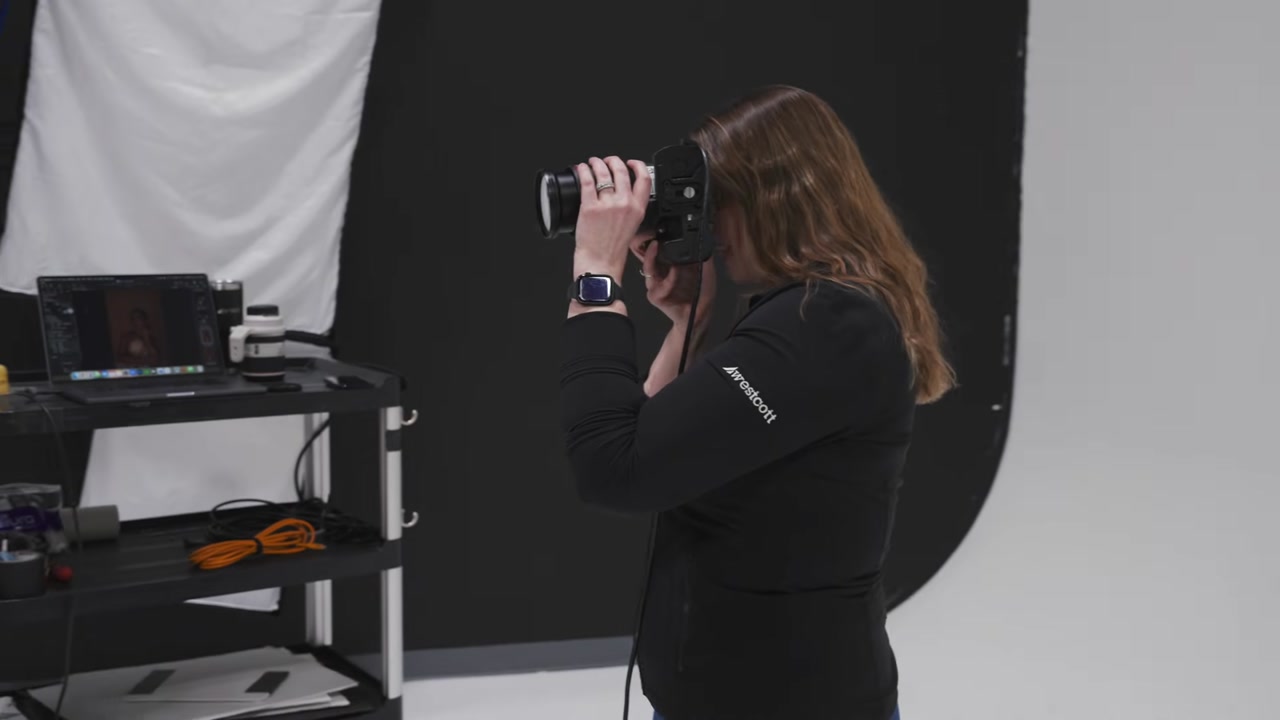
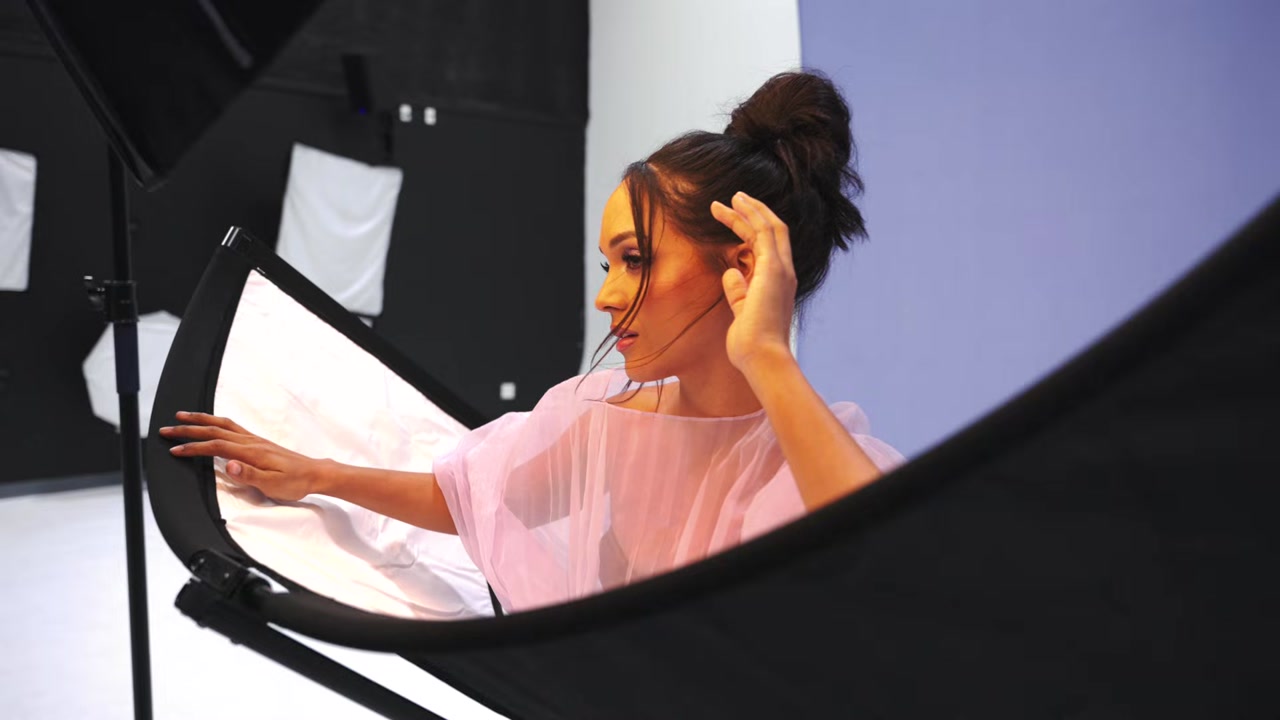
The studio is loaded with Westcott gear — multiple softboxes of different sizes, a large parabolic umbrella, and several FJ-series strobes. The model is positioned on an apple box (standard portrait posing tool), and the photographer is shooting tethered to a laptop for instant review.
What I love about this setup: everything is within arm’s reach. When you’re moving between five different looks, you don’t want to be dragging gear across the studio. Smart layout.
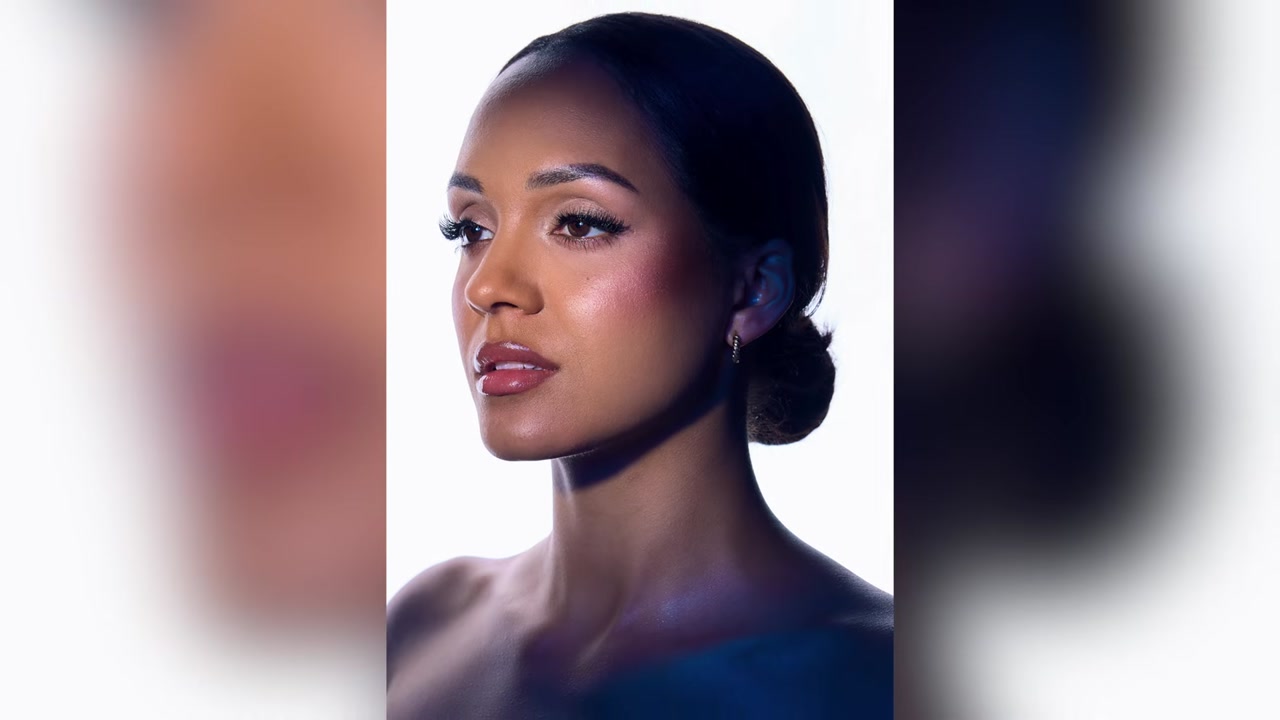
Setup 1: Natural Beauty Light
The first look starts simple — a large softbox positioned just above and slightly in front of the model, creating soft, even illumination. This is your bread-and-butter beauty lighting. It flatters every face shape and minimizes skin texture.
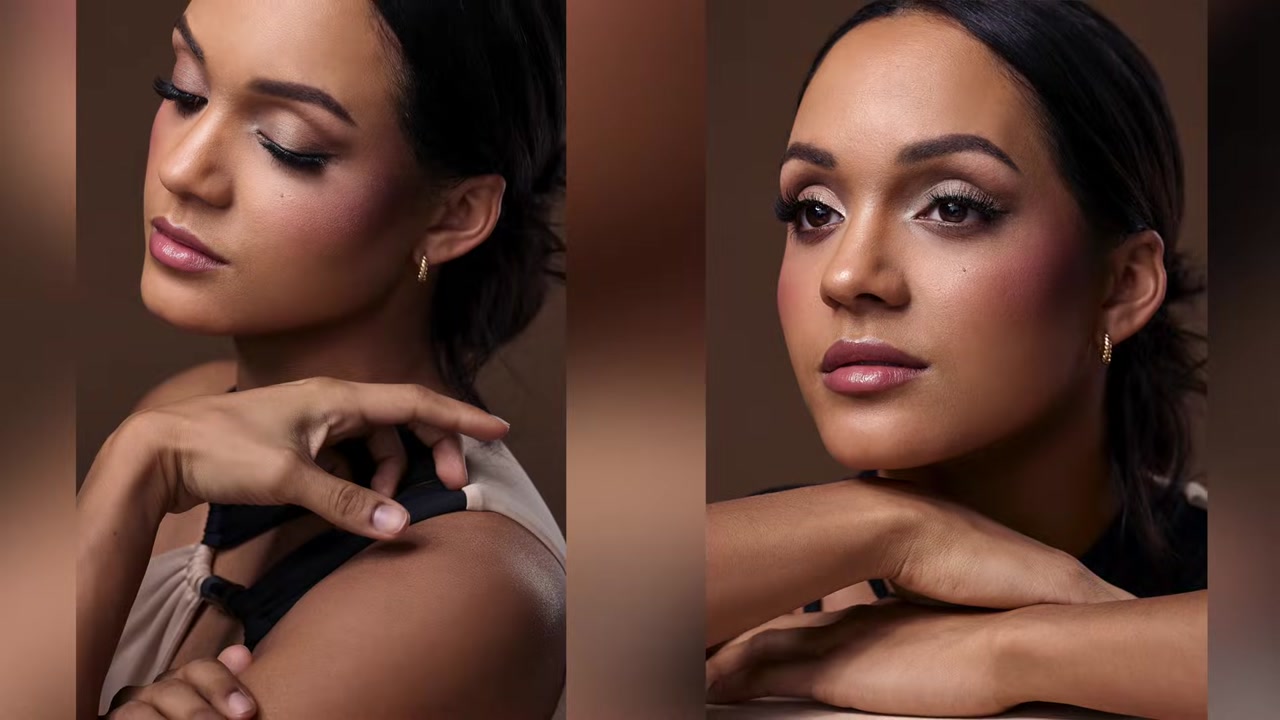
The result speaks for itself. Warm skin tones, soft shadows under the chin and cheekbones, beautiful catchlights in the eyes. If you only learn one beauty setup, this is the one. A single large source, close to the subject, slightly above eye level.
Key takeaway: The size of the light source relative to the subject determines softness. Get your softbox as close as possible without it appearing in frame.
Setup 2: Parabolic Umbrella Drama
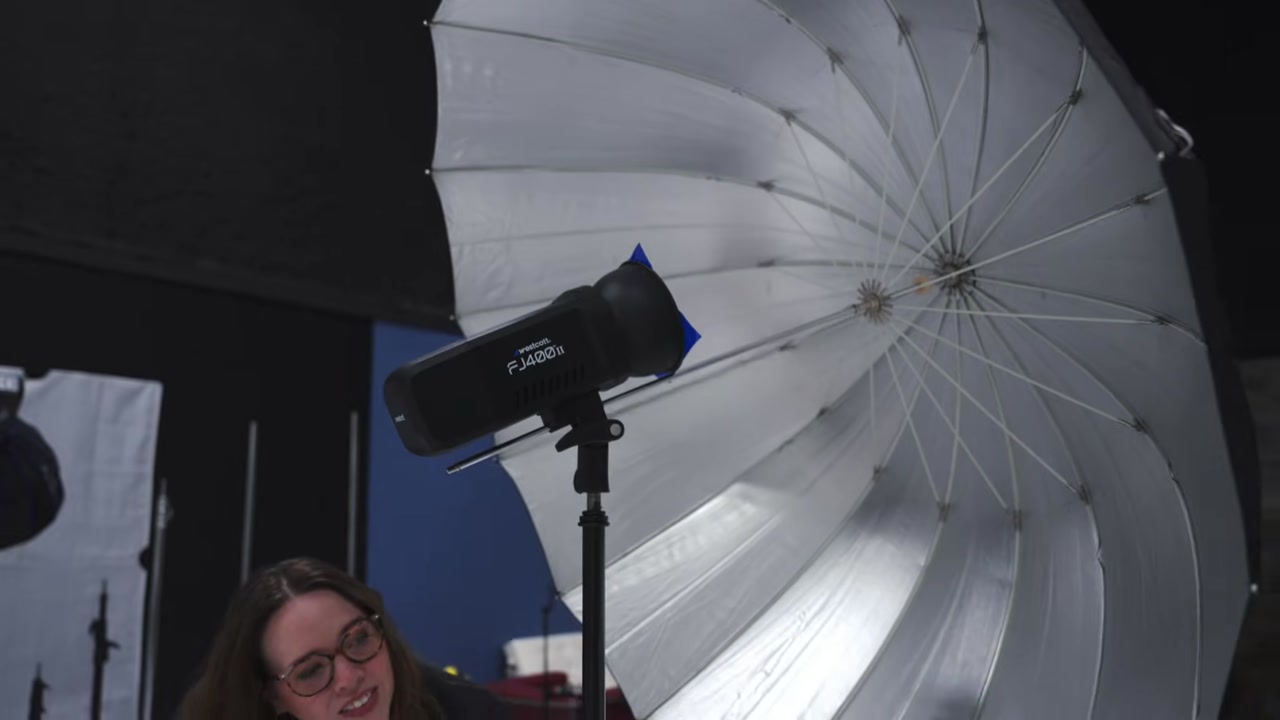
For the second look, the photographer switches to a large parabolic umbrella with the Westcott FJ400 II strobe. The parabolic shape creates a different quality of light than a softbox — it’s still soft, but with more contrast and a slightly more specular quality. The light wraps around the face differently.
The umbrella is positioned to the side, creating more directional light with defined shadow on one side of the face. This adds dimension and mood that the flat beauty setup doesn’t have.
Key takeaway: Parabolic umbrellas give you the softness of a large source with more contrast than a standard softbox. They’re excellent for beauty work when you want a little more edge.
Setup 3: Creative Colored Gels
This is where things get interesting. The third setup introduces colored gels — blue and purple — creating a dramatic, editorial look. The key light maintains skin tone accuracy while the fill and background lights carry the color.
Behind the scenes, you can see the approach: the main light is ungelled (keeping skin tones natural), while secondary lights with gels create the colored atmosphere. The backdrop also picks up the color, making the entire scene cohesive.
Key takeaway: When using gels, keep your key light clean. Apply color to fill, rim, and background lights. This preserves natural skin tones while adding creative color to the overall mood.
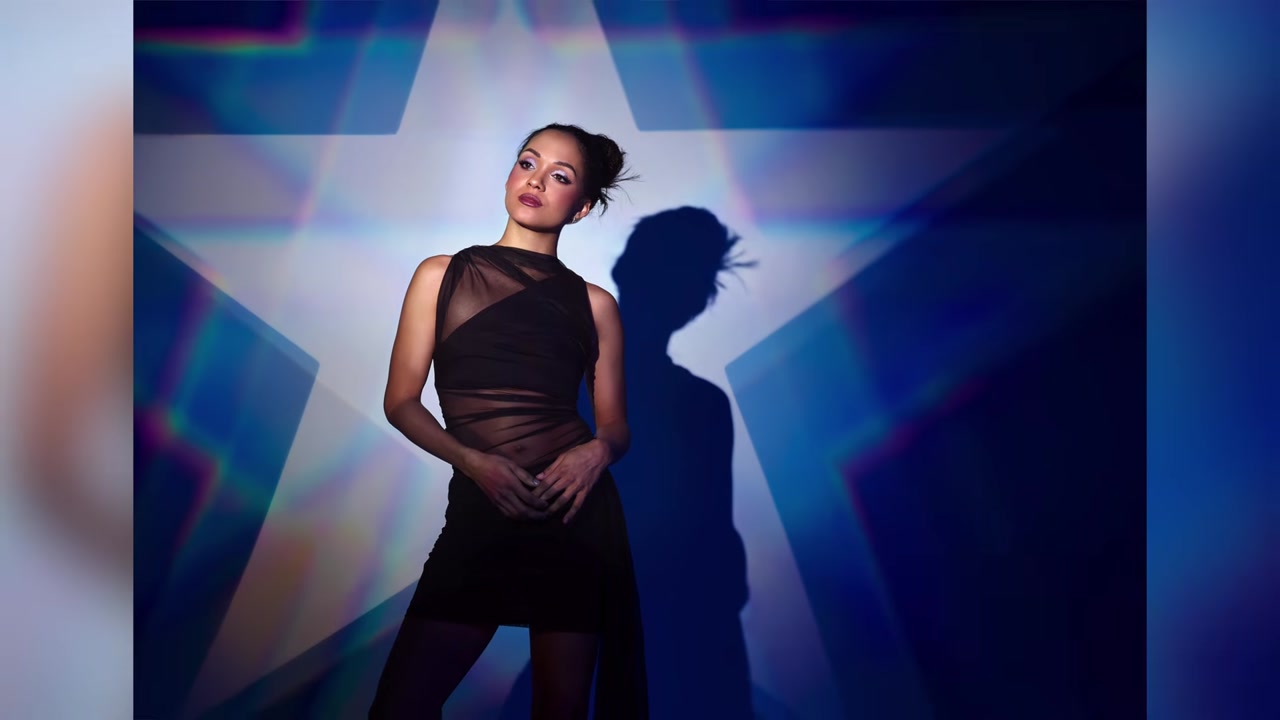
Setup 4: High-Key White with Creative Effects
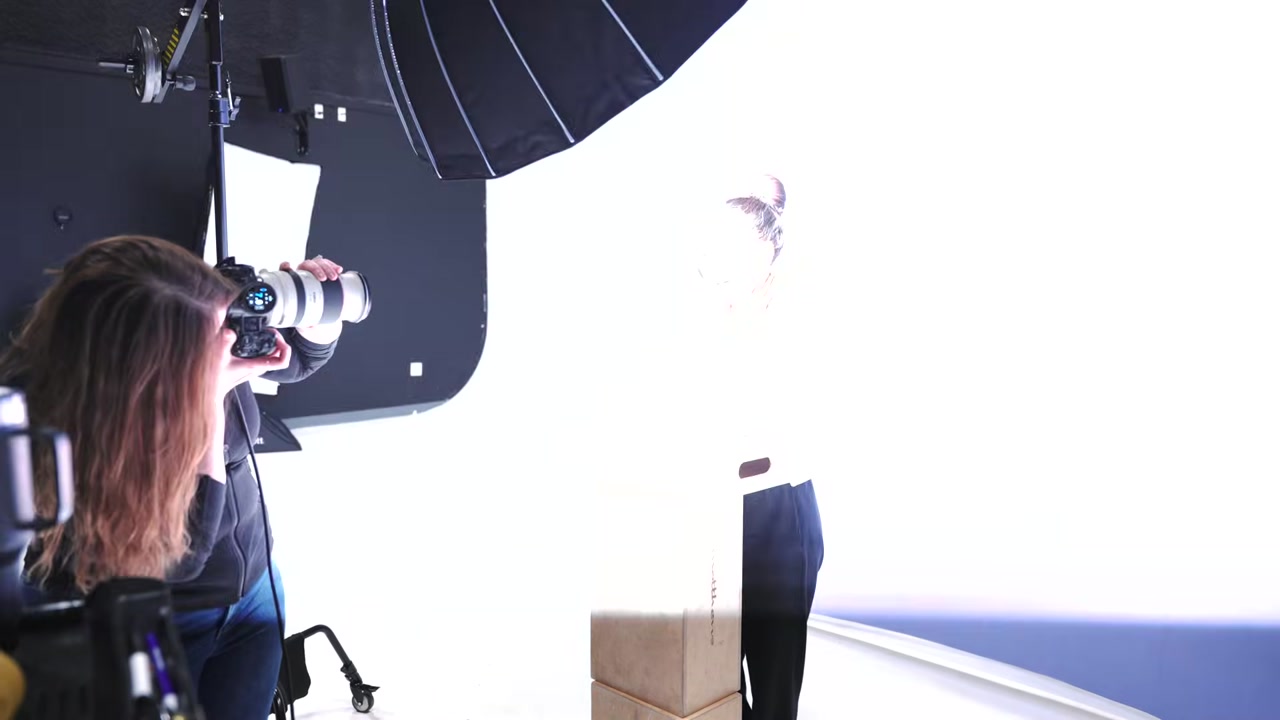
The fourth look pushes into high-key territory — bright white background with the subject isolated against it. The photographer is using a large overhead modifier and shooting with a longer lens to compress the background.

The result incorporates prism effects creating star-shaped light patterns behind the model. This is achieved by placing a crystal or prism element in front of the lens or between the light source and the subject. It transforms a clean white-background portrait into something editorial and fashion-forward.
Key takeaway: High-key doesn’t have to mean boring. Adding optical elements like prisms, crystals, or even clear glass creates unique light interactions that elevate simple setups.
Setup 5: Dramatic Dual-Gel Bold Portrait
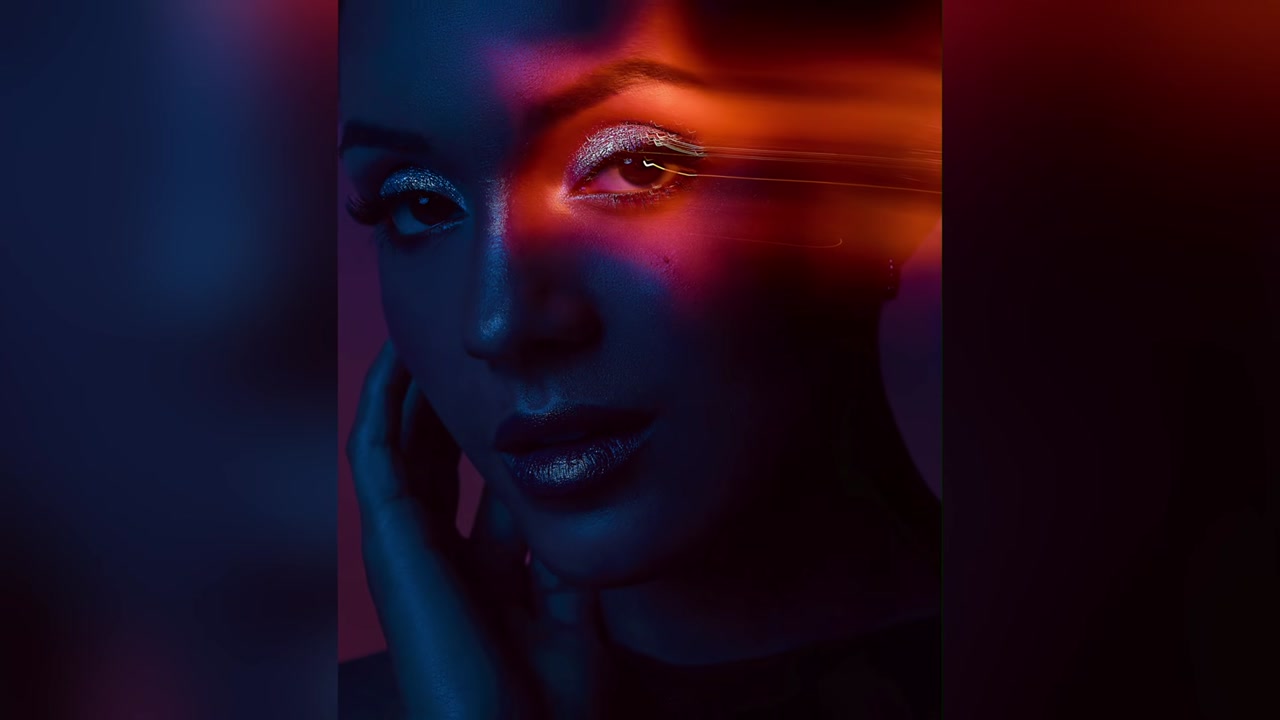
The final setup goes all in — bold dual-color gels creating a split-tone portrait with red/warm light on one side and blue/cool on the other. This is editorial, fashion, and album-cover territory.
The technique: two lights of equal power, gelled with opposite colors, positioned at roughly 45 degrees on each side of the subject. The colors blend where they overlap, creating a third tone on the face. The drama is in the contrast — warm and cool battling across the features.
Key takeaway: Dual-gel setups work best when both lights are similar in power. If one overpowers the other, you lose the split effect. Start with equal power and adjust from there.
The Big Lesson
What makes this tutorial so valuable is the progression. Each setup builds in complexity:
- Single soft source — flattering, safe, reliable
- Parabolic umbrella — more dimension, same softness
- Color gels — creative mood, natural skin tones preserved
- High-key with effects — clean background, editorial elements
- Dual-gel bold — maximum drama, maximum impact
You could do this exact progression in a client session — start safe, end creative. The model warms up, you build confidence with each look, and by the fifth setup everyone is in the zone.
Watch the full video above for the complete breakdown including gear settings and exact modifier positions. This is one of those tutorials I’ll be referencing for a long time.
Comments
Leave a Comment