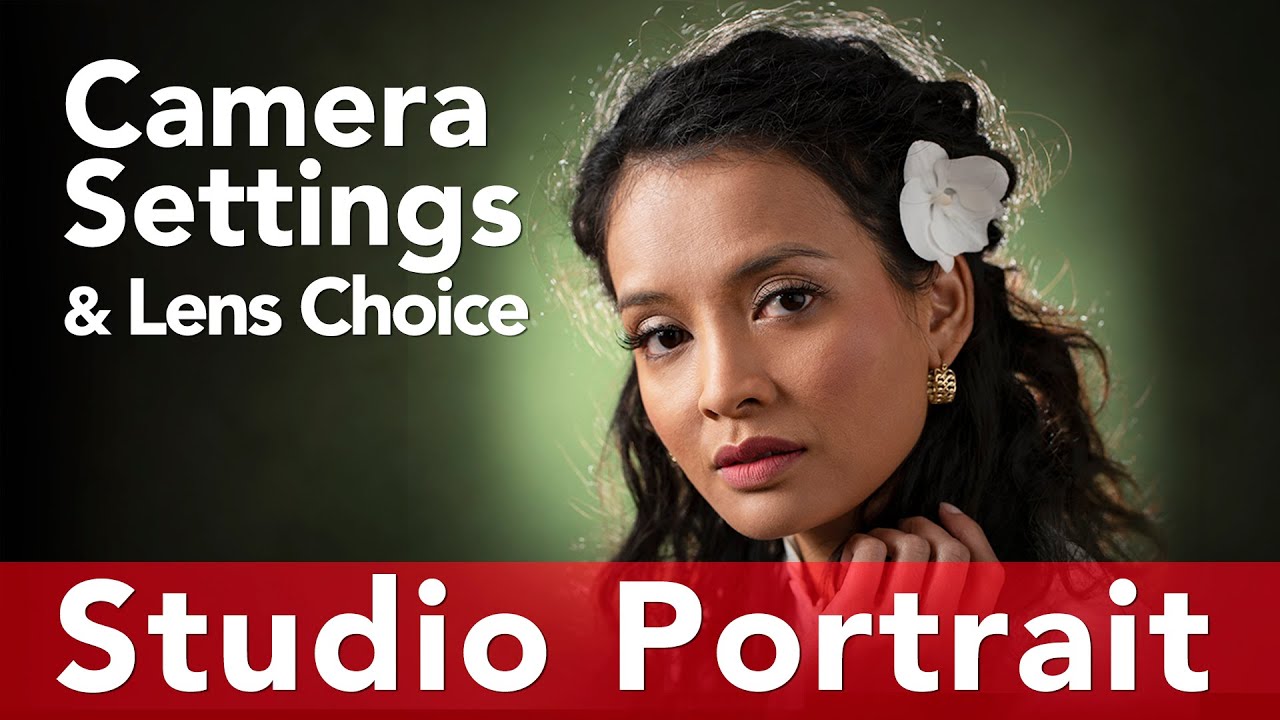
There’s a question I get from assistants and younger photographers on set more than almost any other: “What settings are you shooting at?” It sounds simple, but behind it is a real anxiety about the technical side of studio work. The honest answer is that the settings matter less than the decisions that lead to them, and those decisions start with your lens, not your camera. When I came across this The Slanted Lens tutorial from Jay P. Morgan covering camera settings, lens choice, lighting, and posing for a studio portrait, I kept watching because he works through those decisions in exactly the right order. He doesn’t lead with ISO or aperture. He leads with glass. Watch the full tutorial on YouTube
What follows is my breakdown of the tutorial’s core steps, written so you can follow along and apply them on your next studio day without needing to pause and rewind every thirty seconds. I’ve also added a few notes from my own experience where Morgan’s approach connects directly to problems I’ve run into on commercial shoots.
Step 1: Choose Your Lens Before You Touch the Camera
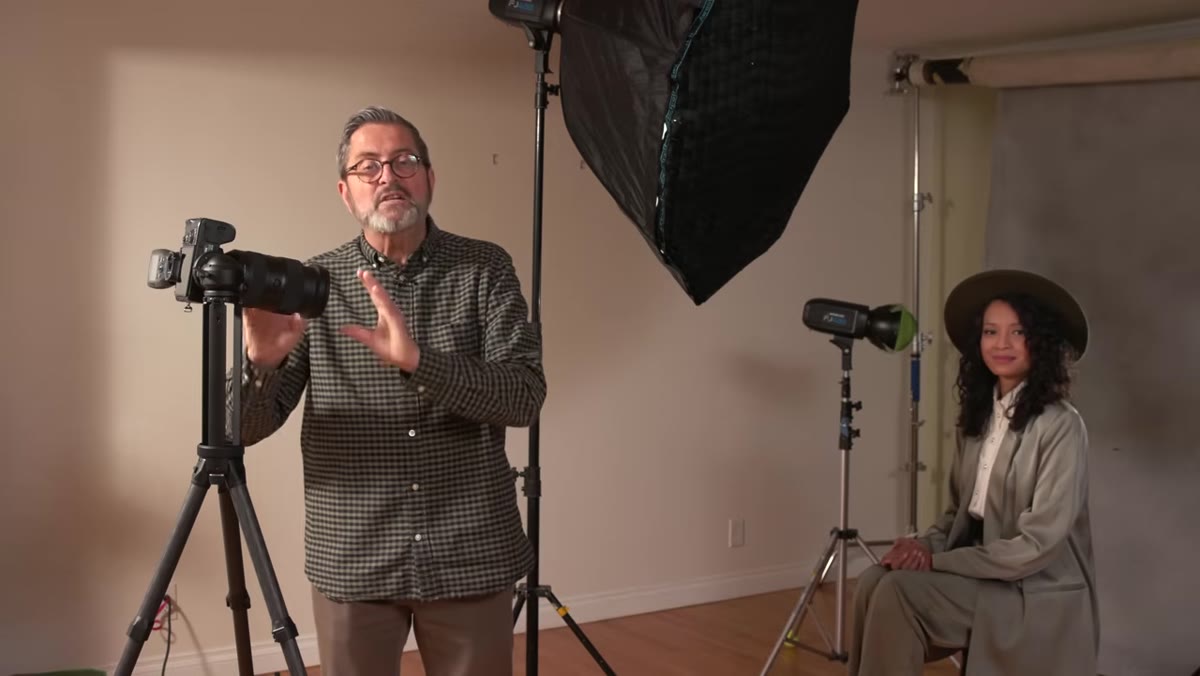
 Jay P. Morgan holding the Tamron 35-150mm zoom lens
The first real decision in any studio portrait setup is focal length, and Morgan makes a strong case for the 85mm as the go-to choice. At 85mm you get compression that’s flattering to the face without the flattening effect you’d get from a longer telephoto. The nose, cheekbones, and ears all sit in a natural relationship to each other. You can also work at a reasonable distance from your subject, which matters enormously if your studio space is modest.
Jay P. Morgan holding the Tamron 35-150mm zoom lens
The first real decision in any studio portrait setup is focal length, and Morgan makes a strong case for the 85mm as the go-to choice. At 85mm you get compression that’s flattering to the face without the flattening effect you’d get from a longer telephoto. The nose, cheekbones, and ears all sit in a natural relationship to each other. You can also work at a reasonable distance from your subject, which matters enormously if your studio space is modest.
Morgan demonstrates the difference by keeping his subject’s head roughly the same size in frame while stepping through 85mm, 50mm, and 35mm. The wider you go, the more the camera tilts downward to maintain eye-level framing, and that angle introduces distortion that turns flattering into unflattering fast. He also notes that longer lenses, 200mm and beyond, compress the face too much and force you so far back that you’re fighting your own studio walls. The sweet spot for most shooters is 85mm to 100mm. Macro lenses in that range, like a 90mm or 100mm f/2.8, double nicely as portrait glass and are worth adding to your kit if you don’t already own one.
Step 2: Understand What Focal Length Does to Your Background
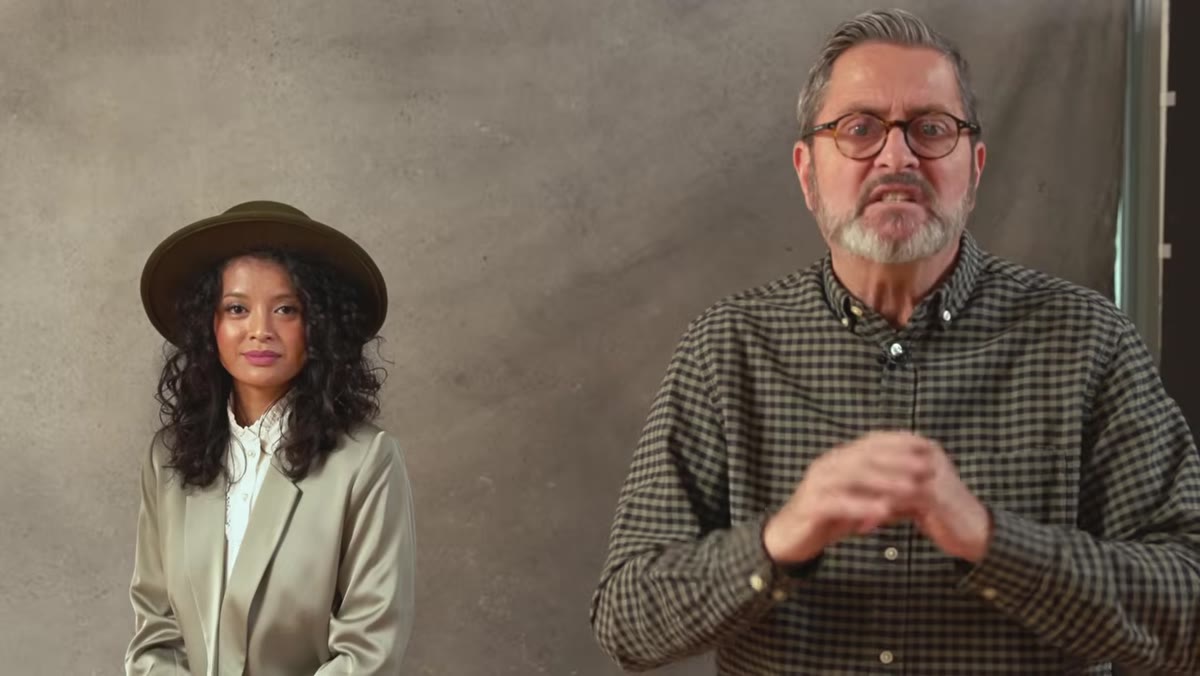
 Wide vs. telephoto comparison showing background size difference
This is the part that gets skipped in a lot of beginner tutorials, and it has real practical consequences. A longer lens compresses the field of view, which means it also compresses your visible background. If you’re shooting on a seven-foot seamless paper, a wider lens will reveal the edges and the floor sweep far more quickly than a longer one will. Morgan points out that a longer focal length lets you use a physically smaller background and still keep everything clean.
Wide vs. telephoto comparison showing background size difference
This is the part that gets skipped in a lot of beginner tutorials, and it has real practical consequences. A longer lens compresses the field of view, which means it also compresses your visible background. If you’re shooting on a seven-foot seamless paper, a wider lens will reveal the edges and the floor sweep far more quickly than a longer one will. Morgan points out that a longer focal length lets you use a physically smaller background and still keep everything clean.
There’s a second advantage here that Morgan flags and I’d underline with a thick marker. When your subject is further from the background, you have far more control over how the background is lit independently. That separation is what lets you make the background go dark or keep it bright without it affecting the light on your subject’s face. This is a foundational concept in controlled studio work, not an advanced trick.
Step 3: Set Your Camera for Flash Sync
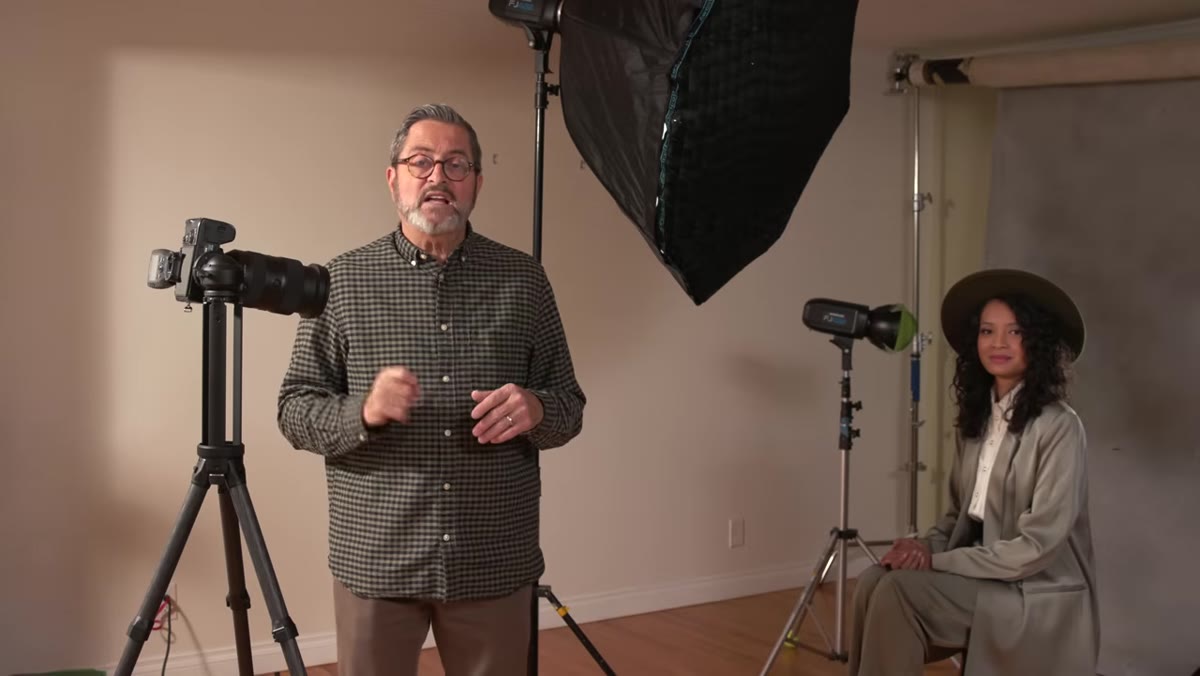 Camera body shown as Morgan begins transitioning to settings discussion
In a studio strobe environment, your shutter speed is not a creative tool, it’s a ceiling. You need to stay at or below your camera’s sync speed, which is typically 1/160 or 1/200 of a second depending on your body. Go above that and you’ll get a dark band across your frame where the shutter curtain is cutting off the strobe’s burst. Morgan sets his shutter speed here and treats it as fixed for the rest of the shoot.
Camera body shown as Morgan begins transitioning to settings discussion
In a studio strobe environment, your shutter speed is not a creative tool, it’s a ceiling. You need to stay at or below your camera’s sync speed, which is typically 1/160 or 1/200 of a second depending on your body. Go above that and you’ll get a dark band across your frame where the shutter curtain is cutting off the strobe’s burst. Morgan sets his shutter speed here and treats it as fixed for the rest of the shoot.
Your aperture controls depth of field and, critically in flash work, how much of the strobe’s output you’re actually using. For a portrait where you want the subject sharp but the background to fall slightly soft, f/5.6 or f/8 is a reliable range. ISO in a controlled studio environment should stay as low as your camera allows cleanly, typically ISO 100 or 200. You’re not chasing available light. Your strobe is the light source, and you adjust the strobe’s power to match your aperture, not the other way around.
Step 4: Build Your Lighting Setup with a Main Light First
 Studio lighting setup visible behind Morgan as he introduces the shoot
Morgan’s approach to lighting a studio portrait follows the same logic I use: establish your main light, evaluate it alone, then add. Shooting with only the key light active lets you see exactly where the shadows fall on your subject’s face. That shadow shape is your diagnostic tool. A loop shadow under the nose suggests correct placement. A shadow that wraps too far around the cheek means the light needs to come forward or the subject needs to turn.
Studio lighting setup visible behind Morgan as he introduces the shoot
Morgan’s approach to lighting a studio portrait follows the same logic I use: establish your main light, evaluate it alone, then add. Shooting with only the key light active lets you see exactly where the shadows fall on your subject’s face. That shadow shape is your diagnostic tool. A loop shadow under the nose suggests correct placement. A shadow that wraps too far around the cheek means the light needs to come forward or the subject needs to turn.
The modifier choice changes the quality of that shadow edge. Larger, closer sources produce softer transitions. Smaller or more distant sources produce harder, more defined edges. Neither is wrong; they serve different looks. For beauty and commercial portrait work, I tend to reach for a large softbox close to the face. For editorial work that needs a little more contrast and drama, I’ll pull the modifier back or swap it for something smaller.
Step 5: Pose with Purpose and Adjust for the Light
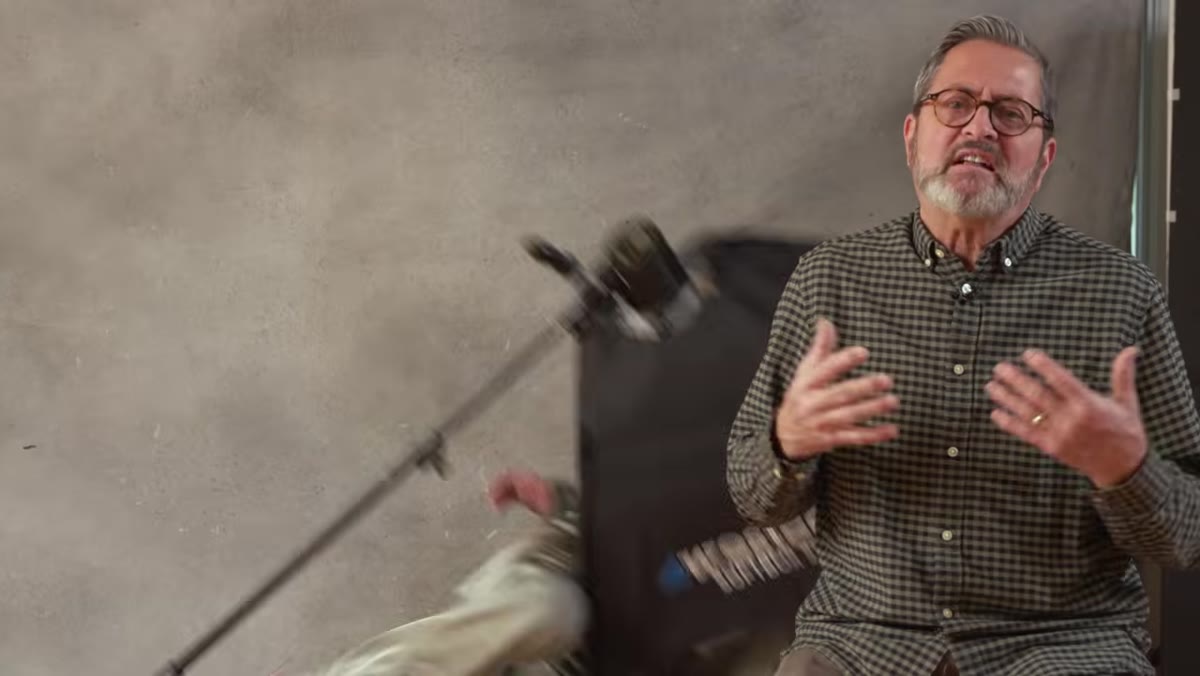 Morgan demonstrating subject positioning and posing direction
Posing in a studio portrait context is not about finding a pose and locking it in. It’s an ongoing adjustment relative to where your light is. Morgan keeps the camera position slightly above eye level, which creates a subtle and flattering downward angle on the subject. That camera height becomes your reference point for everything else.
Morgan demonstrating subject positioning and posing direction
Posing in a studio portrait context is not about finding a pose and locking it in. It’s an ongoing adjustment relative to where your light is. Morgan keeps the camera position slightly above eye level, which creates a subtle and flattering downward angle on the subject. That camera height becomes your reference point for everything else.
When directing a subject, Morgan focuses on the connection between face angle and shoulder angle. Turning the shoulders slightly away from the camera while keeping the face angled toward the lens creates dimension and slims the frame. It also helps separate the near shoulder from the jaw, which is a small thing that makes a large difference in how the final image reads. Keep your subject’s eyes above the midline of the frame for most portraits. It’s a composition habit that’s easy to internalize and hard to argue with.
What I’d Add From My Own Studio Work
Morgan’s tutorial is clean and correct, and I’d follow his sequence on any shoot. The one thing I’d layer on top is a consistent white balance discipline before you ever fire the strobe. I ruined my first big editorial shoot by relying on auto white balance across two different strobe brands that were running at slightly different color temperatures. The resulting batch was inconsistent in a way that couldn’t be fixed cleanly in post. Now I shoot a gray card under my final light setup before I bring in the subject, period, every time. If you’re mixing strobe brands or using a combination of strobe and ambient fill, this step is not optional.
The single most important idea in this tutorial is also the most transferable: establish your technical decisions in the right order. Lens first, then sync speed, then aperture, then strobe power, then pose. Each decision constrains the next, and working in this sequence means you’re solving one variable at a time instead of guessing at all of them simultaneously. That’s the difference between a reliable studio practice and a lucky shot.
Watch the full tutorial on YouTube to see Jay P. Morgan walk through the full lighting build, posing adjustments, and final image from this session.
Comments
Leave a Comment