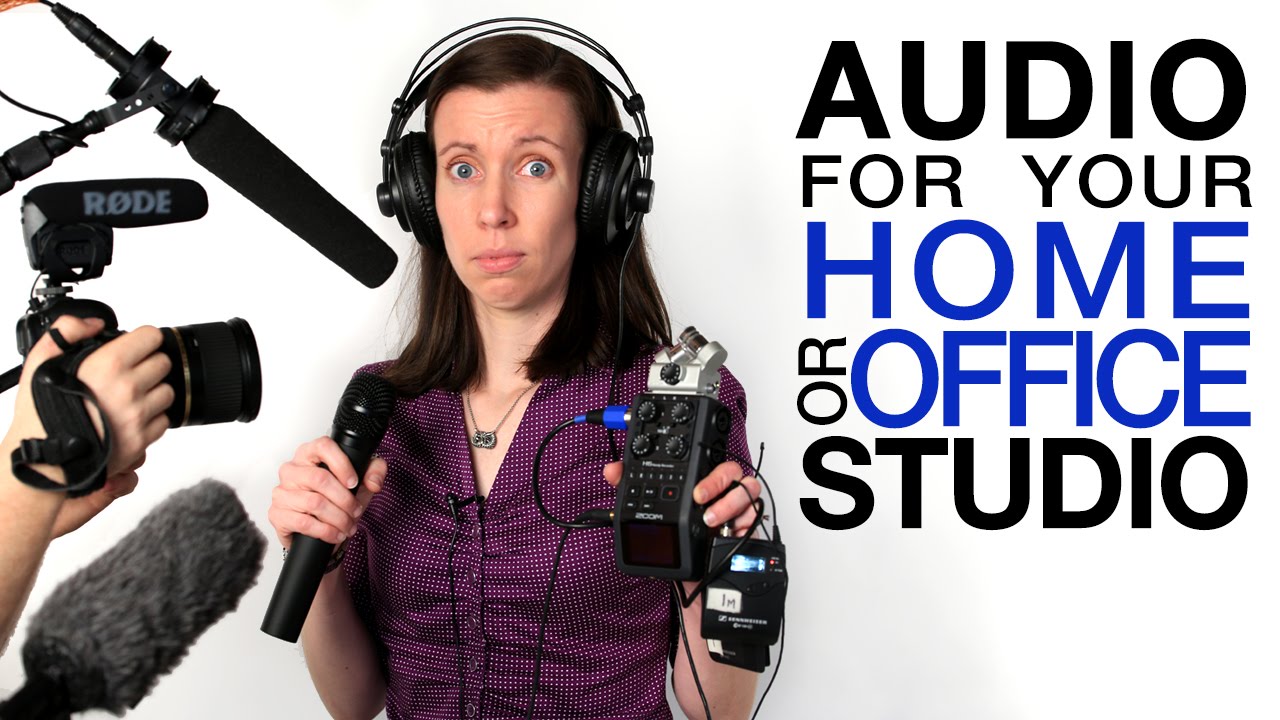
I shoot video content in my studio almost every week now. Behind-the-scenes footage for fashion clients, talking-head segments for corporate campaigns, the occasional tutorial. For the first couple of years, I treated audio as something I would “figure out in post.” That is a lie photographers tell themselves. Post cannot fix bad audio. It can clean up noise, but it cannot reconstruct presence, proximity, or warmth that was never captured in the first place. The moment I started losing clients to competitors who had crisper, more professional video content, I knew I had to treat audio with the same deliberateness I bring to a lighting setup.
That is what made this tutorial land so hard for me. In Watch the full tutorial on YouTube, JP Morgan of The Slanted Lens walks through five audio options for home and office studios, ordered roughly from worst to best. It is not flashy. There are no expensive rigs or broadcast-level gear recommendations. It is exactly the kind of methodical, honest gear breakdown I wish someone had handed me three years ago. He even admits upfront that bad audio is the first thing viewers complain about, even when the picture is technically poor. That tracks entirely with my experience.
What follows is my breakdown of the tutorial’s key steps, with the context I would have wanted when I was still taping gaffer tape over my camera’s built-in mic and hoping for the best.
Step 1: Understand Why Your Camera’s Built-In Mic Is a Non-Starter
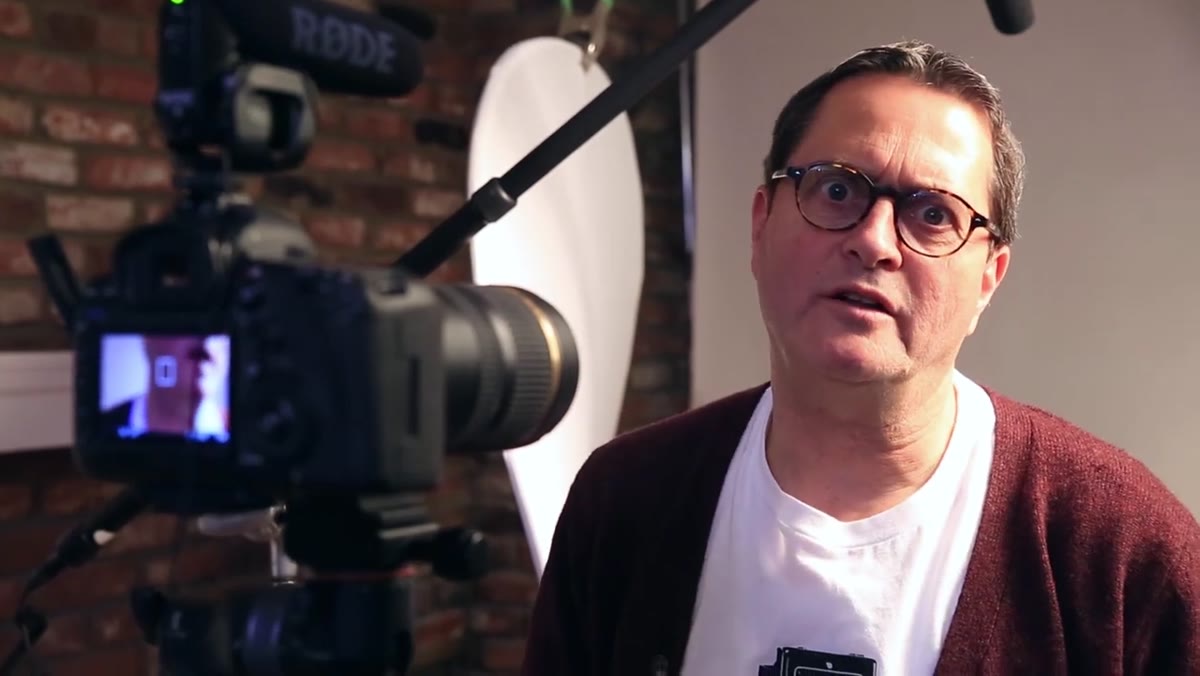
 Camera mic demonstration showing subject far from camera
JP opens with a blunt demonstration: he records himself at a normal working distance using only the camera’s onboard microphone. The result is exactly what you would expect. The mic picks up the room, not the person. Every background hum, air conditioner cycle, and ambient reflection competes with the voice. He shows that the audio only improves when he moves uncomfortably close to the camera lens, which is obviously not a workable solution.
Camera mic demonstration showing subject far from camera
JP opens with a blunt demonstration: he records himself at a normal working distance using only the camera’s onboard microphone. The result is exactly what you would expect. The mic picks up the room, not the person. Every background hum, air conditioner cycle, and ambient reflection competes with the voice. He shows that the audio only improves when he moves uncomfortably close to the camera lens, which is obviously not a workable solution.
The rule he lays down is simple: never use the camera’s built-in audio. Not as a backup. Not as a scratch track. Treat it as though it does not exist. The mic is positioned for the camera’s convenience, not the subject’s voice, and distance kills everything in audio the same way it kills everything in light.
Step 2: Mount a Compact Shotgun Mic on Your Hot Shoe as a Backup Only
 Rode VideoMic Pro mounted on camera hot shoe
The second option he demonstrates is a Rode VideoMic Pro mounted directly on the camera’s hot shoe and plugged into the camera’s mic input. This is a meaningful step up from the onboard mic. It is a directional microphone, so it is at least trying to focus on what is in front of the lens. At a typical shooting distance, though, it still struggles. The subject is simply too far away for a small shotgun mic to do its best work.
Rode VideoMic Pro mounted on camera hot shoe
The second option he demonstrates is a Rode VideoMic Pro mounted directly on the camera’s hot shoe and plugged into the camera’s mic input. This is a meaningful step up from the onboard mic. It is a directional microphone, so it is at least trying to focus on what is in front of the lens. At a typical shooting distance, though, it still struggles. The subject is simply too far away for a small shotgun mic to do its best work.
JP’s framing here is useful: treat this as emergency insurance, not a primary solution. If your main audio setup fails mid-shoot and you have this on the camera, you have something usable in a pinch. But it should not be your plan A, or your plan B. It earns its place in your kit bag as a safety net, nothing more.
Step 3: Try a Portable Recorder Placed Close to the Subject
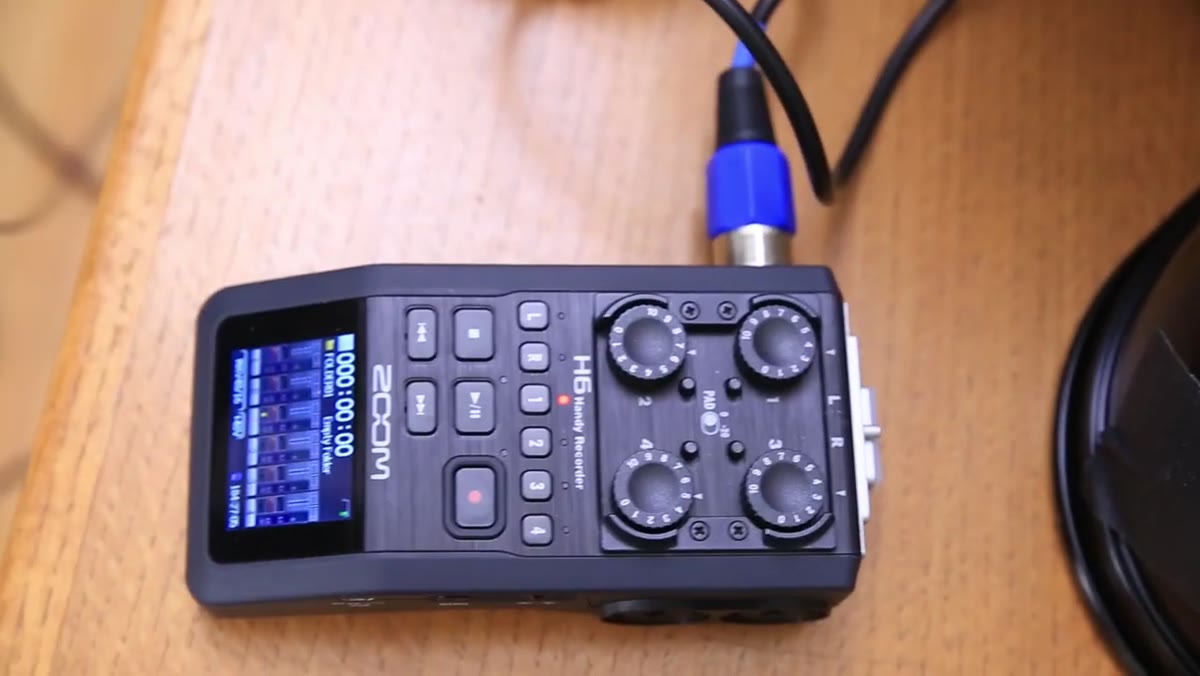
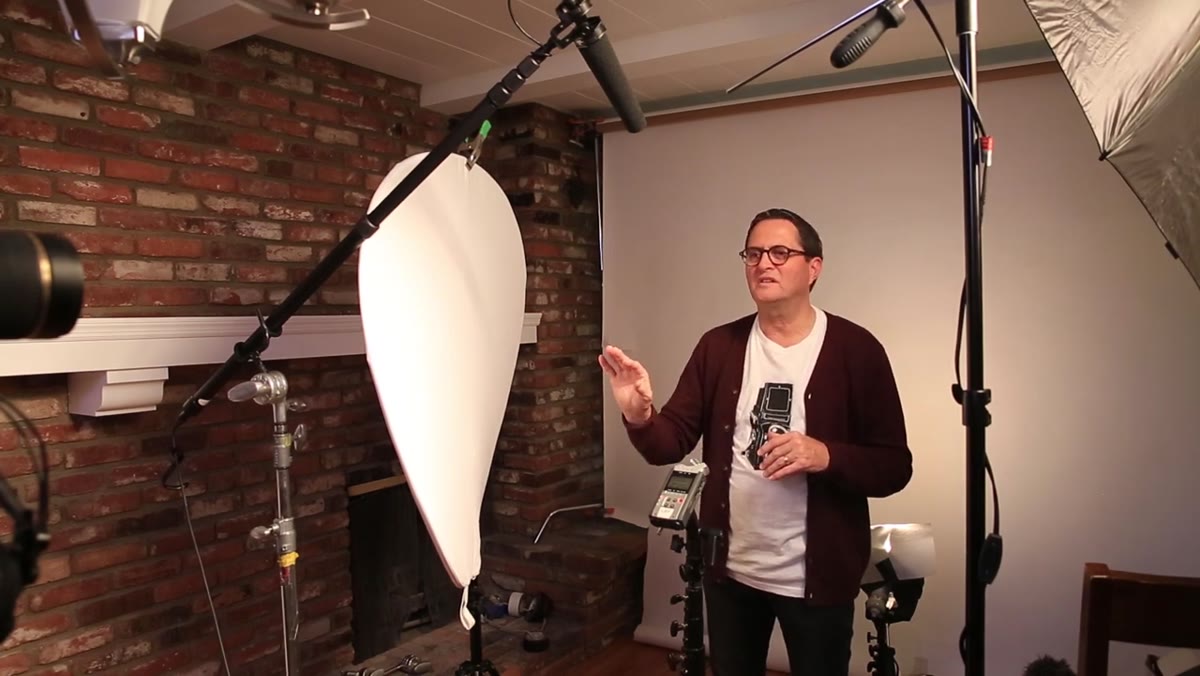
 Zoom recorder positioned near subject on stand
The third option is a compact portable recorder, specifically something in the Zoom H-series range (the H1, H2, or H4 depending on your budget, running roughly $100 to $300). The idea here is to break the audio completely away from the camera and capture it at the source. You position the recorder on a small stand close to the speaker, turn on its onboard stereo mics, and let it run independently.
Zoom recorder positioned near subject on stand
The third option is a compact portable recorder, specifically something in the Zoom H-series range (the H1, H2, or H4 depending on your budget, running roughly $100 to $300). The idea here is to break the audio completely away from the camera and capture it at the source. You position the recorder on a small stand close to the speaker, turn on its onboard stereo mics, and let it run independently.
The advantage is proximity. Close mic placement almost always sounds better than a far mic, regardless of mic quality. The significant disadvantage, which JP is honest about, is workflow friction. You are now recording audio to a separate device, which means you need to sync it to your video in post. He mentions software called PluralEyes for this, which analyzes the waveforms from both recordings and lines them up automatically before you import into Premiere. He also notes that the onboard mics on these small recorders are not particularly directional or high-quality, so you still need to keep the unit very close to the subject. For a static, talking-head setup, it can work. For anything with movement, it gets awkward fast.
Step 4: Move to a Lavalier Microphone for Clean, Consistent Voice Capture
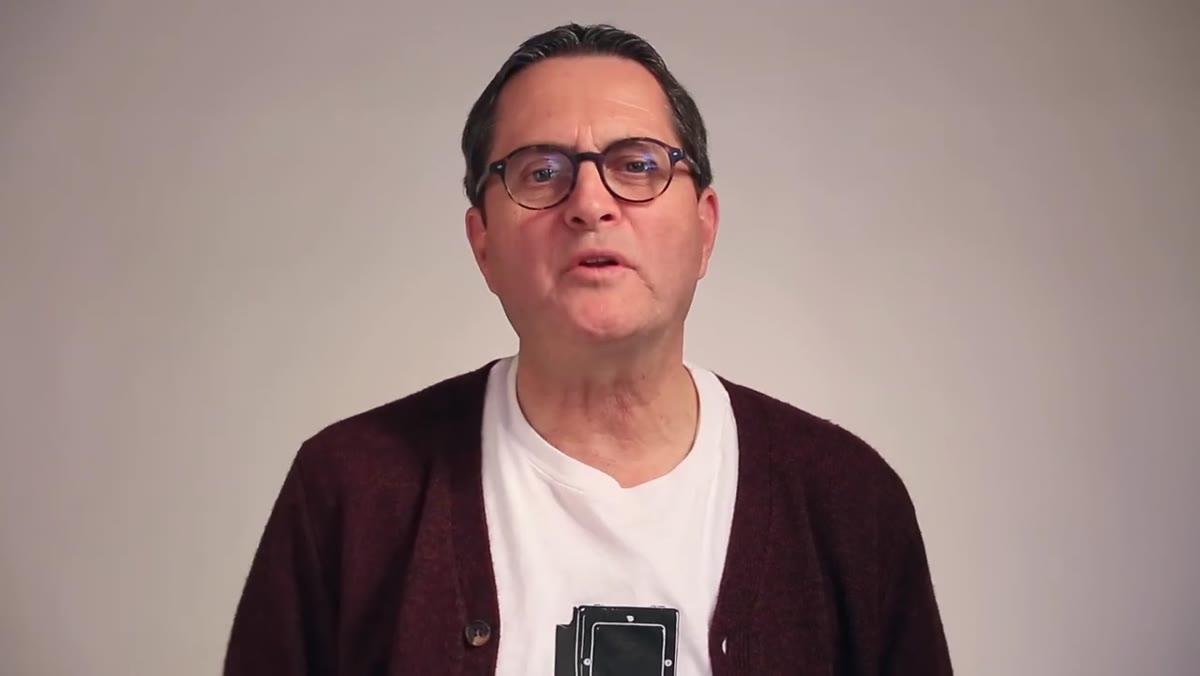
 Lavalier microphone clipped to subject’s collar
The lavalier, or lapel mic, solves the proximity problem elegantly. You clip the mic directly to the subject’s collar or lapel, which keeps it within a few inches of the mouth regardless of what the camera is doing. JP presents this as a significant jump in audio quality and practicality for anyone shooting regular video content in a studio environment.
Lavalier microphone clipped to subject’s collar
The lavalier, or lapel mic, solves the proximity problem elegantly. You clip the mic directly to the subject’s collar or lapel, which keeps it within a few inches of the mouth regardless of what the camera is doing. JP presents this as a significant jump in audio quality and practicality for anyone shooting regular video content in a studio environment.
There are wired and wireless options at varying price points. Wired lavs are less expensive and have no signal interference issues, but they tether the subject to the recorder or camera. Wireless systems give you freedom of movement, which matters if you are shooting something more dynamic than a seated interview. The key technique with any lavalier is placement: clip it to the center of the chest, keep it away from fabric that rustles, and if the subject is wearing a stiff collar or a jacket with texture, use a small piece of medical tape to dampen any contact noise.
What I Would Add: Match Your Audio Approach to Your Lighting Setup
One thing the tutorial does not address explicitly, but that I have found critical in practice, is that your audio solution needs to account for your light placement. I run a lot of overhead beauty setups with a large octabank directly above the subject. A boom mic on a stand positioned overhead can compete with that modifier for space. A lavalier eliminates that conflict entirely, which is part of why it became my default for studio video work.
Similarly, if you are using hard directional light that creates strong shadows, a visible mic stand in frame becomes a compositional problem. A wireless lavalier keeps the frame clean. Think about your audio gear the same way you think about your stands and arms: it has to coexist with everything else in the space without creating new problems.
The single most important takeaway from this tutorial is a principle, not a product recommendation: audio quality degrades with distance just as light intensity does. The closer the microphone is to the source, the better the result, full stop. Every option JP walks through can be evaluated through that one lens. If your current solution puts the mic far from your subject, that is your problem, and no amount of post-processing will solve it.
Watch the full tutorial on YouTube to hear JP’s direct audio comparisons between each option. Hearing the difference, rather than reading about it, makes the gap between solutions impossible to ignore.
Comments
Leave a Comment