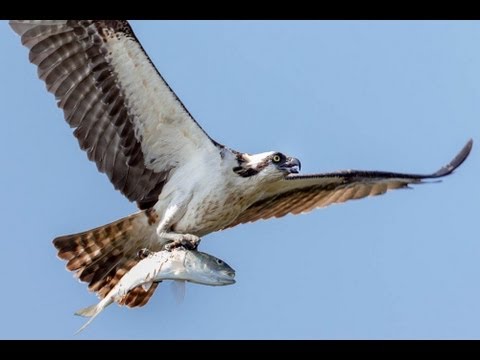
Most of my work happens under controlled light. I label every strobe in my studio with masking tape, I diagram every setup, and I can tell you the exact output ratio between my key and fill before I fire a single test shot. Outdoor, fast-moving subject photography is a different animal entirely, and for years I avoided it because I couldn’t bring my system to it. What changed was sitting down with Watch the full tutorial on YouTube - Tony and Chelsea Northrup’s breakdown of how to photograph flying birds. It’s methodical, it’s specific with numbers, and it treats exposure like a problem to solve rather than a feeling to chase. That’s a language I understand.
What struck me immediately is that the underlying logic here isn’t that different from studio work. You’re still thinking about where light is coming from, how fast your subject is moving relative to your frame, and how to let your camera’s metering system work for you rather than against you. The variables are just less obedient. Here’s how I’d walk a working photographer through the framework Tony lays out, step by step.
Step 1: Choose Your Position Strategically
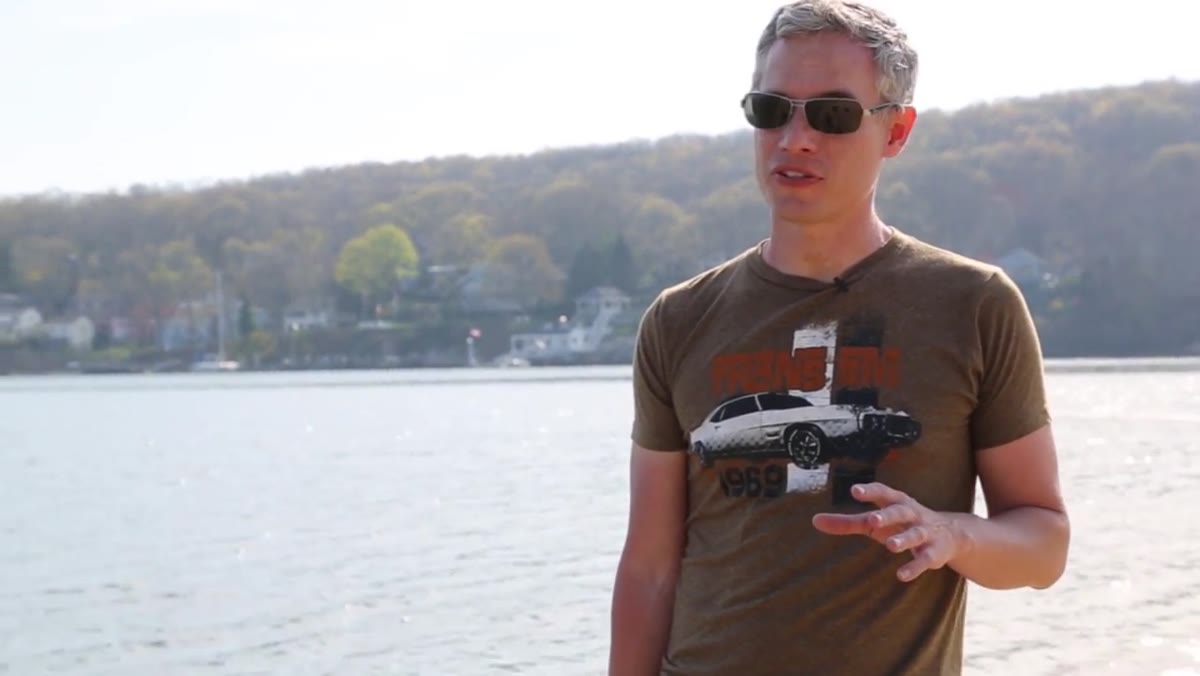
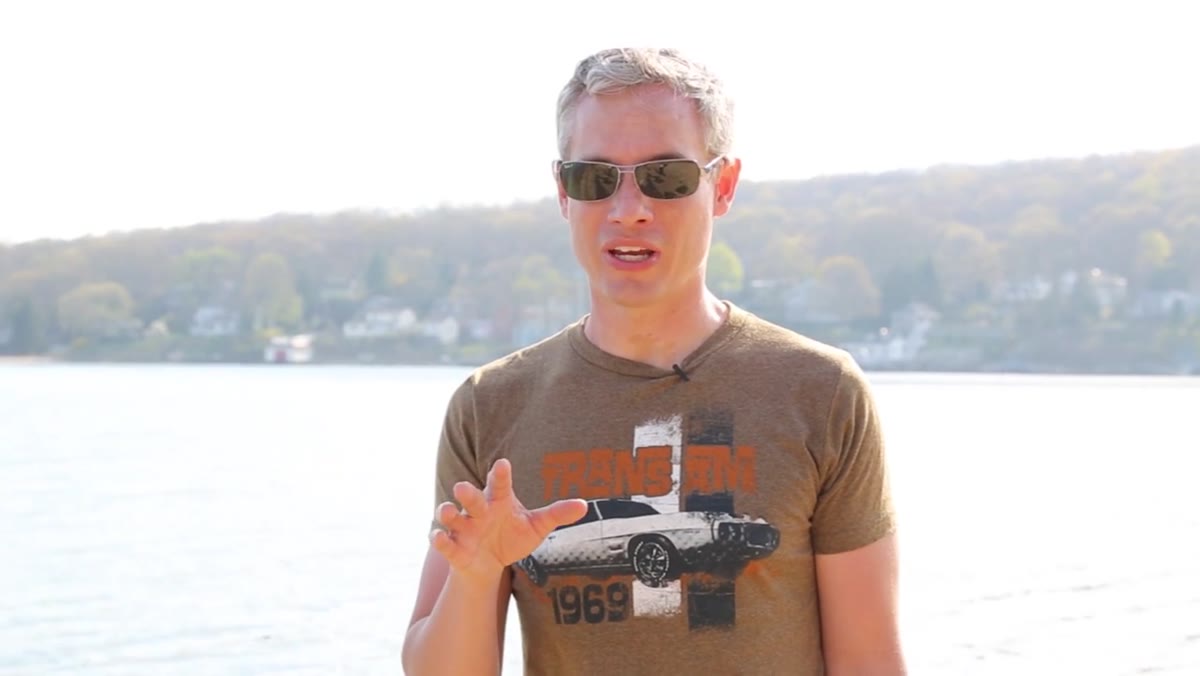
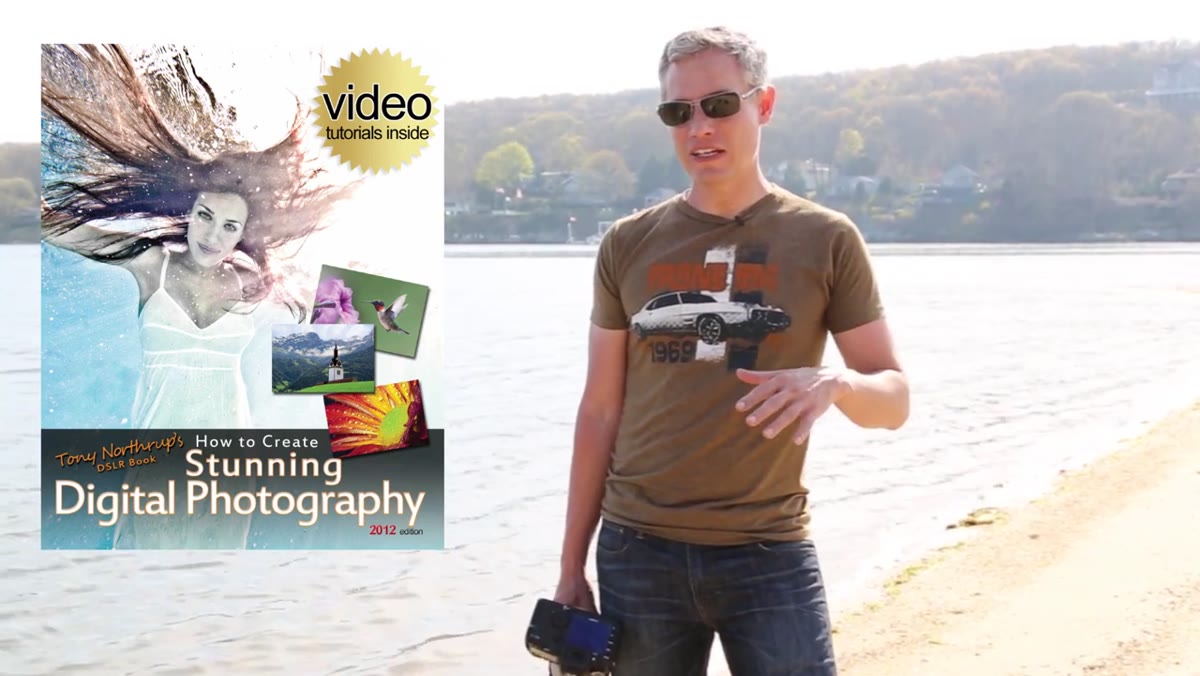 Tony describing ideal positioning on a hill relative to birds
Before you touch a camera setting, your physical position determines about half the quality of what you’ll capture. Tony’s first recommendation is to find elevated ground - a hill or a rise - so you’re shooting at roughly the same level as the birds rather than pointing your lens upward at an angle. Shooting up at a subject means you’re fighting a bright sky for exposure, and you lose the dimensional quality that makes a bird photograph compelling.
The second position rule is just as important: put the sun at your back. Front-lit birds show feather detail, color, and texture. Birds backlit by the sun become silhouettes, and while silhouettes have their place, they’re not what you’re after when you want a technically strong, detail-rich image. Front lighting also simplifies your exposure calculation considerably, which matters when your subject is unpredictable.
Step 2: Position for Perpendicular Flight Paths
 Diagram or explanation of birds flying side to side across frame
Where you stand relative to the birds’ direction of travel is its own variable, separate from the sun angle. Tony recommends finding a spot where birds are crossing your frame from side to side, flying perpendicular to your lens axis. Tracking a bird moving laterally is mechanically easier for both you and your autofocus system. The bird stays approximately the same distance from you throughout the shot, which means the focus system isn’t chasing a rapidly changing subject distance.
If birds are flying directly toward you, the focus system has to work much harder to keep up with the rate of change. And birds flying away from you present a compositional problem Tony points out simply: you need the eye in the frame. A bird’s eye is the anchor of the image. Without it, the shot loses its connection to the subject.
Step 3: Set Up Your Lens and Support
 Tony holding a large telephoto lens, discussing focal length options
Focal length is your primary gear decision. Tony shoots with a 500mm f/4 in the tutorial, but he’s explicit that you don’t need that. A 300mm telephoto is genuinely workable, and even 200mm can produce strong results if you’re positioned well. The principle is simple: get optically as close to the bird as you can. Cropping in post costs you resolution. More glass costs you money but preserves image quality.
On image stabilization, Tony’s guidance is precise: turn it off unless your lens specifically has a panning mode built in. Your shutter speeds are going to be fast enough that stabilization becomes irrelevant anyway, and some stabilization systems can actually fight your panning motion and introduce blur rather than reduce it. For support, a monopod gives you arm relief while keeping you mobile, which matters when you’re swinging a heavy lens to track an unpredictable subject. A tripod with a gimbal head works for sustained shooting sessions, but Tony shoots handheld for the flexibility, and I think that’s the right call for beginners learning the motion.
Step 4: Set Shutter Speed First, Everything Else Follows
 Camera settings display, shutter priority mode selected
This is where the recipe gets specific. Set your camera to shutter priority mode and dial in 1/1000th of a second as your starting point. Tony notes that anything below 1/1500th of a second risks motion blur in the wings. 1/1000th gives you a practical starting place that most cameras can expose for reasonably in decent light, and you can push faster from there if you’re seeing blur in your test shots.
With shutter priority locked in, set your ISO to automatic if your camera supports it. If not, start at ISO 400. The camera will then adjust aperture automatically to match the exposure. You’re removing variables so you can focus on tracking the subject rather than juggling settings while a bird crosses your frame in two seconds.
Step 5: Autofocus in Continuous Mode, All Points Active
 Autofocus settings menu showing continuous AF and all points selected
Switch to continuous autofocus - Canon calls this AI Servo, Nikon calls it AF-C, Sony uses the same AF-C designation. This mode keeps the camera actively updating focus as the subject moves, rather than locking focus at the moment you half-press the shutter and holding it there. For a stationary subject, single-shot autofocus is fine. For a bird in flight, it’s useless.
Enable all autofocus points rather than a single point or a small zone. Keeping one focus point precisely on a moving bird through a telephoto lens while also tracking the motion is nearly impossible in practice. Letting the camera use its full AF array gives the system the best statistical chance of keeping the bird sharp across a burst sequence.
Step 6: Switch to Spot Metering and Monitor Exposure as You Shoot
 Metering mode menu with spot metering selected
Change your metering mode to spot metering. This tells the camera to calculate exposure based on a small central area of the frame rather than averaging the whole scene. The goal is to expose the bird correctly, even at the expense of blowing out the sky behind it. A properly exposed bird against a slightly bright sky is a usable image. A silhouetted bird against a perfectly exposed sky is not.
Tony’s practical advice here is worth following exactly: take a burst, then pause and check your histogram or the actual image on your LCD. If the bird is underexposed, apply positive exposure compensation. If it’s too bright, pull it back. Spot metering gives you a strong starting point, but the light shifts and the bird’s position within the frame changes constantly. Active monitoring keeps your exposures consistent across a long shooting session.
A Note from the Studio on Light Quality
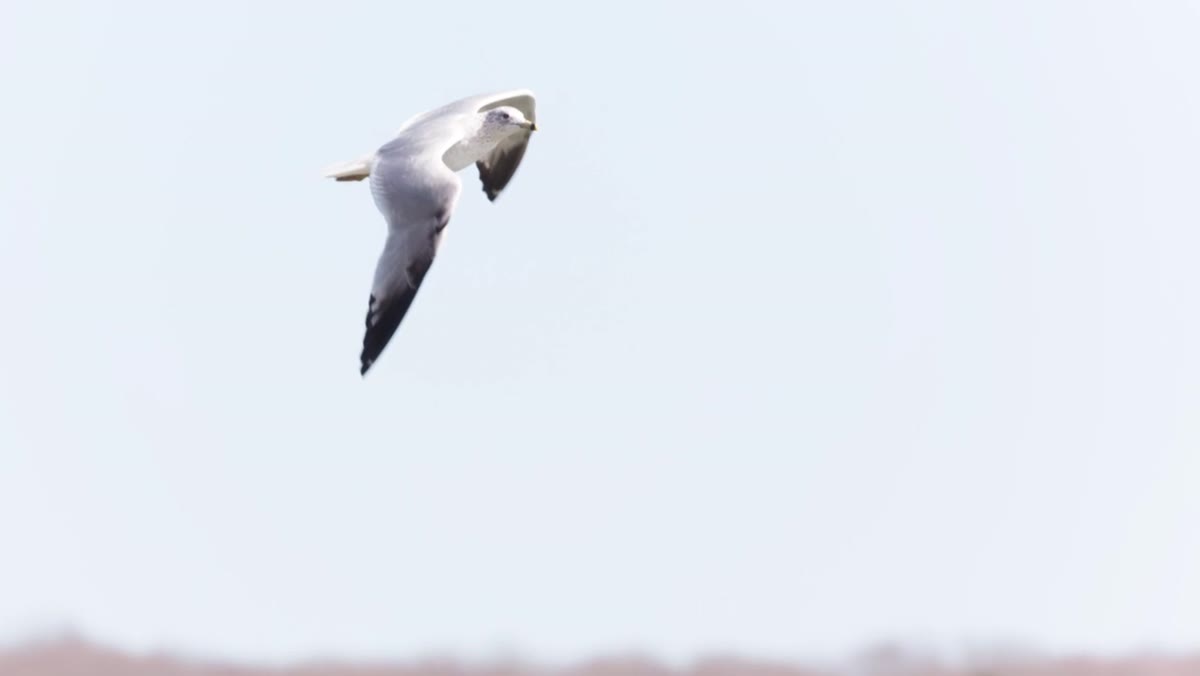
I shoot in controlled environments for a living, and one thing this tutorial reinforced for me is that the outdoor bird photography framework is essentially a stripped-down version of what I do on set. Front light, correct exposure on the subject, fast enough shutter to freeze motion. When I first started experimenting with outdoor subjects, I kept trying to apply my studio instincts and looking for ways to modify the light. You can’t bounce a reflector off a seagull. What you can do is position yourself so the existing light behaves the way you need it to.
If you’re primarily a studio photographer curious about shooting outside, this tutorial is a useful bridge. The variables are different but the thinking is the same: solve for light direction first, then exposure, then motion.
The single most important concept in Tony’s breakdown is the relationship between shutter speed and subject motion. Everything else - lens choice, autofocus mode, metering - supports that central decision. Lock in 1/1000th of a second, build your other settings around it, and adjust from there based on what you see in your test shots.
Watch the full tutorial on YouTube to see Tony demonstrate these settings in real shooting conditions with actual results.
Comments
Leave a Comment