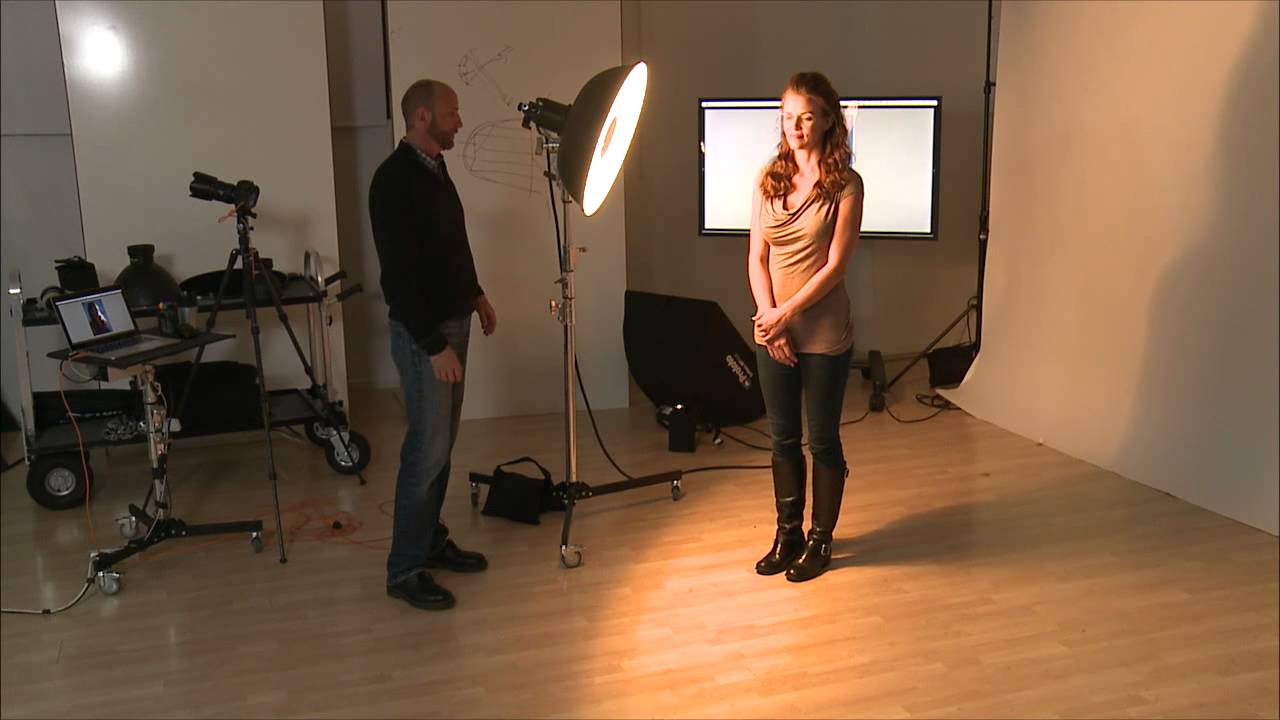
Butterfly lighting is one of those techniques that sounds simple until you try to explain it to someone who has never seen the shadow you’re chasing. I’ve sketched it in my lighting journal probably a dozen times, handed the diagram to assistants, and still watched them position the key light wrong on the first try. The concept is clean: one light, centered above the lens axis, angled down to cast a small, symmetrical shadow directly beneath the subject’s nose. But “above the lens axis” means nothing until you’ve physically moved a boom arm around a person’s face trying to find where that shadow actually lands.
That’s why I keep coming back to this CreativeLive tutorial on butterfly lighting. Watch the full tutorial on YouTube. The instructor works through the setup live, troubleshoots in real time, and makes the kind of small gear observations that usually only come from years of studio floor experience. It’s the kind of teaching that saves you from discovering things the hard way on a client shoot.
What follows is my breakdown of the tutorial, rewritten as actionable steps you can follow with your own gear.
Step 1: Attach a Mini Boom Arm to Your Light Stand
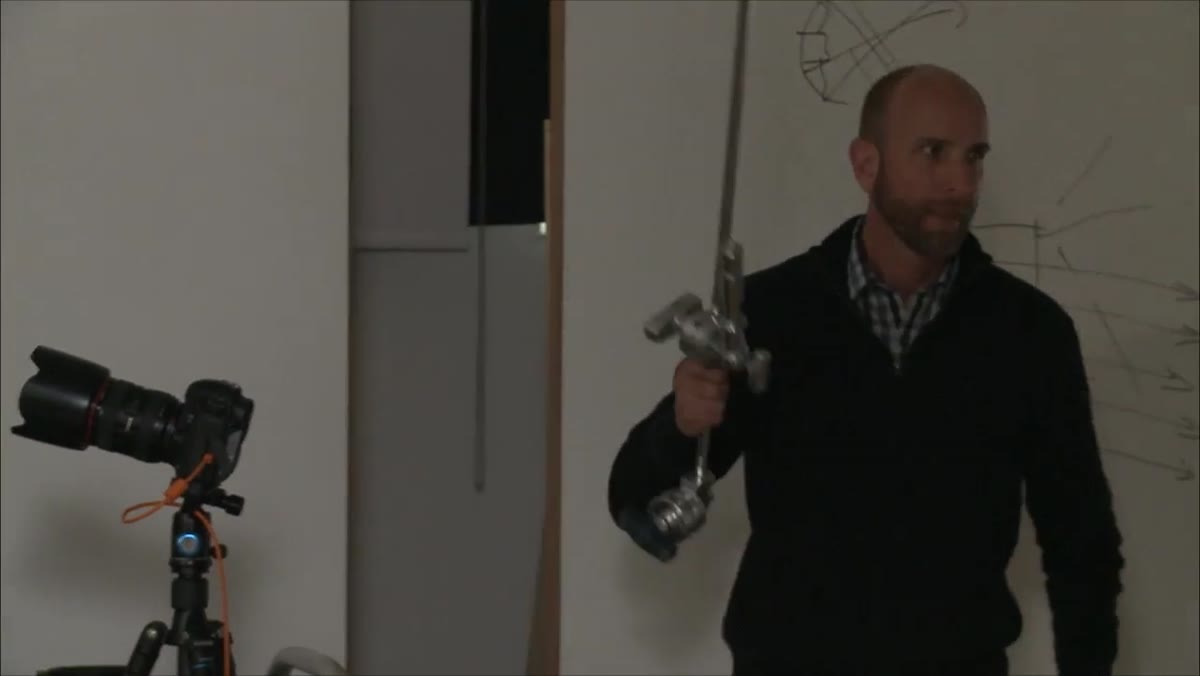 Instructor attaching mini boom arm to light stand
The whole premise of butterfly lighting depends on placing your key light directly above and on the same axis as your camera lens. A standard light stand off to the side will not get you there. You need a boom arm, and for smaller setups a mini boom is perfectly adequate. Attach it to your stand so the arm extends horizontally over where your camera will be positioned. The goal is to let you mount a light at the end of the arm so it hangs above the subject’s face, not beside it.
Instructor attaching mini boom arm to light stand
The whole premise of butterfly lighting depends on placing your key light directly above and on the same axis as your camera lens. A standard light stand off to the side will not get you there. You need a boom arm, and for smaller setups a mini boom is perfectly adequate. Attach it to your stand so the arm extends horizontally over where your camera will be positioned. The goal is to let you mount a light at the end of the arm so it hangs above the subject’s face, not beside it.
A note on stands worth taking seriously: cheap boom arms tend to slip, wobble, and fail to lock properly under the weight of a modifier. I label every piece of equipment in my studio with masking tape and the purchase date, partly so I know what’s aging out. Invest in a quality stand from a reputable brand. A boom arm that droops mid-shoot costs you more in time and frustration than the price difference ever would.
Step 2: Mount a Beauty Dish (Without a Grid) on the Boom
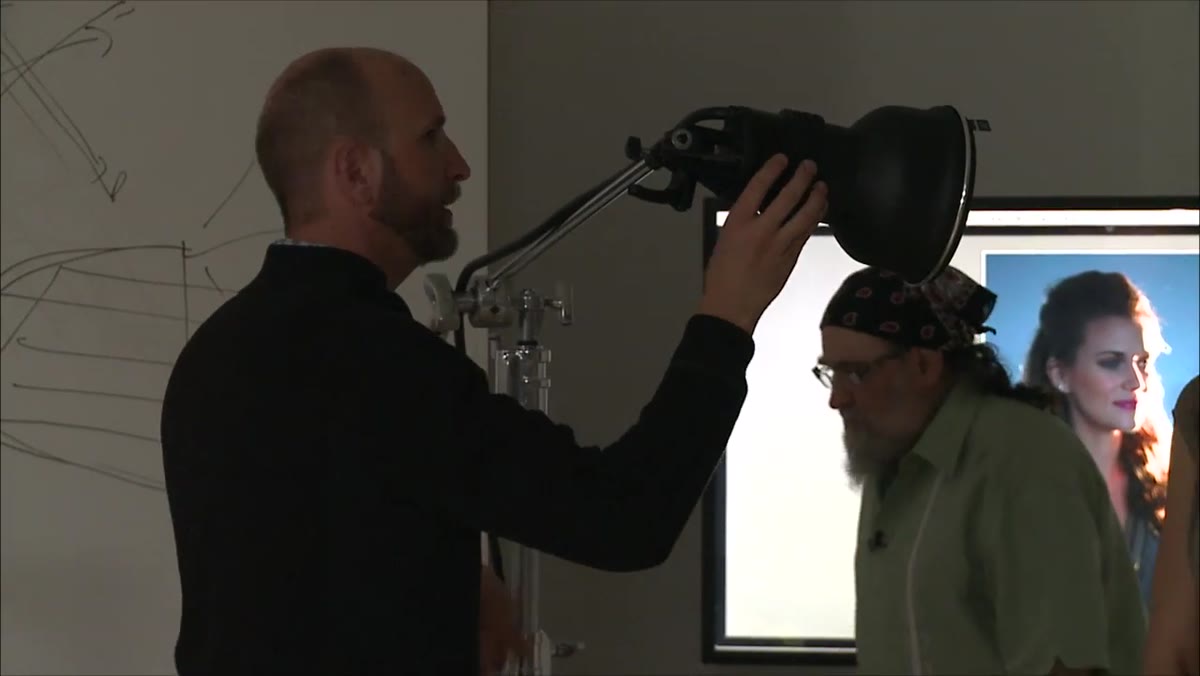 Beauty dish being attached to end of boom arm
Once the boom is in place, attach your modifier. The tutorial uses a beauty dish for this setup, and it’s a good choice for butterfly lighting specifically because it produces a slightly more defined shadow than a large softbox would. That shadow definition is important, because the shadow is the point. Skip the grid for now. Grids narrow the light spread and can make it harder to see what the light is doing as you dial in the position. You want the full, undirected output of the dish while you’re learning where the shadow falls.
Beauty dish being attached to end of boom arm
Once the boom is in place, attach your modifier. The tutorial uses a beauty dish for this setup, and it’s a good choice for butterfly lighting specifically because it produces a slightly more defined shadow than a large softbox would. That shadow definition is important, because the shadow is the point. Skip the grid for now. Grids narrow the light spread and can make it harder to see what the light is doing as you dial in the position. You want the full, undirected output of the dish while you’re learning where the shadow falls.
One practical grip note from the tutorial that I thought was worth highlighting: if your beauty dish uses a grid with a pull tab, always make sure that tab faces outward when you insert it. If it goes in backward, you have no way to grip it for removal, and you end up fighting a hot modifier on a time-sensitive set. It’s a small thing that turns into a real problem when you forget it.
Step 3: Position the Light On-Axis, Directly Above the Camera
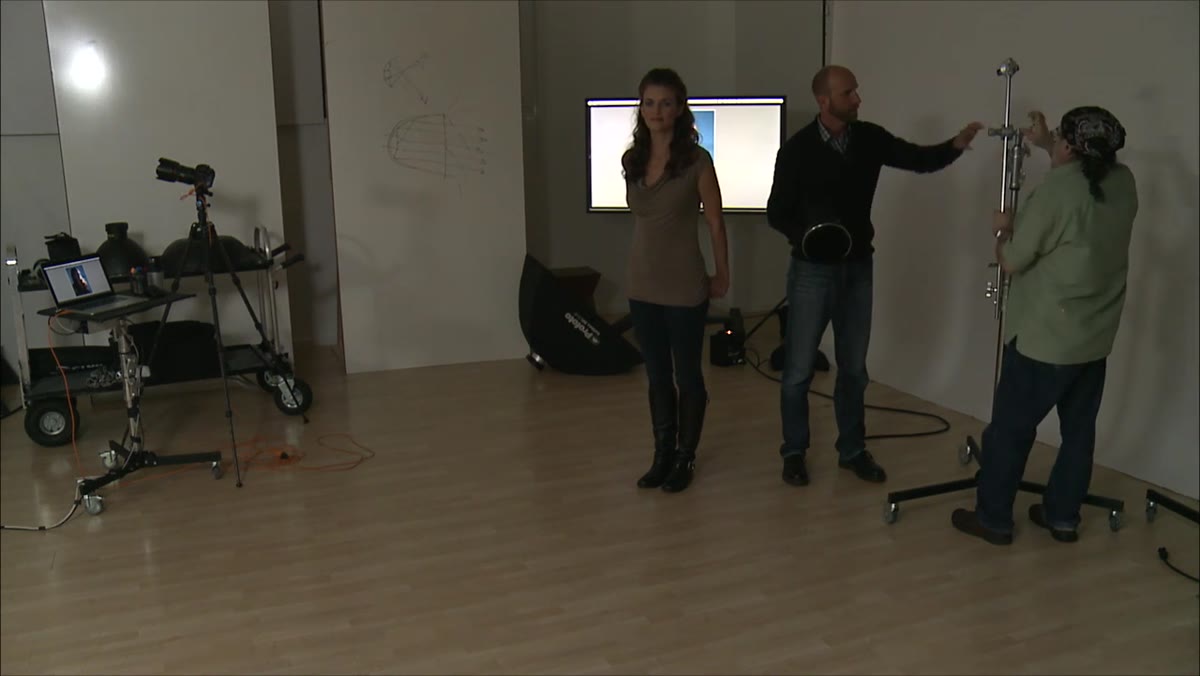 Light positioned on axis above camera lens
Extend the boom arm so the beauty dish sits directly above your camera position, centered on the subject’s face. “On-axis” means if you drew a vertical line from the light down through the lens to the subject, it would be a straight line. Any lateral offset pulls you out of true butterfly lighting and into something closer to paramount or loop. Take your time with this placement. Small shifts matter more here than with a Rembrandt or split setup because you’re chasing symmetry.
Light positioned on axis above camera lens
Extend the boom arm so the beauty dish sits directly above your camera position, centered on the subject’s face. “On-axis” means if you drew a vertical line from the light down through the lens to the subject, it would be a straight line. Any lateral offset pulls you out of true butterfly lighting and into something closer to paramount or loop. Take your time with this placement. Small shifts matter more here than with a Rembrandt or split setup because you’re chasing symmetry.
Start with the light at roughly a 45-degree angle down toward the subject’s face and adjust from there. The angle determines where the shadow lands and how long it is. Too shallow and you get flat light with no shadow at all. Too steep and the shadow drops past the upper lip into unflattering territory.
Step 4: Raise the Light Until the Nose Shadow Appears
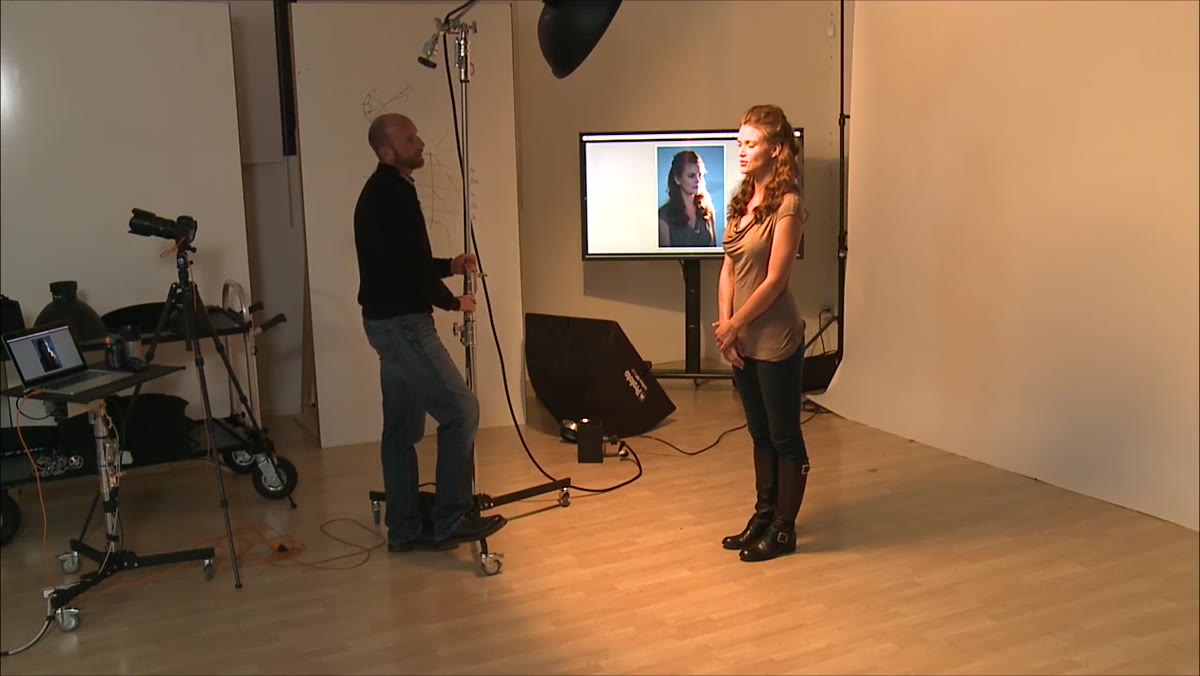 Instructor raising light to produce nose shadow
This is where the setup becomes butterfly lighting rather than just centered overhead light. Slowly raise the front of the boom, tilting the beauty dish downward toward the subject’s face, until you see a small shadow form directly beneath the nose. That shadow should be short, symmetrical, and pointed downward, roughly resembling a butterfly in shape. It should not touch the upper lip.
Instructor raising light to produce nose shadow
This is where the setup becomes butterfly lighting rather than just centered overhead light. Slowly raise the front of the boom, tilting the beauty dish downward toward the subject’s face, until you see a small shadow form directly beneath the nose. That shadow should be short, symmetrical, and pointed downward, roughly resembling a butterfly in shape. It should not touch the upper lip.
If the light is soft enough that the shadow is hard to see, the tutorial suggests temporarily swapping to a standard reflector dish rather than the beauty dish. The harder light source makes the shadow crisp and obvious, letting you confirm you have the position right before switching back to a softer modifier. I do something similar in my own testing process: whenever I’m evaluating a new modifier, I compare it against a known reference to understand exactly what it’s changing.
Step 5: Shoot and Confirm the Shadow in Camera
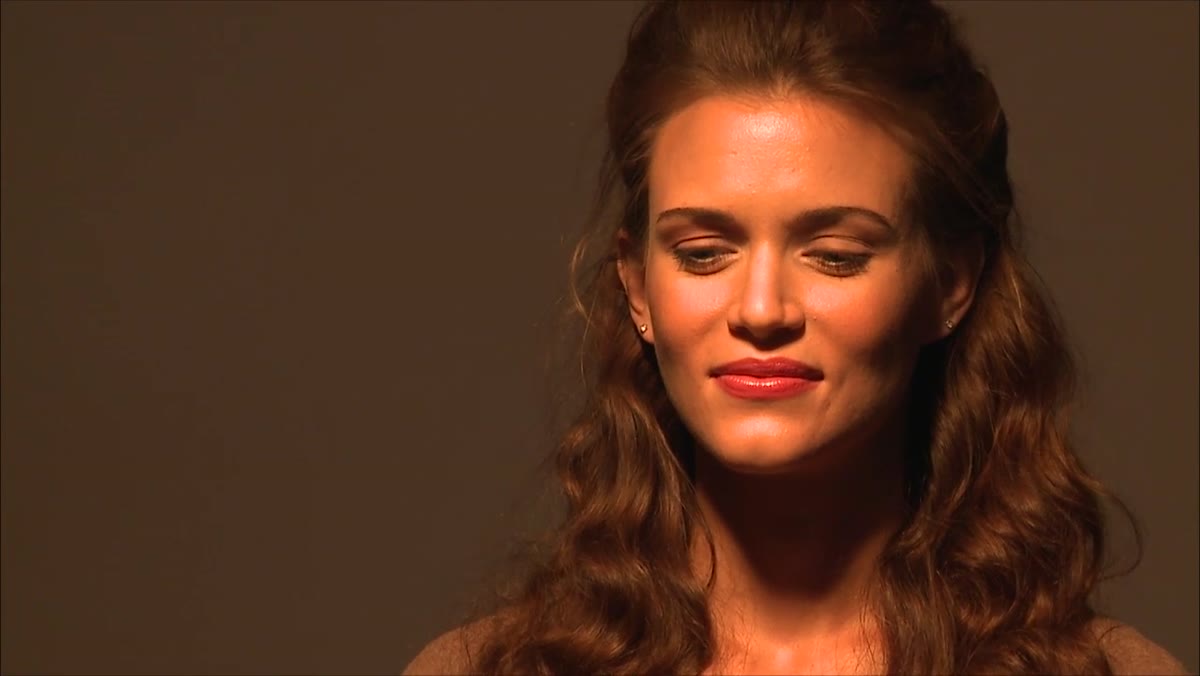 Camera view showing nose shadow beneath subject’s nose
Take a test frame and look at where the shadow lands on the subject’s face. The butterfly shadow should sit cleanly under the nose, not migrating toward one cheek or the other. If it shifts left or right, your boom arm is not truly centered. If the shadow is absent, the light is too low or too frontal. If the shadow is too long, the light is too high or too steeply angled. Make one adjustment at a time and shoot again.
Camera view showing nose shadow beneath subject’s nose
Take a test frame and look at where the shadow lands on the subject’s face. The butterfly shadow should sit cleanly under the nose, not migrating toward one cheek or the other. If it shifts left or right, your boom arm is not truly centered. If the shadow is absent, the light is too low or too frontal. If the shadow is too long, the light is too high or too steeply angled. Make one adjustment at a time and shoot again.
Check your exposure settings before you get deep into position refinements. The tutorial catches an unexpected overexposure mid-demo, which serves as a useful reminder that changing modifier types can shift your output significantly. A beauty dish versus a standard reflector can mean a stop or more of difference depending on your unit and its distance.
What I’d Add From My Own Work
Butterfly lighting is closely associated with beauty and fashion photography, and for good reason. It’s flattering on high cheekbones and sculpts the face without creating the drama of a Rembrandt setup. But it is also genuinely unflattering on some face shapes, particularly rounder faces where that centered overhead light can emphasize width rather than structure. I always shoot a few frames, pull them up on a tethered monitor, and confirm the light is actually doing what I want it to do for this particular subject on this particular day. No lighting pattern works universally.
I also add a fill card below the subject’s chin in most butterfly setups, bouncing a small amount of light back up to soften the shadows under the jaw and neck. The tutorial doesn’t get into that, but it’s often the difference between a beauty image that feels finished and one that looks like a lighting exercise.
The single most important thing this tutorial communicates is that butterfly lighting is defined by one specific detail: that small, centered shadow beneath the nose. Everything else, the modifier choice, the stand quality, the exposure, is in service of producing and controlling that one shadow. Get that shadow right and you have butterfly lighting. Watch the full tutorial on YouTube to see the instructor work through it in real time, including the troubleshooting moments that are often more instructive than the clean parts.
Comments
Leave a Comment