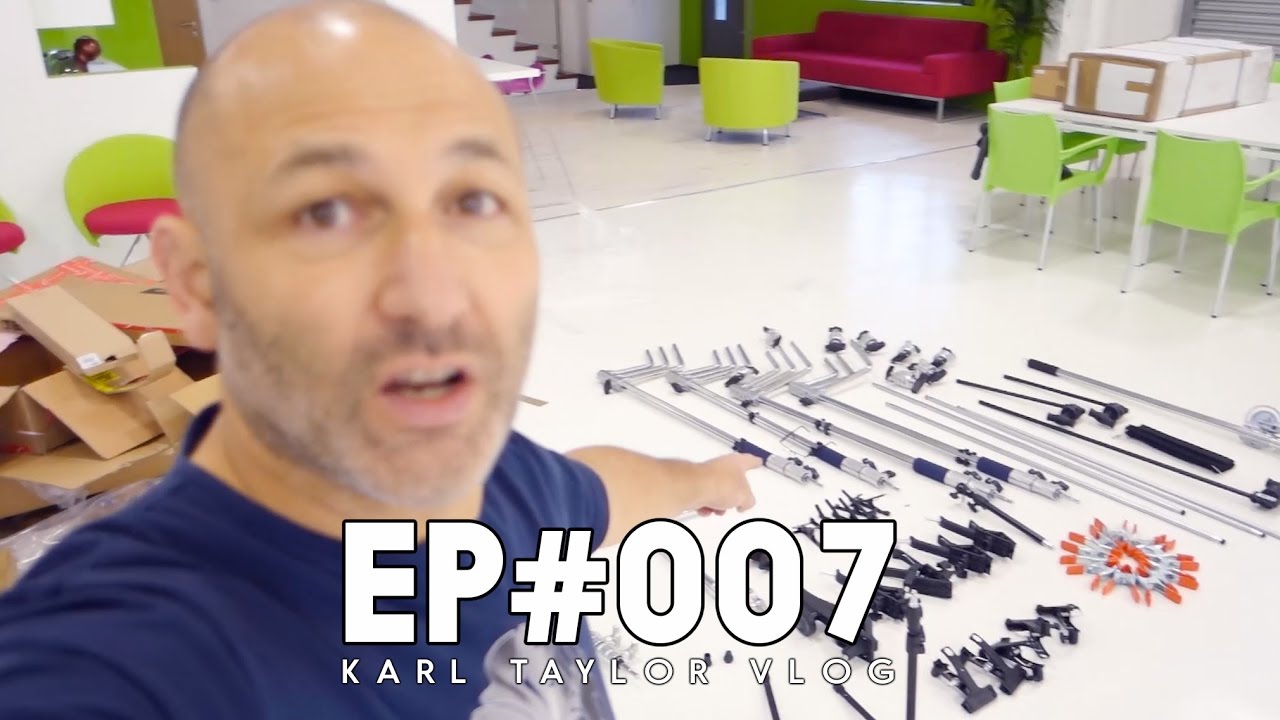
There is a category of studio purchase that never feels exciting but quietly determines whether a shoot runs smoothly or falls apart. It is not a new strobe. It is not a beauty dish. It is the grip hardware — the stands, arms, clamps, and poles that position everything else. I have lost count of the number of times I have had to improvise on set because I ran short on c-stands or because I did not have the right clamp to flag a light. The gear is unglamorous, but its absence is immediately felt.
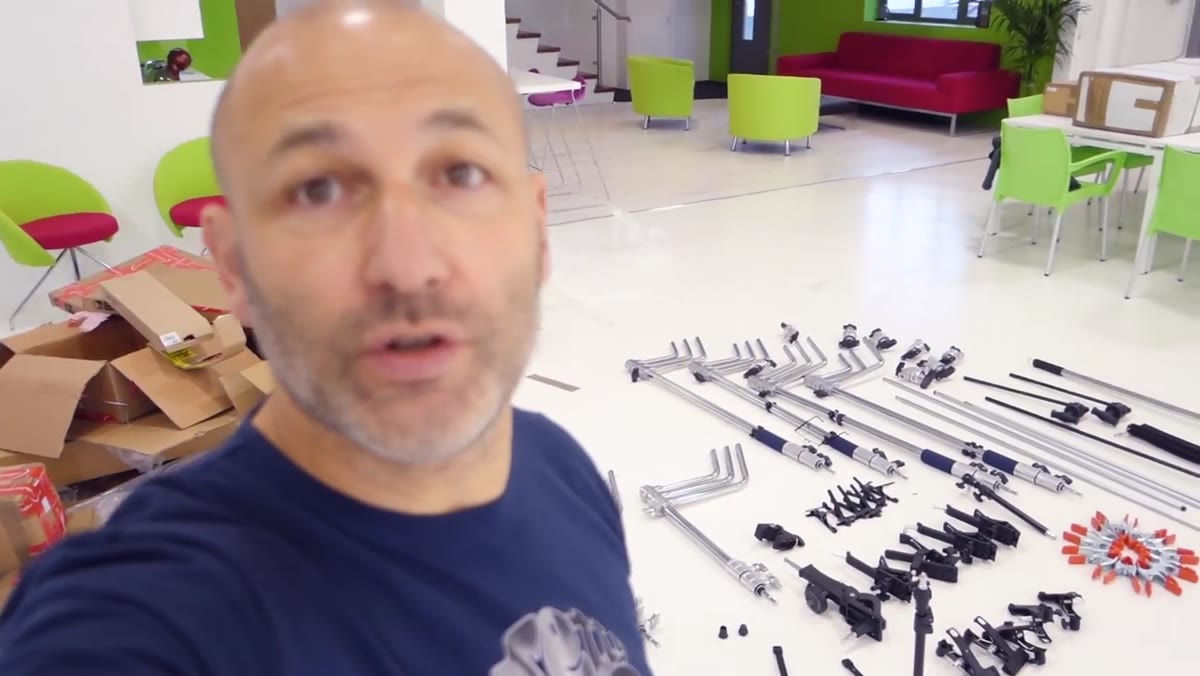
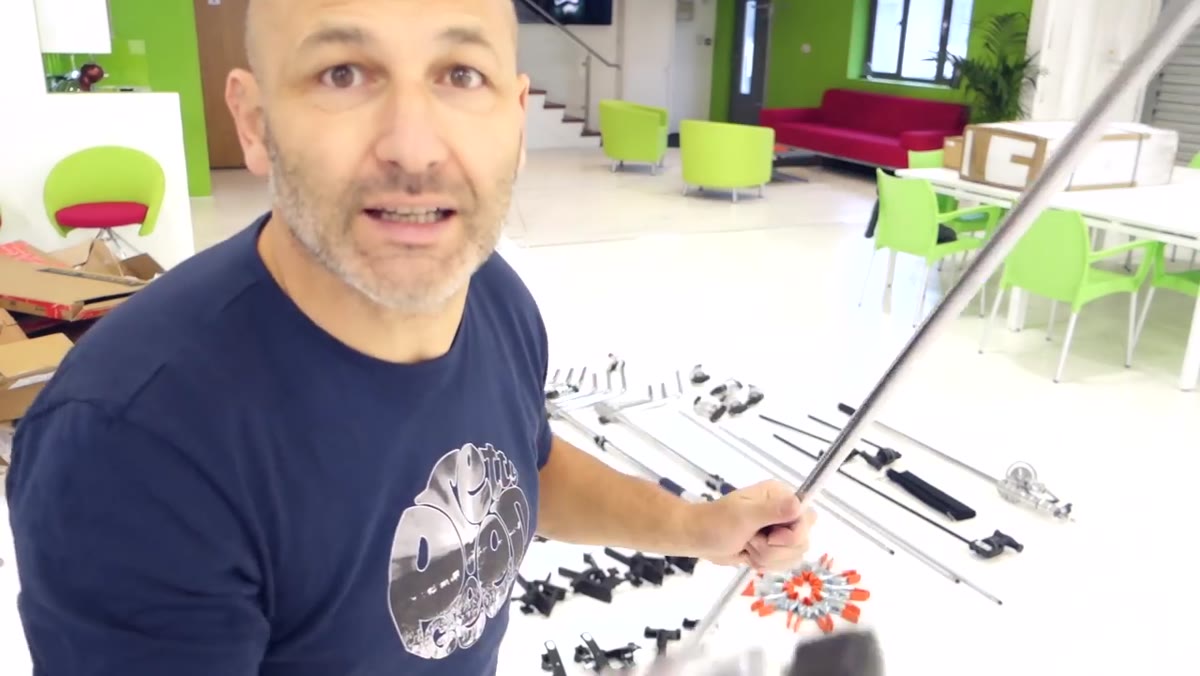
In this Visual Education tutorial, Watch the full tutorial on YouTube, the presenter walks through a fresh batch of studio grip equipment and explains why each piece earns its floor space. What I appreciate about the breakdown is that it treats this hardware as a system, not a collection of individual items. That is exactly how I think about it. A c-stand alone is useful. A c-stand with a gobo arm, a Foba grip, and a sandbag is a lighting solution.
My own studio in Los Angeles has labels on every piece of gear using masking tape. Yes, every stand, every arm, every clamp. The labels tell me at a glance what I have and what is missing when I am packing for a location job. After watching this tutorial, I ended up adding several pieces I had been short on, because the presenter’s logic matched problems I had been solving the hard way.
Step 1: Understand What Makes a C-Stand Different from a Lighting Stand
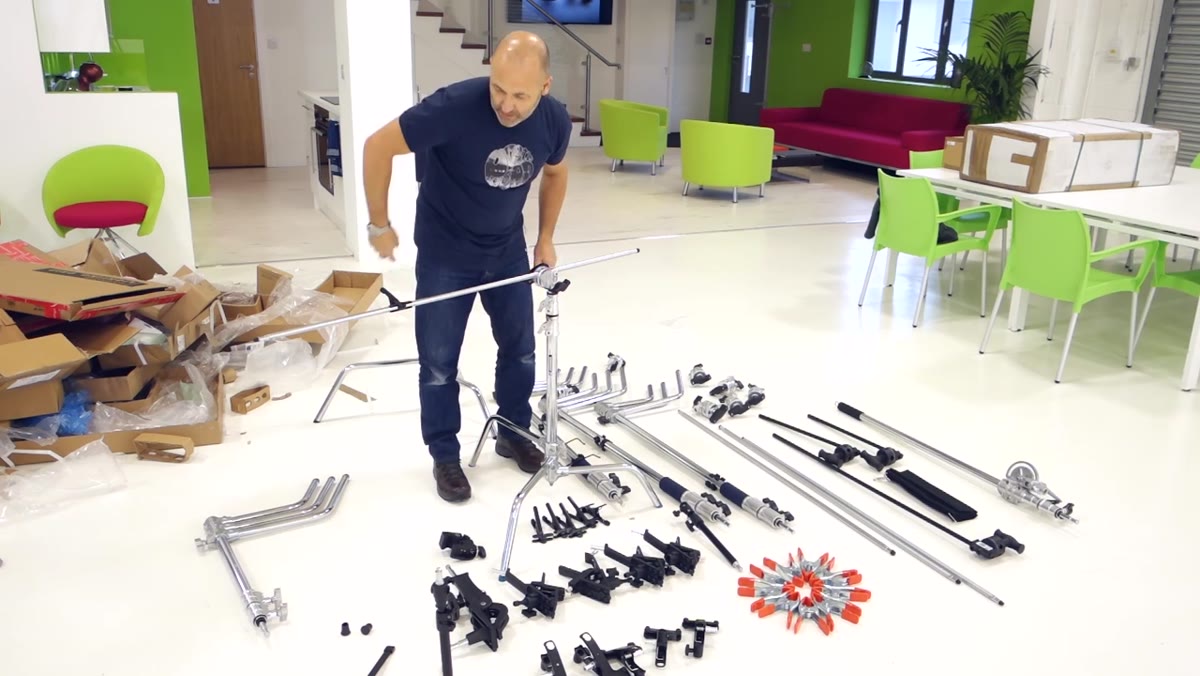
 C-stand being unfolded and extended next to a standard lighting stand
A standard lighting stand is tall, relatively lightweight, and designed for vertical extension. A c-stand is built around stability and flexibility. The legs are configured asymmetrically, which allows you to slide one leg underneath a set piece or a bed of seamless paper without tipping. The column risers lock with a twist mechanism that stays put under load. When I am hanging a flag or a heavy modifier off a lateral arm, I do not trust a standard stand to hold that torque. The c-stand handles it without drama.
C-stand being unfolded and extended next to a standard lighting stand
A standard lighting stand is tall, relatively lightweight, and designed for vertical extension. A c-stand is built around stability and flexibility. The legs are configured asymmetrically, which allows you to slide one leg underneath a set piece or a bed of seamless paper without tipping. The column risers lock with a twist mechanism that stays put under load. When I am hanging a flag or a heavy modifier off a lateral arm, I do not trust a standard stand to hold that torque. The c-stand handles it without drama.
The presenter also shows both full-height and low c-stand versions. The low version is not a compromise – it is a specific tool. I use the low stand whenever I need a light at floor level or angled upward, particularly on beauty setups where a kicker needs to come in from below frame.
Step 2: Add a Gobo Arm to Turn the Stand into a Positioning System
 Gobo arm being attached horizontally to the top of a c-stand
The gobo arm, sometimes called a grip head and arm, threads into the top of the c-stand and extends laterally. It locks at any angle and holds position under significant load. On its own this looks simple. In practice it means you can position a light, a flag, or a reflector completely independently of the vertical column – out to the side, angled over a subject, or tucked in tight to a product table. That kind of freedom is what separates a properly equipped studio from one where you are always fighting geometry.
Gobo arm being attached horizontally to the top of a c-stand
The gobo arm, sometimes called a grip head and arm, threads into the top of the c-stand and extends laterally. It locks at any angle and holds position under significant load. On its own this looks simple. In practice it means you can position a light, a flag, or a reflector completely independently of the vertical column – out to the side, angled over a subject, or tucked in tight to a product table. That kind of freedom is what separates a properly equipped studio from one where you are always fighting geometry.
The presenter shows the arm paired with a pole, creating a horizontal crossbar arrangement. I use this constantly in product work. Two c-stands flanking a table with a pole bridging them gives me a rock-solid overhead rig without a ceiling mount.
Step 3: Use Foba Clamps to Grip Flags, Cards, and Diffusion Directly onto the Arm
 Curved Foba clamp being attached to a round pole on the gobo arm
Foba grips, or equivalent heavy-duty clamps, are curved on the jaw to match the profile of a round pole. That curve is intentional – it bites into the pole without slipping under lateral force. You can clamp a sheet of black foam board, a piece of diffusion, or a reflector card directly to the arm without any additional hardware. The presenter makes the point clearly: these are not light-duty spring clamps. They are engineered to hold position when you walk away from the stand.
Curved Foba clamp being attached to a round pole on the gobo arm
Foba grips, or equivalent heavy-duty clamps, are curved on the jaw to match the profile of a round pole. That curve is intentional – it bites into the pole without slipping under lateral force. You can clamp a sheet of black foam board, a piece of diffusion, or a reflector card directly to the arm without any additional hardware. The presenter makes the point clearly: these are not light-duty spring clamps. They are engineered to hold position when you walk away from the stand.
For product photography especially, the ability to precisely flag a light – cut it off from a reflective surface or create a gradient on a background – is the difference between a usable image and one that requires twenty minutes of retouching. I keep a half dozen of these clamps on a hook near my product table at all times.
Step 4: Configure the C-Stand as a Mini Boom Arm
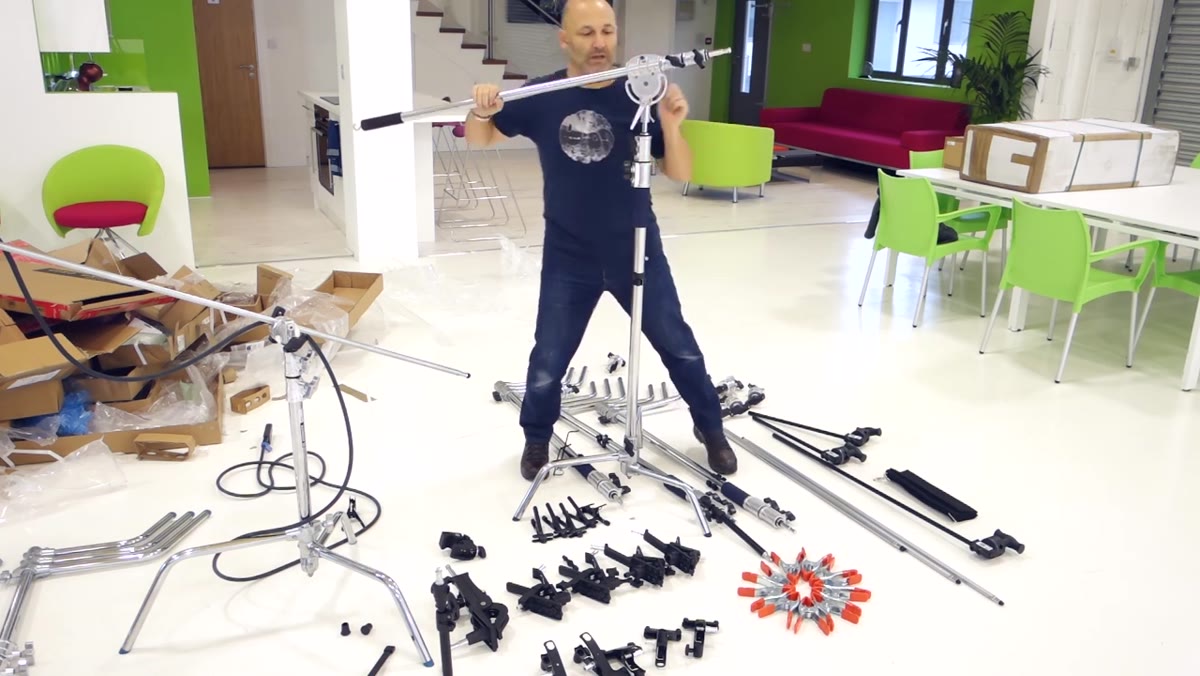 Mini boom arm locked into position on the c-stand column
This is the step that surprises photographers who have never worked with c-stands before. By positioning the gobo arm so it extends horizontally over the column, you create a short boom arm – enough reach to get a light directly over a subject’s head without the footprint or cost of a full giraffe boom. The presenter shows a studio strobe mounted on this configuration, with the arm extending out over the shooting position.
Mini boom arm locked into position on the c-stand column
This is the step that surprises photographers who have never worked with c-stands before. By positioning the gobo arm so it extends horizontally over the column, you create a short boom arm – enough reach to get a light directly over a subject’s head without the footprint or cost of a full giraffe boom. The presenter shows a studio strobe mounted on this configuration, with the arm extending out over the shooting position.
The critical detail here is the sandbag. Any time the arm extends out and the light shifts the center of gravity past the stand base, you need counterweight. The hook at the end of the gobo arm is specifically for hanging a sandbag on the short side. Skip this step and you are one cable pull away from a broken strobe and a damaged floor. I have seen it happen. I hang the sandbag first, before I even mount the light.
Step 5: Use Short Poles Between Two Low C-Stands as a Background Roll Holder
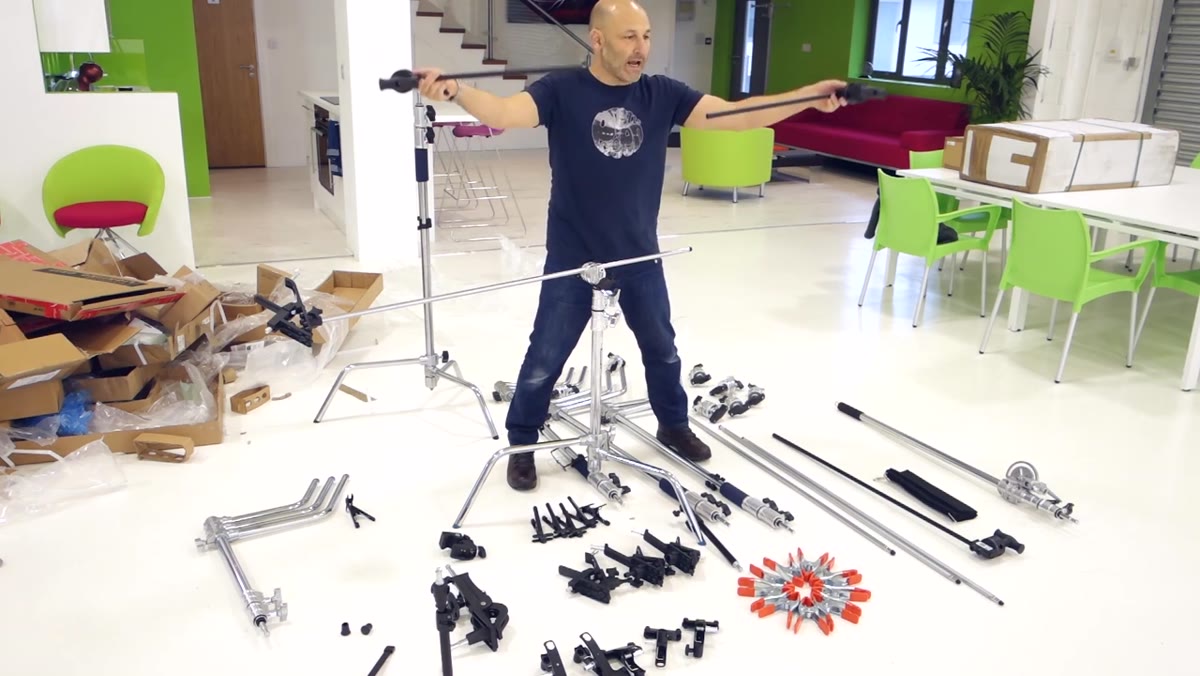 Short pole bridging two low c-stands to support a paper background roll
Background systems with dedicated wall mounts are ideal when you have a permanent studio. When you do not, or when you need a second background station in the same space, two low c-stands with a pole bridged between them holds a paper roll securely. The presenter walks through this configuration as a practical alternative rather than a workaround. At the weight of a standard paper roll, the c-stands handle it without any flex in the pole.
Short pole bridging two low c-stands to support a paper background roll
Background systems with dedicated wall mounts are ideal when you have a permanent studio. When you do not, or when you need a second background station in the same space, two low c-stands with a pole bridged between them holds a paper roll securely. The presenter walks through this configuration as a practical alternative rather than a workaround. At the weight of a standard paper roll, the c-stands handle it without any flex in the pole.
I use this setup when I am shooting with two different background colors on the same day. One roll stays on the wall-mounted system, and the second sits on the portable c-stand bridge. Switching between them takes about thirty seconds.
From My Own Kit: Buy More Than You Think You Need
The presenter mentions this almost as an aside – he had to reorder because a few large jobs left the studio short on c-stands. This is worth pausing on. The calculation most photographers make when building a studio is based on the size of their typical shoot. The problem is that atypical shoots happen, and they tend to be the bigger, better-paying jobs. I now keep a minimum of eight full c-stands and four low c-stands in my studio. On a single complex product shoot with multiple flag positions, multiple light angles, and a background rig, that number disappears fast.
Think of c-stands and grip hardware the way a restaurant thinks about plates. You do not own exactly as many as you need for one service. You own enough to handle a full house without improvising.
The single most important idea in this tutorial is that grip hardware is infrastructure, not accessory. Before you buy the next modifier or light, audit your stands and clamps. If you are improvising on set because you ran short, the new light is not going to fix that.
Watch the full tutorial on YouTube to see every configuration demonstrated on camera – the visual of how the boom arm balances and how the Foba clamps seat on the pole is worth seeing in motion.
Comments
Leave a Comment