Every time I walk into a new studio rental, I do the same thing: I look at the stands first. Not the lights, not the backdrops, not the camera mount on the ceiling. The stands. After years of commercial work, I’ve learned that the bones of a studio, the stuff that holds everything else up, determine how fast you can work and how much you can actually do in a given space. It’s not glamorous knowledge, but it’s the difference between a shoot that flows and one that fights you all day.
That’s why when I came across Watch the full tutorial on YouTube from Daniel Norton, it immediately resonated. Daniel is methodical about gear in a way that most photographers aren’t. He doesn’t just tell you what to buy. He tells you why each piece earns its place in the room, which is a much more useful frame when you’re building a studio from zero.
This tutorial is aimed at photographers moving from a portable kit into a dedicated or semi-dedicated shooting space. The assumptions Daniel makes are realistic: a relatively compact interior studio, no built-in infrastructure, and a workflow that uses either flash or constant lights that you’ll be repositioning throughout a shoot. That’s most of us. Here’s how to apply what he covers.
Step 1: Commit to C-Stands as Your Primary Light Mounting Solution
 C-stand with arm extended in studio environment
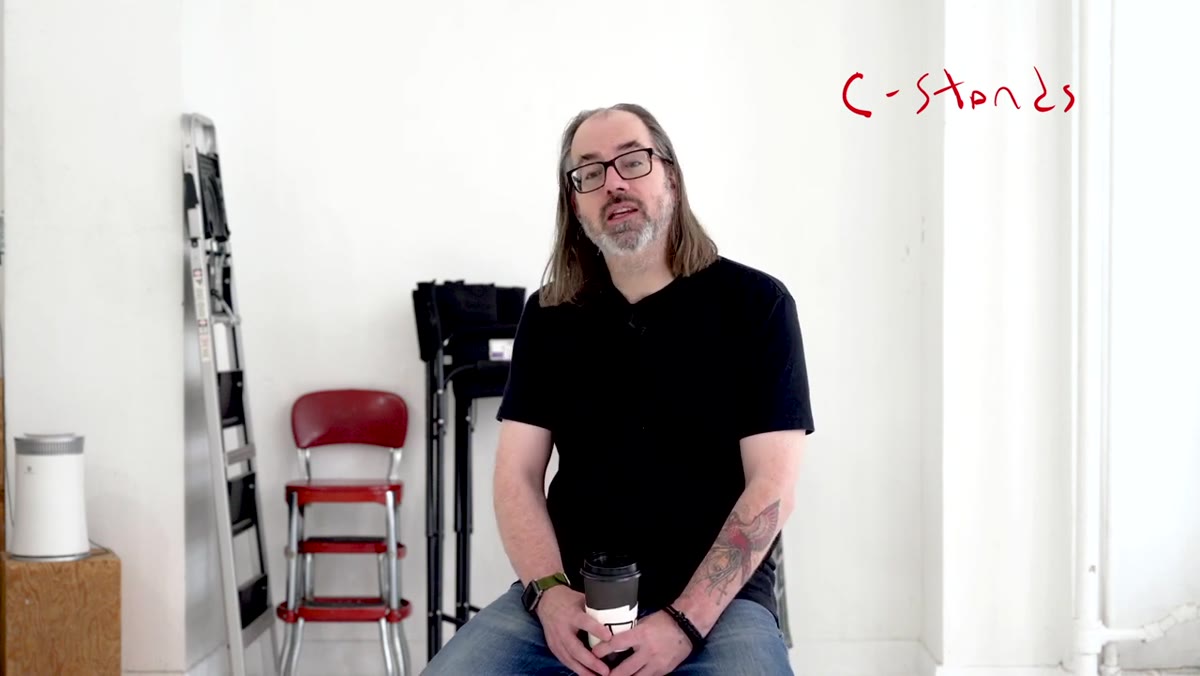
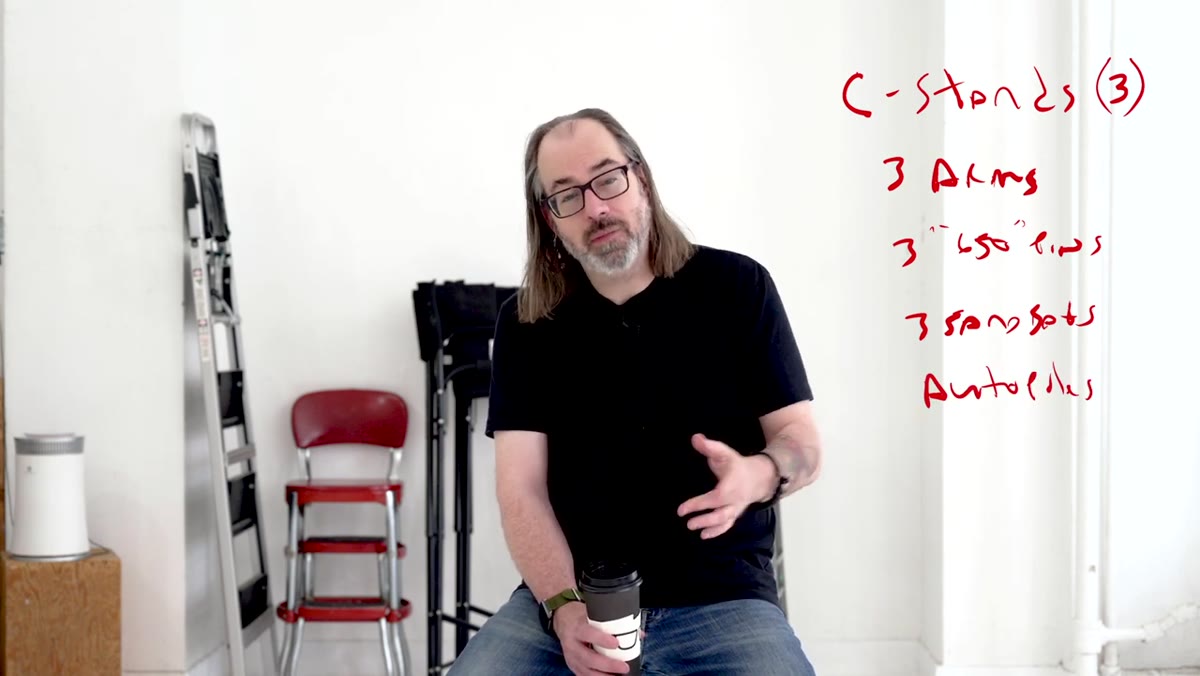
In a studio context, the light stand you used for location work probably isn’t going to cut it long-term. Daniel makes a strong case for C-stands, also called century stands, as the foundational mounting solution for any studio setup. The reason comes down to three things: footprint, stability, and versatility.
C-stand with arm extended in studio environment
In a studio context, the light stand you used for location work probably isn’t going to cut it long-term. Daniel makes a strong case for C-stands, also called century stands, as the foundational mounting solution for any studio setup. The reason comes down to three things: footprint, stability, and versatility.
C-stands have a small base relative to how much weight they can hold, which matters enormously in tight spaces. The legs nest, meaning you can position multiple stands close together without tripping over a forest of splayed tripod feet. And because C-stands are built to accept arms, they let you extend a light or modifier horizontally out from the pole, giving you positioning options that a basic light stand simply cannot offer.
Step 2: Always Pair Each C-Stand with an Arm and a 5/8-Inch Pin
 Close-up of C-stand arm and 5/8 pin attachment
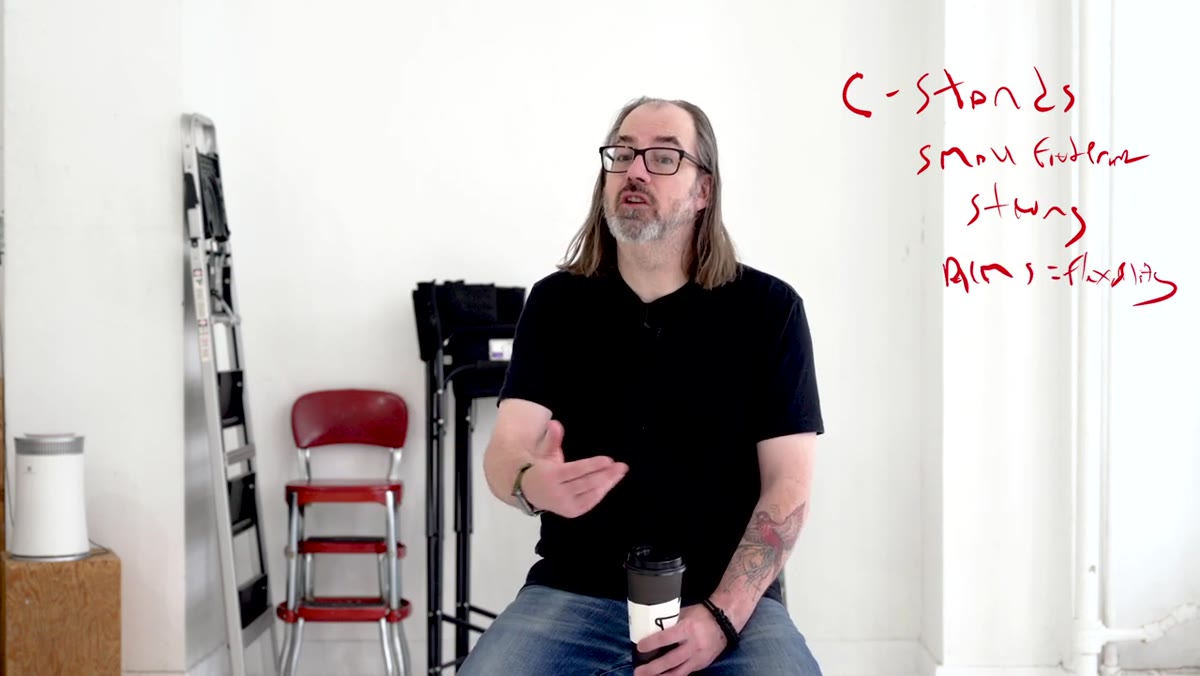
A C-stand without its arm is only doing half its job. The arm, sometimes called a gobo arm or grip arm, is what makes the C-stand genuinely flexible. It lets you cantilever a light over a subject, hold a reflector at an angle that no stand could reach on its own, or position a flag or diffusion panel exactly where you need it without another person holding it.
Close-up of C-stand arm and 5/8 pin attachment
A C-stand without its arm is only doing half its job. The arm, sometimes called a gobo arm or grip arm, is what makes the C-stand genuinely flexible. It lets you cantilever a light over a subject, hold a reflector at an angle that no stand could reach on its own, or position a flag or diffusion panel exactly where you need it without another person holding it.
The 5/8-inch pin is the standard fitting that connects your light or modifier to the arm. When you’re buying or renting gear, confirm this spec matches your lights and accessories. Most professional studio gear is built around this fitting, but it’s worth verifying before you’re standing in the studio on shoot day holding something that doesn’t connect to anything.
Step 3: Sandbag Every Stand, Without Exception
 Sandbag weighted on C-stand base
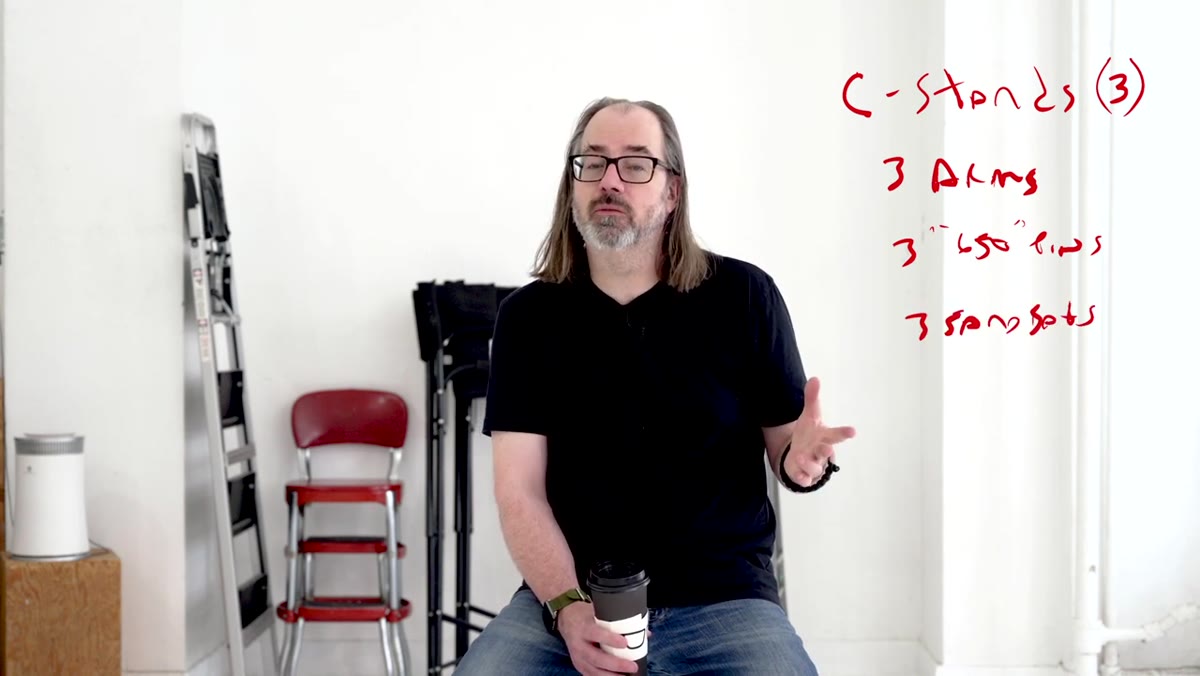
Daniel is casual about mentioning sandbags, but I want to be more direct about it: this is non-negotiable. Every stand that holds a light, a reflector, or anything else with weight gets a sandbag on its base. Full stop.
Sandbag weighted on C-stand base
Daniel is casual about mentioning sandbags, but I want to be more direct about it: this is non-negotiable. Every stand that holds a light, a reflector, or anything else with weight gets a sandbag on its base. Full stop.
A C-stand is more stable than a basic light stand, but it is not immune to being kicked, bumped, or caught by a trailing cable. A sandbag draped over the lowest leg brings the center of gravity down and dramatically reduces the chance of a tip-over. The cost of a sandbag is trivial compared to the cost of a broken strobe, a damaged modifier, or a client standing in the wrong place at the wrong moment. I label mine with masking tape so I always know which stand they came off of at wrap.
Step 4: Use Autopoles and a Crossbar for Your Background System
 Autopole extended floor to ceiling against wall
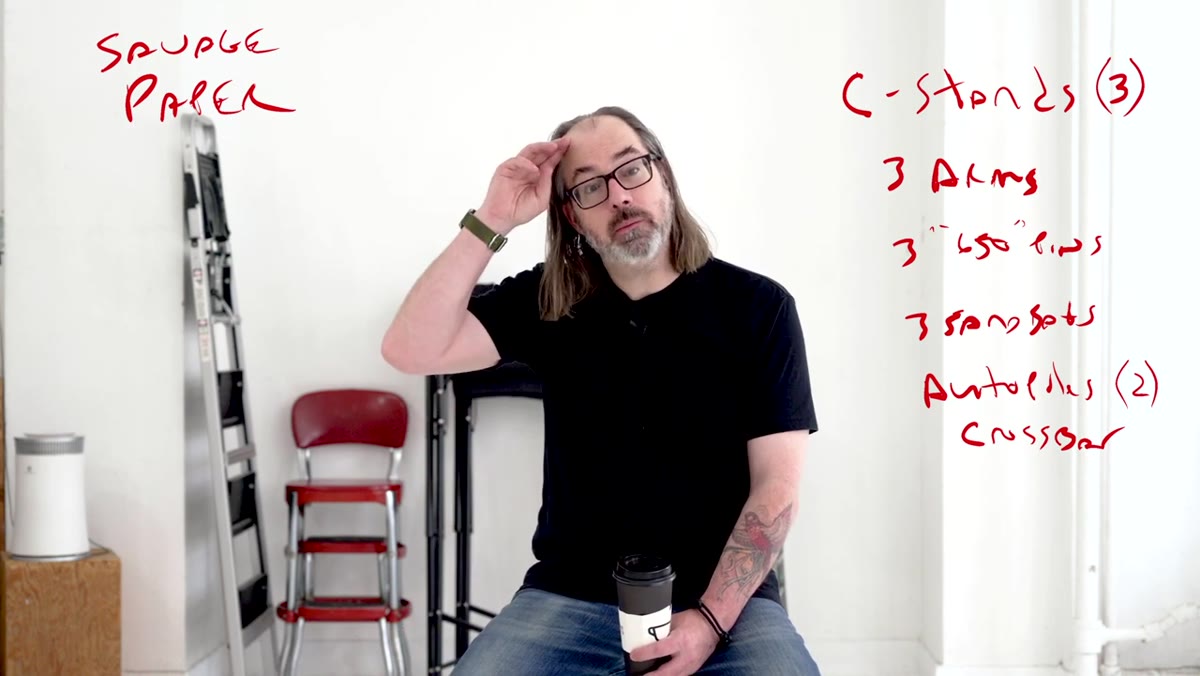
For background hanging, Daniel recommends autopoles, which are spring-loaded poles that extend from floor to ceiling using tension. You position one on each side of your backdrop, connect a crossbar between them, and hang your paper or fabric from there. The advantage over a traditional background stand is that autopoles sit flat against the wall, which keeps your studio floor clear and lets you push your background stand as close to the wall as physically possible.
Autopole extended floor to ceiling against wall
For background hanging, Daniel recommends autopoles, which are spring-loaded poles that extend from floor to ceiling using tension. You position one on each side of your backdrop, connect a crossbar between them, and hang your paper or fabric from there. The advantage over a traditional background stand is that autopoles sit flat against the wall, which keeps your studio floor clear and lets you push your background stand as close to the wall as physically possible.
The crossbar itself can be as simple as a wooden dowel from a hardware store, though purpose-built crossbars are available if you prefer something with standardized fittings. The key measurement to get right is the crossbar width: it needs to be at least as wide as your widest background roll, with a few extra inches on each side for secure seating.
Step 5: Start with Seamless Paper for Backgrounds
 Roll of seamless paper hung on crossbar in studio
When clients or students ask me what background material I recommend for a starting studio, my answer is the same as Daniel’s: seamless paper. Not fabric, not vinyl, not a collapsible muslin. Paper.
Roll of seamless paper hung on crossbar in studio
When clients or students ask me what background material I recommend for a starting studio, my answer is the same as Daniel’s: seamless paper. Not fabric, not vinyl, not a collapsible muslin. Paper.
Seamless paper is inexpensive relative to other backdrop options, easy to replace when it gets scuffed or footprinted, and available in a wide range of colors from multiple manufacturers. It behaves predictably under light, which matters when you’re trying to control your background exposure separately from your subject. For most commercial and editorial work, white, black, and a mid-gray will cover the vast majority of what you’ll actually be asked to produce. Buy full-width rolls, which are typically 107 inches, so you have enough coverage for full-length shots without running into the edges of the frame.
What I’d Add After Years of Working with This Setup
Three C-stands is the right starting number, but I’d push slightly harder on one specific addition: a fourth stand kept bare, no arm attached, designated specifically for holding cards and reflectors. When you’re working a key light and a fill, your C-stands with arms will be occupied. Having a dedicated stand for a foam core card prevents the situation where you’re trying to MacGyver a reflector position with your last piece of available grip equipment. I keep a strip of masking tape on mine that says “CARD ONLY” so no one on set repurposes it mid-shoot.
I’d also note that the autopole-and-crossbar system Daniel describes works best when your ceiling height is consistent. If you’re shooting in a space with irregular ceiling heights or exposed beams, measure before you buy. Autopoles come in different maximum extension lengths, and buying the wrong size for your ceiling is an avoidable mistake.
The single most important idea in this tutorial is one Daniel states plainly but that deserves emphasis: your support equipment shapes what your lighting can actually do. A great strobe held by an inadequate stand is a liability. Build the infrastructure first, and the creative decisions become easier. Watch the full tutorial on YouTube to hear Daniel walk through his own studio setup and reasoning in his own words.
Comments (1)
I keep coming back to this article. It's that useful.
Leave a Comment