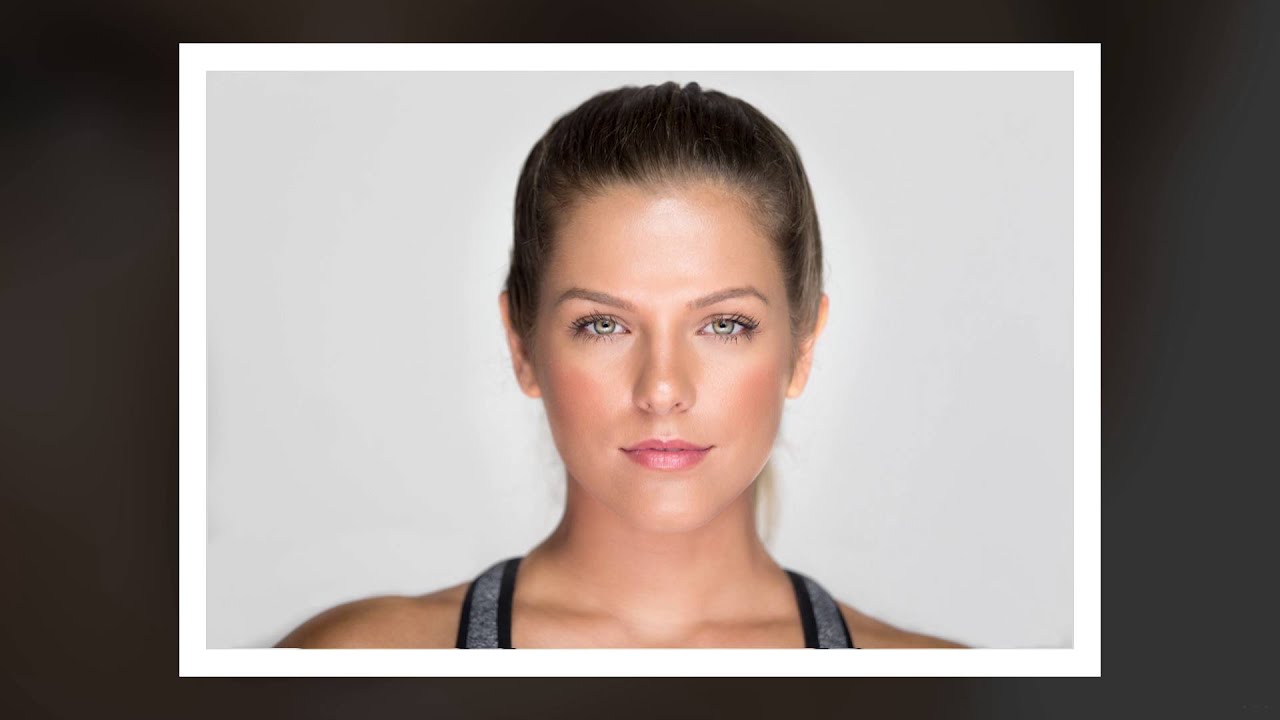
Most of the lighting problems I see photographers struggle with in the studio come down to one thing: overcomplicating the setup before they understand what a single, well-placed light actually does. I’ve been guilty of this myself. Early in my career I’d show up to a beauty shoot with four lights rigged before my subject even walked in, and half of them were fighting each other. The sessions that taught me the most were the stripped-down ones, the ones where I was forced to work with less and pay attention to what the light was actually doing to the face in front of me.
That’s why this tutorial landed so well for me. In this Scott Kelby tutorial on soft portrait lighting using the Westcott TD-6 continuous lights, he walks through a two-light clamshell setup that is genuinely beginner-friendly without being dumbed down. It’s the kind of thing I sketch into my lighting journal after watching, because the logic is clean and the results hold up in real client work. Watch the full tutorial on YouTube and then follow along with my breakdown below.
Step 1: Position Your Main Light Directly in Front of the Subject
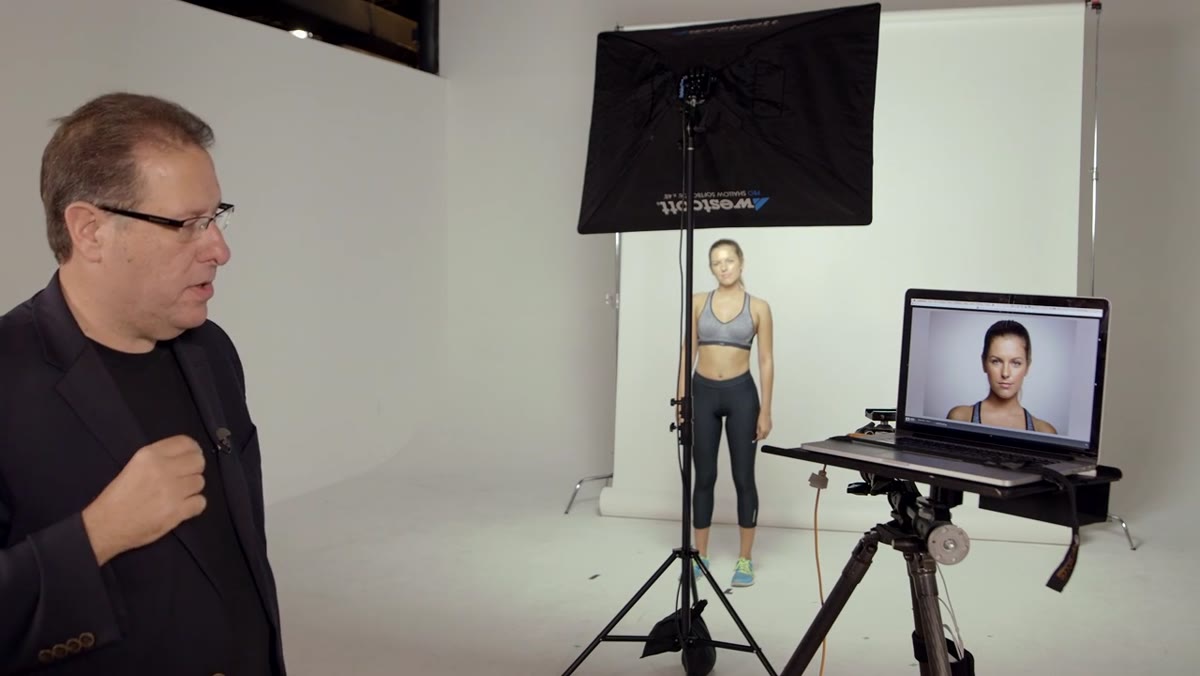
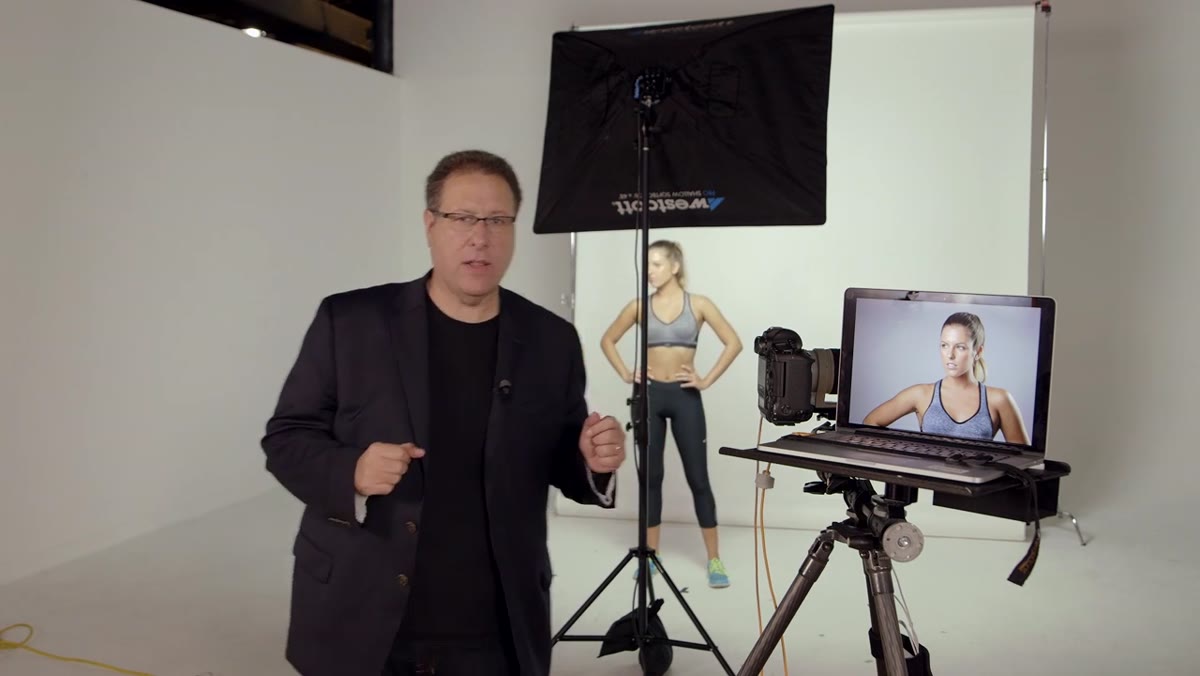 Large softbox positioned directly in front of subject
Start with your large softbox placed directly in front of your subject, not off to the side, not angled at 45 degrees. Straight on. This is what gives you that clean, even, contemporary flat-light look that works so well for beauty and headshot work. Kelby uses the Westcott TD-6 here, which is a continuous LED panel, but this principle applies equally to a strobe with a large softbox.
Large softbox positioned directly in front of subject
Start with your large softbox placed directly in front of your subject, not off to the side, not angled at 45 degrees. Straight on. This is what gives you that clean, even, contemporary flat-light look that works so well for beauty and headshot work. Kelby uses the Westcott TD-6 here, which is a continuous LED panel, but this principle applies equally to a strobe with a large softbox.
The key is that the light source needs to be large relative to your subject’s face. A bigger apparent light source equals softer shadows. If you’re using a smaller modifier, move it closer to compensate.
Step 2: Rotate the Softbox to a Horizontal (Wide) Orientation
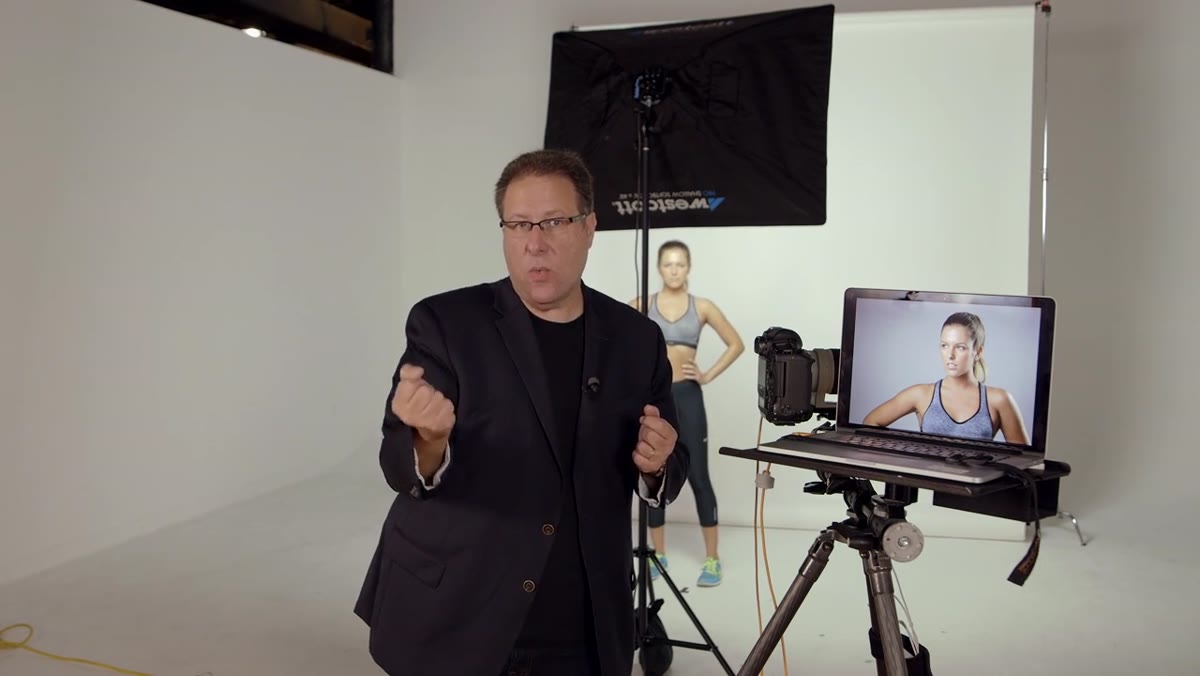 Softbox being rotated from vertical to horizontal orientation
Most softboxes ship in a vertical orientation and stay that way because photographers never think to change it. Kelby makes a point of loosening the rotation knob on the back of the softbox and turning it horizontal. This matters for shooting through the gap between the light and the stand when you’re positioned directly behind the modifier.
Softbox being rotated from vertical to horizontal orientation
Most softboxes ship in a vertical orientation and stay that way because photographers never think to change it. Kelby makes a point of loosening the rotation knob on the back of the softbox and turning it horizontal. This matters for shooting through the gap between the light and the stand when you’re positioned directly behind the modifier.
In my studio I label the orientation settings on my stands with masking tape so I don’t have to think about it during a shoot. For this setup, wide orientation is what lets you position the light high enough to shoot underneath it comfortably while still covering the subject’s full face with even light.
Step 3: Raise the Light High Enough to Shoot Underneath It
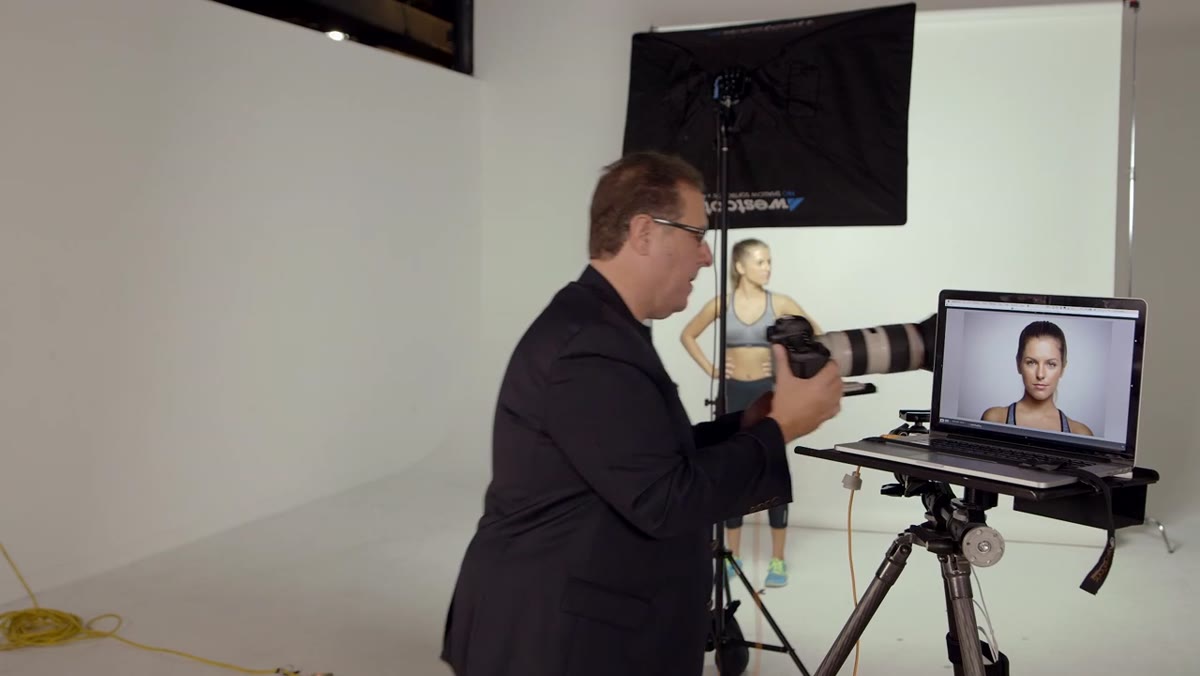
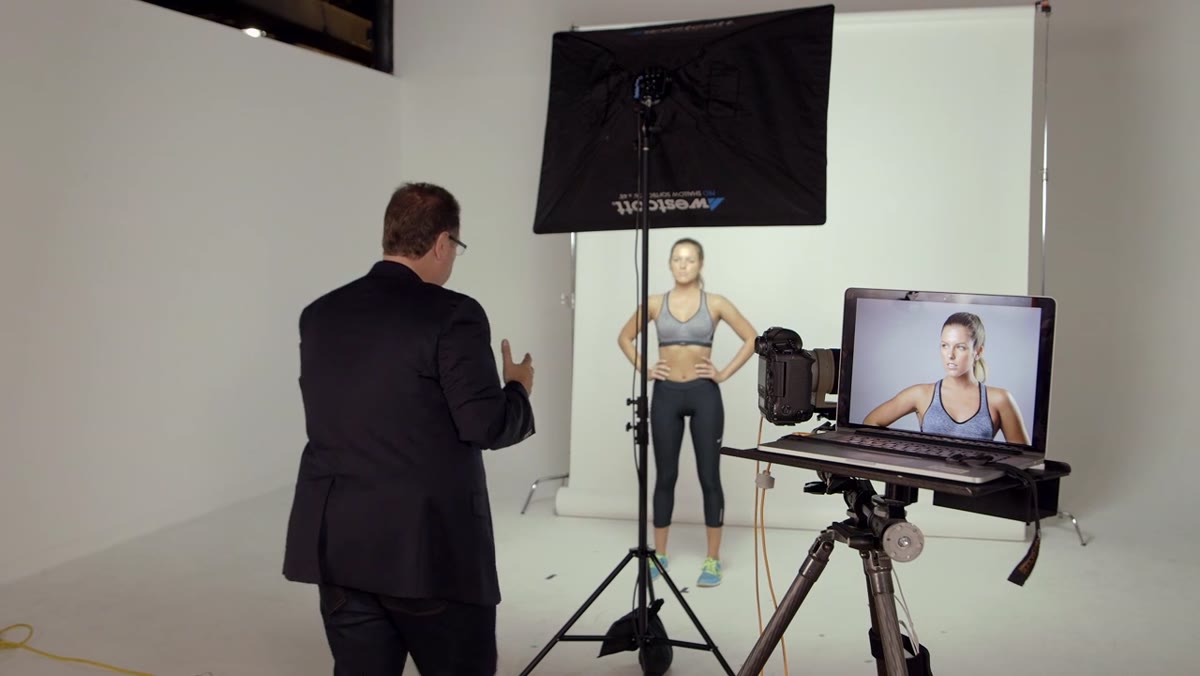 Photographer standing beneath raised softbox, shooting through gap
Once the softbox is horizontal, raise it on the stand until you can stand comfortably behind it and shoot through the open space between the bottom edge of the modifier and the stand itself. You want the light angled slightly downward toward your subject’s face, which is the natural position when it’s elevated.
Photographer standing beneath raised softbox, shooting through gap
Once the softbox is horizontal, raise it on the stand until you can stand comfortably behind it and shoot through the open space between the bottom edge of the modifier and the stand itself. You want the light angled slightly downward toward your subject’s face, which is the natural position when it’s elevated.
This elevation also gives you a small but useful shadow under the chin and nose, which adds a bit of dimension even in a flat-light setup. Kelby shoots at f/2.8 here, which throws the background and even the subject’s ponytail slightly out of focus, reinforcing that shallow, polished look. If you’re on a zoom, don’t try to replicate this at the wide end. Use at least 85mm equivalent to compress the background and avoid unflattering facial distortion.
Step 4: Evaluate the Shadows Before Adding a Second Light
 Close-up of subject’s face showing chin and under-eye shadows
Before you reach for your second light, take a shot and look at it critically. With a single light above and in front, you’ll notice shadows collecting under the chin and potentially under the eyes depending on how high your light is. This is not a failure of the setup. It’s useful information that tells you exactly how much fill you need.
Close-up of subject’s face showing chin and under-eye shadows
Before you reach for your second light, take a shot and look at it critically. With a single light above and in front, you’ll notice shadows collecting under the chin and potentially under the eyes depending on how high your light is. This is not a failure of the setup. It’s useful information that tells you exactly how much fill you need.
I always shoot a reference frame at this point and save it. It’s the clearest way to understand what each additional light is contributing. Kelby does the same thing here, and it shows you the honest before state before the clamshell closes.
Step 5: Add a Strip Bank Below as Your Fill Light
 Strip bank being positioned low and in front of subject
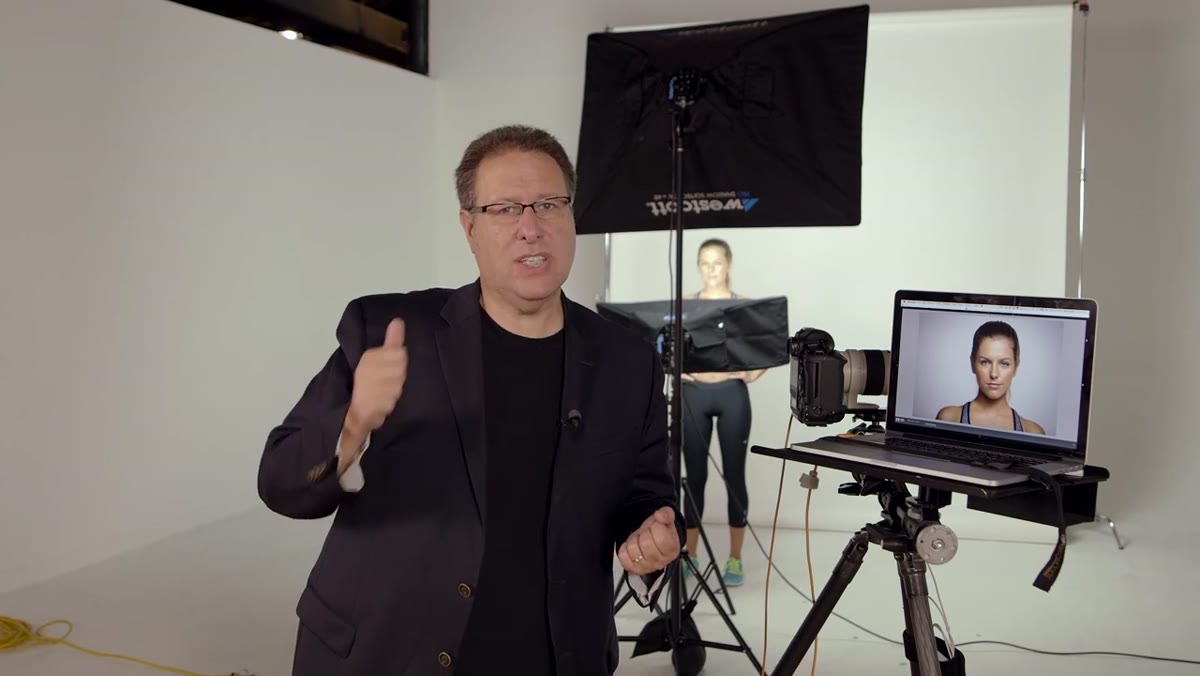
The second light, a strip bank, goes in front of and below the subject, angled upward toward the face. This is the bottom jaw of the clamshell. The strip bank is taller than it is wide, which makes it easier to slide in close without taking up the full horizontal space in front of your subject.
Strip bank being positioned low and in front of subject
The second light, a strip bank, goes in front of and below the subject, angled upward toward the face. This is the bottom jaw of the clamshell. The strip bank is taller than it is wide, which makes it easier to slide in close without taking up the full horizontal space in front of your subject.
Position it as close to the subject as you can while still keeping it out of frame. The goal is to bounce light upward into the shadows the main light is creating, particularly under the chin and eye sockets. You’re not trying to create a second light source. You’re trying to neutralize the shadows from the first one.
Step 6: Dial the Fill Light Down to Prevent Underlighting
 Fill light power switched to one of three settings
This is the step most photographers miss. If you run both lights at equal power, the fill from below can actually overpower the main light in certain shadow areas, which creates that horror-movie underlighting effect. Kelby runs the main light at full power with all three switches on, and drops the fill light down to just one of three power settings.
Fill light power switched to one of three settings
This is the step most photographers miss. If you run both lights at equal power, the fill from below can actually overpower the main light in certain shadow areas, which creates that horror-movie underlighting effect. Kelby runs the main light at full power with all three switches on, and drops the fill light down to just one of three power settings.
The ratio you’re aiming for is one where the fill is clearly subordinate to the main light. As a general rule, I target roughly a 3:1 or 4:1 ratio between main and fill when I want a clean, commercial beauty look. Measure it if you’re using strobes with a meter. With continuous lights and a live view display, you can judge it visually and adjust in real time, which is one of the genuine advantages of working with continuous sources.
Step 7: Tilt the Fill Light for Better Coverage and Angle
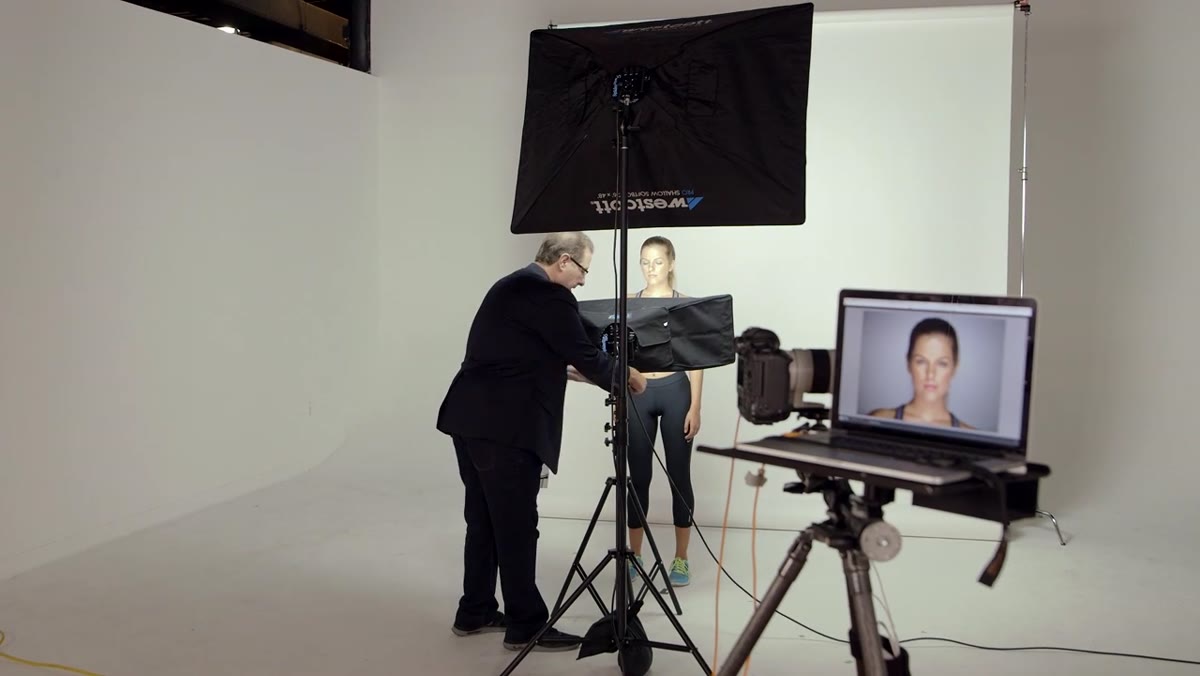 Fill light being tilted upward toward subject’s face
Once the power ratio is dialed in, fine-tune the angle of the fill light by tilting it upward slightly. Even a small tilt change affects how light wraps under the jaw and into the neck area. Kelby tilts the strip bank up more than he initially expected to, and the result is a cleaner fill with better coverage on the lower half of the face.
Fill light being tilted upward toward subject’s face
Once the power ratio is dialed in, fine-tune the angle of the fill light by tilting it upward slightly. Even a small tilt change affects how light wraps under the jaw and into the neck area. Kelby tilts the strip bank up more than he initially expected to, and the result is a cleaner fill with better coverage on the lower half of the face.
After this adjustment, the final shot shows virtually no visible shadows under the chin. The skin reads as smooth and evenly lit from forehead to collarbone. That’s the clamshell doing exactly what it’s supposed to do.
What I’d Add from My Own Experience
The clamshell is one of the setups I reach for most often in beauty and headshot work, and the biggest mistake I see photographers make when trying it for the first time is placing the bottom light too low. If the fill light is at waist height or below, it’s working at too steep an angle to actually fill the under-chin shadow. It ends up hitting the chest and lower neck instead of the face. Get that bottom light up as high as the stand allows, often right around chin height or slightly below, and angle it up from there.
One other note: with continuous lights specifically, give your eyes a few minutes to adjust before evaluating the shot on the back of the camera. The warm color of LED panels can fool your perception of shadow depth when you’re looking directly at the scene. The camera doesn’t lie. Check the histogram and trust the image.
The single most important idea in this whole setup is that the bottom light is a fill, not a second main light. Keep it subordinate, keep it close, and keep it aimed at the shadows. Everything else follows from that. Watch the full tutorial on YouTube to see Kelby walk through it in real time with a live subject.
Comments
Leave a Comment