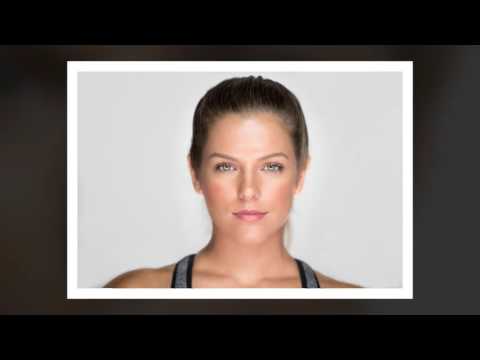
Client headshots are where I lose photographers the most. They overcomplicate the setup, add modifiers they don’t fully understand, and end up with light that looks busy and unflattering. The fix is almost always simpler than they expect. I keep a lighting journal where I sketch every setup from every shoot, and the one I drew after watching this tutorial went straight to the front of the “reach for this first” section.
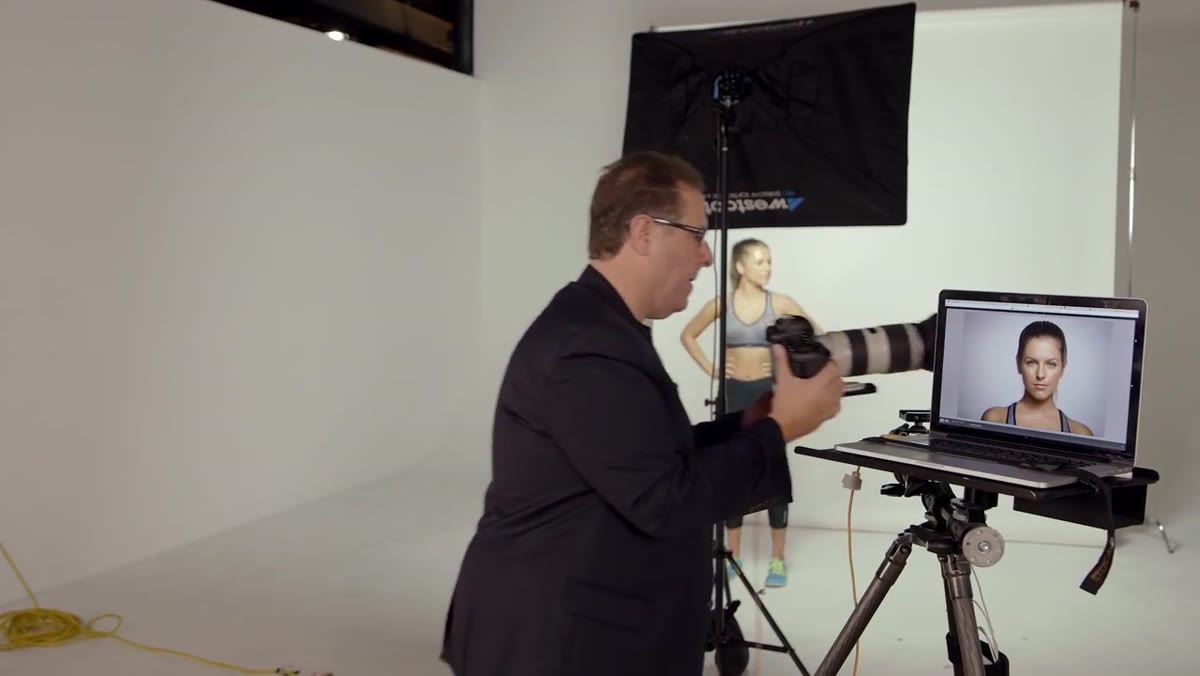
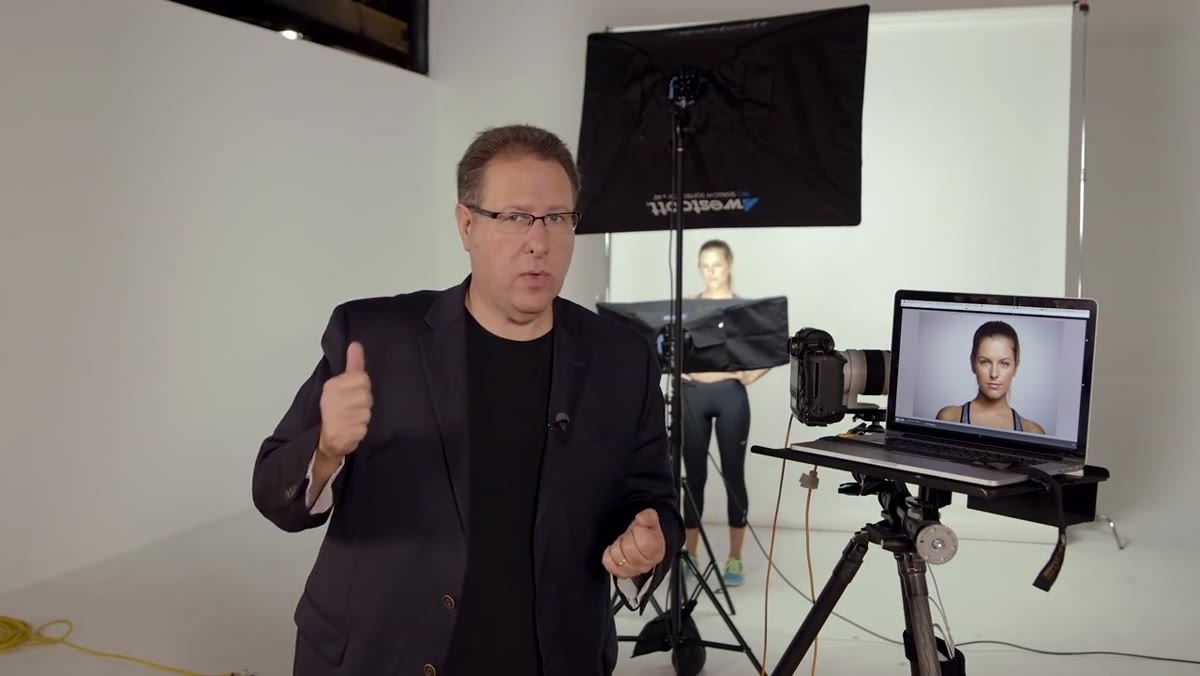
In this KelbyOne tutorial on soft portrait lighting with the Westcott TD6 continuous LED panels, instructor Scott Kelby walks through a two-light clamshell setup that produces clean, contemporary headshots with minimal fuss. Watch the full tutorial on YouTube before or after reading this breakdown. What I want to do here is pull the technique apart so you can apply it in your own studio without guessing at the details.
What makes this setup worth your attention is the use of continuous LED panels instead of strobes. I’ve been shooting editorial and beauty work long enough to remember when continuous lighting meant hot tungsten heads and sweating subjects. Modern LED panels like the TD6 change the equation entirely. You see exactly what you’re getting before you fire a single frame, which makes learning light placement far more intuitive.
Step 1: Orient Your Main Light Horizontally and Position It High
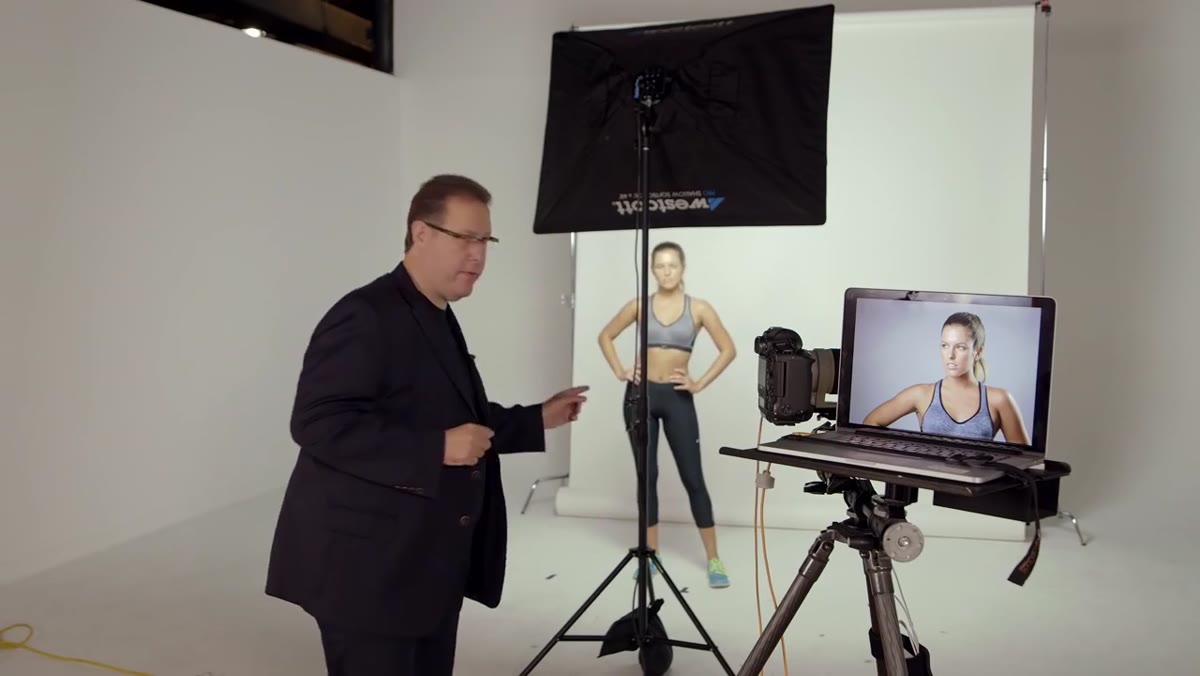 Large softbox rotated horizontal above subject’s eyeline
The main light here is a large, shallow softbox. Most shallow softboxes ship in a vertical orientation, but the TD6 stand has a rotating knob on the back that lets you flip the modifier from tall to wide. Loosen the knob, rotate the panel, and re-tighten. This wider horizontal orientation gives you a broad, even spread of light across the subject’s face and shoulders, which is exactly what a clean headshot needs.
Large softbox rotated horizontal above subject’s eyeline
The main light here is a large, shallow softbox. Most shallow softboxes ship in a vertical orientation, but the TD6 stand has a rotating knob on the back that lets you flip the modifier from tall to wide. Loosen the knob, rotate the panel, and re-tighten. This wider horizontal orientation gives you a broad, even spread of light across the subject’s face and shoulders, which is exactly what a clean headshot needs.
Position the light high enough that you can stand in front of the subject and shoot underneath it. The light source should be angled slightly downward toward the subject’s face. This is your main light, your key, and it does the heavy lifting for the entire setup.
Step 2: Offset the Light Stand to Clear Your Shooting Lane
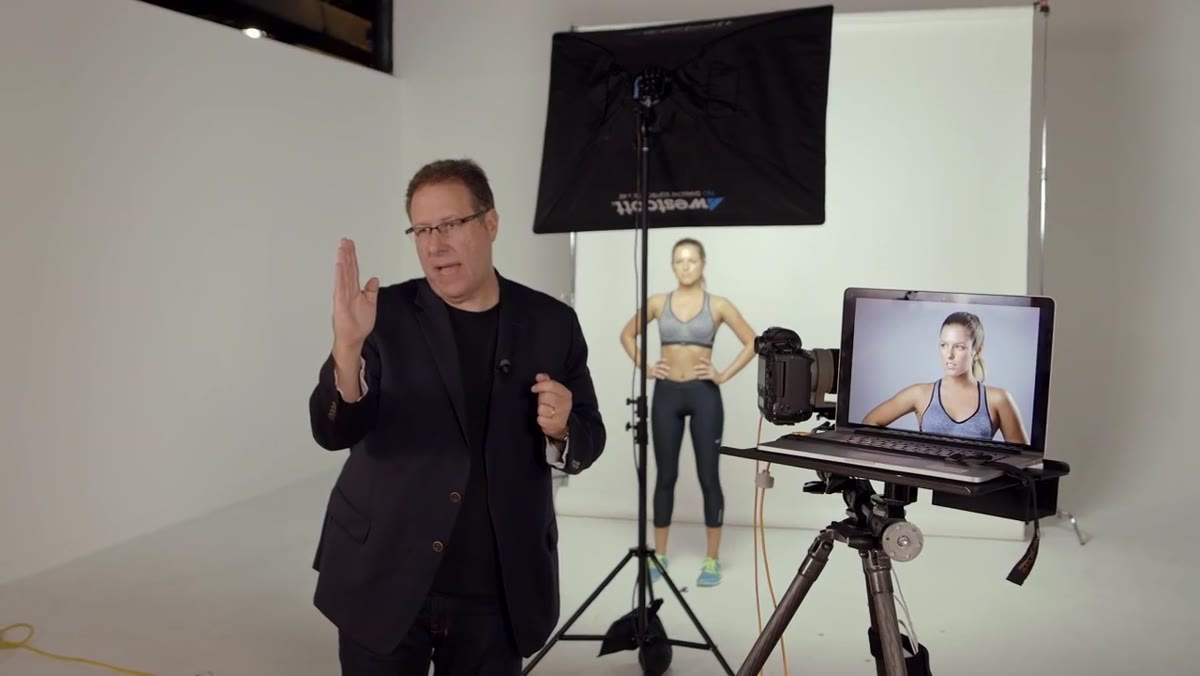 Light stand shifted slightly to one side of center
Here is a practical detail that gets skipped in a lot of tutorials. When you center a light on a stand directly in front of your subject, the vertical pole of the stand ends up sitting right in the middle of your frame. Shift the entire stand a few inches to one side. This clears the pole from your sightline without meaningfully changing the quality or direction of the light on the subject’s face.
Light stand shifted slightly to one side of center
Here is a practical detail that gets skipped in a lot of tutorials. When you center a light on a stand directly in front of your subject, the vertical pole of the stand ends up sitting right in the middle of your frame. Shift the entire stand a few inches to one side. This clears the pole from your sightline without meaningfully changing the quality or direction of the light on the subject’s face.
It sounds like a small thing, but I’ve seen photographers either crop awkwardly or clone out a stand in post for an entire shoot because they never made this adjustment. Move the stand, not the light head.
Step 3: Shoot a Test Frame and Evaluate the Shadow Under the Chin
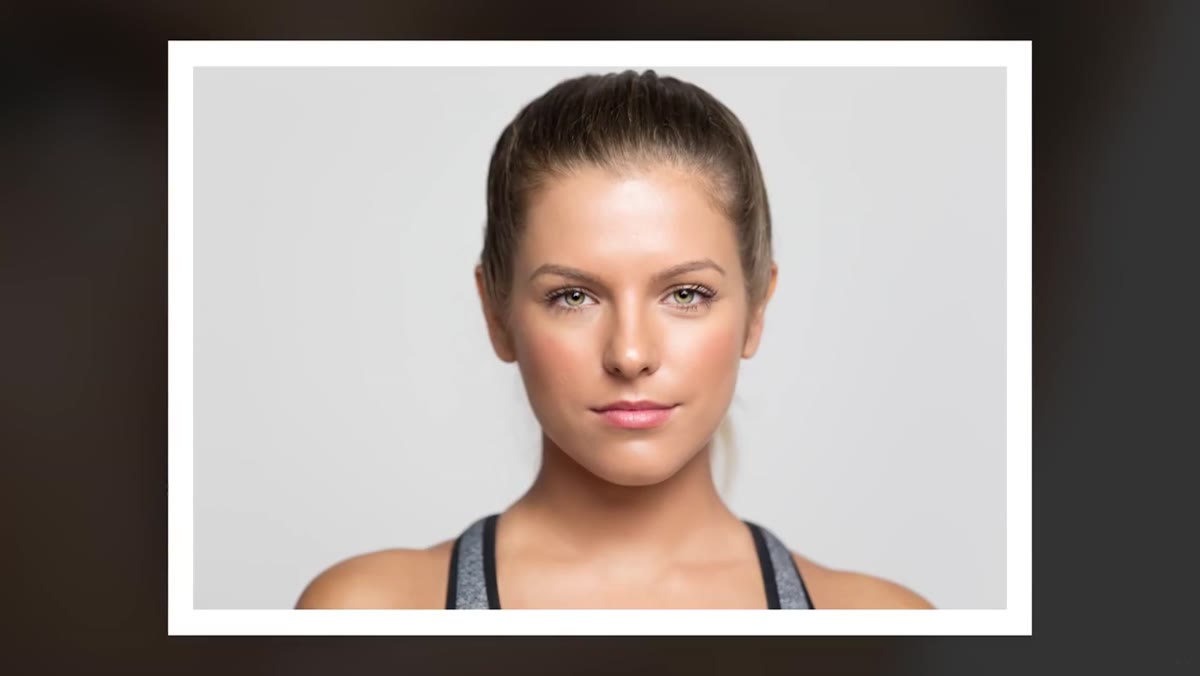 Single-light headshot showing chin shadow on subject
With just the one main light running, fire a test frame and look at the shadow falling under the chin and into the neck. With a single overhead source, you will almost always see a shadow pool there, sometimes quite deep depending on the subject’s bone structure. This is not a failure of the setup. It is information.
Single-light headshot showing chin shadow on subject
With just the one main light running, fire a test frame and look at the shadow falling under the chin and into the neck. With a single overhead source, you will almost always see a shadow pool there, sometimes quite deep depending on the subject’s bone structure. This is not a failure of the setup. It is information.
The single-light version of this setup already produces what Kelby calls a “contemporary flat look,” and for certain clients and contexts that is a perfectly acceptable result. Evaluate whether the shadow bothers you before you add a second light. Some commercial briefs actually want that subtle dimensionality.
Step 4: Add a Strip Bank Below as a Fill Light
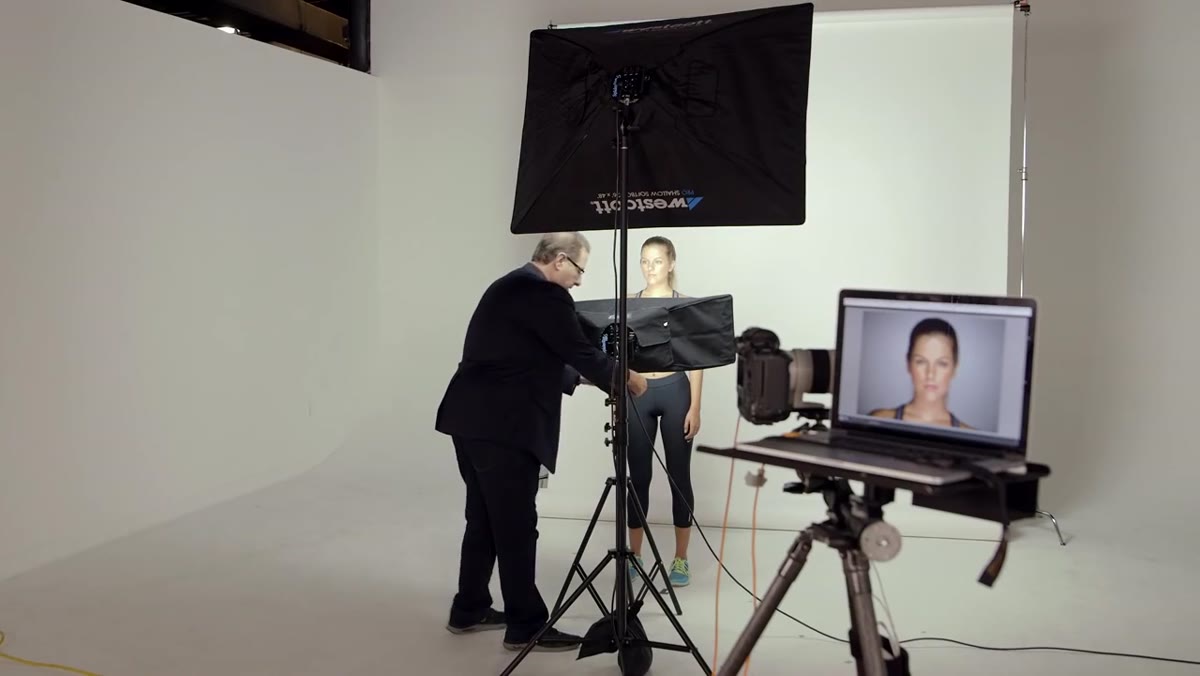
 Strip bank positioned low and in front of subject
If you want to eliminate the chin and neck shadows, bring in a second, smaller modifier, in this case a strip bank, and position it low, roughly at chest height, aimed upward toward the subject’s face. This is the bottom half of the clamshell. You are now sandwiching the subject between two light sources, one above and one below, and shooting in the gap between them.
Strip bank positioned low and in front of subject
If you want to eliminate the chin and neck shadows, bring in a second, smaller modifier, in this case a strip bank, and position it low, roughly at chest height, aimed upward toward the subject’s face. This is the bottom half of the clamshell. You are now sandwiching the subject between two light sources, one above and one below, and shooting in the gap between them.
The key word here is fill, not main. The strip bank is not trying to light the subject. It is trying to soften what the main light creates. Keep that role clear as you set it up.
Step 5: Power Down the Fill Light Significantly
 Fill light set to one switch, main light at full power
This is the step where most people wreck a clamshell setup. The TD6 has three power switches per panel. Run the main light at full power, all three switches on. Run the fill at roughly one-third power, just one switch. The exact ratio matters less than the principle: the fill must be noticeably dimmer than the main.
Fill light set to one switch, main light at full power
This is the step where most people wreck a clamshell setup. The TD6 has three power switches per panel. Run the main light at full power, all three switches on. Run the fill at roughly one-third power, just one switch. The exact ratio matters less than the principle: the fill must be noticeably dimmer than the main.
When the bottom light matches or exceeds the top, you get underlighting. It reads as unnatural, even sinister, because we are wired to expect light from above. A three-to-one ratio between main and fill keeps the light looking logical while still opening up the shadows cleanly. Kelby’s test frame after this adjustment shows shadows under the eyes and neck essentially gone.
Step 6: Tilt the Fill Light Upward and Refine
 Fill light tilted upward toward subject’s face
Once the strip bank is powered and roughly positioned, tilt the head upward slightly so it is more directly aimed at the underside of the chin and cheekbones. The stand height may be at its minimum, so use the tilt adjustment to direct the light rather than fighting to lower the stand further.
Fill light tilted upward toward subject’s face
Once the strip bank is powered and roughly positioned, tilt the head upward slightly so it is more directly aimed at the underside of the chin and cheekbones. The stand height may be at its minimum, so use the tilt adjustment to direct the light rather than fighting to lower the stand further.
Take another test frame after each adjustment. With continuous lights you can preview the effect live, but a photo shows you color, exposure, and shadow depth in a way that visual evaluation in the room does not. Shoot, look, adjust, repeat.
What I’d Add From My Own Work
The setup Kelby demonstrates is optimized for beauty and corporate headshots, and it delivers on both. Where I’d push it further is background separation. When you’re shooting at f/2.8 with a continuous LED setup, the shallow depth of field already does significant work, as the tutorial shows with the subject’s ponytail going soft behind her. But if your subject has dark hair against a dark background, consider flagging the fill light so none of its output spills onto the background. A small piece of black foam core clipped to the strip bank is enough. It keeps the background from going flat and gives the portrait a bit more visual depth without touching the lighting ratio at all.
One more thing worth saying: this setup works for video just as well as stills. The continuous LED panels mean no sync speed, no flash duration concerns, no separate video light kit. If you’re a photographer starting to shoot video for clients, this two-light clamshell is a legitimate starting point for talking-head interviews too.
The single most important thing this tutorial demonstrates is that soft, professional portrait light does not require complexity. Two modifiers, one ratio adjustment, and a cleared shooting lane are enough to produce headshots that would hold up in any commercial context. The discipline is in resisting the urge to add more. Watch the full tutorial on YouTube and sketch the diagram before you try it. You’ll set it up faster the first time and faster still every time after that.
Comments (2)
Tried this technique this morning. Game changer for real.
I've watched a dozen tutorials on this and yours is the clearest by far.
Leave a Comment