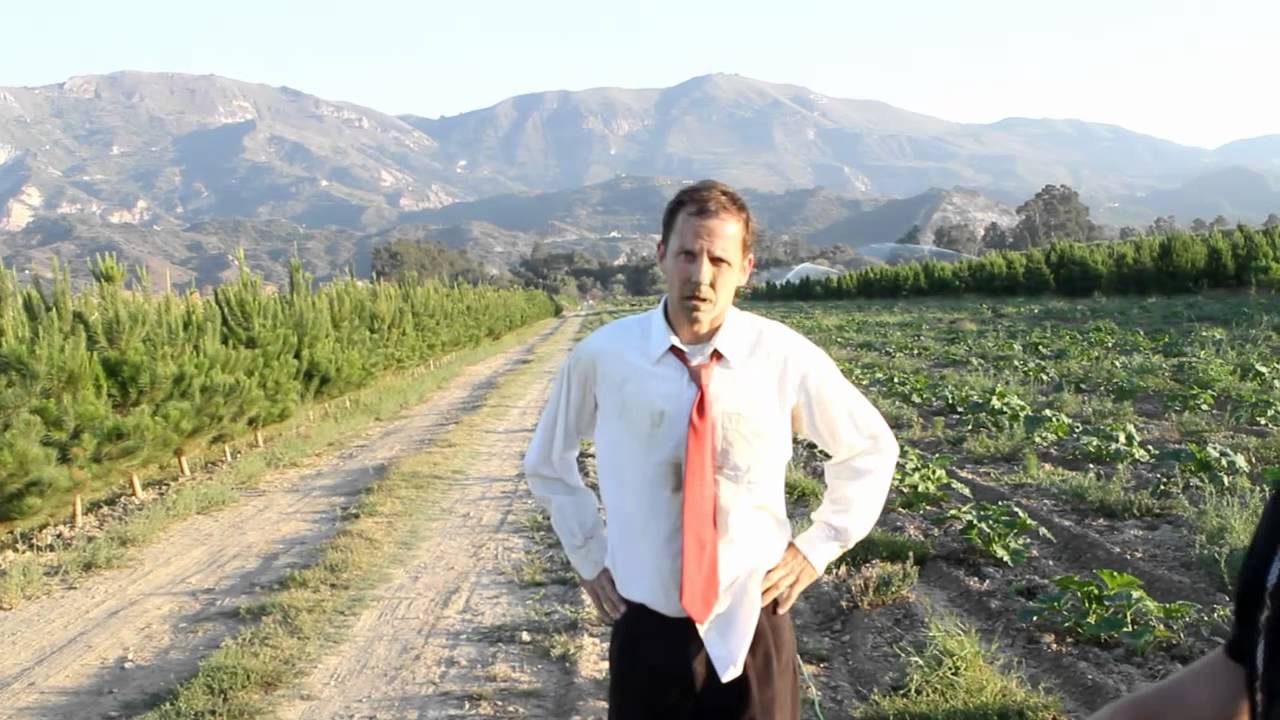
Most of my work happens inside four walls with a ceiling grid I’ve mapped so many times I can place a light from memory. Cranes aren’t part of my daily studio vocabulary. But every few years a client asks for something cinematic — a brand film, a pitch piece, a behind-the-scenes reel — and suddenly I’m standing outside wondering how to make a moving camera look intentional rather than accidental. That gap between studio control and location storytelling is exactly why I keep coming back to tutorials that show real production decisions on real shoots.
In this The Slanted Lens tutorial, Watch the full tutorial on YouTube, Jay P. Morgan takes you through a behind-the-scenes look at a pitch reel for a TV pilot. Two locations, two completely different lighting problems, and a Kessler crane doing work that would take a full dolly track setup to replicate otherwise. What I found valuable wasn’t just the crane mechanics – it was watching someone think through lighting in motion, where the frame is constantly changing and you can’t just walk over and tweak a softbox between takes.
The lighting decisions here are practical and repeatable. I sketched both setups into my lighting journal the same night I watched it, which is usually my signal that something actually taught me something.
Step 1: Understand the Three Reasons to Use a Crane
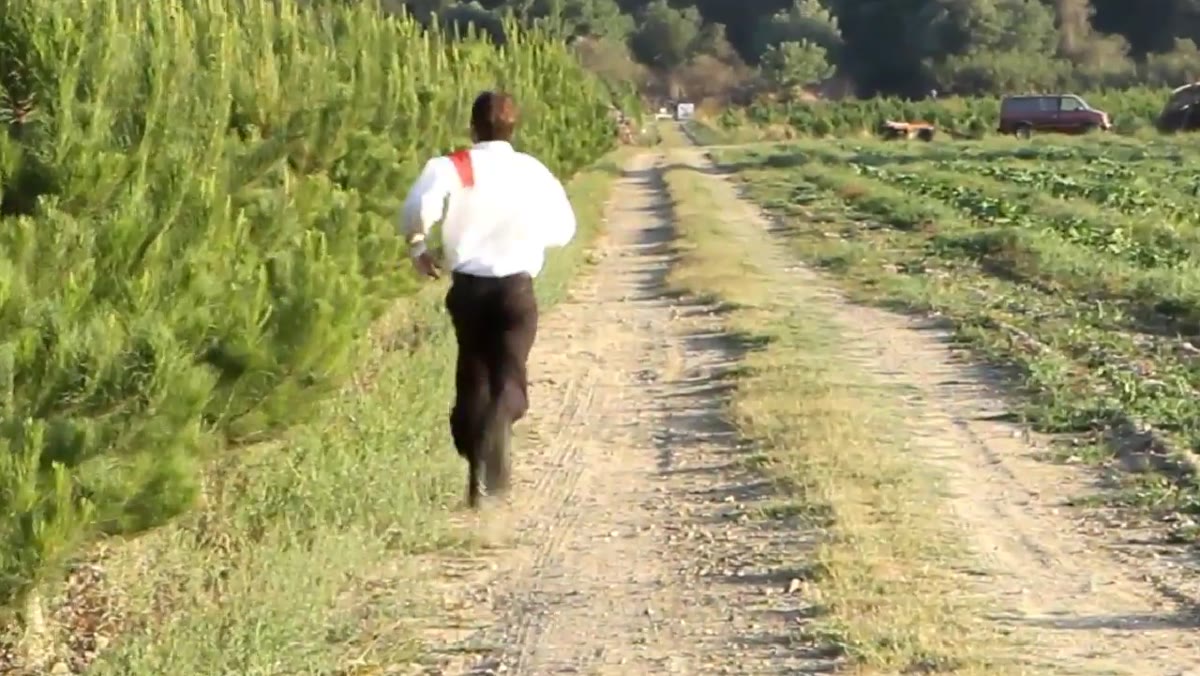 Presenter explaining three crane use cases to camera
Before you touch any lighting gear, you need a reason to put a crane on set. The tutorial lays out three distinct justifications. First, a crane lets you change the framing of a shot without a cut – moving from a tight closeup to a wide establishing shot in a single continuous move. Second, it creates narrative motion. You can open wide to show the scale of a situation, then push in tight to catch a reaction, or reverse that sequence entirely depending on what the story needs. Third, it frees you from left-to-right movement. A crane lets you dolly in any direction – forward, back, up, down, diagonally – following action that a standard track setup simply couldn’t accommodate.
Presenter explaining three crane use cases to camera
Before you touch any lighting gear, you need a reason to put a crane on set. The tutorial lays out three distinct justifications. First, a crane lets you change the framing of a shot without a cut – moving from a tight closeup to a wide establishing shot in a single continuous move. Second, it creates narrative motion. You can open wide to show the scale of a situation, then push in tight to catch a reaction, or reverse that sequence entirely depending on what the story needs. Third, it frees you from left-to-right movement. A crane lets you dolly in any direction – forward, back, up, down, diagonally – following action that a standard track setup simply couldn’t accommodate.
Knowing which of these three purposes your shot serves will shape every lighting choice that follows. If you’re moving from tight to wide, your key light needs to work across that entire range without going harsh or dropping off entirely. That’s a different problem than lighting a static hero shot.
Step 2: Use the End of Day as a Soft Key Light
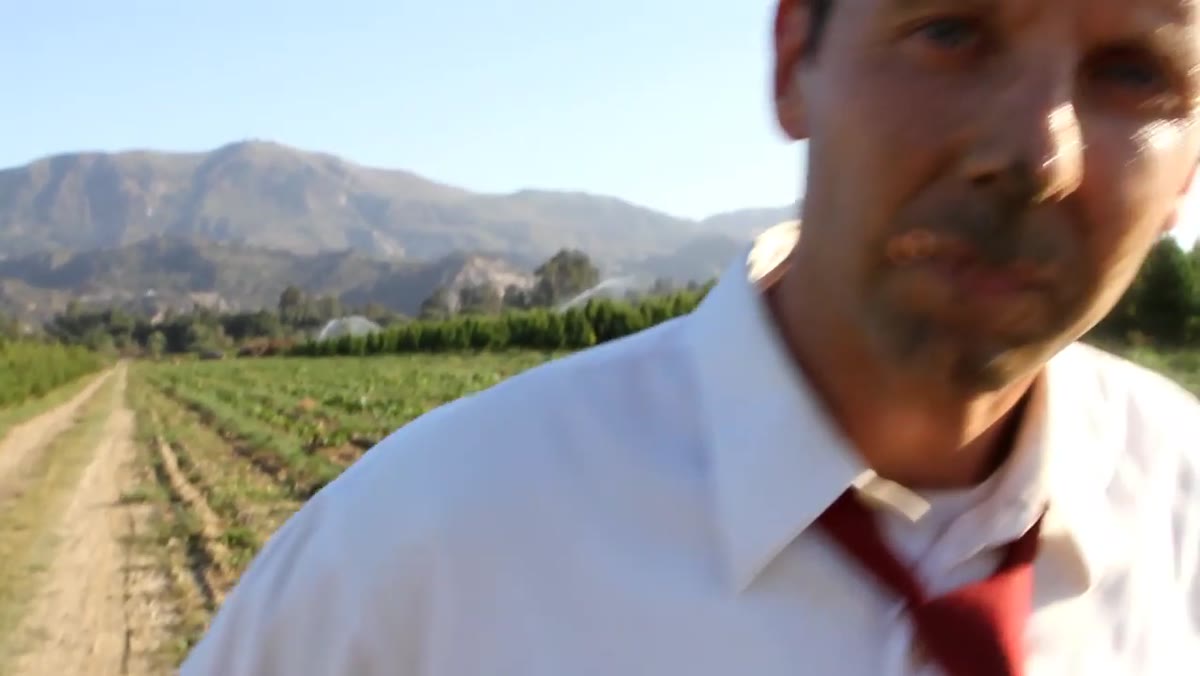 Camera crew setting up at golden hour in corn field
The first location was a Christmas tree farm growing corn between the rows – unusual, but it gave the visual scale the story needed. Rather than fighting the natural light or supplementing it heavily, the approach was to work with the direction of the setting sun and position the talent so the low, warm light landed on his face as a key. Shooting southeast meant the sun was behind and to the side of camera, acting as a natural key that was already soft from traveling through the lower atmosphere at that angle of day.
Camera crew setting up at golden hour in corn field
The first location was a Christmas tree farm growing corn between the rows – unusual, but it gave the visual scale the story needed. Rather than fighting the natural light or supplementing it heavily, the approach was to work with the direction of the setting sun and position the talent so the low, warm light landed on his face as a key. Shooting southeast meant the sun was behind and to the side of camera, acting as a natural key that was already soft from traveling through the lower atmosphere at that angle of day.
This is a decision I’ve made myself on exterior shoots, and it requires discipline with your call time. You’re not chasing golden hour for the pretty orange glow – you’re using it because the light is diffuse, the shadows have soft edges, and the color temperature is warm enough to feel alive on skin. The window is short, which is exactly why you want the crane movement blocked and rehearsed before the light is where you need it.
Step 3: Fill Shadows with a Shiny Board, Not Another Light
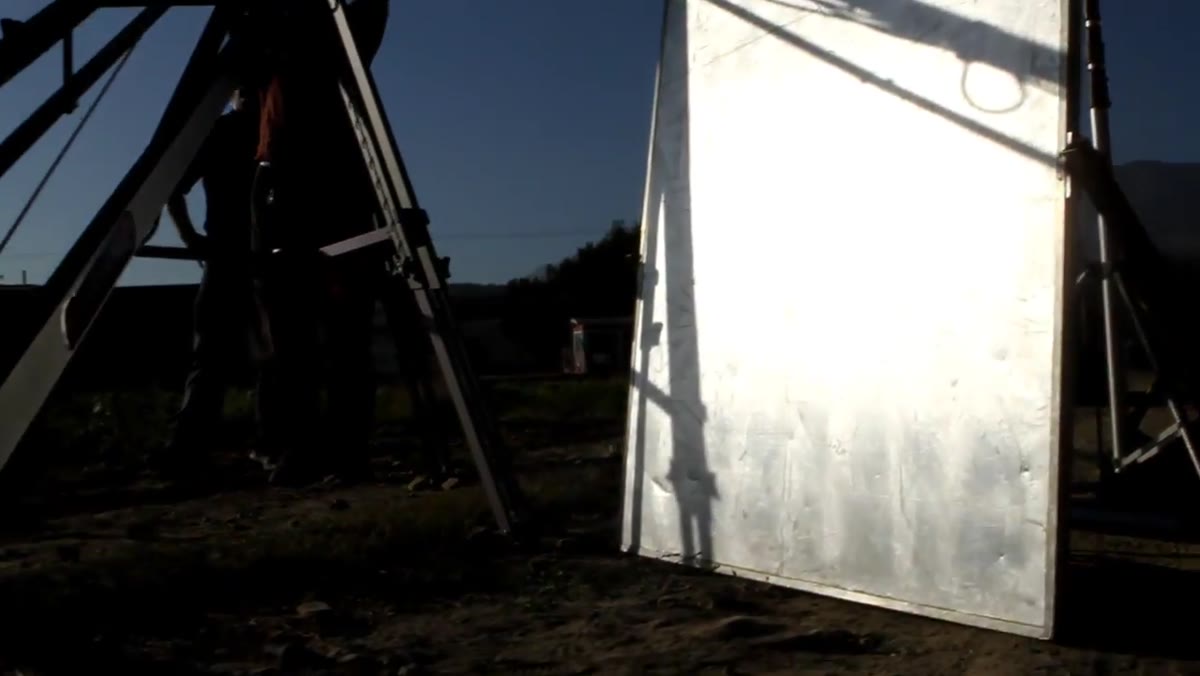 Assistant positioning reflective shiny board toward talent
With the sun working as a key, the only remaining problem was the shadow side of the talent’s face. Rather than introducing a second light source – which would have created an unnatural look outdoors and added another variable to manage during a crane move – the crew used a shiny board to bounce the existing sunlight back into the shadows. A shiny board is a reflective panel, typically silver or white, that redirects ambient or key light without adding any new color temperature or power source to the equation.
Assistant positioning reflective shiny board toward talent
With the sun working as a key, the only remaining problem was the shadow side of the talent’s face. Rather than introducing a second light source – which would have created an unnatural look outdoors and added another variable to manage during a crane move – the crew used a shiny board to bounce the existing sunlight back into the shadows. A shiny board is a reflective panel, typically silver or white, that redirects ambient or key light without adding any new color temperature or power source to the equation.
For outdoor setups this is almost always my preference. I once ruined an editorial shoot early in my career by introducing a strobe fill outdoors without carefully matching color temperature, and the resulting mix was unusable. A shiny board has no color temperature problem because it’s reflecting the same light that’s already hitting the subject. Position it low and angled up to open up the jaw and under-eye areas, then have your assistant walk it in or out until the shadow side reads about one to one and a half stops below the key.
Step 4: Build a Motivated Backlight Through a Doorway
 Light positioned inside closet doorway creating rim light
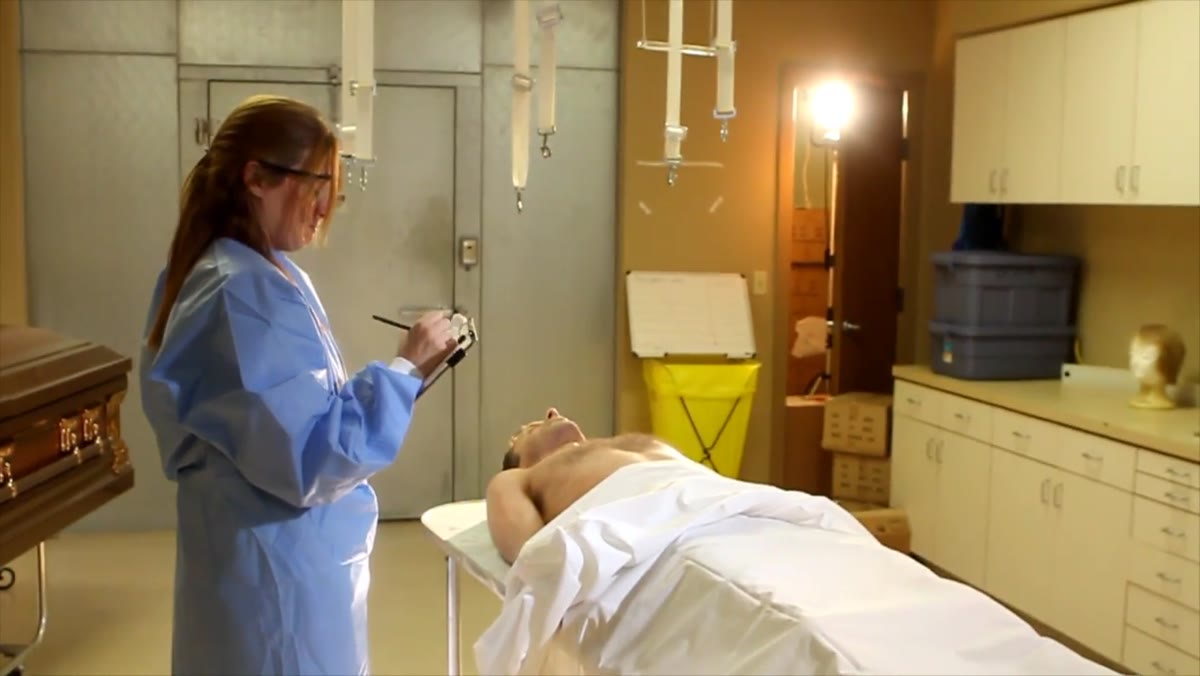
The second location – a morgue – required a completely different approach, and the lighting breakdown here is the most instructive part of the entire video. The first light placed was a backlight positioned inside a closet on the camera-right side of the frame, pointing out through the doorway opening. The effect is a rim light that reads as natural and motivated because a doorway is a believable source of light. A hallway, a window, a closet with the overhead on – all of these give the audience a reason for light to exist where it is.
Light positioned inside closet doorway creating rim light
The second location – a morgue – required a completely different approach, and the lighting breakdown here is the most instructive part of the entire video. The first light placed was a backlight positioned inside a closet on the camera-right side of the frame, pointing out through the doorway opening. The effect is a rim light that reads as natural and motivated because a doorway is a believable source of light. A hallway, a window, a closet with the overhead on – all of these give the audience a reason for light to exist where it is.
This is a technique I use in controlled studio work as well. When I build a set with any kind of architectural element, I’ll always ask whether I can hide a light inside or behind it rather than planting a stand in the open. A light that appears to come from within the scene is almost always more convincing than one that clearly originates from outside it.
Step 5: Use a Blue-Gelled 1K on a Tungsten White Balance for a Cold Key
 1K light with blue gel positioned as key light in morgue
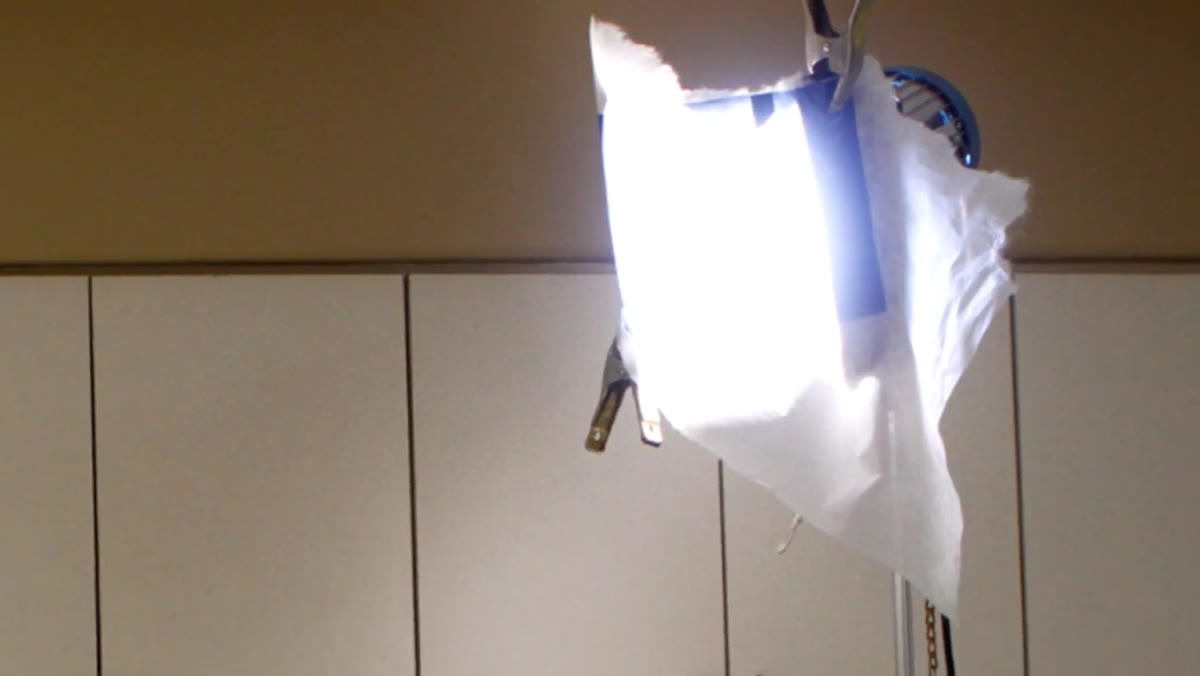
With the backlight established, a 1K tungsten fixture with diffusion and a full blue gel was set as the key light. Here’s the important detail: the camera was set to a tungsten white balance. At tungsten white balance, a properly gelled blue source will render as a cold, desaturated blue on the subject rather than simply neutralizing to white. This is how you get a genuinely dead, clinical look from a key light without pushing the color in post. The white balance and the gel are working together, not independently.
1K light with blue gel positioned as key light in morgue
With the backlight established, a 1K tungsten fixture with diffusion and a full blue gel was set as the key light. Here’s the important detail: the camera was set to a tungsten white balance. At tungsten white balance, a properly gelled blue source will render as a cold, desaturated blue on the subject rather than simply neutralizing to white. This is how you get a genuinely dead, clinical look from a key light without pushing the color in post. The white balance and the gel are working together, not independently.
The diffusion material on the fixture softens the edge quality so you still have some shadow roll-off rather than a stark hard-light look. In a tight institutional space like a morgue, hard light would feel theatrical in the wrong way. Soft and cold reads clinical and real.
Step 6: Modify Practical Fluorescents by Pulling Tubes
 Overhead fluorescent bank being dimmed by removing tubes
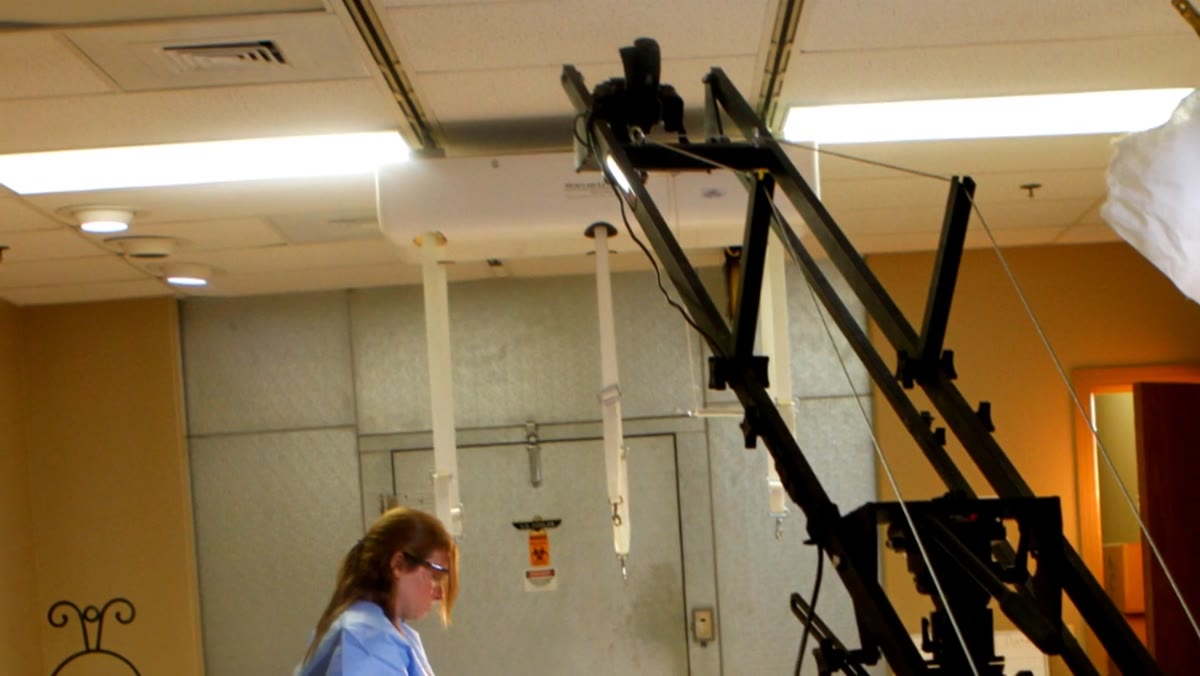
Two banks of fluorescent overhead lights existed in the location – one in the background, one in the foreground. Rather than gelling or overpowering them, the approach was to physically remove tubes until the output level matched the scene’s needs. The background bank was too bright as a fill, so tubes came out until it read correctly relative to the key. The foreground bank was treated the same way.
Overhead fluorescent bank being dimmed by removing tubes
Two banks of fluorescent overhead lights existed in the location – one in the background, one in the foreground. Rather than gelling or overpowering them, the approach was to physically remove tubes until the output level matched the scene’s needs. The background bank was too bright as a fill, so tubes came out until it read correctly relative to the key. The foreground bank was treated the same way.
There was also a slight green cast from the fluorescents, and the decision was made not to correct it. In a morgue, a faint green is appropriate. Location color casts can work for you if they’re in character with the environment. This is the kind of judgment call that doesn’t appear in any manual – it comes from asking whether the imperfection serves the story.
What I’d Adapt for Studio Work
The morgue sequence is almost entirely replicable on a studio set with a bit of construction. A doorway flat with a practical light mounted inside it gives you the motivated rim. A 1K with a blue gel and a tungsten white balance setting is straightforward to dial in. The tube-pulling trick doesn’t translate directly, but a dimmer on a fluorescent-style LED panel achieves the same result with more precision. The principle – use multiple sources at different intensities, let some color cast live if it fits the mood – is exactly how I approach any complex studio scene.
The monitor mounted on the back of the crane is worth noting for studio photographers moving into video or hybrid work. Working a camera that’s mounted on a crane arm without a remote monitor means flying blind. Even a small field monitor clamped to the counterweight end of the crane arm lets you frame and follow action without guessing.
The single most transferable idea from this tutorial is the discipline of motivated light. Every source on both of these setups had a reason to exist within the frame – the sun through atmosphere, a doorway, an overhead practical. When light appears to come from the environment rather than from your gear, the image reads as real regardless of how constructed it actually is.
Watch the full tutorial on YouTube to see both setups in motion and follow the crane moves that tie each lighting choice together.
Comments
Leave a Comment