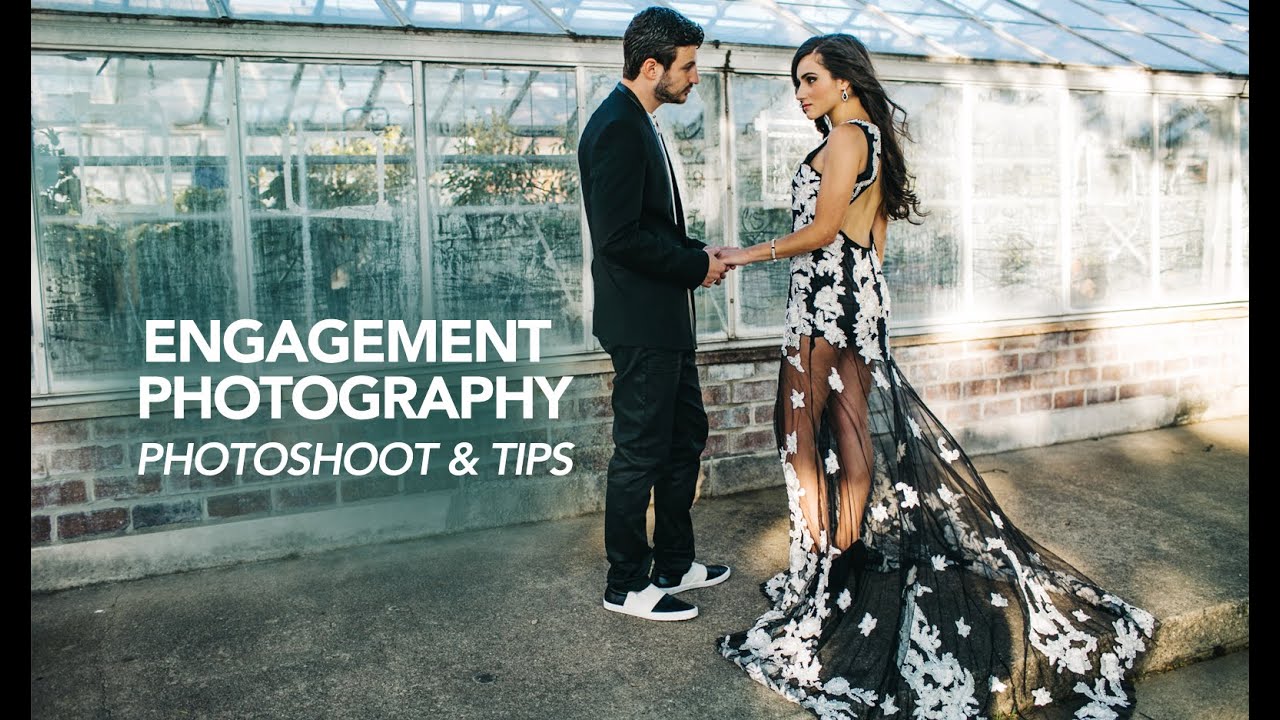
Most of my work happens in a controlled environment. I label every light with masking tape, I sketch the setup in my lighting journal before the first frame fires, and I calibrate my color temperature before a single subject walks through the door. On-location couples work is a different discipline entirely, and for a long time I treated it that way — meaning I mostly avoided it. The variables felt too unpredictable. The posing felt improvised in a way that made me uncomfortable.
What changed my thinking was spending time with tutorials from photographers who work the other direction: they build the shot from the couple outward, reading the scene and directing in real time. In this Jessica Kobeissi tutorial on engagement photography and posing, Watch the full tutorial on YouTube, Kobeissi demonstrates exactly that kind of fluid, responsive directing. She is working with a couple named Huda and Jason, outdoors, with natural light, and the way she moves around them and adjusts micro-details is instructive for anyone who photographs people, regardless of whether you work in a studio or a park.
What I want to break down here is the actual method underneath the casual banter. There is a real system in how she works, and once you see it, you can apply it whether you are shooting engagements, portraits, or fashion.
Step 1: Solve Your Own Physical Limitations First
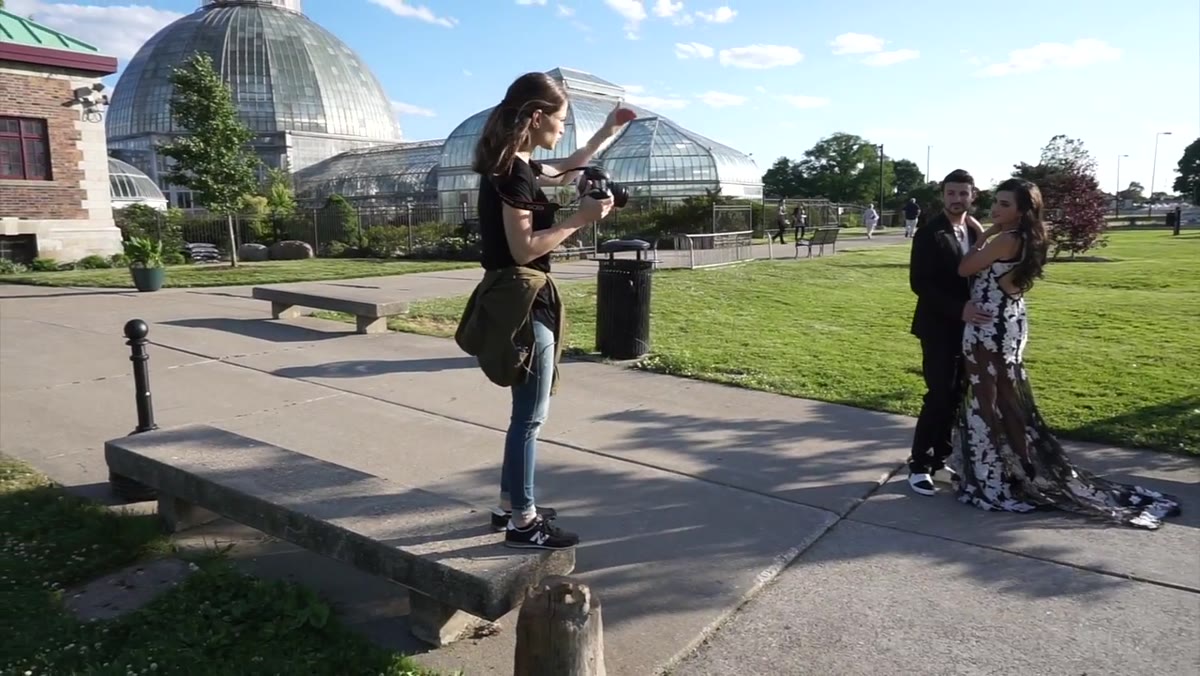 Photographer standing on an object to gain shooting height
Before Kobeissi even talks about the couple, she addresses her own shooting position. She is shorter than her subjects and rather than fight that angle, she finds something to stand on to get the camera at a more flattering height above them. This is a small detail that photographers skip over constantly. A camera positioned below the chin of a subject can introduce unflattering distortion. A slightly elevated angle compresses the face in a more pleasing way and gives you cleaner separation between the couple and whatever is behind them.
If you are shooting on location without grip equipment, scout the environment the way a gaffer scouts for practical lights. Look for steps, curbs, low walls, anything that gives you six to twelve inches of elevation without putting you in an unstable position. In the studio I have apple boxes for exactly this reason. On location you improvise. The principle is the same.
Step 2: Direct Arm and Hand Placement With Precision
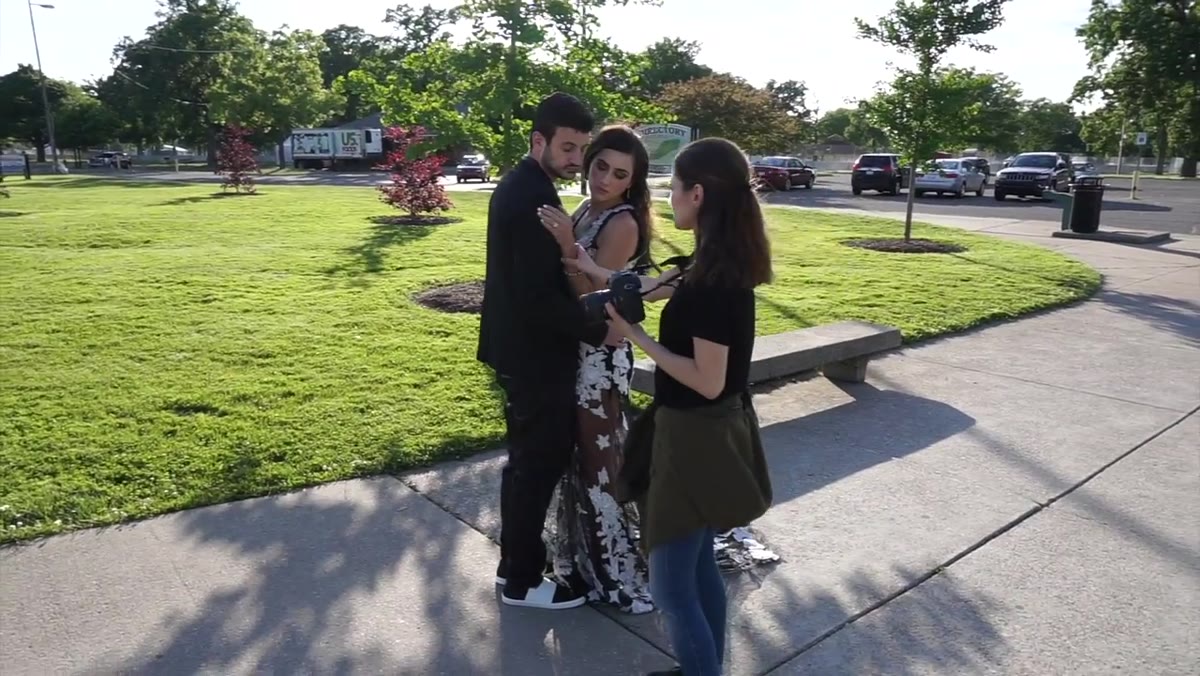 Photographer adjusting subject’s arm position to avoid awkward cropping
One of the most consistent problems in couples posing is what happens to the arms. Kobeissi makes a specific point of watching where the arm falls. When an arm floats at mid-torso or bends at an angle that reads as stiff, it creates visual tension that the viewer feels without being able to name. Her fix is simple: bring the arm down so it rests naturally, or direct it onto the partner’s neck or shoulder so it has a clear purpose.
Think of arms as compositional lines. They either lead the eye toward the faces, or they create competing shapes that distract from the emotional center of the frame. When I direct portrait subjects in the studio, I think about arm position the same way I think about a reflector placement: it either adds or subtracts. There is no neutral.
Step 3: Vary Your Distance, Not Just Your Pose
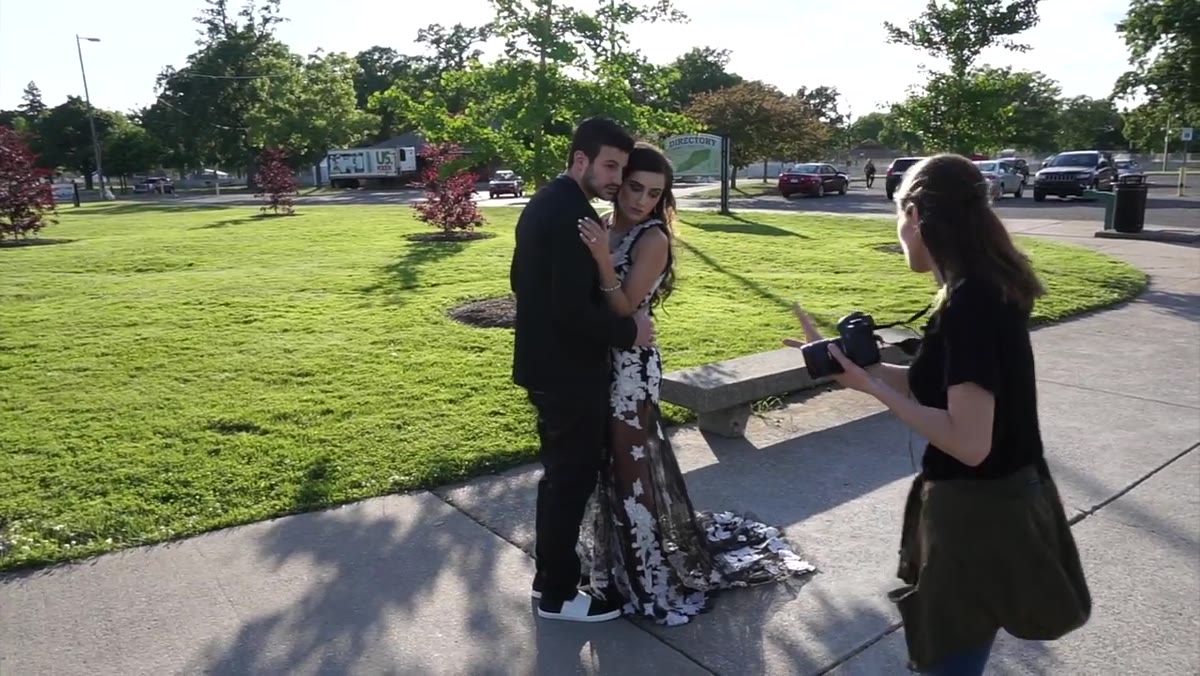 Photographer stepping back to capture full-body frame after close portrait
After she has the couple settled into a position she likes, Kobeissi does not immediately move them into the next pose. Instead, she stays with that configuration and changes her own position. She shoots tight for a close portrait, then backs up to capture the full outfit and full body. Same couple, same moment, two very different deliverables.
This is one of the most efficient habits you can build into a shoot workflow. Moving subjects takes time and breaks the emotional state they have settled into. Moving yourself is fast and preserves the naturalness of the moment. In a studio context, this translates directly: lock your subjects in, then use your zoom range or physically walk the camera to work the shot from multiple focal perspectives before you redirect.
Step 4: Slow the Walking Shot Down to an Almost Uncomfortable Pace
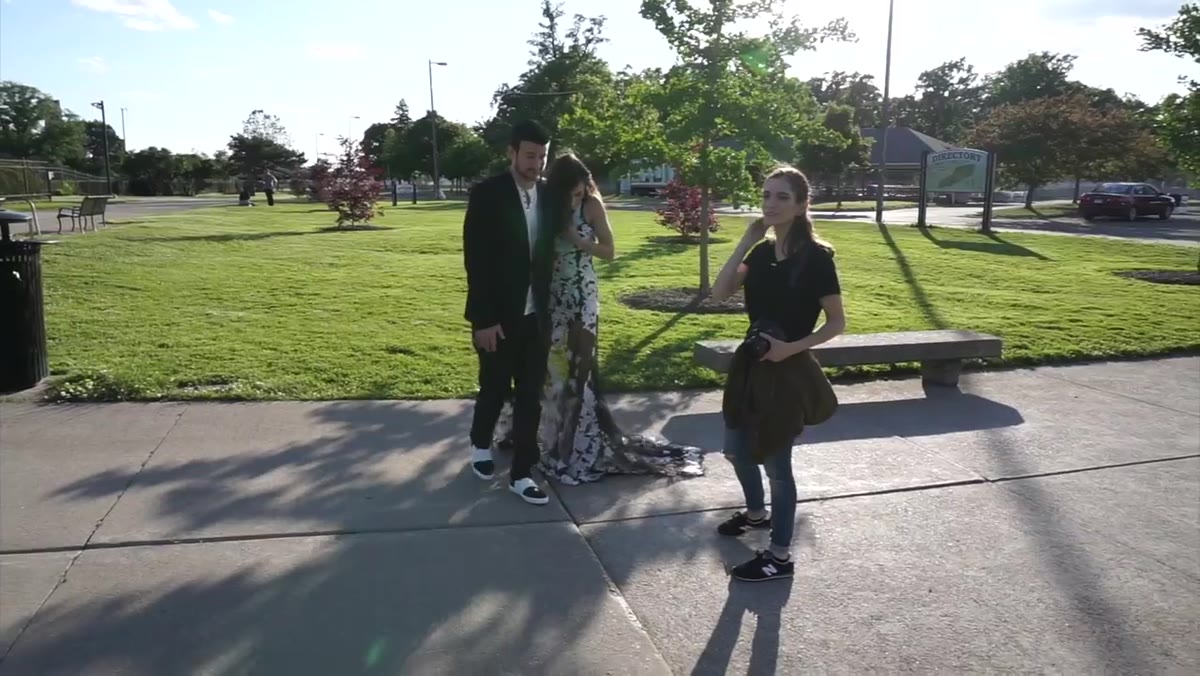 Couple walking slowly toward camera in natural light
Walking shots are popular in engagement work because they look natural, but they are technically tricky. Kobeissi’s direction is blunt: walk extremely slowly. She compares the pace to slow-motion film footage, which sounds like an exaggeration but is basically accurate. At normal walking speed, even at 1/500s you will catch awkward mid-stride leg positions, and the faces rarely have time to settle into a genuine expression.
When the pace slows down, the couple has to concentrate slightly, which quiets the self-consciousness. The feet hit the ground more deliberately, which gives you cleaner leg lines. And you have more time to watch the frame and call out corrections before the moment passes. If you are using a strobe outdoors or a fast shutter to manage ambient, this slow pace also gives your camera-to-subject distance more consistency frame to frame.
Step 5: Freeze the Spontaneous Moment
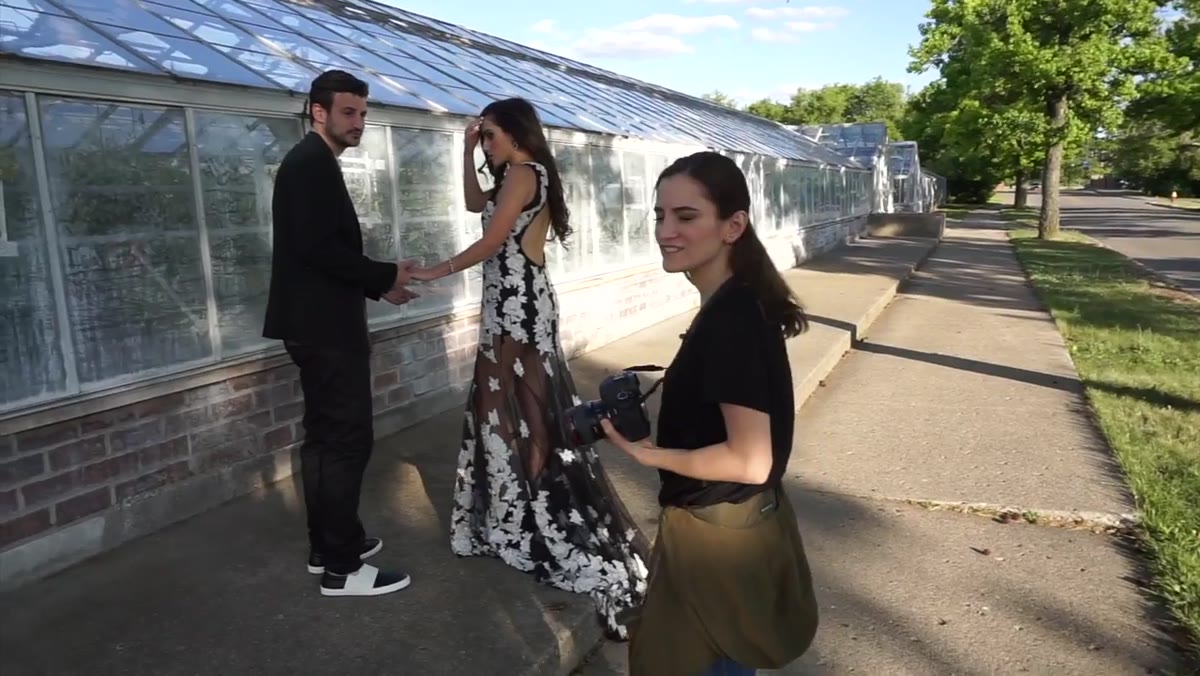 Photographer calling stop while couple is mid-movement on steps
This is the technique I found most useful to document. As Huda and Jason are walking, Kobeissi notices an interesting position mid-movement and calls stop immediately. She does not try to recreate it. She does not describe it and ask them to do it again. She just halts them exactly where they are and photographs that.
The instinct to recreate a candid moment is almost always wrong. The reconstruction looks like a reconstruction. Training yourself to call out a stop in real time, confidently and quickly, is a skill that takes practice but pays back immediately. Keep your finger on the shutter during any movement sequence and stay verbal. Your subjects should not be surprised when you call stop. It should feel like a natural part of the rhythm you have established with them.
Step 6: Rotate Around the Couple, Not the Couple Around You
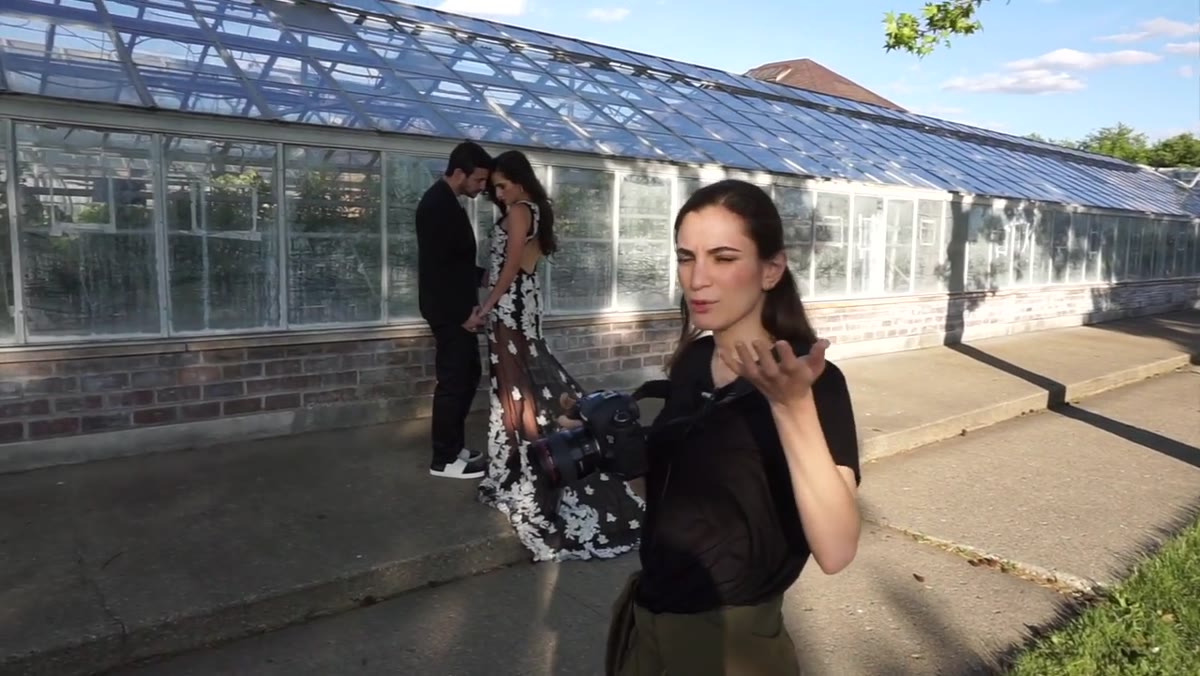 Photographer moving to different angles while subjects hold position
Kobeissi explicitly names this: same pose, different angles. She moves around Huda and Jason, shooting from the side, from behind to catch dress detail, from the front. This is, again, about preserving the emotional state while maximizing coverage. Rotating the couple to face a different direction resets them. Rotating yourself does not.
In the studio, I do this constantly. Once a subject finds a real expression, I do not want to interrupt it with a redirect. I move. I change my light ratio by physically repositioning relative to the key light. The posing stays locked. The variables I control are mine.
What I Would Add From Studio Experience
The one thing this tutorial does not address, because it is an outdoor shoot, is the relationship between pose and light fall. In the studio, arm position is not just compositional. It determines whether you have shadow pooling in the elbow crease, whether the key light is catching the back of the hand or the palm, whether the fill ratio is even on both subjects. Every adjustment Kobeissi makes for visual line and body language I would be making simultaneously for light behavior. If you take this posing framework indoors or into a controlled environment, layer that consideration on top of everything she demonstrates. The method is compatible. It just needs that additional axis of thinking.
The single most transferable idea from Kobeissi’s approach is this: move yourself before you move them. Whether you are working on location or in a studio, the couple’s emotional state is a resource you protect. Your physical position is the variable most easily adjusted. Get that habit locked in and your shooting efficiency will improve on every single job.
Watch the full tutorial on YouTube to see Kobeissi demonstrate all of this in real time with a real couple.
Comments
Leave a Comment