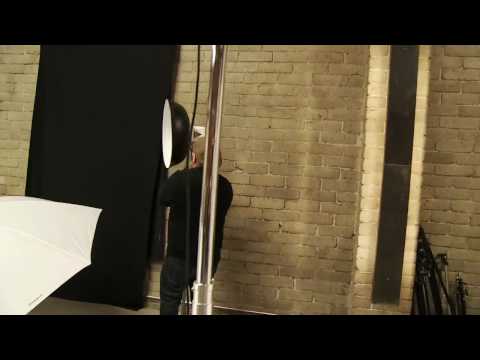
I keep a lighting journal. Every shoot, I sketch the setup on paper before I pack down the gear, because after twelve years of commercial work I’ve learned that what I think I’ll remember and what I actually remember are two very different things. The journal is full of shorthand I invented myself, modifier symbols and power ratios and notes like “too specular, next time go bigger.” What it took me years to understand is the principle underneath all those notes: the tool you choose isn’t an aesthetic preference, it’s a technical decision. The modifier determines the light’s character before a single strobe fires.
In this CreativeLive tutorial, Zack Arias walks through his full modifier kit with the kind of frank, opinionated commentary that’s actually useful. Watch the full tutorial on YouTube. He’s not listing specs from a product page. He’s telling you which tools he reaches for and why, and more importantly, what each one is actually doing to the light. This is the tutorial I wish I’d had when I was still guessing my way through modifier choices on editorial jobs where there’s no time to guess.
What makes this walkthrough worth your time isn’t just the gear inventory. It’s the logic that runs underneath it. Zack frames modifier choice around a single question: how much light do you need, and how contained does it have to be? That frame completely changed how I talk about this subject to assistants, to clients, and to myself when I’m diagramming a new setup.
Step 1: Start With the Largest Source You Own
 The 7-foot octobox fully assembled in studio space
The 7-foot octobox Zack opens with isn’t just big. It’s a commitment. A source that size wraps light around a subject in a way nothing smaller can fully replicate, producing gradual falloff and soft transitions across skin that compress beautifully in fashion and beauty work. The tradeoff is physical: a modifier that tall needs ceiling clearance of at least nine feet to deploy comfortably, and setup takes time. Know your shooting environment before you commit to owning one.
The 7-foot octobox fully assembled in studio space
The 7-foot octobox Zack opens with isn’t just big. It’s a commitment. A source that size wraps light around a subject in a way nothing smaller can fully replicate, producing gradual falloff and soft transitions across skin that compress beautifully in fashion and beauty work. The tradeoff is physical: a modifier that tall needs ceiling clearance of at least nine feet to deploy comfortably, and setup takes time. Know your shooting environment before you commit to owning one.
If your studio has the ceiling height, this is your primary portrait modifier. I label mine with masking tape on the speed ring so assistants know which strobe adapter it’s paired with. That kind of system saves real time during fast-paced editorial shoots.
Step 2: Understand Your Mid-Size Octobox Options
 The 4-foot octobox placed beside the larger unit for scale comparison
A 4-foot octobox from Paul C. Buff or Westcott is the working photographer’s daily driver. It fits in most studio spaces, sets up quickly, and produces a light quality that’s soft enough for portraiture but controlled enough that you’re not flooding an entire room. The octagonal shape creates a catchlight that reads more naturally in the eye than a rectangular softbox, which matters in close-up beauty work where catchlights are visible in the final image.
The 4-foot octobox placed beside the larger unit for scale comparison
A 4-foot octobox from Paul C. Buff or Westcott is the working photographer’s daily driver. It fits in most studio spaces, sets up quickly, and produces a light quality that’s soft enough for portraiture but controlled enough that you’re not flooding an entire room. The octagonal shape creates a catchlight that reads more naturally in the eye than a rectangular softbox, which matters in close-up beauty work where catchlights are visible in the final image.
Both the White Lightning and Westcott versions Zack shows are functionally similar in terms of output character. The difference is in the mounting system and build quality. Test the one that fits your strobe mount before you’re on set.
Step 3: Know the Difference Between Shoot-Through and Reflective Umbrellas
 The 60-inch convertible umbrella with black backing being demonstrated
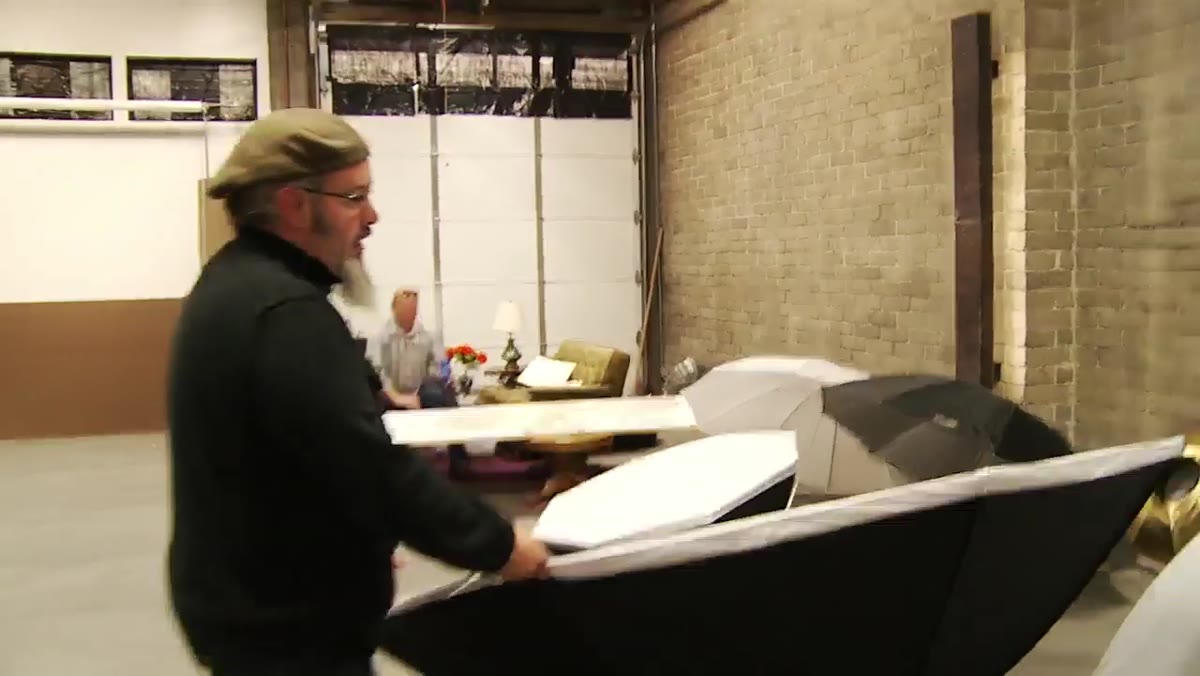
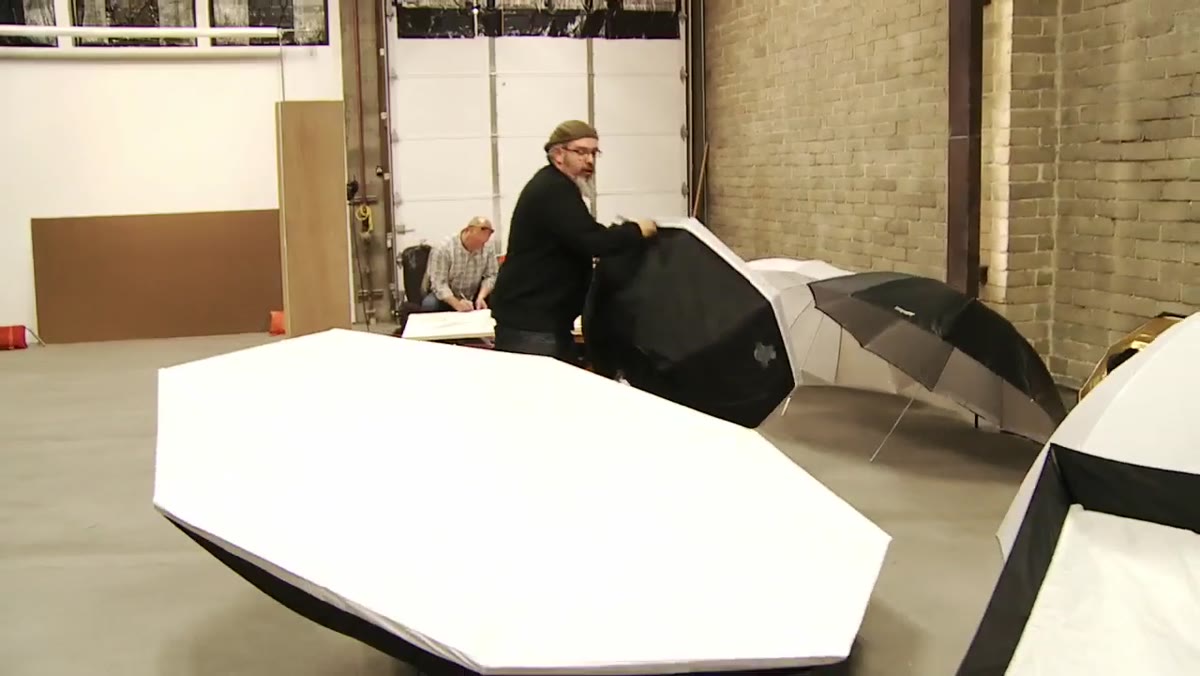
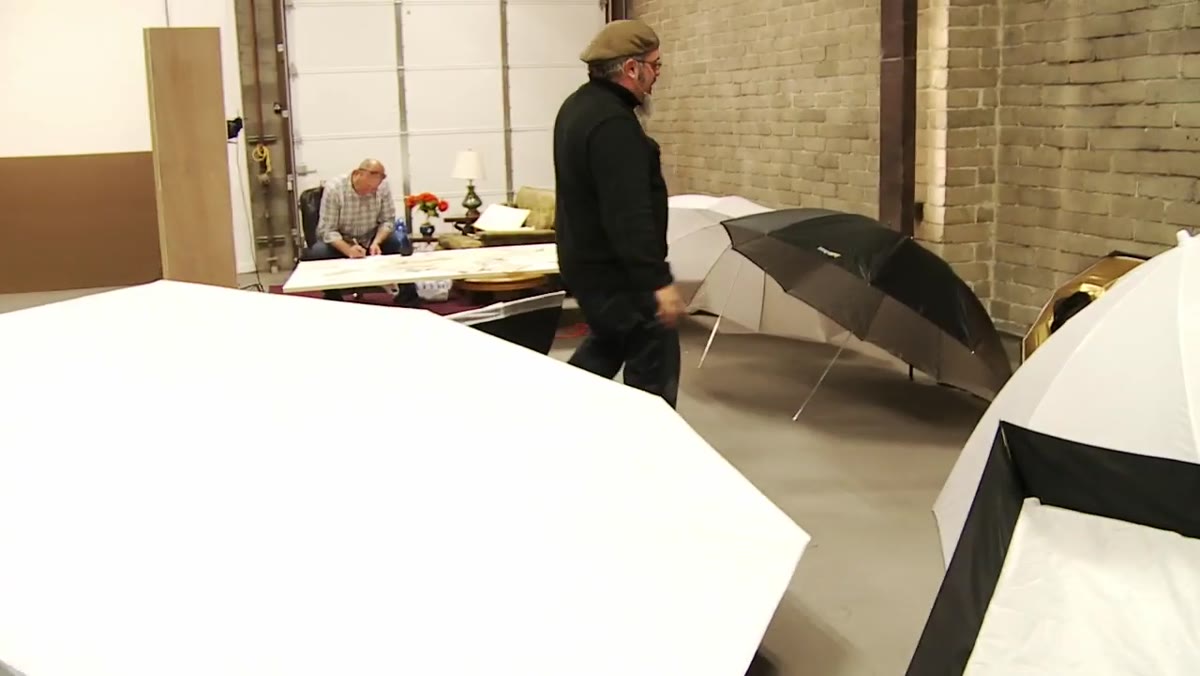
The 60-inch convertible umbrella does two different jobs depending on how you configure it. With the black backing attached, you’re working reflective: light fires into the umbrella and bounces back toward the subject, giving you more directionality and a slightly punchier quality. Remove that black backing and you have a shoot-through, where the strobe fires through the translucent fabric toward the subject. Shoot-through umbrellas produce a broader, more diffused light but sacrifice some control over spill.
The 60-inch convertible umbrella with black backing being demonstrated
The 60-inch convertible umbrella does two different jobs depending on how you configure it. With the black backing attached, you’re working reflective: light fires into the umbrella and bounces back toward the subject, giving you more directionality and a slightly punchier quality. Remove that black backing and you have a shoot-through, where the strobe fires through the translucent fabric toward the subject. Shoot-through umbrellas produce a broader, more diffused light but sacrifice some control over spill.
Knowing which configuration you need before the shoot saves setup time. For full-length fashion work where I want even coverage head to toe, I almost always shoot through. For tighter portraits where I want a little more contrast and shape, I use it reflective.
Step 4: Respect What a Giant Umbrella Actually Does
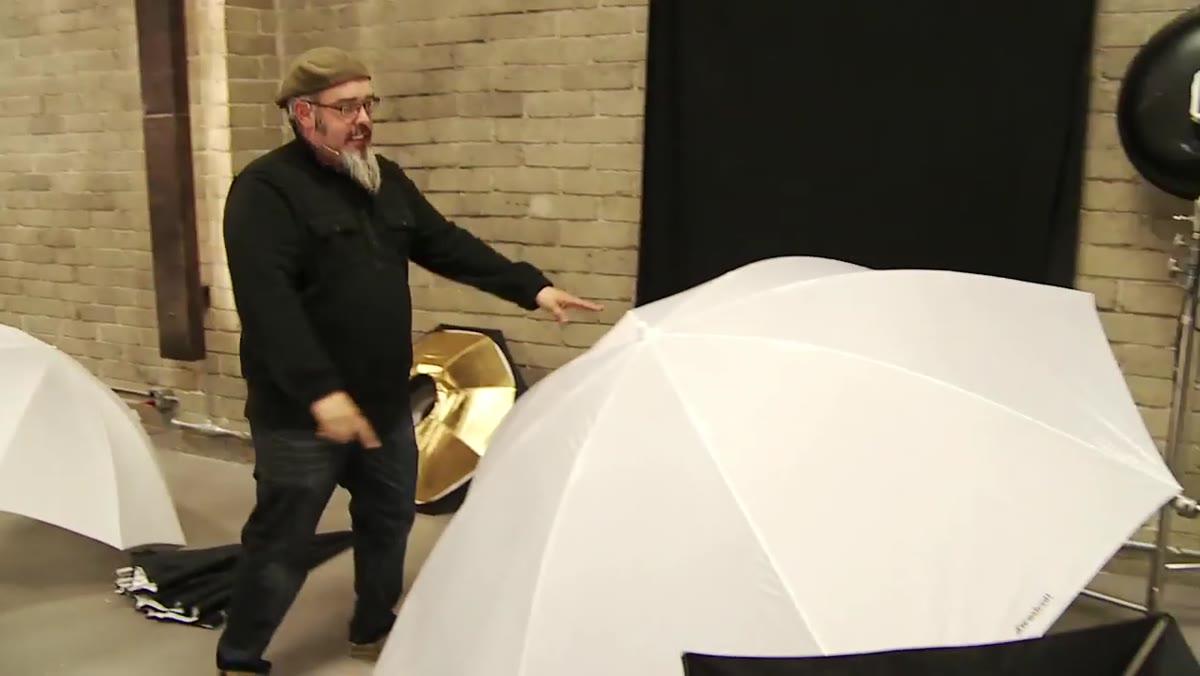 The 86-inch Westcott umbrella fully open, showing its full diameter
The 86-inch Westcott umbrella Zack describes is essentially a portable sky. That’s not hyperbole. A source at that diameter, positioned close to the subject, produces light that behaves almost like open shade outdoors: broad, enveloping, and nearly shadowless. This is genuinely useful when you need to flood a scene. Group shots, full-body work, any situation where you want the light to feel ambient rather than directional.
The 86-inch Westcott umbrella fully open, showing its full diameter
The 86-inch Westcott umbrella Zack describes is essentially a portable sky. That’s not hyperbole. A source at that diameter, positioned close to the subject, produces light that behaves almost like open shade outdoors: broad, enveloping, and nearly shadowless. This is genuinely useful when you need to flood a scene. Group shots, full-body work, any situation where you want the light to feel ambient rather than directional.
The limitation is the same as any large reflective umbrella: spill is difficult to control. If you need the background to stay dark while the subject is lit, this is the wrong tool. If you need everything in the frame bathed in soft light, it’s exactly right.
Step 5: Use a Quick-Assembly Softbox for Speed
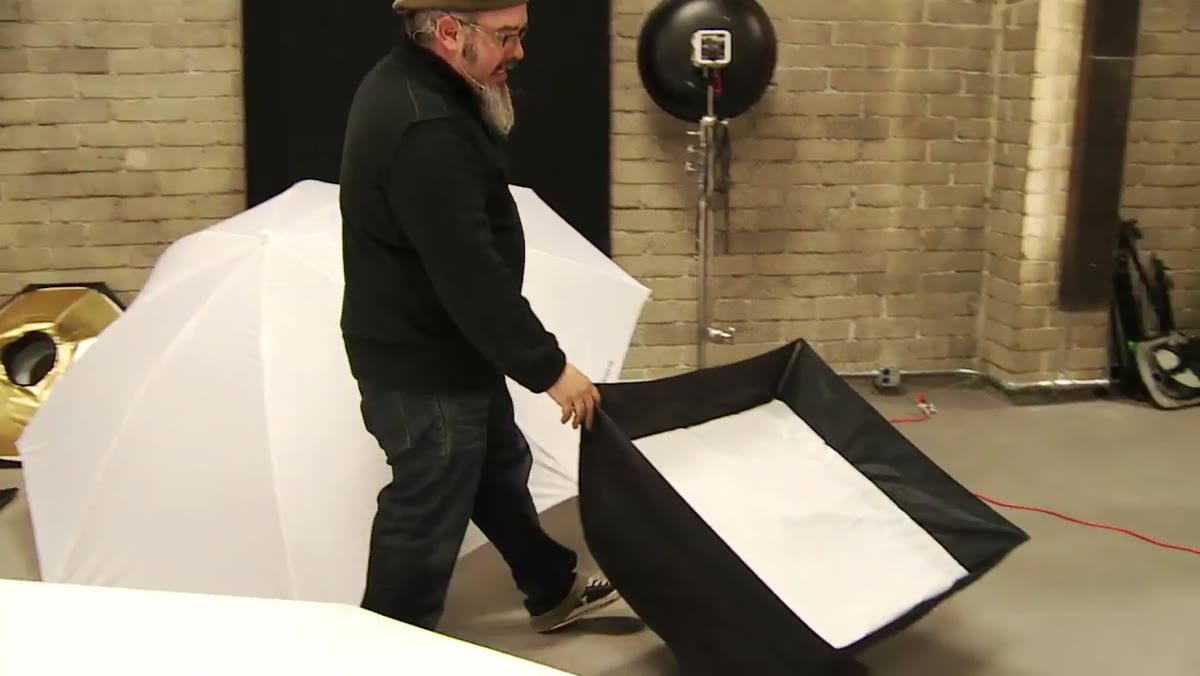 The Westcott Apollo 28-inch softbox opening like an umbrella on a stand
The Westcott Apollo’s defining feature is that it opens like an umbrella instead of requiring you to assemble a framework of rods and panels. On set, that difference is measured in minutes, and minutes add up across a full shoot day. The 28-inch size gives you a quality of light closer to a softbox than an umbrella, with more control over the edges of your light pool, but without the setup time that typically comes with that quality.
The Westcott Apollo 28-inch softbox opening like an umbrella on a stand
The Westcott Apollo’s defining feature is that it opens like an umbrella instead of requiring you to assemble a framework of rods and panels. On set, that difference is measured in minutes, and minutes add up across a full shoot day. The 28-inch size gives you a quality of light closer to a softbox than an umbrella, with more control over the edges of your light pool, but without the setup time that typically comes with that quality.
This is the modifier I’d recommend to photographers who are working alone without an assistant. Anything that reduces your setup complexity without sacrificing light quality is worth considering for a solo workflow.
Step 6: Use a Strip Softbox When You Need Drama, Not Fill
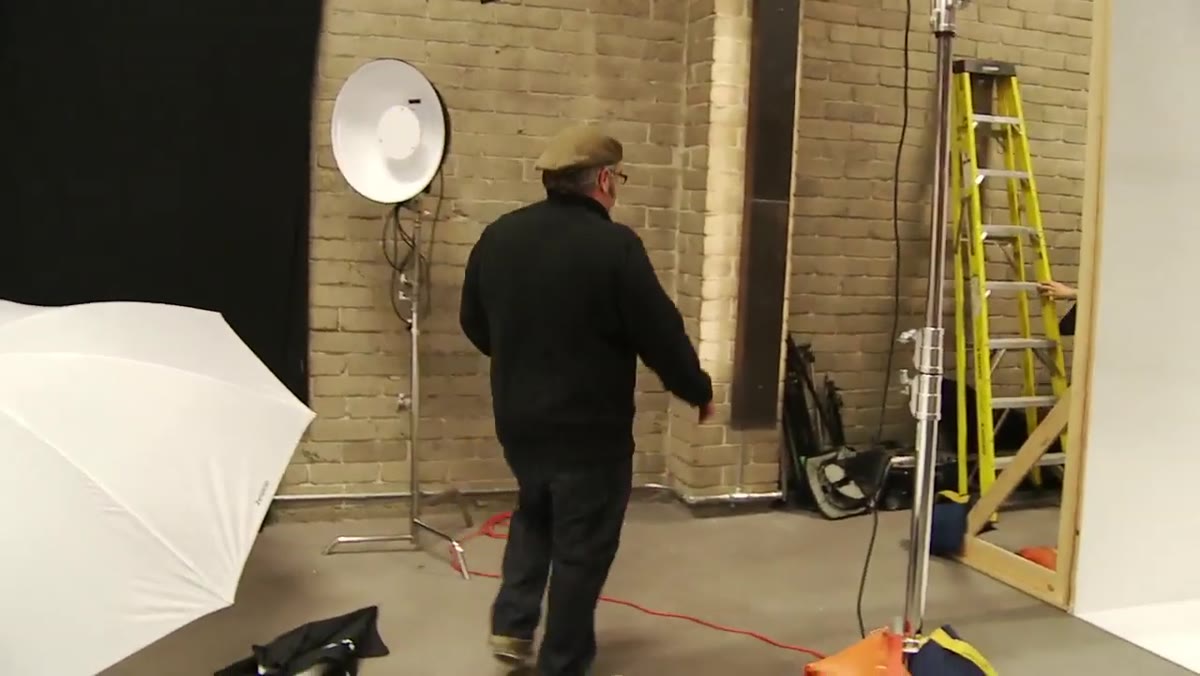 The 12x50-inch honeycomb strip softbox held upright showing its narrow shape
A 12-by-50-inch strip softbox with a honeycomb grid attached is one of the most specific tools in a studio kit, and that specificity is exactly the point. The narrow shape produces a tall, thin column of light that’s ideal for rim lighting, edge lighting on a subject’s profile, or creating separation between a subject and background without the light bleeding into unwanted areas. The honeycomb grid tightens the beam further, reducing spill and increasing contrast.
The 12x50-inch honeycomb strip softbox held upright showing its narrow shape
A 12-by-50-inch strip softbox with a honeycomb grid attached is one of the most specific tools in a studio kit, and that specificity is exactly the point. The narrow shape produces a tall, thin column of light that’s ideal for rim lighting, edge lighting on a subject’s profile, or creating separation between a subject and background without the light bleeding into unwanted areas. The honeycomb grid tightens the beam further, reducing spill and increasing contrast.
Zack’s comment about this being “drama in a box” is accurate. This isn’t a wrap-around source. It’s a light you use when you want the viewer to feel where the light is coming from.
Step 7: Build Your Kit Around a Single Principle
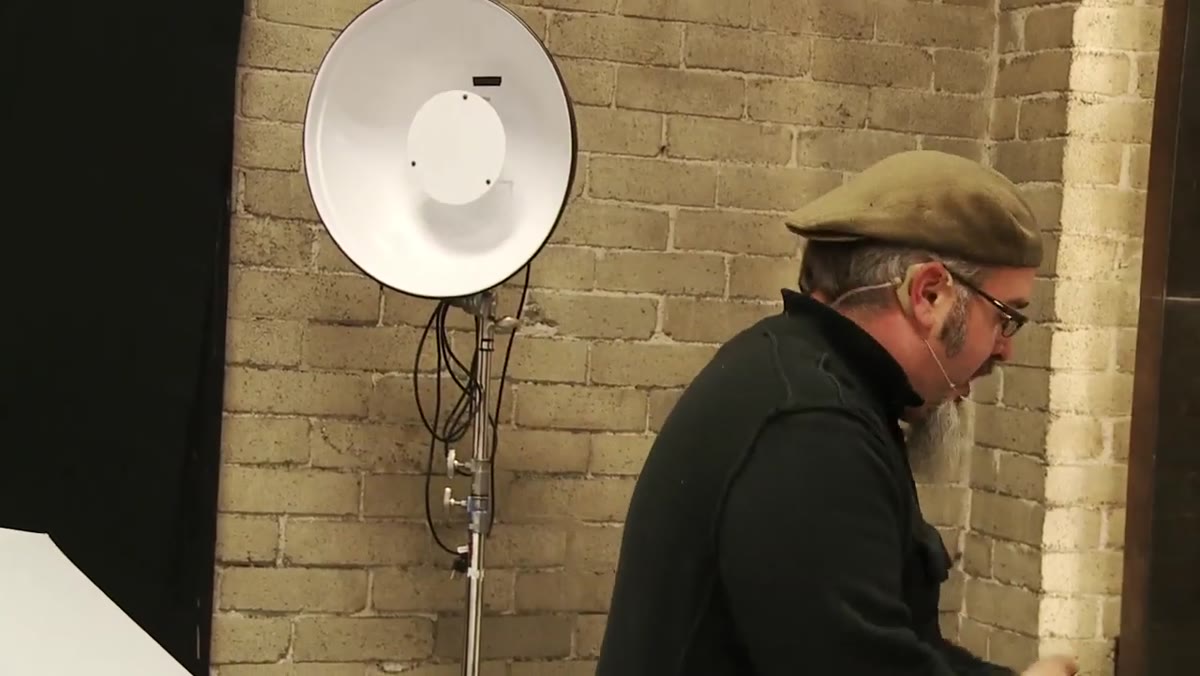 Wide shot showing all modifiers arranged together in the studio space
After walking through every modifier, Zack lands on the idea that anchors all of it: every tool exists on a spectrum between flooding a space with light and isolating a single point with precision. When you understand where each modifier sits on that spectrum, you stop choosing gear by preference and start choosing it by function.
Wide shot showing all modifiers arranged together in the studio space
After walking through every modifier, Zack lands on the idea that anchors all of it: every tool exists on a spectrum between flooding a space with light and isolating a single point with precision. When you understand where each modifier sits on that spectrum, you stop choosing gear by preference and start choosing it by function.
This is the mental shift that makes a modifier collection coherent instead of just expensive. The question isn’t “which softbox do I like?” It’s “how much coverage do I need, how much falloff can I afford, and how contained does this light have to be?”
What I’d Add From Twelve Years of Studio Work
I test every new modifier the day it arrives. Not on a job, not on a client, but in my studio with a stand-in subject, a light meter, and my phone open to my lighting diagram app. I document the output at different distances, note the quality of the transitions, sketch the catchlight shape. That session goes in the journal.
The reason is simple: understanding a modifier from a spec sheet and understanding it from use are completely different things. The 60-inch convertible umbrella I’ve had for seven years behaves slightly differently from a new one because the fabric has aged. You learn that by shooting with it, not by reading about it.
One caveat on ring flashes, which Zack mentions briefly: the “Moon Unit” style adapters that create a ring-flash effect using a standard strobe are genuinely useful for fashion and editorial work, but the quality of light is distinctive enough that it becomes recognizable quickly. Use it deliberately, not as a default.
The single most important thing this tutorial reinforces is that modifier choice is a technical decision, not a stylistic one. You’re not picking a look. You’re selecting a tool that will either solve the problem in front of you or create new ones. Get clear on what the light needs to do, then choose accordingly.
Watch the full tutorial on YouTube to see Zack work through each modifier in his own words. The way he talks about gear, with real opinions and real context, is worth the full runtime.
Comments
Leave a Comment