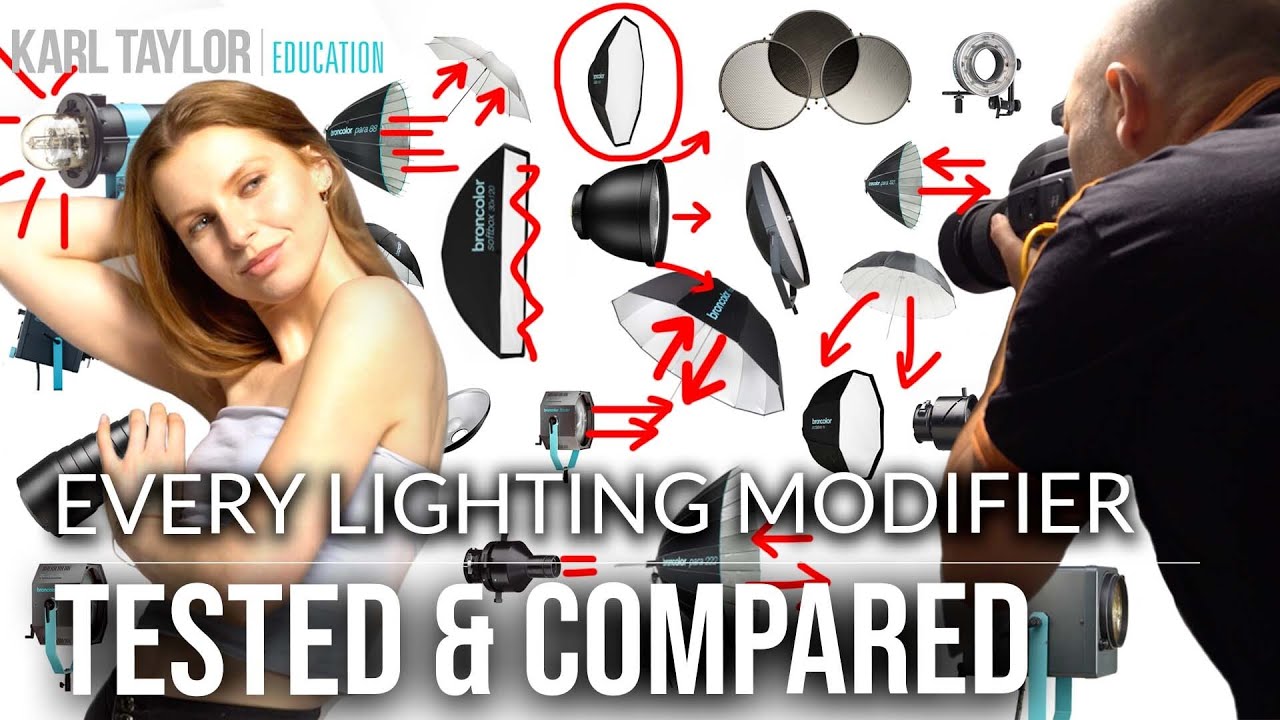
I keep a lighting journal. Every setup from every shoot gets a quick sketch - modifier, distance, angle, power output, and one line about what the skin looked like. After years of filling those notebooks, I thought I had a pretty solid mental map of how different modifiers behave. Then I watched Visual Education’s comparison of more than 25 modifiers tested back-to-back on the same subject, under controlled conditions, and I realized my map had some gaps.
Watch the full tutorial on YouTube
In this Visual Education tutorial, photographer and educator Karl Taylor works through nearly every modifier in his studio - bare bulb, standard reflectors, grids, umbrellas, strip boxes, beauty dishes, fresnels, projection attachments, parabolic reflectors, and specialized tools like the Broncolor Satellite and Fluter - all photographed on the same model, Brittany, from roughly the same position. The result is something genuinely rare: a direct visual comparison that removes as many variables as possible so the modifier itself is the thing being judged. I’ve tested new modifiers the day they arrive for years, but I’ve never done it this systematically. Here’s what I took away, broken down into the actual steps the tutorial walks through.
Step 1: Establish a Baseline with the Bare Bulb
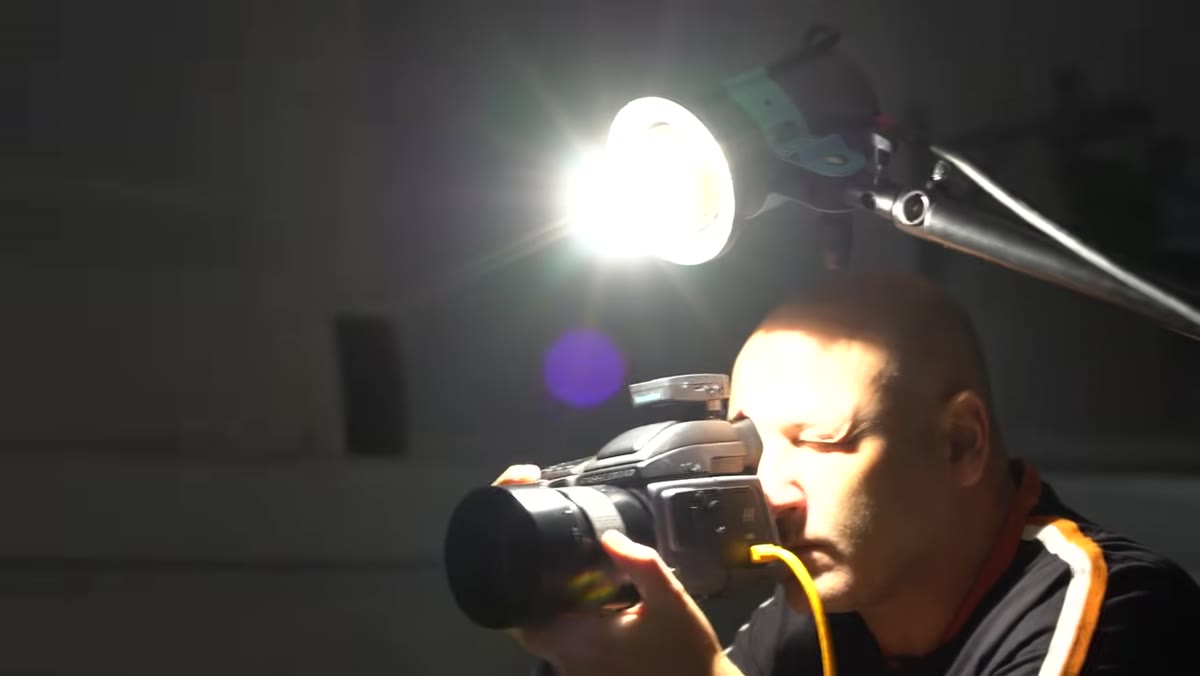 Bare bulb studio light positioned just above camera
Before you can understand what a modifier does, you need to see what light looks like without one. The tutorial starts with a bare bulb studio strobe positioned just above the camera axis. The result is high contrast, sharp shadow edges, and a point-source quality that reads as harsh on most skin. This is not a usable look for most beauty or fashion work, but it is an essential reference. Every modifier you add after this is a decision to move away from these characteristics - softer shadows, lower contrast, broader coverage. If you skip the bare bulb test, you lose the anchor point for everything else.
Bare bulb studio light positioned just above camera
Before you can understand what a modifier does, you need to see what light looks like without one. The tutorial starts with a bare bulb studio strobe positioned just above the camera axis. The result is high contrast, sharp shadow edges, and a point-source quality that reads as harsh on most skin. This is not a usable look for most beauty or fashion work, but it is an essential reference. Every modifier you add after this is a decision to move away from these characteristics - softer shadows, lower contrast, broader coverage. If you skip the bare bulb test, you lose the anchor point for everything else.
Step 2: Work Through the Standard Reflector and Its Grid Options
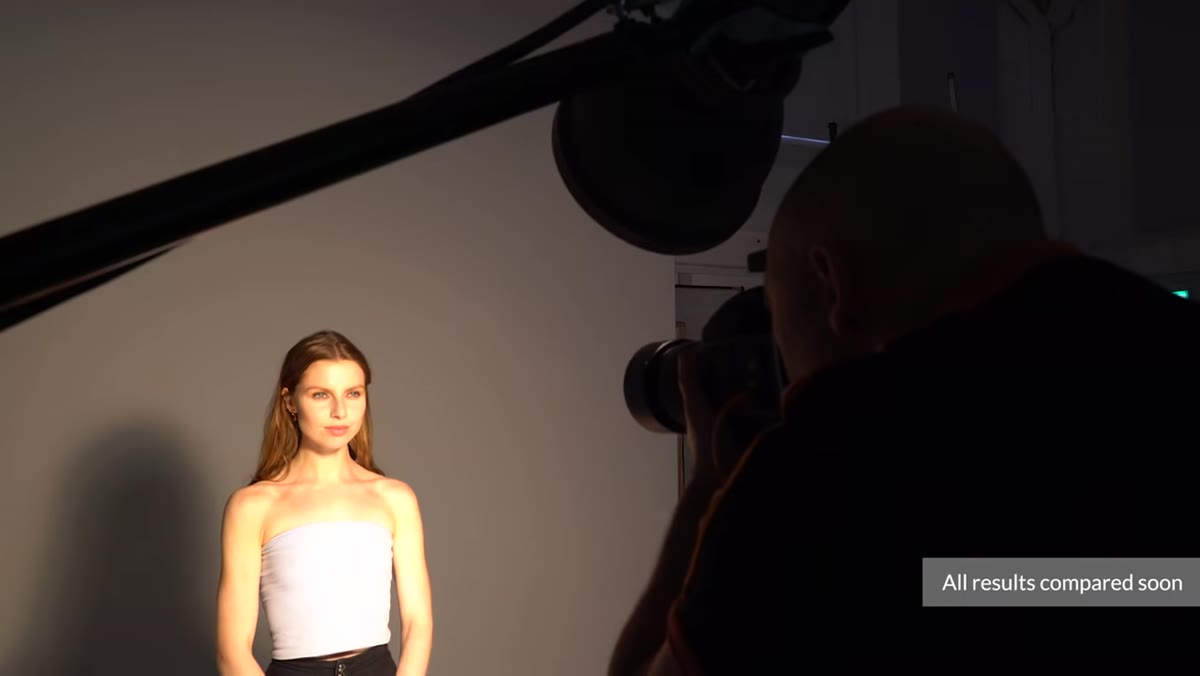 P70 standard reflector mounted on studio strobe
The P70 standard reflector - a basic metal dish that ships with most studio strobes - concentrates light compared to the bare bulb because it eliminates the spill that bounces off the ceiling and walls. The tutorial then adds a diffusion sock over the P70, which softens the output slightly without changing the fundamental spread. From there, the comparison moves through three honeycomb grids: wide, medium, and tight. Each successive grid narrows the beam and increases the sense of directionality. The tight grid produces a look that is almost theatrical - controlled, dramatic, useful for sculpting bone structure. If you only own a standard reflector, buying a set of grids is one of the highest-value upgrades you can make for under $100.
P70 standard reflector mounted on studio strobe
The P70 standard reflector - a basic metal dish that ships with most studio strobes - concentrates light compared to the bare bulb because it eliminates the spill that bounces off the ceiling and walls. The tutorial then adds a diffusion sock over the P70, which softens the output slightly without changing the fundamental spread. From there, the comparison moves through three honeycomb grids: wide, medium, and tight. Each successive grid narrows the beam and increases the sense of directionality. The tight grid produces a look that is almost theatrical - controlled, dramatic, useful for sculpting bone structure. If you only own a standard reflector, buying a set of grids is one of the highest-value upgrades you can make for under $100.
Step 3: Compare Umbrellas Across Size and Surface Type
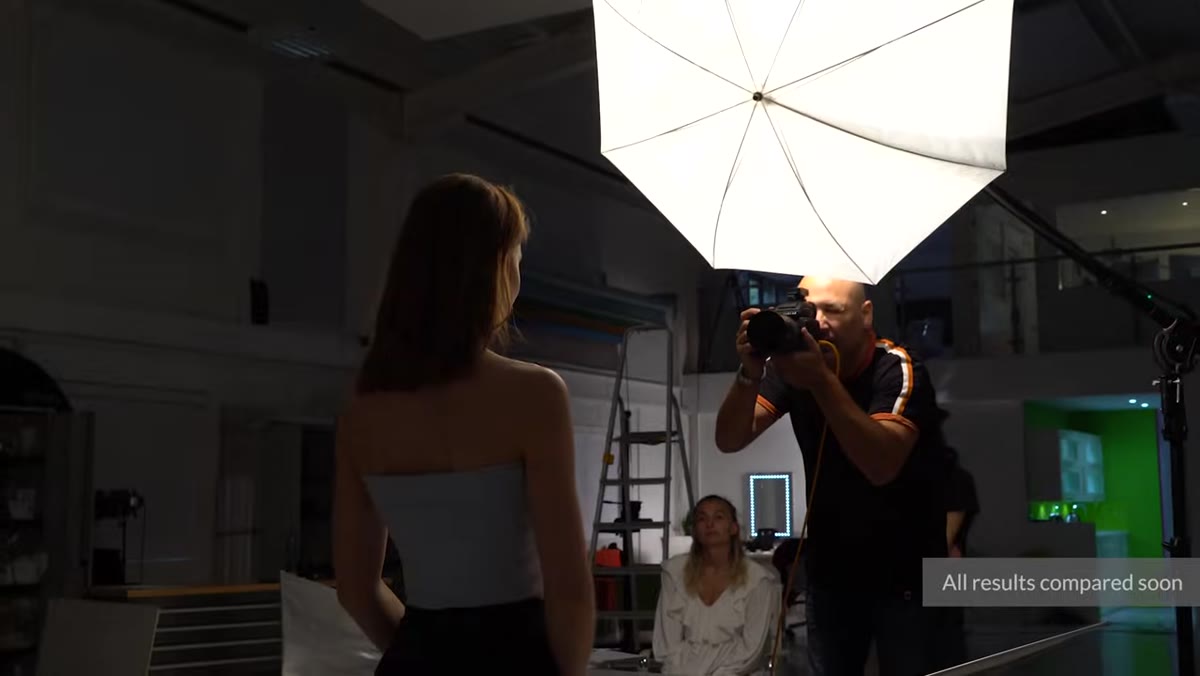 70cm white shoot-through umbrella positioned on stand
The tutorial tests a 70cm shoot-through white umbrella, a 150cm white semi-parabolic umbrella, and a 70cm silver umbrella. The size difference between the 70cm and 150cm versions is not subtle. The larger umbrella wraps light around the subject’s face more completely, reduces the visibility of shadow edges, and produces a quality that reads as more flattering on skin - particularly in the under-eye area and along the jawline. The silver umbrella, by contrast, produces more contrast and a cooler, crisper quality than the white versions. Silver umbrellas are frequently underrated. I have one labeled “SILVER FASHION” on the stand in my studio with masking tape, and it gets pulled out more than people expect.
70cm white shoot-through umbrella positioned on stand
The tutorial tests a 70cm shoot-through white umbrella, a 150cm white semi-parabolic umbrella, and a 70cm silver umbrella. The size difference between the 70cm and 150cm versions is not subtle. The larger umbrella wraps light around the subject’s face more completely, reduces the visibility of shadow edges, and produces a quality that reads as more flattering on skin - particularly in the under-eye area and along the jawline. The silver umbrella, by contrast, produces more contrast and a cooler, crisper quality than the white versions. Silver umbrellas are frequently underrated. I have one labeled “SILVER FASHION” on the stand in my studio with masking tape, and it gets pulled out more than people expect.
Step 4: Test the Strip Box in Both Orientations
 30x120cm strip box positioned horizontally on set
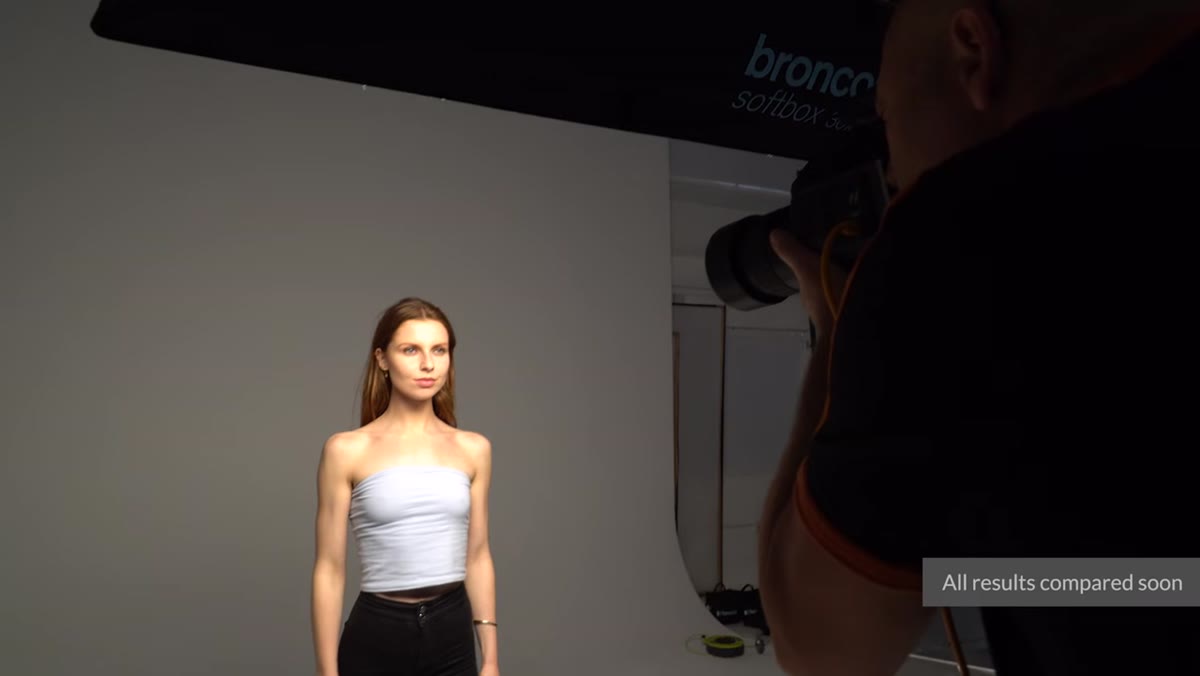
A 30x120cm strip box used horizontally reads very differently than the same modifier used vertically. Horizontal placement creates a broad band of light that wraps across the subject’s face with a distinct quality in the catchlights - a long, thin rectangle that reads as a window. This modifier is particularly useful when you want to suggest environmental light rather than studio light. Vertical placement of the same strip is more commonly used as a rim or edge light. The tutorial uses the horizontal position as a primary key light comparison, which is worth noting because it shows how a relatively inexpensive, common modifier can produce a distinctive look when you think about its orientation deliberately rather than defaulting to vertical.
30x120cm strip box positioned horizontally on set
A 30x120cm strip box used horizontally reads very differently than the same modifier used vertically. Horizontal placement creates a broad band of light that wraps across the subject’s face with a distinct quality in the catchlights - a long, thin rectangle that reads as a window. This modifier is particularly useful when you want to suggest environmental light rather than studio light. Vertical placement of the same strip is more commonly used as a rim or edge light. The tutorial uses the horizontal position as a primary key light comparison, which is worth noting because it shows how a relatively inexpensive, common modifier can produce a distinctive look when you think about its orientation deliberately rather than defaulting to vertical.
Step 5: Study the Beauty Dish Against the Octabox
 70cm silver beauty dish mounted at camera height
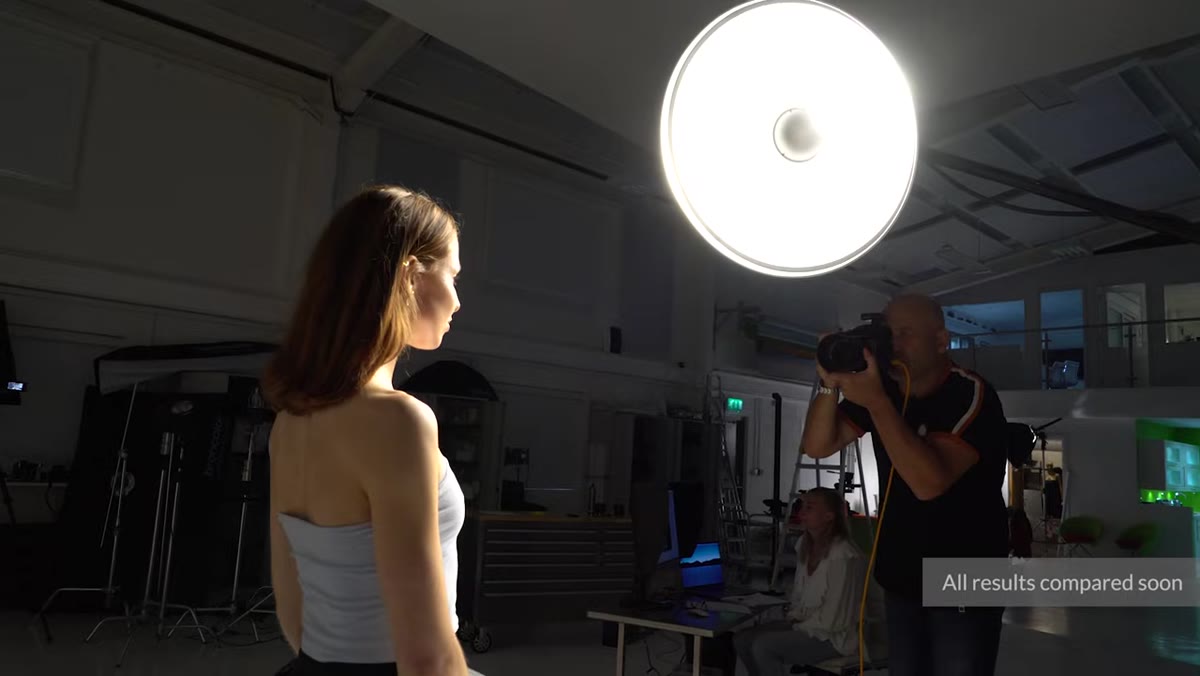
The 70cm silver beauty dish is where the tutorial starts to get into more specialized territory. A beauty dish produces a quality that sits between a small softbox and a bare reflector - there is more contrast than a large octabox, but the light has a distinctive wrap that a standard reflector cannot replicate. The central baffle that blocks direct light from the tube forces all the output to reflect off the dish walls before hitting the subject, which creates a donut-shaped catchlight and a particular evenness across the face that photographers associate with high-end beauty work. Compared against the 150cm octabox that the tutorial uses as its benchmark, the beauty dish reads as more dramatic, more contrasty, and more flattering on strong facial structure.
70cm silver beauty dish mounted at camera height
The 70cm silver beauty dish is where the tutorial starts to get into more specialized territory. A beauty dish produces a quality that sits between a small softbox and a bare reflector - there is more contrast than a large octabox, but the light has a distinctive wrap that a standard reflector cannot replicate. The central baffle that blocks direct light from the tube forces all the output to reflect off the dish walls before hitting the subject, which creates a donut-shaped catchlight and a particular evenness across the face that photographers associate with high-end beauty work. Compared against the 150cm octabox that the tutorial uses as its benchmark, the beauty dish reads as more dramatic, more contrasty, and more flattering on strong facial structure.
Step 6: Understand Fresnels and Projection Attachments as Creative Tools
 Small fresnel light in spot position on stand
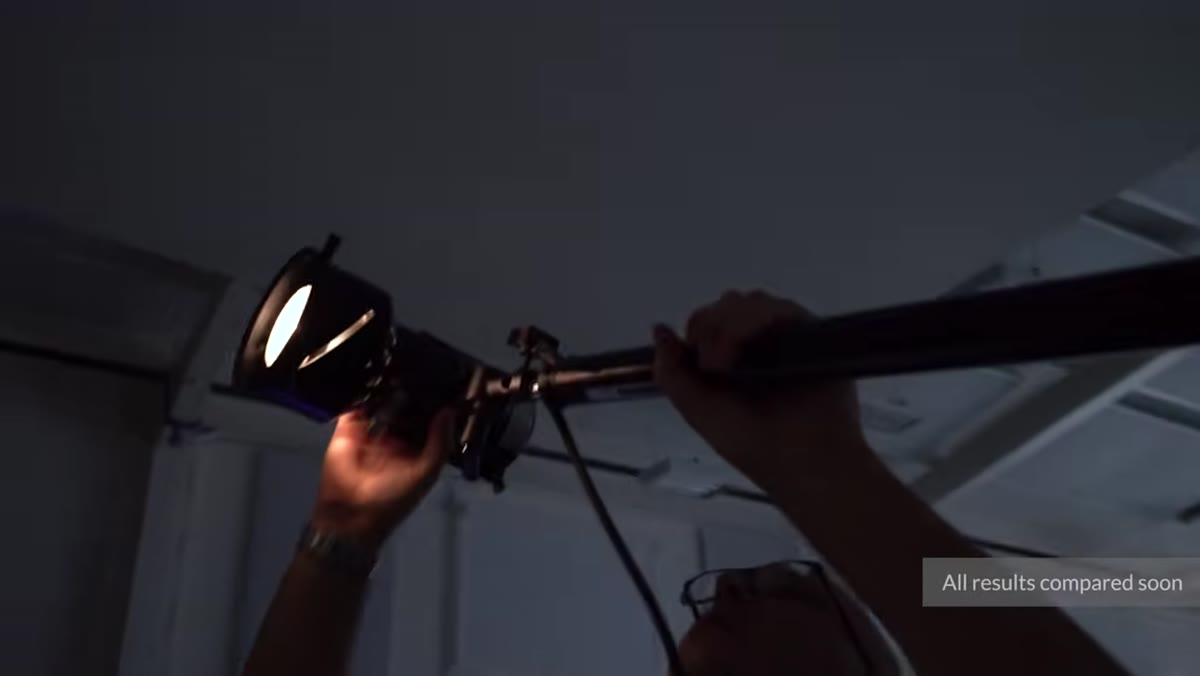
Fresnels and projection attachments are tools that most studio photographers never buy because they cannot immediately justify the cost. This section of the tutorial makes the case for them more clearly than anything else I have seen. A fresnel in spot mode creates a tight, theater-style beam that can isolate a face against a dark background with almost no additional equipment. Switch it to flood and it behaves more like a large, directional source. The projection attachment goes further - it allows you to project a shape onto the subject, including gobo patterns like a slatted window. The Pulso Spot 4 demonstrated in the tutorial is a high-end tool, but the principle applies to more affordable third-party fresnels. If you shoot editorially and want to create environmental light without finding a real location, a fresnel with gobos is how you do it in a controlled studio space.
Small fresnel light in spot position on stand
Fresnels and projection attachments are tools that most studio photographers never buy because they cannot immediately justify the cost. This section of the tutorial makes the case for them more clearly than anything else I have seen. A fresnel in spot mode creates a tight, theater-style beam that can isolate a face against a dark background with almost no additional equipment. Switch it to flood and it behaves more like a large, directional source. The projection attachment goes further - it allows you to project a shape onto the subject, including gobo patterns like a slatted window. The Pulso Spot 4 demonstrated in the tutorial is a high-end tool, but the principle applies to more affordable third-party fresnels. If you shoot editorially and want to create environmental light without finding a real location, a fresnel with gobos is how you do it in a controlled studio space.
Step 7: Run the Parabolic Reflector Through All Three Positions
 Para 88 parabolic reflector in soft focus position
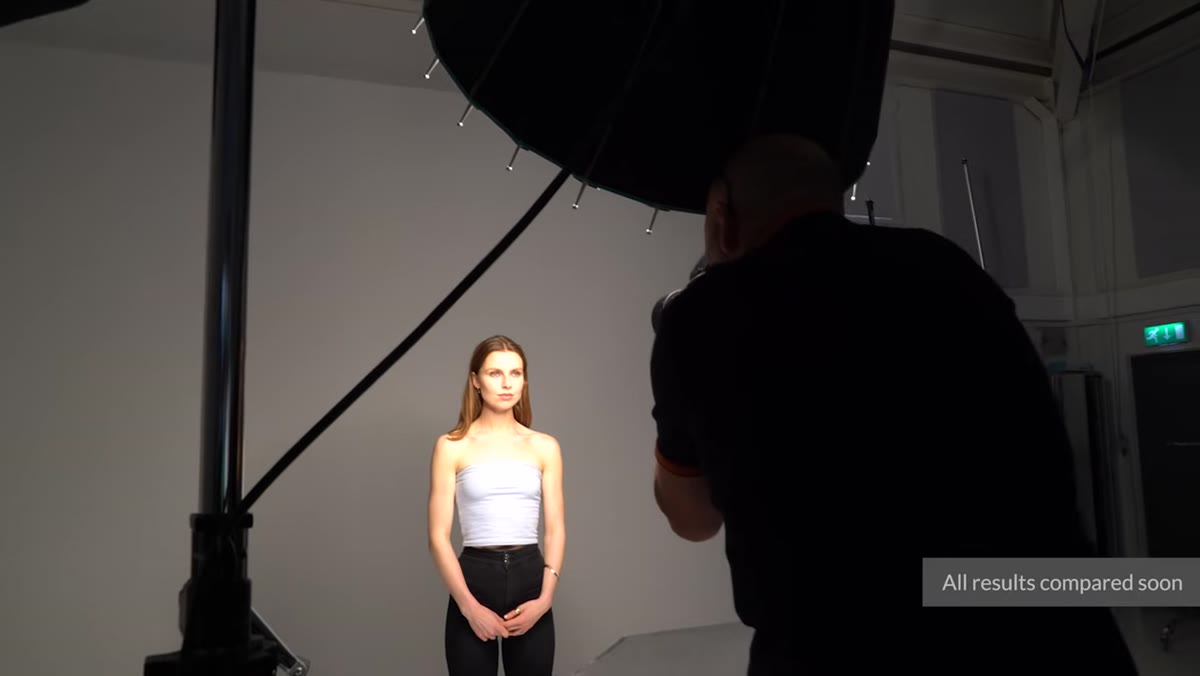
Parabolic reflectors are the modifier category with the widest internal variation. The tutorial tests the Para 88 in soft, mid, and hard positions by moving the strobe head forward and backward within the parabolic dish. The soft position - strobe pulled forward, out of focus from the dish’s reflective surface - produces a broad, even light that is competitive with large softboxes. The hard position - strobe pushed back to the focal point - creates a near-collimated beam with a quality that has no real equivalent in standard modifier categories. Shadows become graphic and distinct. Skin texture reads with more clarity. For a budget alternative, the tutorial also tests a parabolic reflector in the 300 pound range that produces similar directional shifts between positions, which is useful context if a Para 88 is not in the budget this year.
Para 88 parabolic reflector in soft focus position
Parabolic reflectors are the modifier category with the widest internal variation. The tutorial tests the Para 88 in soft, mid, and hard positions by moving the strobe head forward and backward within the parabolic dish. The soft position - strobe pulled forward, out of focus from the dish’s reflective surface - produces a broad, even light that is competitive with large softboxes. The hard position - strobe pushed back to the focal point - creates a near-collimated beam with a quality that has no real equivalent in standard modifier categories. Shadows become graphic and distinct. Skin texture reads with more clarity. For a budget alternative, the tutorial also tests a parabolic reflector in the 300 pound range that produces similar directional shifts between positions, which is useful context if a Para 88 is not in the budget this year.
What I Do Differently: The Two-Modifier Test
Every time I test a new modifier, I shoot it next to whichever modifier it is supposed to replace or improve on in my kit - not against a neutral benchmark. My reasoning is that purchasing decisions are binary. I am not choosing between a beauty dish and an octabox in the abstract; I am choosing whether to add the beauty dish to a kit that already has the octabox. Shooting them against each other on the same subject in the same session shows me immediately whether the difference justifies the shelf space and the cost. The Visual Education approach of anchoring everything to a single benchmark octabox is smarter for educational purposes, and I am adopting it for future comparison shoots. Sometimes someone else’s system is better than the one you built yourself.
The single most important thing this tutorial demonstrates is that modifier choice is not about finding the best light - it is about matching the quality of light to the quality of the subject and the mood of the image. There is no universally correct modifier. There is only the one that serves the specific shot. Work through these tests yourself, even just with the modifiers you already own, and you will understand your own kit in a way that no amount of reading can provide.
Watch the full tutorial on YouTube
Comments
Leave a Comment