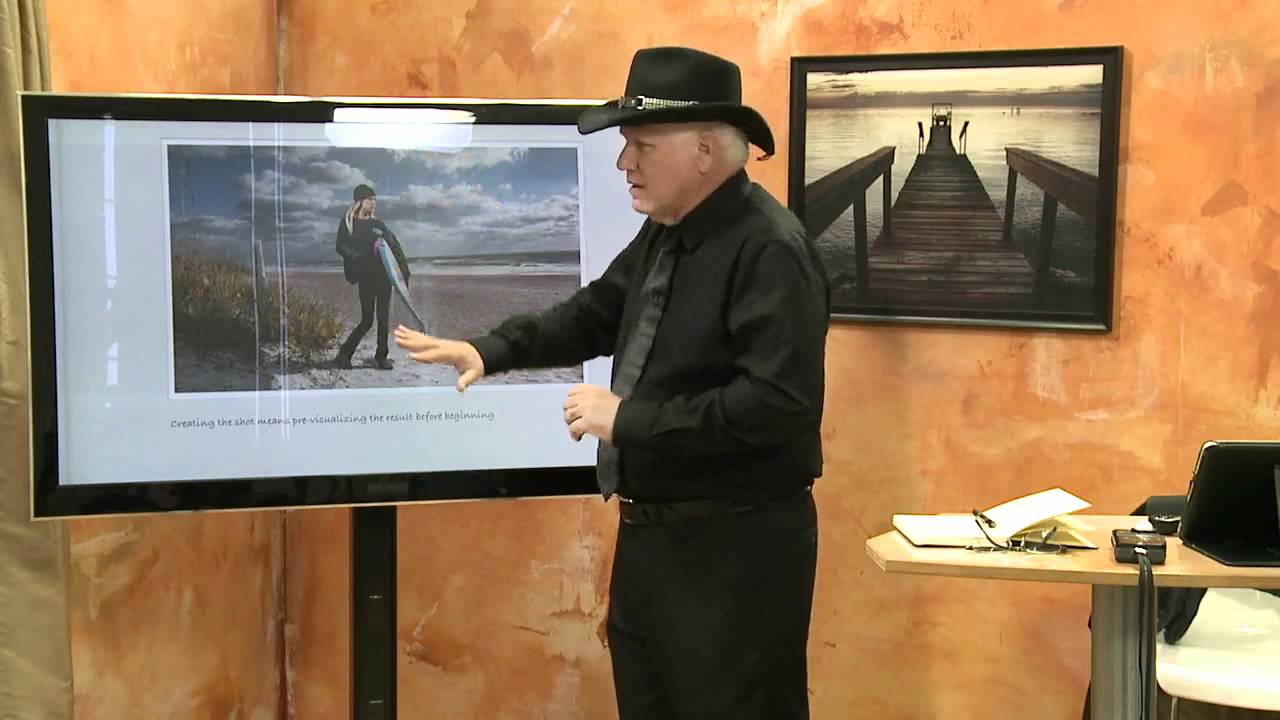
I keep a lighting journal. Every setup from every shoot gets a quick sketch: light positions, modifier choices, distances, the subject’s surface qualities. I started doing it after a period where I noticed my lighting decisions were reactive. I was placing lights where they felt right, then troubleshooting by moving things around until the image looked acceptable. That’s not a workflow. That’s guessing with expensive equipment.
What changed my thinking was learning to ask a different question. Not “where should my light go?” but “how is this subject going to give the light back to me?” That reframe is the entire engine behind Don Giannatti’s lighting philosophy, and he lays it out with rare clarity in this CreativeLive tutorial. Watch the full tutorial on YouTube before or after reading this, but my goal here is to give you a working breakdown you can apply on your next shoot.
Giannatti’s framing is simple and physically correct: you never actually see light. You see light reflected back to you from a surface. Every surface does this differently. That one principle, if you really absorb it, changes how you approach every modifier decision, every camera angle, every position adjustment.
Step 1: Understand That Every Surface Reflects
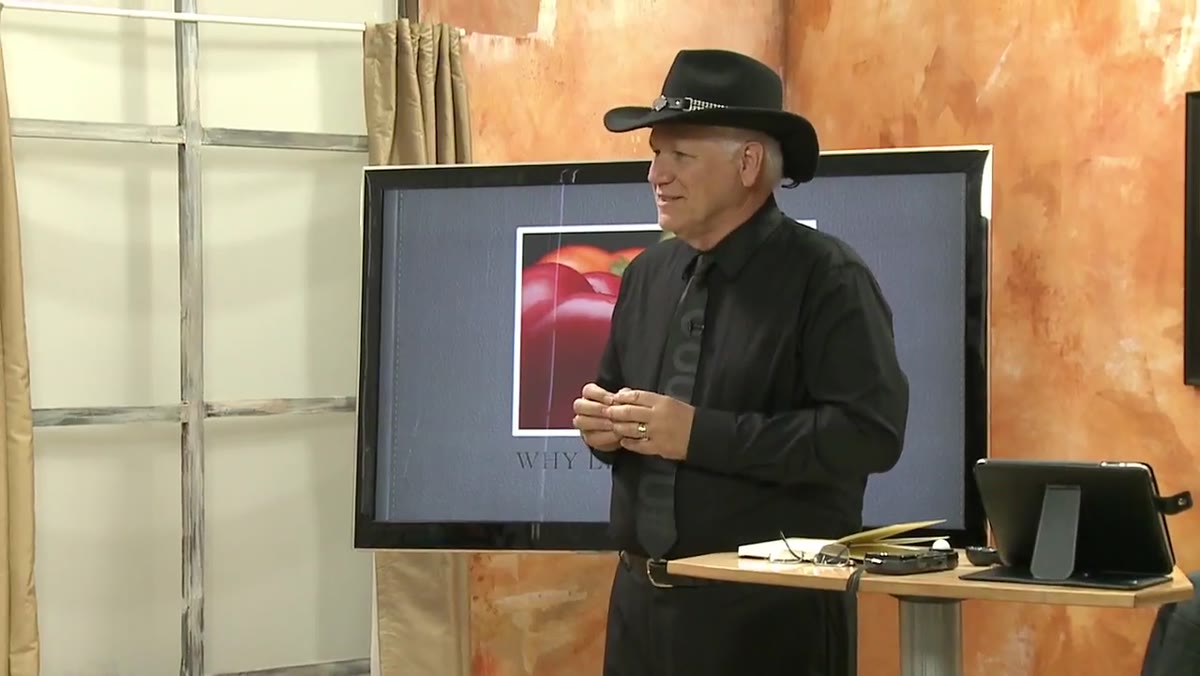 Don Giannatti gesturing, explaining that everything reflects light
Start here, not with gear. Before you touch a light stand, look at your subject and ask what kind of reflector it is. A matte fabric surface and a polished metal surface are both reflectors. They just behave differently. The fabric scatters light in many directions (diffuse reflection). The metal returns it in a narrow, predictable angle (specular reflection). Clothing, skin, hair, product packaging, wood grain, all of it sits somewhere on that spectrum.
Don Giannatti gesturing, explaining that everything reflects light
Start here, not with gear. Before you touch a light stand, look at your subject and ask what kind of reflector it is. A matte fabric surface and a polished metal surface are both reflectors. They just behave differently. The fabric scatters light in many directions (diffuse reflection). The metal returns it in a narrow, predictable angle (specular reflection). Clothing, skin, hair, product packaging, wood grain, all of it sits somewhere on that spectrum.
Giannatti makes the point that we already know this intuitively. We know a wet street is wet because the surface goes shiny. We know a cactus has texture because the light catches the edges of each spine. Your brain has been reading reflected light since you were days old. The job of a photographer is to make that unconscious process conscious and then use it deliberately.
Step 2: Learn the Core Vocabulary Before You Touch a Modifier
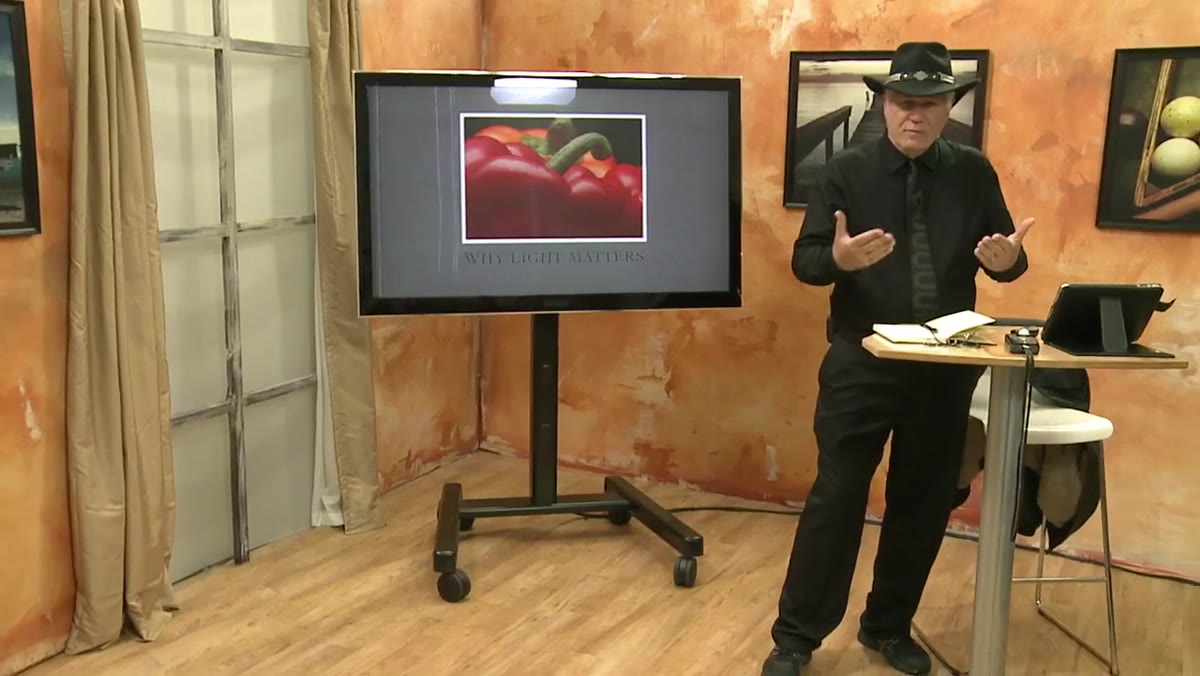
 Slide or diagram listing specular highlights, shadow, detail, and transitions
Giannatti identifies four terms that function almost like rules: specular highlights, shadow, detail, and transitions. Get these into your working vocabulary, not as abstract concepts but as things you can point to in any image.
Slide or diagram listing specular highlights, shadow, detail, and transitions
Giannatti identifies four terms that function almost like rules: specular highlights, shadow, detail, and transitions. Get these into your working vocabulary, not as abstract concepts but as things you can point to in any image.
Specular highlights are the bright reflections of the light source itself on a surface. Shadow is the absence of light, which defines form. Detail is texture made visible by light raking across a surface at an angle. Transitions are the gradients between lit and unlit areas. Smooth, gradual transitions read as round or curved. Hard, abrupt transitions read as flat or sharp-edged. Every lighting decision you make affects all four of these simultaneously, so you need to be able to name what you’re adjusting when something isn’t working.
Step 3: Think Light from the Subject Back to Camera
 Don Giannatti explaining subject-centric lighting direction
This is the mental reversal that makes Giannatti’s approach work. Most beginners think light source first: “I’ll put a large softbox camera left.” Subject-centric lighting reverses that. You start at the subject, think about how its surface will present light back toward your lens, and then position your source accordingly.
Don Giannatti explaining subject-centric lighting direction
This is the mental reversal that makes Giannatti’s approach work. Most beginners think light source first: “I’ll put a large softbox camera left.” Subject-centric lighting reverses that. You start at the subject, think about how its surface will present light back toward your lens, and then position your source accordingly.
In practice, this means before you place a light, you should be able to answer: what kind of reflection will this surface produce? Where does that reflection need to land to be visible to my camera? If you’re shooting a product with a high-gloss surface, the angle of incidence equals the angle of reflection. That’s physics, not taste. Your light position is partly determined by geometry, not just aesthetics. For skin, the rules are softer because skin is a complex surface, but the principle still applies.
Step 4: Read What Pool Balls Can Teach You
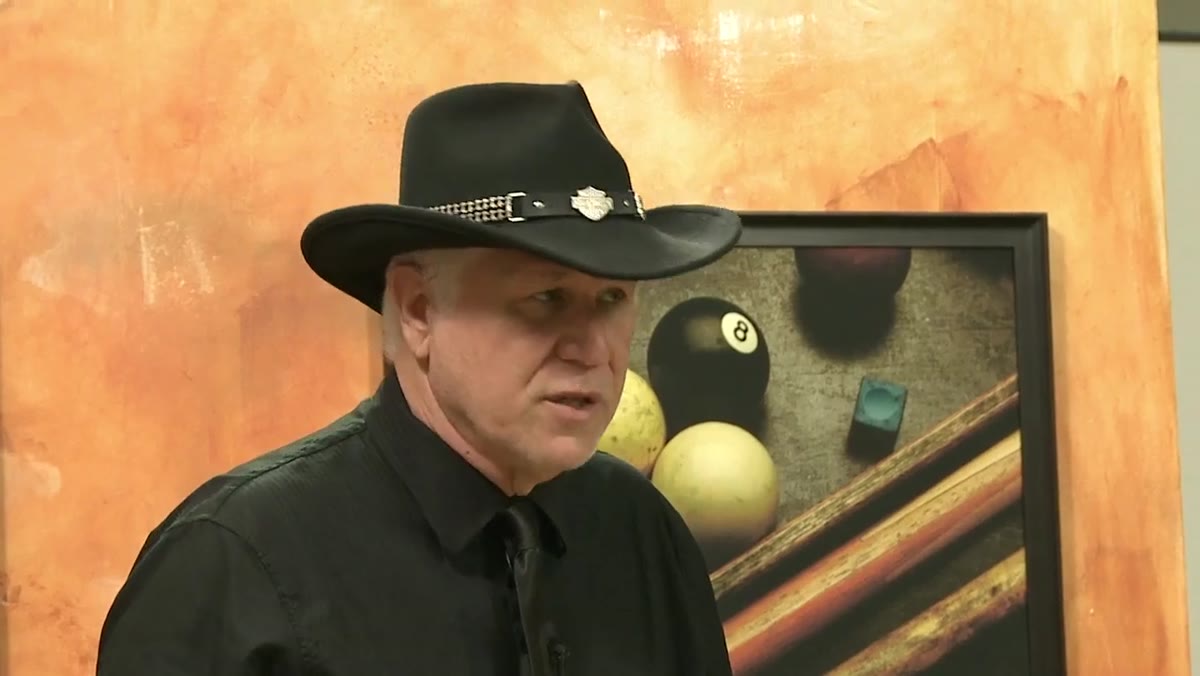
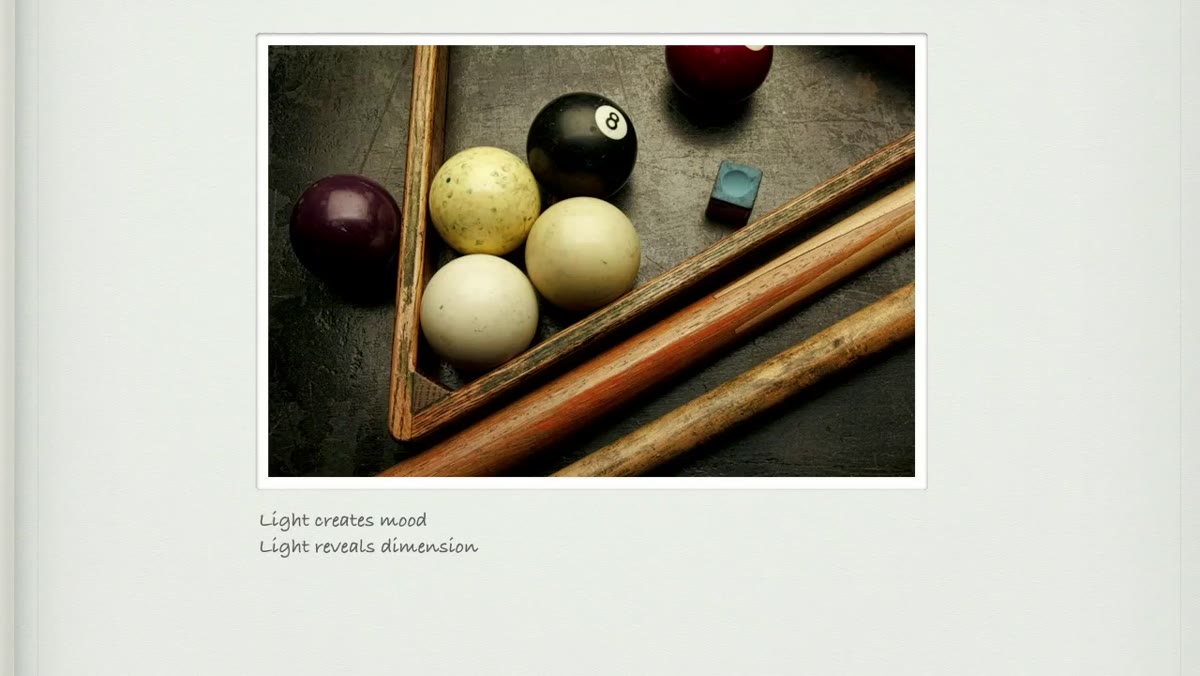 Pool balls on a table showing varied reflections from single light source
Giannatti uses a photograph of pool balls on a table as a teaching image, and it’s genuinely instructive. Look at it and you see round forms, wood grain, a slightly glossy background. One light source, but every surface tells a different story about that light. The white ball and the black ball are receiving identical light. The white ball shows you a clean specular highlight and a smooth transition into shadow. The black ball shows you almost nothing because it absorbs most of what hits it.
Pool balls on a table showing varied reflections from single light source
Giannatti uses a photograph of pool balls on a table as a teaching image, and it’s genuinely instructive. Look at it and you see round forms, wood grain, a slightly glossy background. One light source, but every surface tells a different story about that light. The white ball and the black ball are receiving identical light. The white ball shows you a clean specular highlight and a smooth transition into shadow. The black ball shows you almost nothing because it absorbs most of what hits it.
The lesson for working photographers is this: your light doesn’t change between subjects, but the subject changes how your light appears. When something in your frame isn’t reading correctly, the problem might not be your light position. It might be that you’re not accounting for how that specific surface behaves. I spent too long in my early studio work treating every subject as if it had the same reflective properties. A white dress and a black jacket in the same frame are two completely different problems requiring thought, not just a single power setting.
Step 5: Use Light to Isolate Your Subject from the Environment
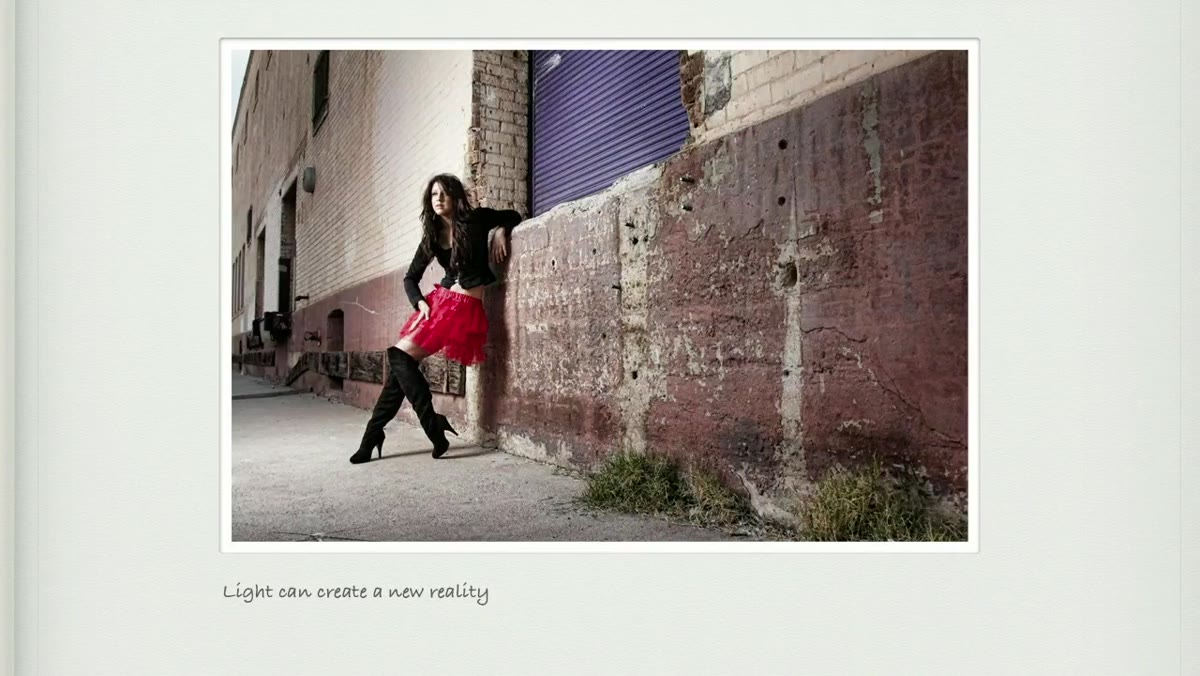 Subject lit with umbrella light on shadowed warehouse exterior
Giannatti shows an outdoor shot taken on the shadow side of a warehouse. Without any added light, the scene is flat and unflattering. He places an umbrella to camera side, creating a pool of warm, directional light that falls on the subject and then drops off into the ambient shadow of the building behind her.
Subject lit with umbrella light on shadowed warehouse exterior
Giannatti shows an outdoor shot taken on the shadow side of a warehouse. Without any added light, the scene is flat and unflattering. He places an umbrella to camera side, creating a pool of warm, directional light that falls on the subject and then drops off into the ambient shadow of the building behind her.
The practical technique here is using the falloff of a single light source to create separation between subject and background. No burning or dodging in post. The physics of light falloff does the work. A light source at a specific distance from your subject loses intensity quickly as distance increases. Position your subject far enough from the background, and the background naturally goes darker even if they’re in the same outdoor space. This is one of the most useful tools in location work and it costs nothing extra.
What I’d Add from My Own Studio Work
Giannatti’s framework is right, but there’s a practical extension worth mentioning: test your modifiers on the actual surface you’re shooting before your subject is in front of the camera. I label every light in my studio with masking tape: the modifier, the power setting from the last time I used it, the distance. When a new modifier arrives, I run it the same day against a reference surface I know well. Not because the manufacturer’s specs are wrong, but because seeing is different from reading.
This matters especially when your frame mixes surface types. Fashion editorial with a mix of matte skin tones, reflective jewelry, and a satin garment means you’re managing three different reflective behaviors in one image. Understanding each surface individually, before you start trying to balance them, saves you an enormous amount of time under pressure.
The single most important idea from this tutorial is also its simplest: you don’t photograph light. You photograph reflected light. Every decision you make, modifier shape, light distance, camera angle, is a decision about how you want your subject to return that light to your lens. Start there and the rest of the variables become easier to reason through.
Watch the full tutorial on YouTube to see Giannatti demonstrate these principles with live examples. The pool ball sequence alone is worth the watch.
Comments (2)
Solid advice. Especially the part about taking your time with it.
Great breakdown. The step-by-step approach really helps.
Leave a Comment