
There is a problem I run into every time I shoot a backlit portrait against a bright window or a blown-out seamless: the camera wants to compromise, and compromise in high-contrast lighting means you lose either the highlights or the shadows. Neither is acceptable when a client is paying for the image. The instinct for most photographers is to split the difference and hope for the best in post. That instinct is wrong. What actually works is a deliberate choice to protect the highlights and accept the darkness in the shadows temporarily, then recover those shadows in processing. I knew this intellectually, but watching William Patino work through it in real time, outdoors, under pressure, with a sky that could close down in minutes, made the logic click in a way that controlled studio conditions never quite forced me to confront.
Watch the full tutorial on YouTube
In this William Patino tutorial, he shoots a backlit river-and-mountain scene during a narrow golden-hour window, reviewing raw files afterward and explaining exactly why they look so dark straight out of camera and why that is correct, not a mistake. The whole arc of the video, from location scouting to raw review, maps directly onto decisions I make in studio. The light sources are different. The methodology is identical.
Step 1: Read the Light Before You Set the Camera
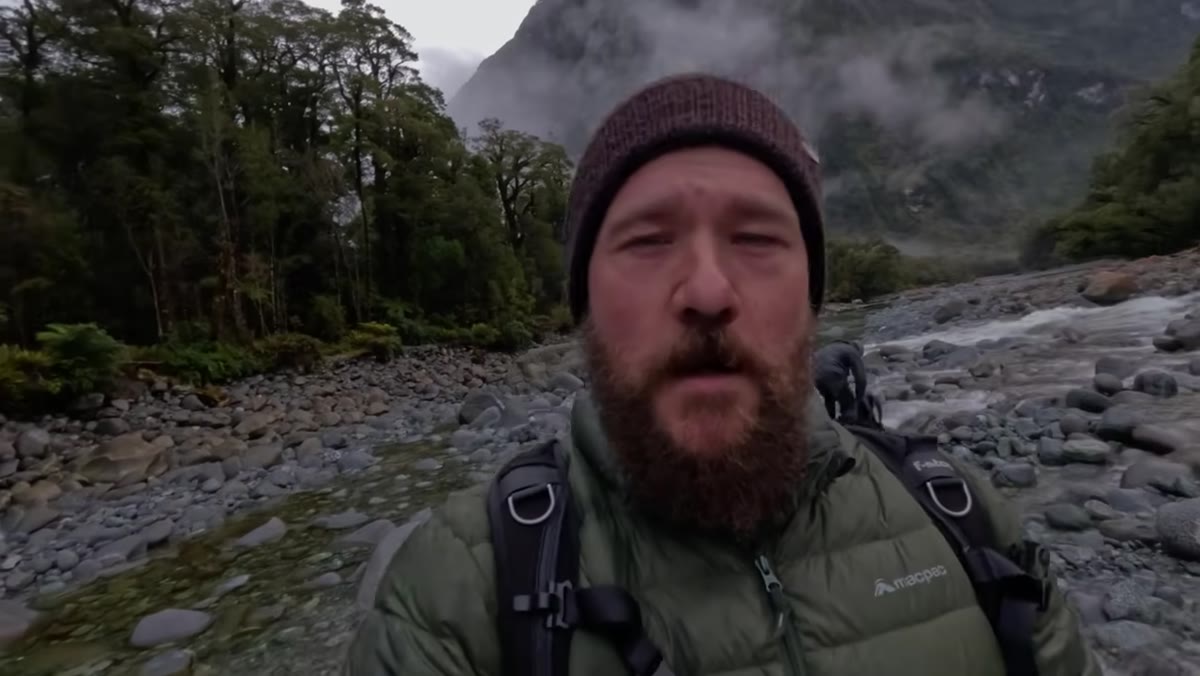 Photographer and companion waiting, watching colorful sky build
Before Patino fires a single frame, he spends time watching. He is looking at which direction has the most interesting atmospheric build, tracking whether the light will actually meet the scene. This is not indecision. It is the most important technical step in any backlit shoot because it determines your exposure anchor.
Photographer and companion waiting, watching colorful sky build
Before Patino fires a single frame, he spends time watching. He is looking at which direction has the most interesting atmospheric build, tracking whether the light will actually meet the scene. This is not indecision. It is the most important technical step in any backlit shoot because it determines your exposure anchor.
In studio, I do the same thing without calling it the same thing. Before I touch a strobe, I stand in the set and look at where the practical light sources are hitting hardest. That brightest point becomes my reference. Everything else falls in relation to it. Patino identifies the sky as his brightest element and immediately accepts that everything below it will need to be darker in camera. Deciding that early saves you from chasing a moving target during the shoot.
Step 2: Let the Strongest Light Source Dictate the Composition
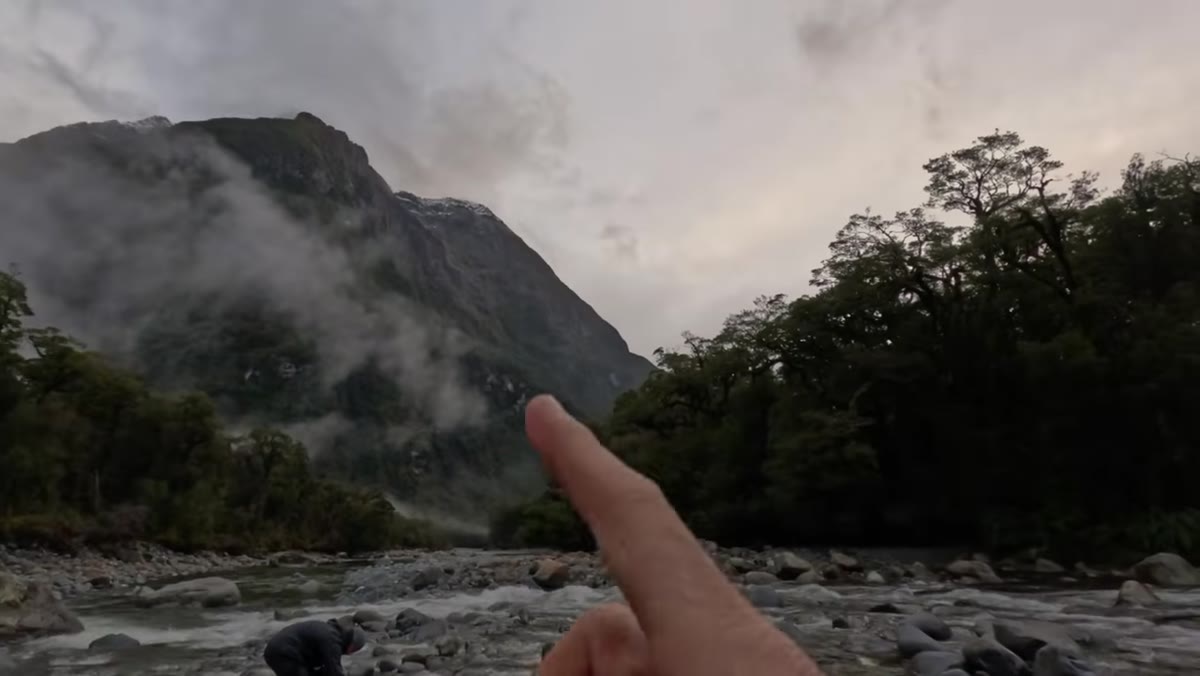 Wide shot of scene, photographer scanning foreground-to-peak sightlines
Patino makes an interesting statement early on: let the conditions dictate the composition, not the other way around. He is not forcing a predetermined frame onto the landscape. He is moving around until the strongest light source has a clear relationship with a foreground element that leads the eye toward it.
Wide shot of scene, photographer scanning foreground-to-peak sightlines
Patino makes an interesting statement early on: let the conditions dictate the composition, not the other way around. He is not forcing a predetermined frame onto the landscape. He is moving around until the strongest light source has a clear relationship with a foreground element that leads the eye toward it.
For backlit photography, this matters technically, not just aesthetically. When your light source is in or near the frame, the angle between your lens and that source affects how much flare, halo, and contrast compression you are dealing with. Patino positions himself so the peak catches the light cleanly while the water in the foreground creates a natural leading line. In studio, this is equivalent to flagging your key light so it does not spill directly into the lens while still allowing the rim light to wrap around your subject’s shoulder and create that backlit separation.
Step 3: Solve Foreground Problems as Compositional Problems, Not Cropping Problems
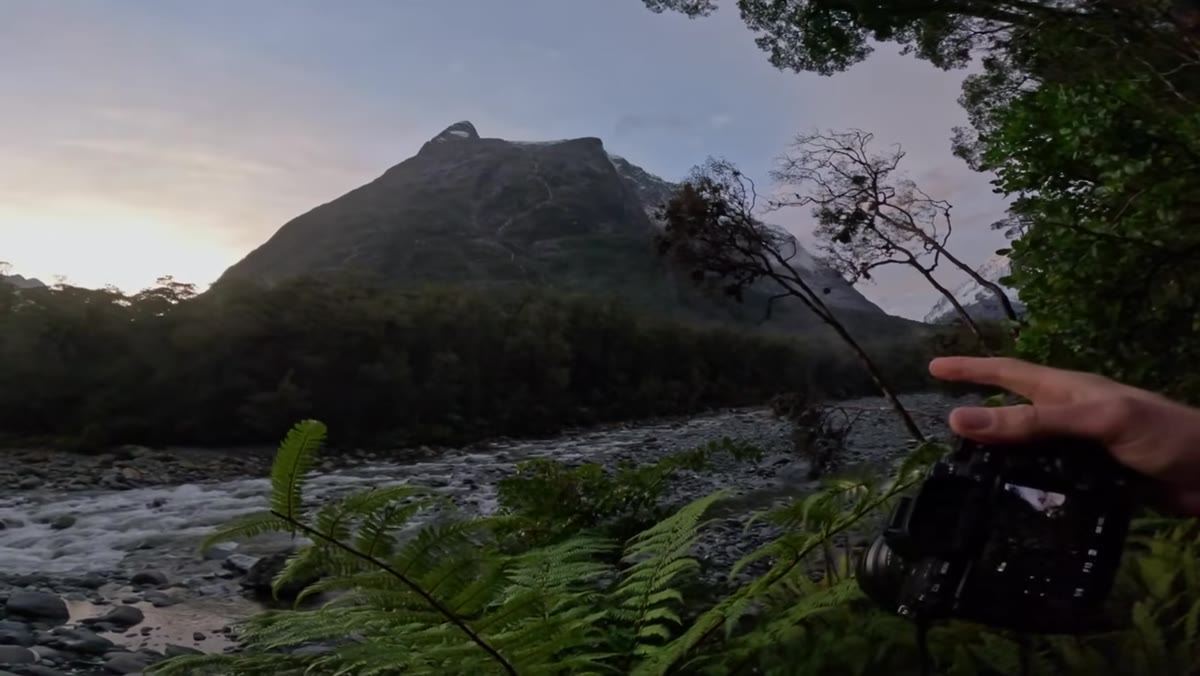 Photographer identifying dead tree interrupting the fern-river-peak sightline
Patino notices a dead tree cutting across an otherwise clean sightline from the ferns in the foreground to the mountain peak. His response is not to plan to crop it out later. He physically moves to find a new angle that eliminates the obstruction while preserving the layered depth he wants.
Photographer identifying dead tree interrupting the fern-river-peak sightline
Patino notices a dead tree cutting across an otherwise clean sightline from the ferns in the foreground to the mountain peak. His response is not to plan to crop it out later. He physically moves to find a new angle that eliminates the obstruction while preserving the layered depth he wants.
This is a discipline worth developing even in a controlled studio environment. When something in the frame is not working, fix it in the frame. I keep masking tape on every light stand in my studio partly to label each modifier’s position, but also because repositioning is always easier than retouching. The habit Patino demonstrates here, treating the composition as a problem to solve physically rather than digitally, is one of the cleaner disciplines landscape photography can teach studio work.
Step 4: Expose for the Highlights, Accept the Dark Shadows in Camera
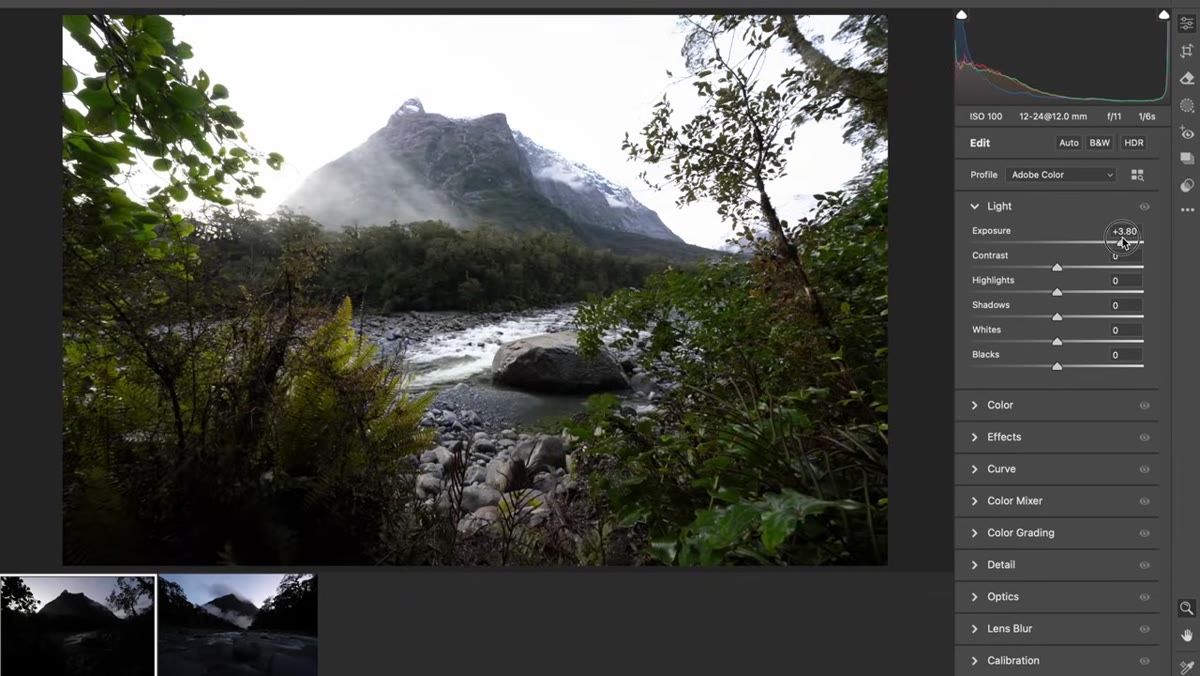
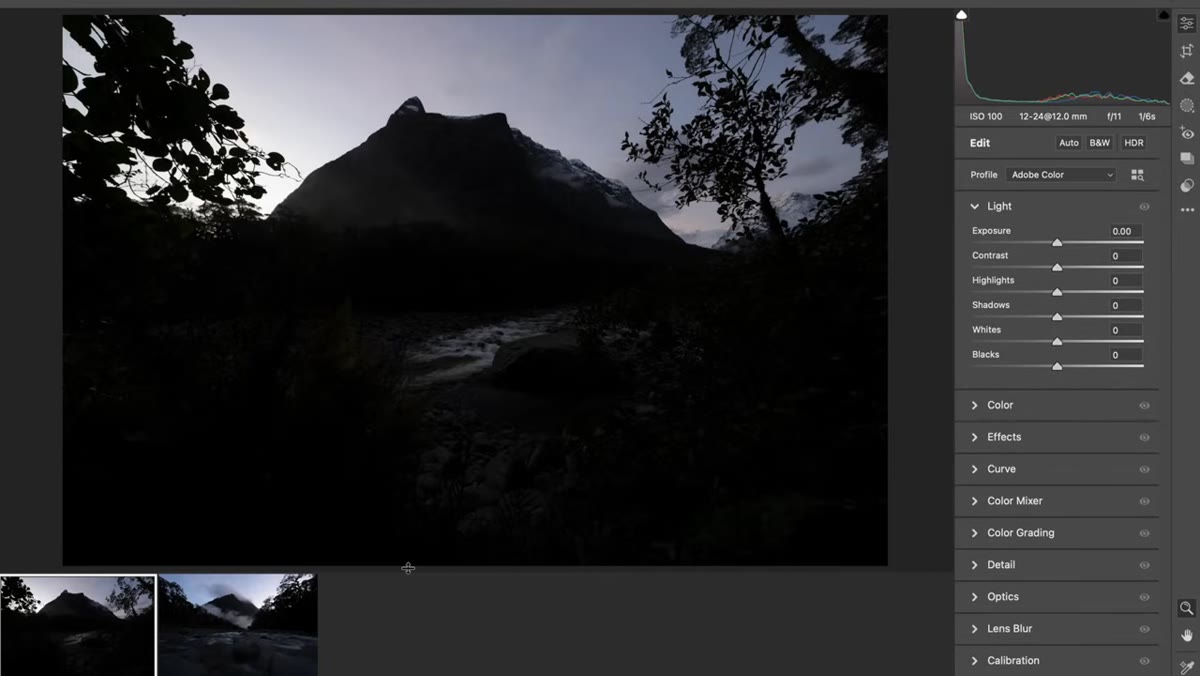 Raw files open on screen, both images visibly dark with heavy shadow areas
This is the technical core of the video. When Patino pulls up his raw files, the images look significantly underexposed. The shadows are heavy and the mid-tones are dark. He is explicit about the reason: in a scene with a massive dynamic range, you expose to protect the highlights. The histogram should show the right edge of the exposure sitting just inside the boundary, with no clipping. The shadows falling dark is the correct and expected result.
Raw files open on screen, both images visibly dark with heavy shadow areas
This is the technical core of the video. When Patino pulls up his raw files, the images look significantly underexposed. The shadows are heavy and the mid-tones are dark. He is explicit about the reason: in a scene with a massive dynamic range, you expose to protect the highlights. The histogram should show the right edge of the exposure sitting just inside the boundary, with no clipping. The shadows falling dark is the correct and expected result.
If you expose to brighten the shadows in camera, you blow the highlights and that information is gone permanently. Shadow detail can be recovered from a raw file with far more latitude than highlight detail. Set your exposure by spot-metering or by watching the histogram for that right-edge position, then stop second-guessing the dark viewfinder image. In studio, I use the same logic when shooting into a bright cyclorama or against a window. Meter for the brightest area you need to hold detail in, confirm no highlight clipping in the histogram, and trust the process.
Step 5: Recover Shadows in Post Using the Raw File’s Full Latitude
 Comparison shown between highlight-exposed and shadow-exposed versions of the scene
Patino demonstrates what happens when you expose for the shadows instead: the highlights clip and the sky becomes a blown-out white shape with no detail. Then he shows the correctly exposed file with shadows lifted in processing. The result holds detail in both ends of the tonal range.
Comparison shown between highlight-exposed and shadow-exposed versions of the scene
Patino demonstrates what happens when you expose for the shadows instead: the highlights clip and the sky becomes a blown-out white shape with no detail. Then he shows the correctly exposed file with shadows lifted in processing. The result holds detail in both ends of the tonal range.
In practice, this means shooting raw is not optional for backlit work. A JPEG compresses the tonal data too aggressively at capture for this recovery to work cleanly. Pull up the Shadows and Blacks sliders in your raw processor after confirming your highlights are protected. The mid-tones will usually follow without much intervention. Apply any local adjustments to the foreground separately so you are not brightening areas that are already holding well.
What Studio Photographers Should Carry Away From This
I have been shooting fashion and beauty in controlled studio conditions long enough that outdoor shooting sometimes feels like improvisation rather than technique. What Patino’s workflow reminds me is that the underlying logic of exposure is the same regardless of whether the light source is the sun or an Elinchrom head. The discipline he applies under time pressure, in changing conditions, is something I think studio photographers can get soft on because we can always move the light or trigger another frame.
I keep a lighting journal where I sketch every setup after a shoot, and after watching this video I added a notation I had not bothered writing in years: identify the brightest element first, set exposure there, and build the image from that anchor outward. It sounds obvious until you watch someone do it under a sky that might close in twenty minutes and realize you would have metered for the midtones out of habit.
The single most important takeaway from this tutorial is that underexposed raw files are not failed exposures. They are the correct starting point for high-dynamic-range scenes when you have prioritized highlight protection. Dark and recoverable is always better than bright and clipped. That applies at golden hour in the mountains, and it applies in a studio shooting a model against a lit seamless.
Watch the full tutorial on YouTube
Comments (3)
Been doing this wrong for years apparently. Thanks for the wake-up call.
Bookmarked. Coming back to this one for sure.
Well explained. I think my audience would really benefit from this — mind if I link to it?
Leave a Comment