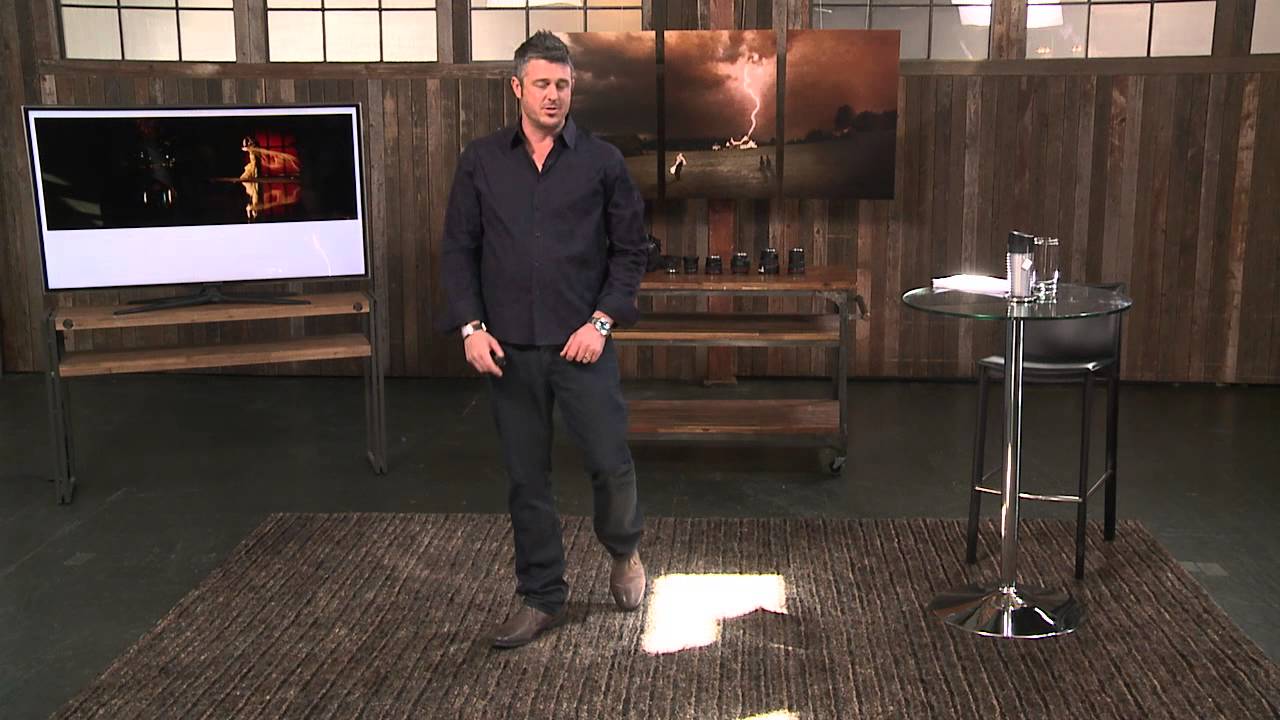
There is a question I get from assistants and newer photographers on set more than any other: “Where do you want the light?” They mean well, but the question is backwards. You don’t decide where you want the light and then manufacture it from scratch every time. You learn to read what’s already in the room, subtract what’s hurting you, and build from what’s left. That’s a discipline, not an instinct, and it took me years of commercial work to internalize it.
I recently spent time with a CreativeLive indoor lighting tutorial that articulates this exact workflow better than most textbooks do. Watch the full tutorial on YouTube before or after reading this. What struck me was how methodically the instructor breaks the problem into stages: ambient light assessment, isolation, light type, and then use. That sequence maps almost perfectly to how I approach a new location or studio configuration. Here’s my walkthrough of those stages, expanded with what I’d add from commercial practice.
Step 1: Identify Every Light Source in the Room
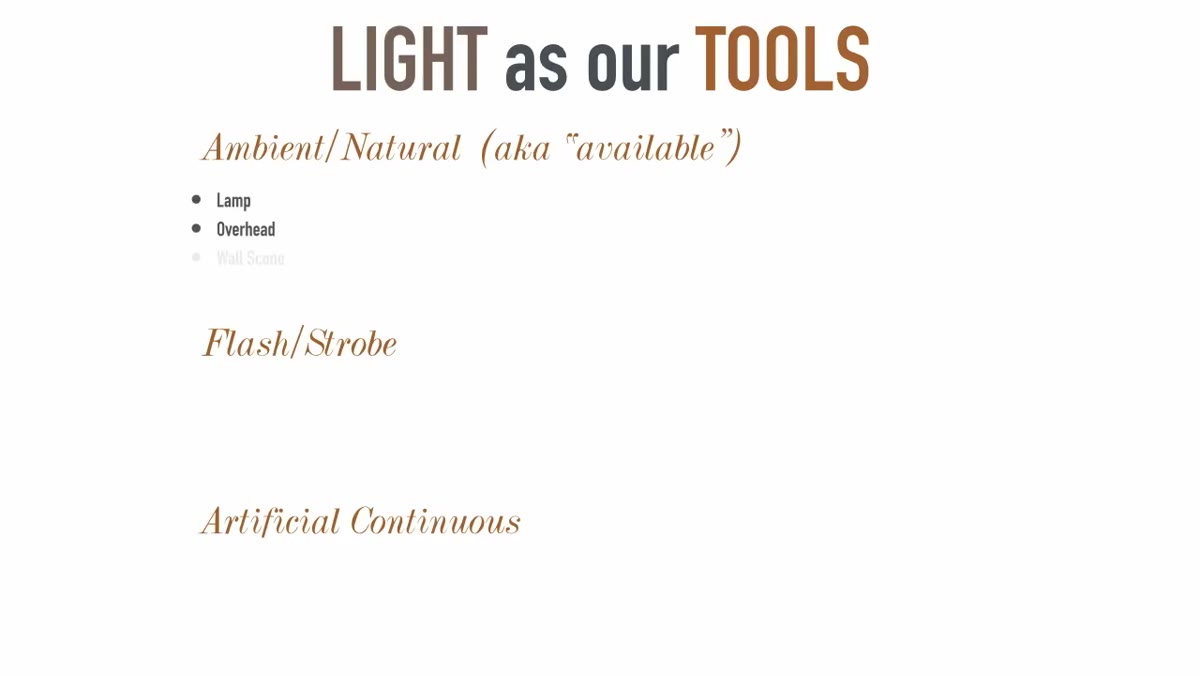 Instructor gesturing toward ambient sources including lamps and windows
Before you touch a single piece of gear, stop and inventory what’s already producing light. Overhead fixtures, fluorescent banks, sconces, windows, even the glow from a monitor on a desk. All of it is ambient light and all of it is influencing your image whether you acknowledge it or not. The tutorial makes an important point here: there is actually an enormous amount of light in most indoor environments. The problem isn’t scarcity. The problem is chaos.
Walk the space and look at surfaces, not sources. Where are the hot spots on the floor? Where does a wall catch a gradient? I use my hand the same way the instructor demonstrates, holding it open at face height and rotating it slowly. The shadow edge on your palm tells you the direction and quality of the dominant source faster than any meter. If you see a clean shadow with a crisp edge, you have a hard directional source. If the shadow is soft or barely present, you have flat, diffused light from multiple directions. Neither is inherently bad, but you need to know which one you’re dealing with before you start problem-solving.
Step 2: Subtract Before You Add
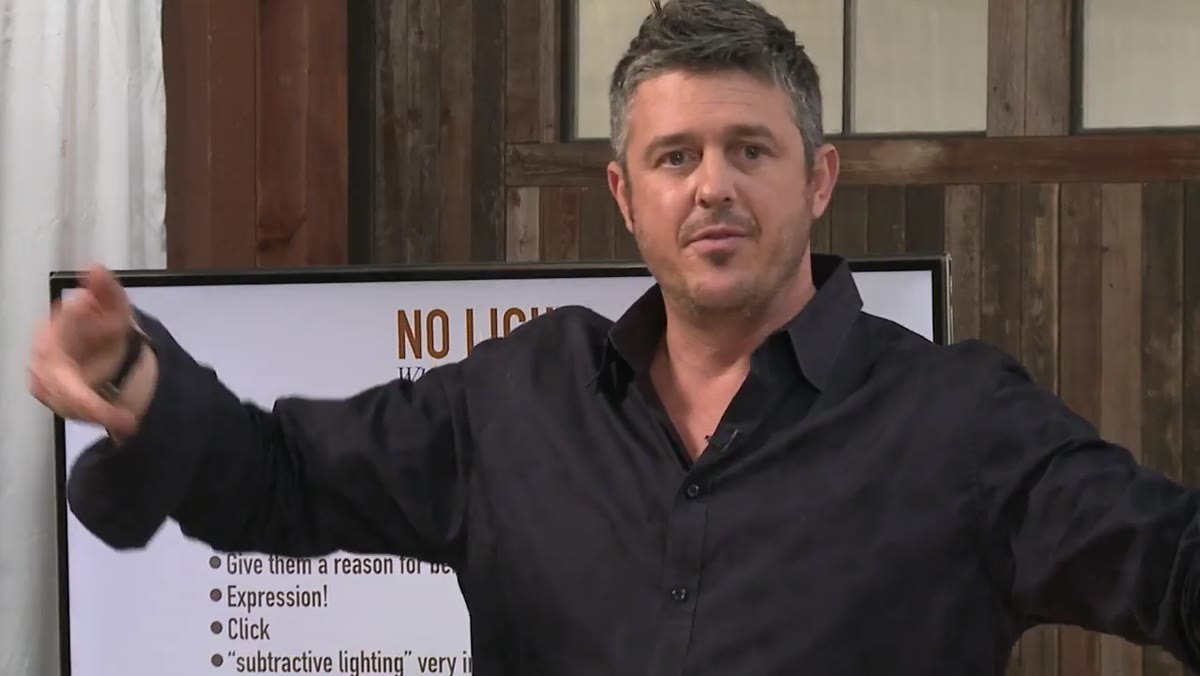 Instructor explaining turning off overhead and fluorescent lights to isolate natural light
This is the step most photographers skip because it feels counterintuitive. You want more light, so why would you start by turning things off? The tutorial is direct about this: shut down the sources that are fighting each other first, then assess what remains. In practice, that usually means killing the overhead fluorescents, switching off any practical lamps that are throwing a color temperature you don’t want, and working with whatever natural or dominant source is left.
I keep a roll of black wrap in my bag specifically for this phase. You can tape it over practical light sources you can’t switch off, or flag a window temporarily while you get a baseline reading. Once you understand the natural foundation, adding your own light becomes a controlled decision rather than a guess layered on top of chaos. Subtractive lighting is not about creating darkness. It’s about creating clarity.
Step 3: Classify the Light You Have Left
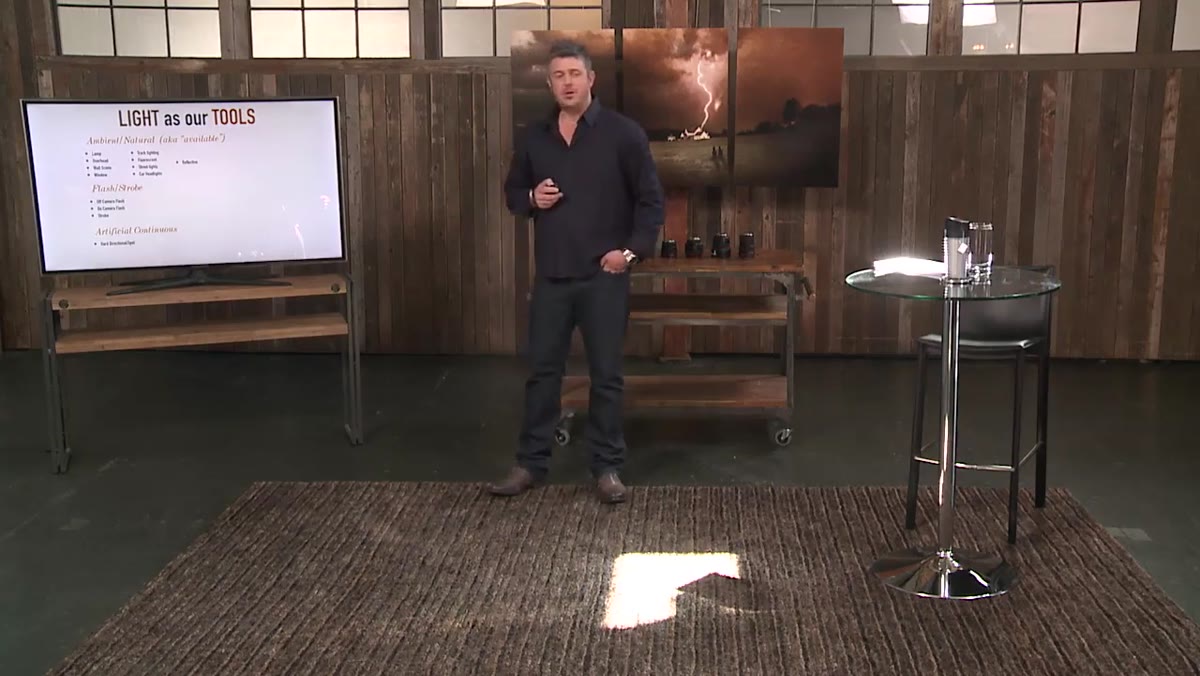 Instructor distinguishing between hard directional and soft diffused artificial light sources
After subtraction, you’re left with a manageable picture. Now categorize what you have. The tutorial breaks light into hard and directional versus soft and diffused, and it adds a third category that matters a lot on location: mixed. Mixed is what you get when a window on one side is giving you cool, soft daylight while a tungsten lamp on the other side is throwing warm, hard fill. That combination can look beautiful or it can look like a technical accident, and the difference is whether you made it happen on purpose.
In commercial work I shoot mostly with strobes, but the tutorial’s point about constant hot lights applies directly to how I think about modeling lights. A flashlight or video light behaves the same way a focused tungsten spot does. It’s hard, it’s directional, and it gives you immediate visual feedback. If you are learning to read light, start with constant sources. They don’t lie between pops.
Step 4: Find the Subject Position Before You Set the Shot
 Instructor using hand to locate optimal face position relative to light source
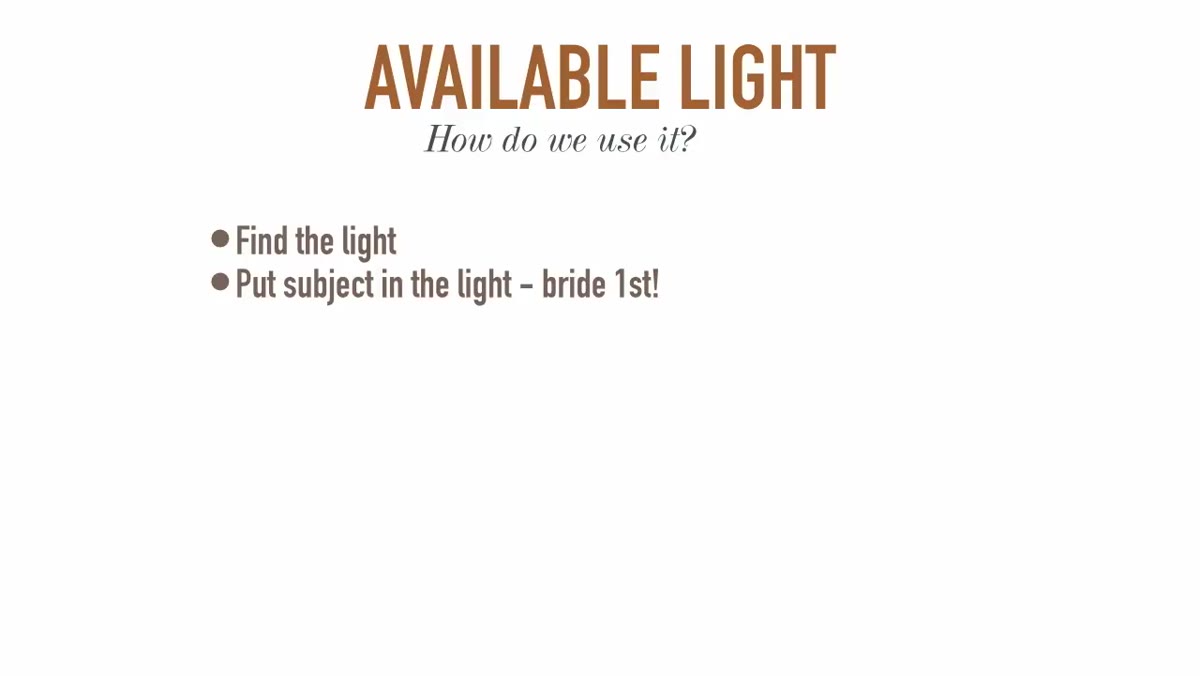
The hand test comes back here, and it’s the most transferable technique in the whole tutorial. You find the light, then you bring the subject to it. Not the other way around. Hold your open hand at the height and position where your subject’s face will be. Rotate slowly. When you see a shadow fall across the palm with some depth to it, you have dimension. When highlights and shadows coexist on the same surface, you’re looking at a position worth shooting.
The tutorial calls this putting the subject in the light and giving them a reason to be there. That second part matters more than people realize. If someone is standing in the right light but their body language reads as “I was told to stand here,” the image is technically correct and emotionally empty. The light sets up the shot. The expression and micro-positioning close it. I’d add: once you find the position that works, mark it. Gaffer tape on the floor, a light stand as a positional reference, anything. Don’t lose a good light position because you moved to adjust a collar and couldn’t find your way back.
Step 5: Build Your Light When No Quality Source Exists
 Instructor positioning video light as front source with optional rim light added behind subject
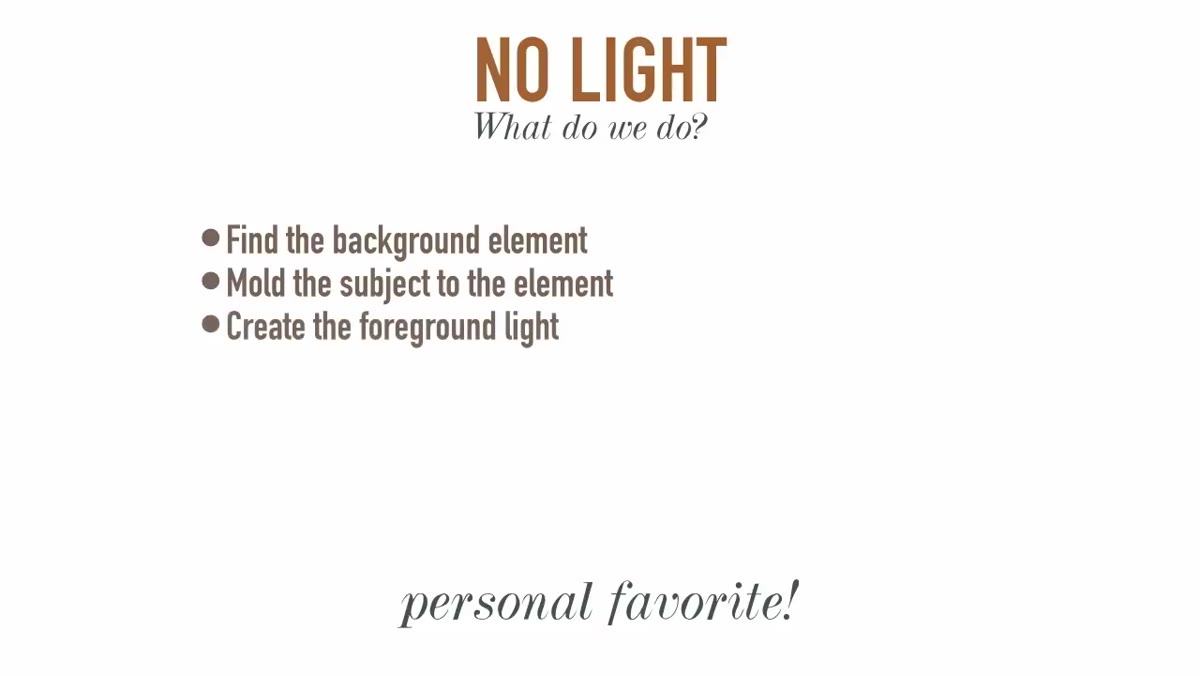
Sometimes a location has interesting architecture or a background element worth using but no light falling where you need it. The tutorial handles this cleanly: find the background element first, then position your subject relative to it, and then build front light from scratch. A single video light or constant hot light positioned at roughly 45 degrees gives you an immediate key. Add a rim or contour light from behind if you want separation from the background.
The fern example in the tutorial is the kind of creative problem-solving that doesn’t get taught enough. Shining a hot light through a plant to project a pattern onto the wall behind the subject turns a bare location into a textured environment. You’re not adding a background. You’re using what’s already there and shaping the light to interact with it. This approach scales up to commercial work directly. I’ve used venetian blind shadows, window grilles, and perforated metal panels the same way on editorial sets.
What I’d Add from My Own Practice
The tutorial builds toward combining these approaches, which it calls advanced mixed lighting. I want to name one specific habit that makes this combination work reliably: keep a lighting journal. After every shoot I sketch the setup in a small notebook. Source type, position, modifier, approximate distance, and what the result actually looked like versus what I expected. Over time, those sketches become a reference library that’s faster to consult than any app. When I’m in a location and something isn’t working, I flip back to a similar scenario and rebuild from a setup I know produced results.
The other thing I’d reinforce is calibration at every stage. If you’re mixing ambient daylight with a tungsten video light, pick your white balance and commit to it before you start adjusting subject position. Changing color temperature mid-session makes it impossible to compare frames and learn from them.
The single most important idea in this tutorial is that light is a tool you find before you use. Photographers who walk into a room and immediately start unpacking gear are adding variables before they’ve read the problem. Walk the room. Read the light. Subtract what doesn’t serve you. Then build.
Watch the full tutorial on YouTube to see these techniques demonstrated in sequence, including the live examples the instructor walks through with subjects in a real environment.
Comments
Leave a Comment