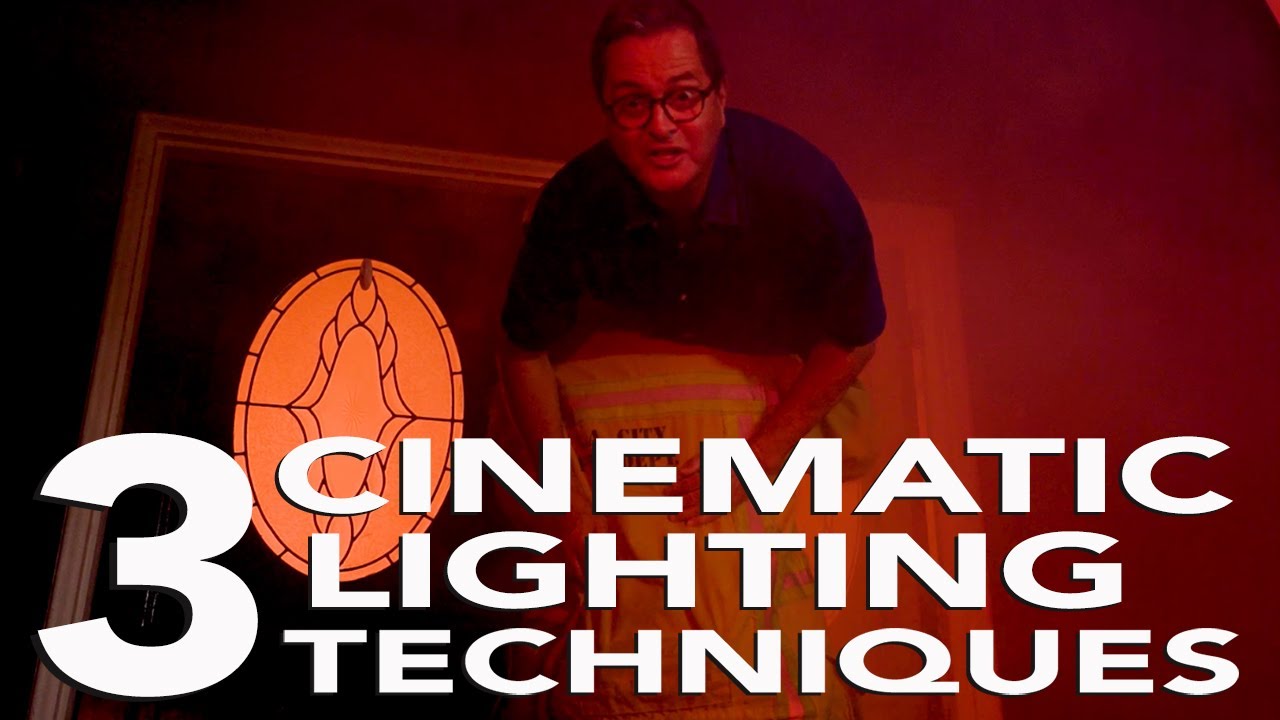
There’s a specific kind of client request that used to make me nervous: the ones that want something cinematic on a studio budget. “Can we make it feel like he’s outside in the rain?” or “Can we get that firelight glow?” Years ago, my answer involved a lot of gels, a lot of guessing, and at least one shoot where I handed back a card full of images that looked more like a Halloween party than an editorial spread. Modern RGB LED panels have changed that calculus almost entirely, and when I came across this tutorial from The Slanted Lens, I recognized immediately that J.P. Morgan was solving the exact problems I’d been brute-forcing for years.
Watch the full tutorial on YouTube
The tutorial covers three distinct cinematic lighting setups using F&V LED panels, specifically the Z1200 RGB fixture and the K2000 daylight panel. What makes it worth your time isn’t that it introduces exotic equipment, it’s that it shows how layering simple, programmable light sources creates scenes that read as completely believable on camera. I’m going to walk through the techniques step by step, with the settings that actually matter and the reasoning behind each decision.
Step 1: Build the Core Fire Effect with the Z1200’s Built-In Mode
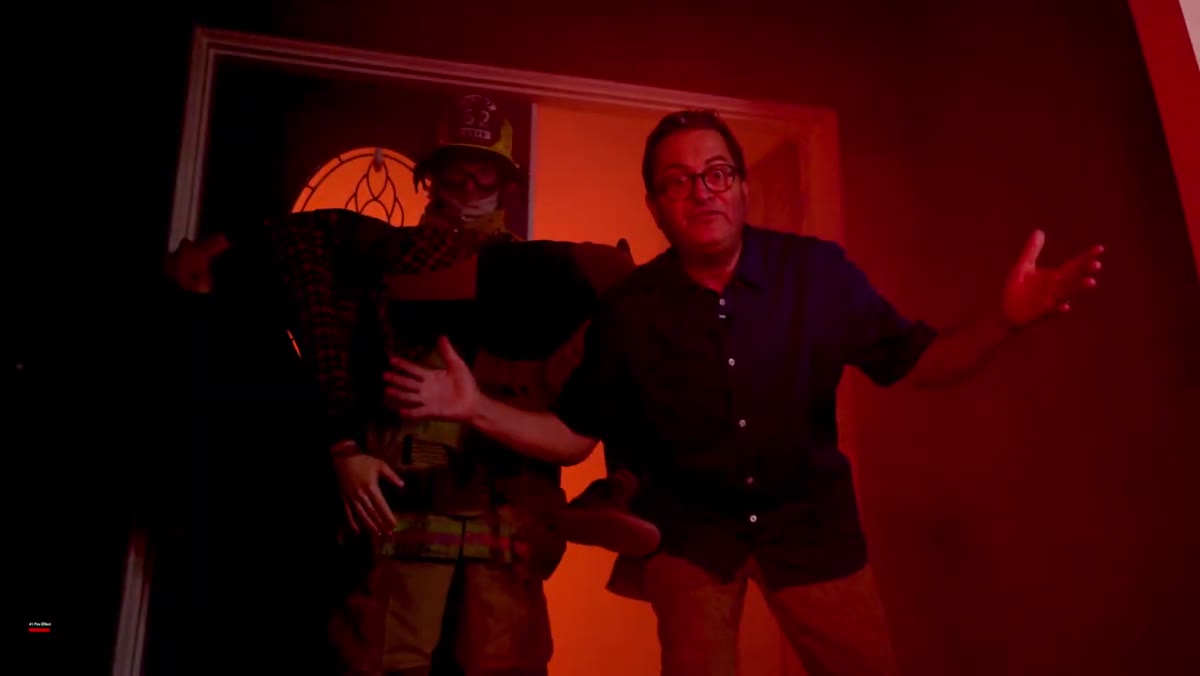 Z1200 panel producing warm flickering fire-colored light
The Z1200 has a built-in fire simulation mode that cycles through shifting warm tones, reds and oranges, while varying intensity to mimic the randomness of actual flame. You don’t need to program anything manually. Activate the effect mode on the panel, point it toward your subject from a low angle (below eyeline works best for the fire-from-below feeling), and let the panel do the work. The key here is placement: fire doesn’t come from above, so mounting it at floor level or just off the ground sells the illusion immediately.
Z1200 panel producing warm flickering fire-colored light
The Z1200 has a built-in fire simulation mode that cycles through shifting warm tones, reds and oranges, while varying intensity to mimic the randomness of actual flame. You don’t need to program anything manually. Activate the effect mode on the panel, point it toward your subject from a low angle (below eyeline works best for the fire-from-below feeling), and let the panel do the work. The key here is placement: fire doesn’t come from above, so mounting it at floor level or just off the ground sells the illusion immediately.
What you’ll see on camera is a warm, shimmering light that pulses without any artificial regularity. The Z1200’s algorithm handles the variation, which matters because manually flickering a light always introduces a human rhythm that the eye picks up as fake. Trust the automation on this one.
Step 2: Add Smoke to Sell the Fire Volumetrically
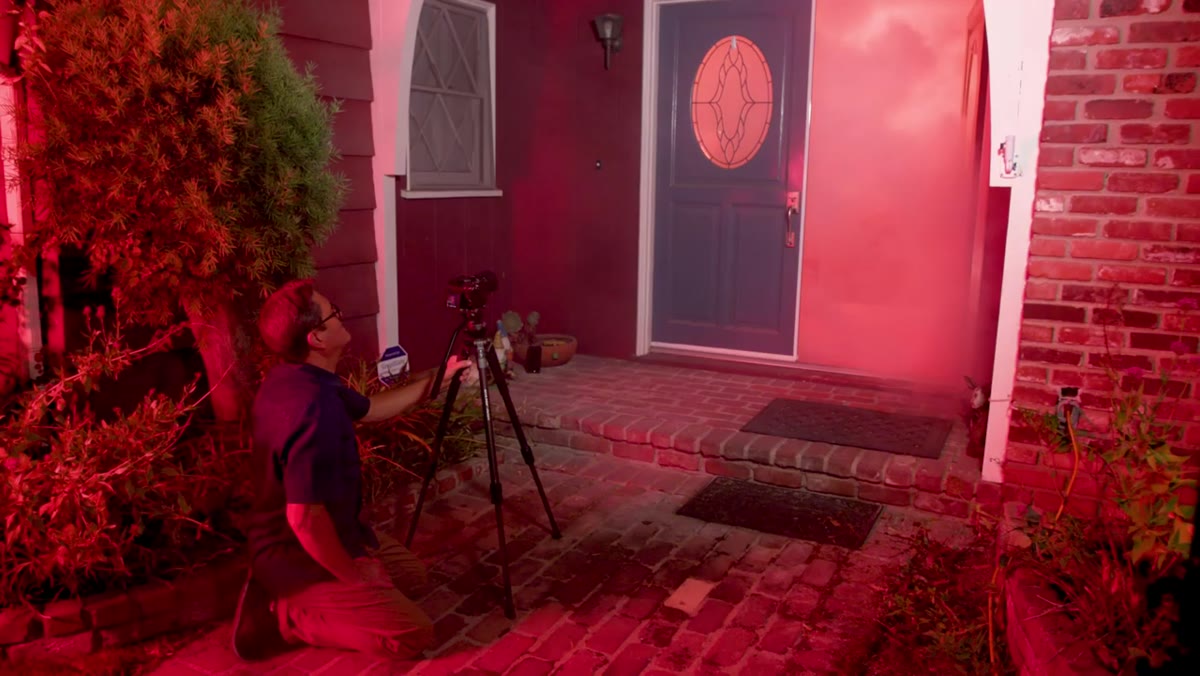 Smoke drifting through the fire-effect light beam
This is the detail that separates a decent fire effect from a great one. Once your Z1200 is running the fire simulation, introduce a small amount of haze or theatrical smoke into the scene. Light needs something to travel through in order to become visible as a beam, and smoke gives it that volume. The result is that the light appears to be radiating outward from a burning source rather than simply illuminating the subject from one direction.
Smoke drifting through the fire-effect light beam
This is the detail that separates a decent fire effect from a great one. Once your Z1200 is running the fire simulation, introduce a small amount of haze or theatrical smoke into the scene. Light needs something to travel through in order to become visible as a beam, and smoke gives it that volume. The result is that the light appears to be radiating outward from a burning source rather than simply illuminating the subject from one direction.
Keep the smoke sparse. A little goes a long way, and too much diffuses everything into a flat, foggy mess. You want wisps, not a blanket. If you’re working in a studio with good ventilation control, a short burst every 30 to 45 seconds is usually enough to maintain the effect between takes.
Step 3: Layer Police Car Lights for Narrative Context
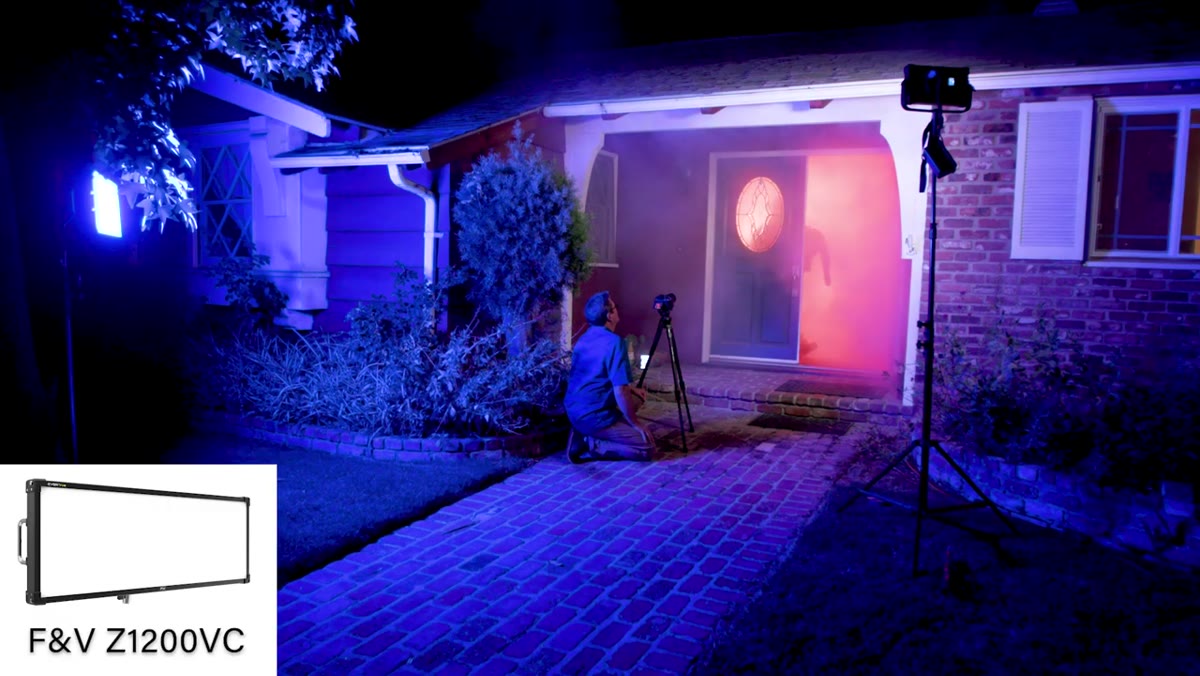 Red and blue alternating light flashing across the subject
This is the addition that genuinely surprised me when I watched the tutorial. A second light source, set to alternate between red and blue at roughly one-second intervals, is placed out of frame to suggest a police vehicle or emergency response outside. The effect on the subject is immediate: suddenly the scene has a story. The viewer’s brain fills in the rest.
Red and blue alternating light flashing across the subject
This is the addition that genuinely surprised me when I watched the tutorial. A second light source, set to alternate between red and blue at roughly one-second intervals, is placed out of frame to suggest a police vehicle or emergency response outside. The effect on the subject is immediate: suddenly the scene has a story. The viewer’s brain fills in the rest.
On the Z1200 or a comparable RGB panel, set up a custom cycle between a saturated red and a saturated blue. A one-second dwell on each color reads as realistic on camera. The light should come from the side or slightly behind the subject, since a police car outside a window wouldn’t be a frontal source. This light does double duty: it adds narrative and it fills in shadows that the fire effect alone tends to create.
Step 4: Use a Daylight Panel to Anchor the Scene
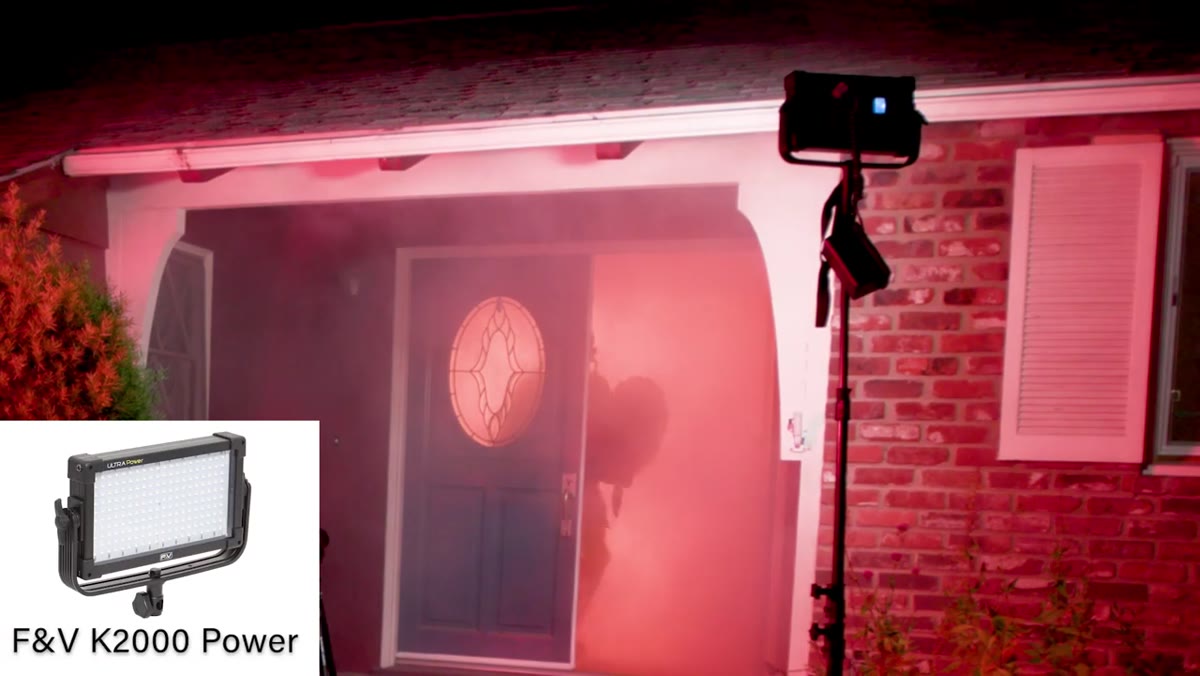 K2000 daylight panel providing clean fill light on the subject
The third light in the fire setup is a K2000 set to pure daylight, around 5600K. Its job is unglamorous but essential: it prevents the scene from becoming a muddy mess of colored shadows. Without a neutral anchor, the red-orange of the fire and the red-blue of the police light start to fight each other in the shadow areas, and the image reads as chaotic rather than cinematic.
K2000 daylight panel providing clean fill light on the subject
The third light in the fire setup is a K2000 set to pure daylight, around 5600K. Its job is unglamorous but essential: it prevents the scene from becoming a muddy mess of colored shadows. Without a neutral anchor, the red-orange of the fire and the red-blue of the police light start to fight each other in the shadow areas, and the image reads as chaotic rather than cinematic.
Keep this light at low intensity, maybe 20 to 30 percent of what the other sources are producing. You want it to gently reveal the environment without overriding the color temperature drama you’ve built with the other two panels. Think of it as the ambient daylight bleeding in through a doorway rather than a direct light source.
Step 5: Set Up the TV Flicker Effect
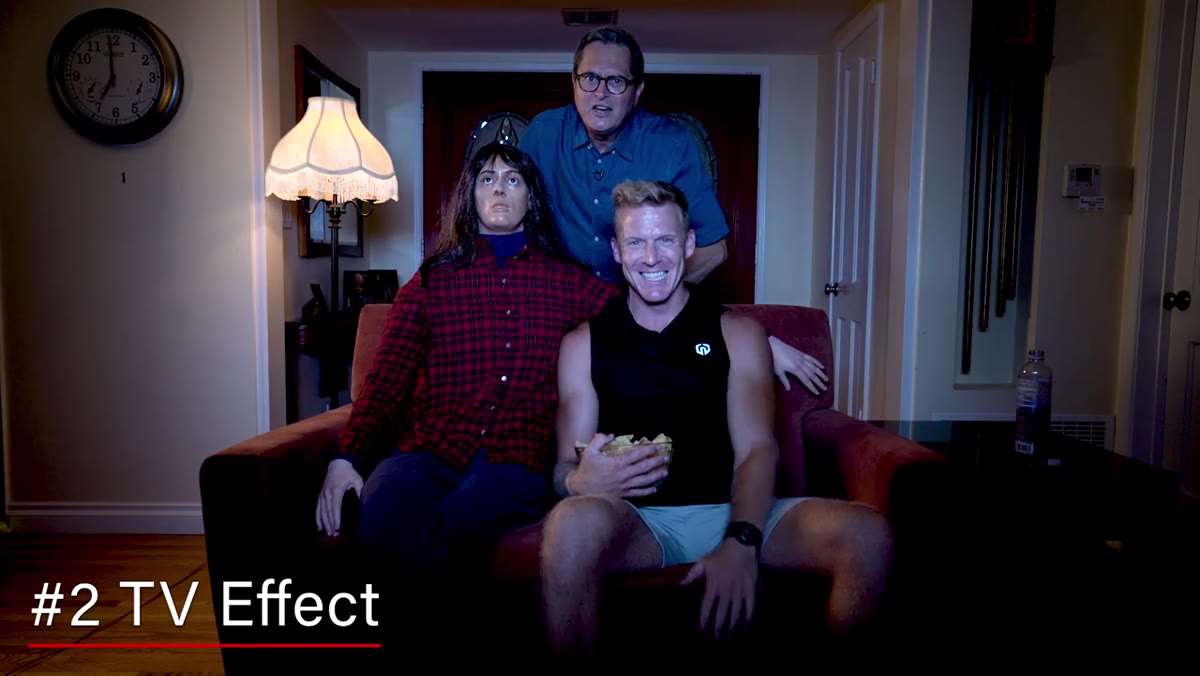 Subject lit by flickering cool-toned TV simulation light
The second major setup in the tutorial uses the Z1200’s TV simulation mode. The idea is simple: the light source sits above or just beside the camera position, facing the subject, and cycles through varying intensities and slightly shifting color temperatures to mimic the light thrown by an active television screen. The camera, in this configuration, essentially occupies the position where the TV screen would be.
Subject lit by flickering cool-toned TV simulation light
The second major setup in the tutorial uses the Z1200’s TV simulation mode. The idea is simple: the light source sits above or just beside the camera position, facing the subject, and cycles through varying intensities and slightly shifting color temperatures to mimic the light thrown by an active television screen. The camera, in this configuration, essentially occupies the position where the TV screen would be.
In the panel’s TV mode, you can set a cycle speed. The tutorial demonstrates 1-second, 3-second, 5-second, and 7-second intervals. For most uses, 3 seconds reads as natural on camera without feeling slow. The color temperature variation built into the mode adds the sense that the TV is cutting between different scenes, which is the detail that makes it feel authentic rather than like a panel just dimming and brightening.
Step 6: Control Spill with Honeycomb Grids
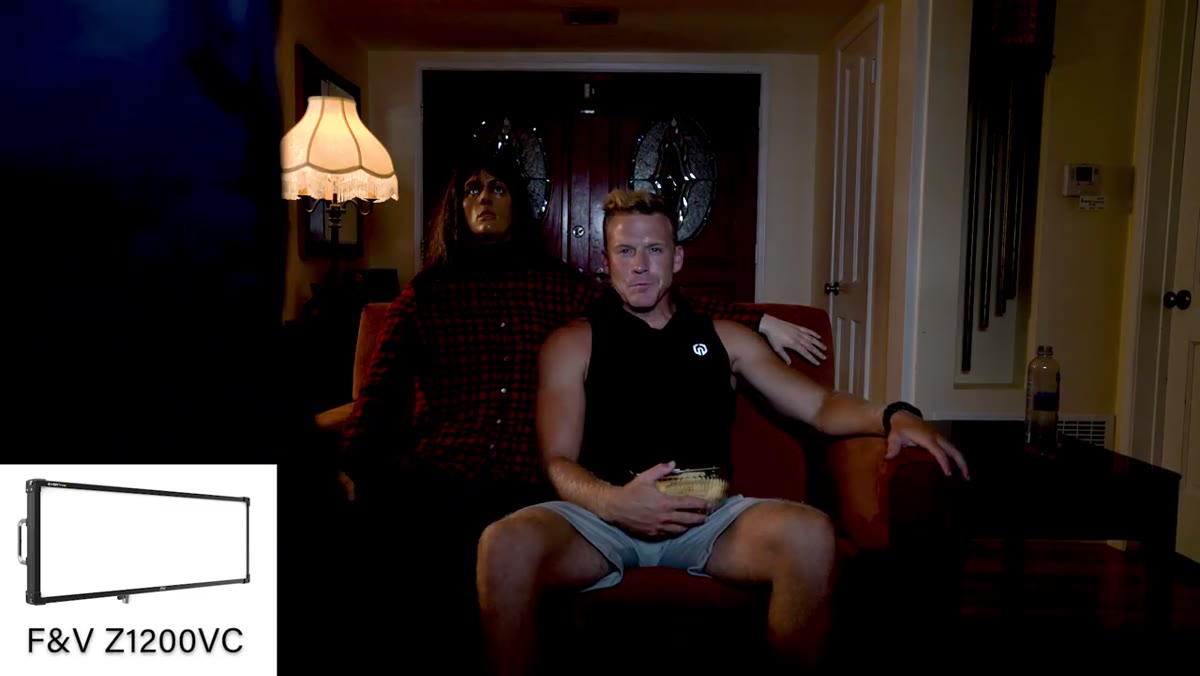 Honeycomb grid being removed from Z1200 to show spill difference
For the TV effect specifically, spill control is critical. Without a honeycomb grid on the panel, the light spreads across the entire room, which destroys the illusion that the only source is a screen in front of the subject. The Z1200 uses snap-in honeycomb modifiers that attach with small buttons and remove in seconds.
Honeycomb grid being removed from Z1200 to show spill difference
For the TV effect specifically, spill control is critical. Without a honeycomb grid on the panel, the light spreads across the entire room, which destroys the illusion that the only source is a screen in front of the subject. The Z1200 uses snap-in honeycomb modifiers that attach with small buttons and remove in seconds.
With the grid in place, the light stays directional and focused on the subject’s face and upper body. The background stays relatively dark, which is exactly what you’d see in a room lit only by a television. This is one of those situations where the modifier isn’t optional, it’s the technique. Shooting without the grid and trying to fix it in post is a losing battle.
What I’d Add from My Own Experience
I’ve been using a similar three-light layering approach for fire effects for years, but I was building it manually with gels and a dimmer board, which meant inconsistent results and a significant setup time. What the built-in simulation modes on panels like the Z1200 give you is repeatability. Every take, the fire looks like fire. Every take, the TV flicker behaves like a TV.
The one thing I’d add: sketch your lighting diagram before you touch a stand. I keep a dedicated notebook for this, and every setup I’ve built from this kind of layered approach goes in there with notes on intensity ratios and color settings. When a client wants to recreate the same look six months later, that diagram is worth more than any amount of memory.
The single most important takeaway from this tutorial is that cinematic lighting effects are almost never about a single dramatic source. They’re about layers: a practical effect, a narrative accent, and a neutral anchor. Get those three working together and the camera does the rest.
Watch the full tutorial on YouTube to see the complete light-by-light breakdown, including the moment J.P. Morgan switches each source off in sequence so you can see exactly what each one contributes.
Comments
Leave a Comment