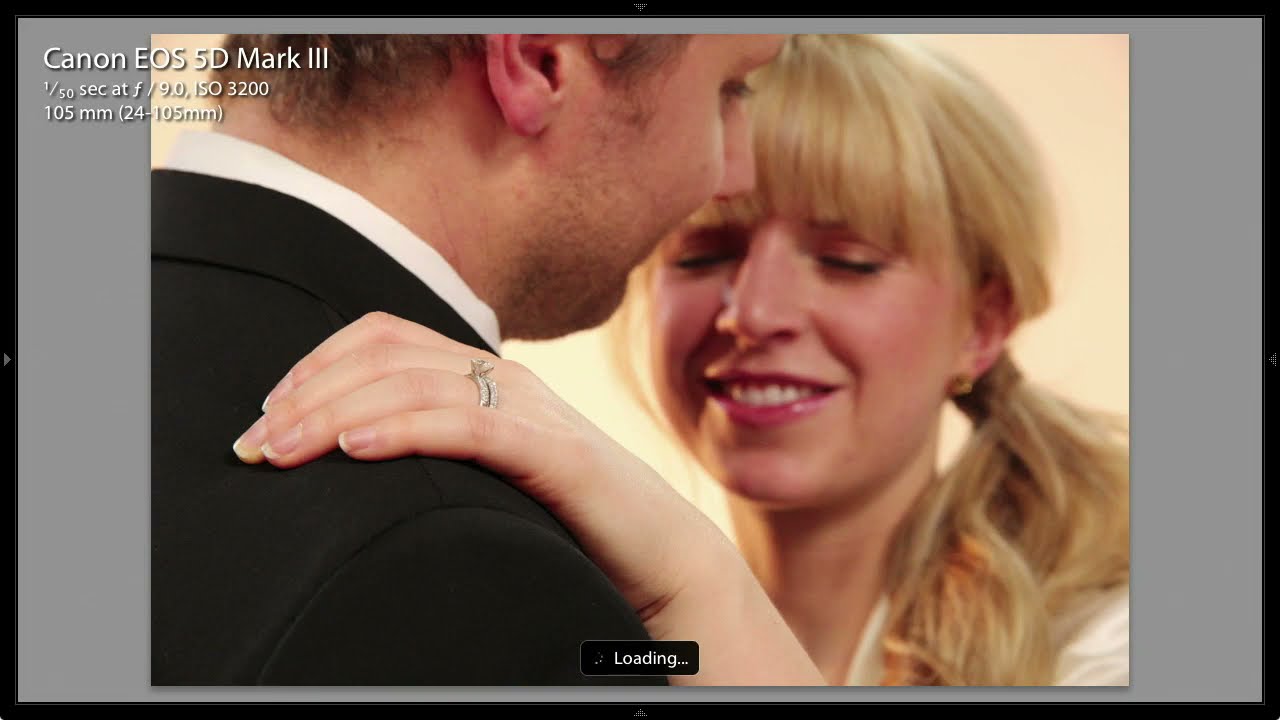
Wedding couple photography is one of those areas where my studio instincts break down fast. I’m used to controlling every variable — the light, the background, the talent’s wardrobe. A wedding day hands you almost none of that. The light changes every twenty minutes, the dress cost more than my first lens kit, and you have roughly forty minutes between the ceremony and the reception to get everything. The posing has to be efficient, intentional, and specific to this one type of subject.
Watch the full tutorial on YouTube
In this CreativeLive tutorial on posing wedding couples, the instructor walks through five core guidelines that cut through a lot of the vague advice circulating online. What I appreciate most is how methodical the breakdown is. Each guideline solves a specific, concrete problem rather than offering the kind of “just find the light” wisdom that sounds great at a workshop and evaporates the moment you’re standing in a hotel corridor with a nervous groom. I sketched notes from this one into my lighting journal the same evening I watched it, which tells you something.
Step 1: Prioritize Intimacy Over Contact
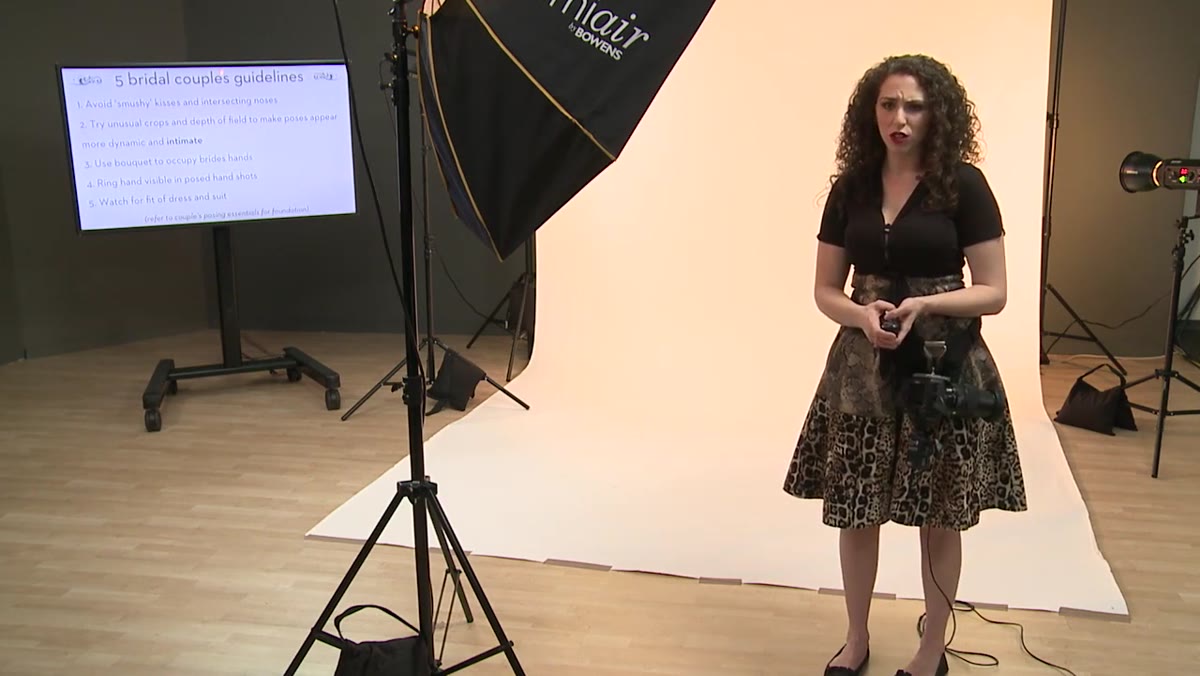 Instructor explaining intimacy emphasis for bridal couples
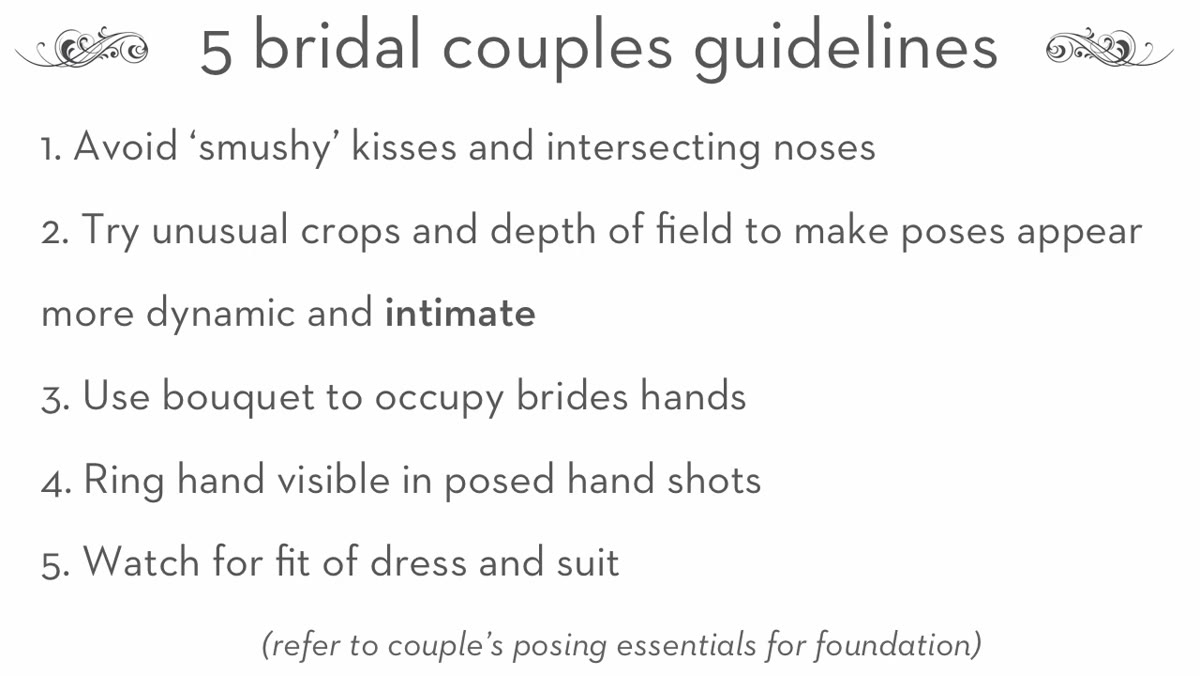
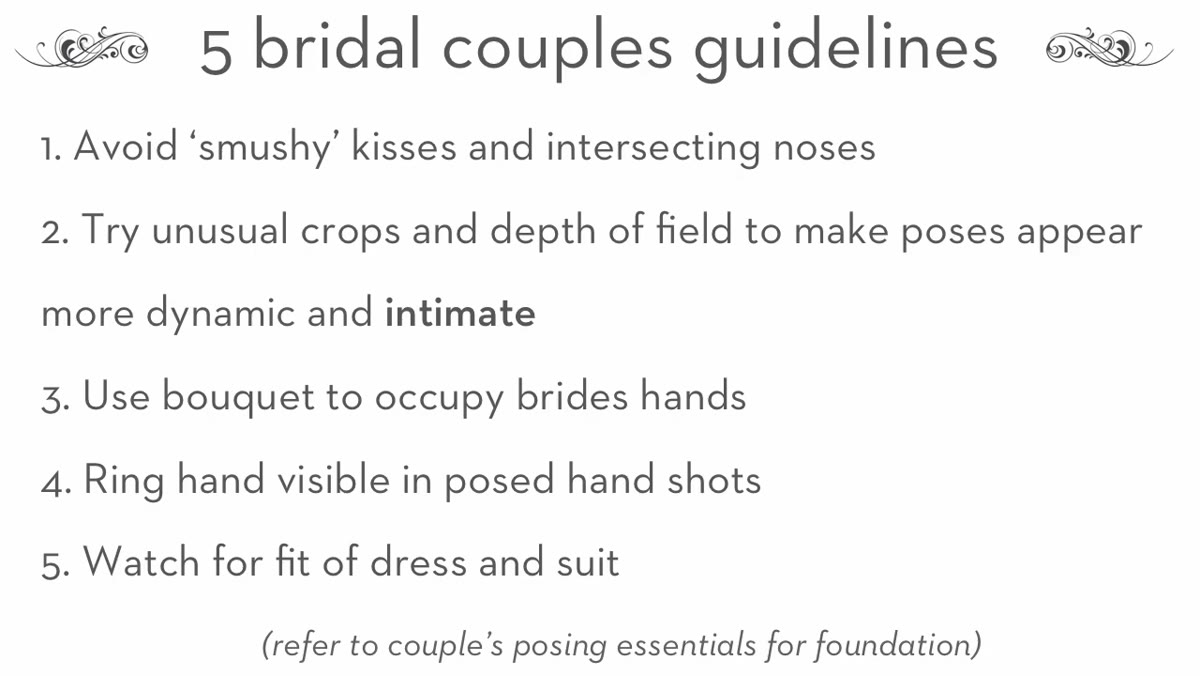
The first thing the tutorial establishes is that bridal couples need more intimacy in their poses than a standard couples session, but that intimacy is not the same as proximity. This is a distinction I wish someone had handed me early in my career. Closeness that reads as romantic on screen often looks uncomfortable or forced in a still image, particularly when noses overlap or faces get pressed together into what the instructor accurately calls a “smushy kiss.” The image flattens, the faces distort slightly, and the mood shifts from romantic to awkward.
Instructor explaining intimacy emphasis for bridal couples
The first thing the tutorial establishes is that bridal couples need more intimacy in their poses than a standard couples session, but that intimacy is not the same as proximity. This is a distinction I wish someone had handed me early in my career. Closeness that reads as romantic on screen often looks uncomfortable or forced in a still image, particularly when noses overlap or faces get pressed together into what the instructor accurately calls a “smushy kiss.” The image flattens, the faces distort slightly, and the mood shifts from romantic to awkward.
Instead, think about multiple connection points between the two people. Hands touching, foreheads close but not pressing, bodies angled toward each other. Emotional proximity reads far more powerfully in a photograph than physical compression does.
Step 2: Work Your Crops and Depth of Field Before Changing Poses
 Instructor demonstrating varied crop and depth of field approaches
This is the guideline I find most underused by photographers moving into wedding work from portrait studios. The instinct is to keep repositioning subjects whenever you feel the shot going stale. The tutorial pushes back on that directly. Before you ask the couple to move into a new configuration, exhaust the creative possibilities of the position they’re already in.
Instructor demonstrating varied crop and depth of field approaches
This is the guideline I find most underused by photographers moving into wedding work from portrait studios. The instinct is to keep repositioning subjects whenever you feel the shot going stale. The tutorial pushes back on that directly. Before you ask the couple to move into a new configuration, exhaust the creative possibilities of the position they’re already in.
Tighter crops, unusual angles, a wider aperture to throw one face slightly soft while keeping the other sharp. Bridal portraits, more than almost any other genre, reward compositional risk. Bring multiple focal lengths and actually use them. The shot at 85mm at f/1.8 and the shot at 35mm from a lower angle are two completely different images even if your subjects haven’t shifted an inch.
Step 3: Use the Bouquet as a Hand Solution
 Instructor noting the bouquet as a natural hand placement tool
Hand placement is one of the slowest parts of any portrait session, and on a wedding day that slowness costs you. The bouquet is a tool that the tutorial correctly identifies as an immediate fix. A bride who isn’t sure what to do with her hands can hold the bouquet softly at her waist or bring it to her hip, and both positions look natural in the frame.
Instructor noting the bouquet as a natural hand placement tool
Hand placement is one of the slowest parts of any portrait session, and on a wedding day that slowness costs you. The bouquet is a tool that the tutorial correctly identifies as an immediate fix. A bride who isn’t sure what to do with her hands can hold the bouquet softly at her waist or bring it to her hip, and both positions look natural in the frame.
The caveat here is that the bouquet doesn’t need to appear in every image. It’s a fallback, not a requirement. When you want a more intimate frame where hands are engaged with the groom, set it aside. But knowing you have that option in your back pocket keeps the session moving and prevents the awkward freeze that happens when a subject suddenly becomes very aware of where their fingers are.
Step 4: Position the Couple Based on Ring Visibility
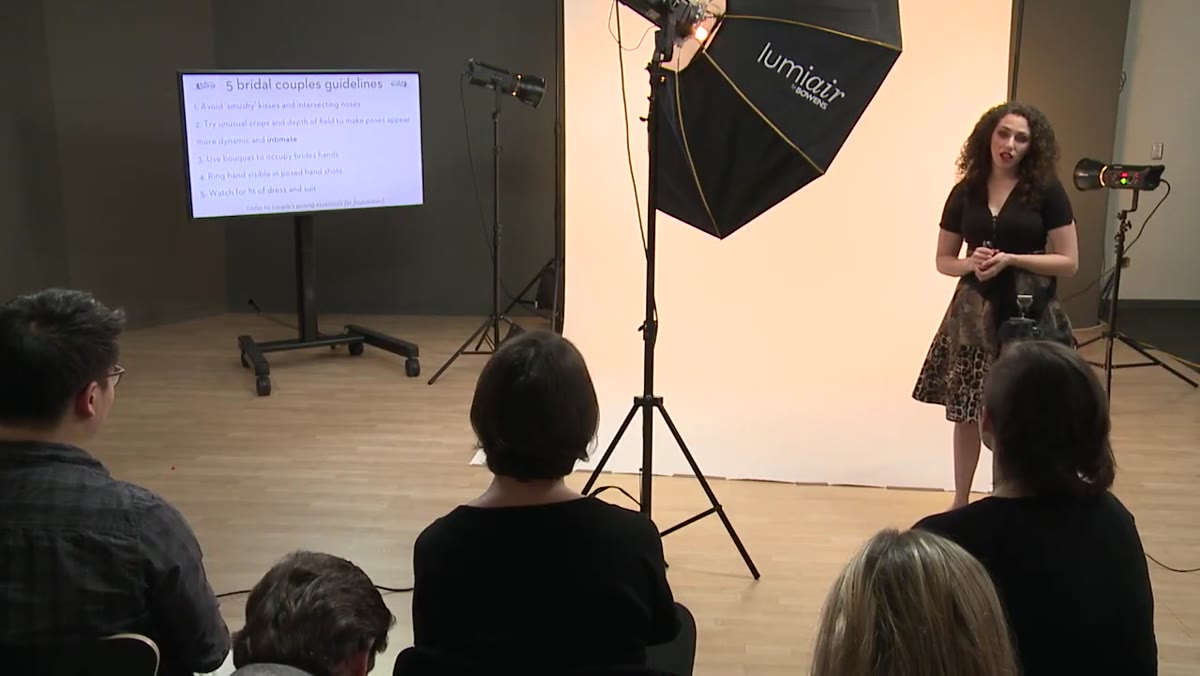 Instructor explaining ring hand placement and which side bride stands on
This is the kind of specific, tactical detail that separates a professional from someone still figuring things out. If you want the wedding rings visible in a posed shot where hands are placed on or near the chest, the positioning of who stands on which side determines whether the rings appear at all. The left hand needs to face the camera, which means the bride needs to be on the correct side relative to the groom for that hand to read clearly in the frame.
Instructor explaining ring hand placement and which side bride stands on
This is the kind of specific, tactical detail that separates a professional from someone still figuring things out. If you want the wedding rings visible in a posed shot where hands are placed on or near the chest, the positioning of who stands on which side determines whether the rings appear at all. The left hand needs to face the camera, which means the bride needs to be on the correct side relative to the groom for that hand to read clearly in the frame.
Before you set the pose, decide whether rings need to be visible in that particular shot. If they do, plan the positioning first. Don’t pose and then discover that the rings are hidden behind a forearm. I treat this the same way I treat checking catchlights before pressing the shutter. It takes two seconds and it prevents a problem that can’t be fixed in post.
Step 5: Protect the Clothing, and Save the Floor Shots for Last
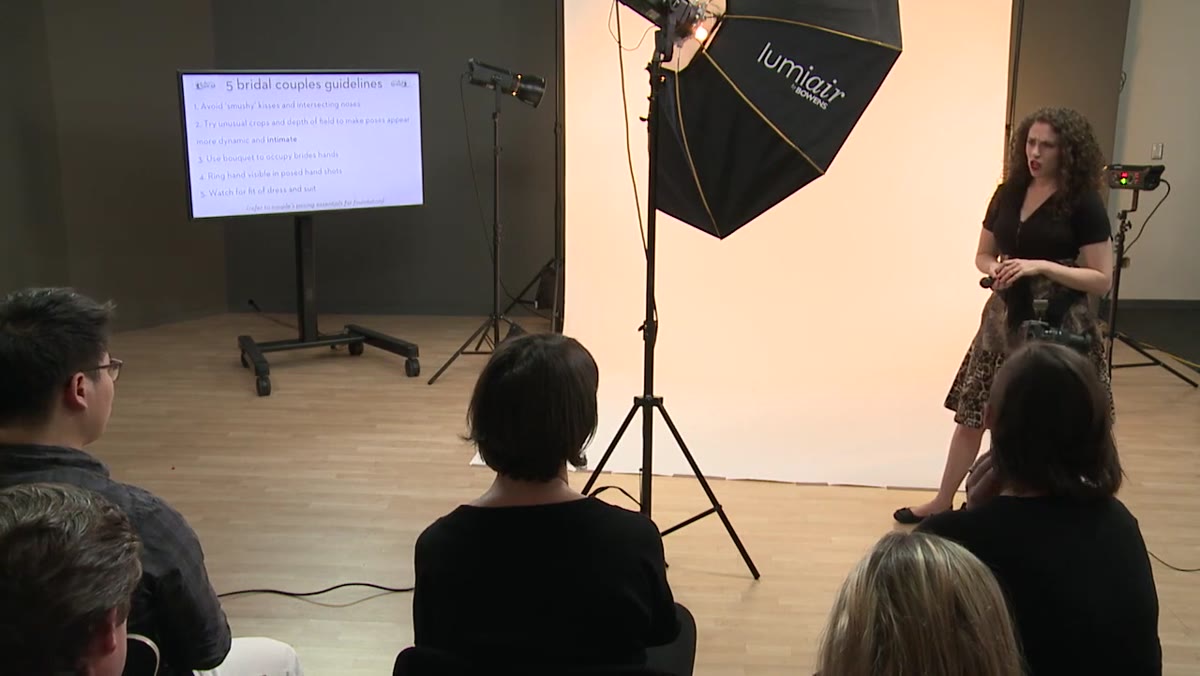 Instructor discussing protecting expensive suits and dresses during poses
Suits and wedding dresses represent significant financial investment, and both photograph poorly when bunched or wrinkled. The tutorial is direct about this: certain poses simply don’t work in formal wedding attire, and trying to force them creates problems you can’t solve by the time the reception starts. Sitting and lying shots are possible, but they belong at the end of the session, not the beginning.
Instructor discussing protecting expensive suits and dresses during poses
Suits and wedding dresses represent significant financial investment, and both photograph poorly when bunched or wrinkled. The tutorial is direct about this: certain poses simply don’t work in formal wedding attire, and trying to force them creates problems you can’t solve by the time the reception starts. Sitting and lying shots are possible, but they belong at the end of the session, not the beginning.
The practical tip from the tutorial that I’ve since adopted for my own kit is keeping black and white garbage bags in your camera bag for any floor work. Black goes under the groom, white under the bride. Tucked properly, the edges read as fabric rather than plastic. It’s not glamorous, but it’s the kind of working-professional detail that keeps expensive garments clean and keeps you from having a very uncomfortable conversation with a bride whose dress has a grass stain at the hip.
My Extension: Consider a Post-Wedding Session for the Dramatic Stuff
The tutorial mentions this briefly and I want to expand on it because I think it’s one of the most overlooked opportunities in wedding photography. The images that tend to resonate most, the ones couples print large and hang on walls, are often the more dramatic, editorial-style shots. The problem is that the wedding day rarely gives you the time or the tolerance for those setups. Clients are tired, attire is precious, and everyone has somewhere to be.
Offering a post-wedding session, sometimes called a “trash the dress” session or simply a bridal portrait session shot in the weeks after the wedding, changes what’s possible. I’ve done these in locations that would have been completely off-limits on the actual wedding day. The pressure is gone, the couple is relaxed, and I can take the kind of lighting and posing risks I’d never attempt during the reception window.
The single most portable takeaway from this tutorial is that variety in a bridal shoot comes primarily from how you shoot, not how many times you reposition your subjects. Unusual angles, tight crops, and deliberate depth of field choices do more work than a dozen different poses. Apply that thinking consistently and the session moves faster, the images look more considered, and the couple spends less time being directed and more time actually being together.
Watch the full tutorial on YouTube to see the instructor demonstrate these techniques with a live couple on set.
Comments
Leave a Comment