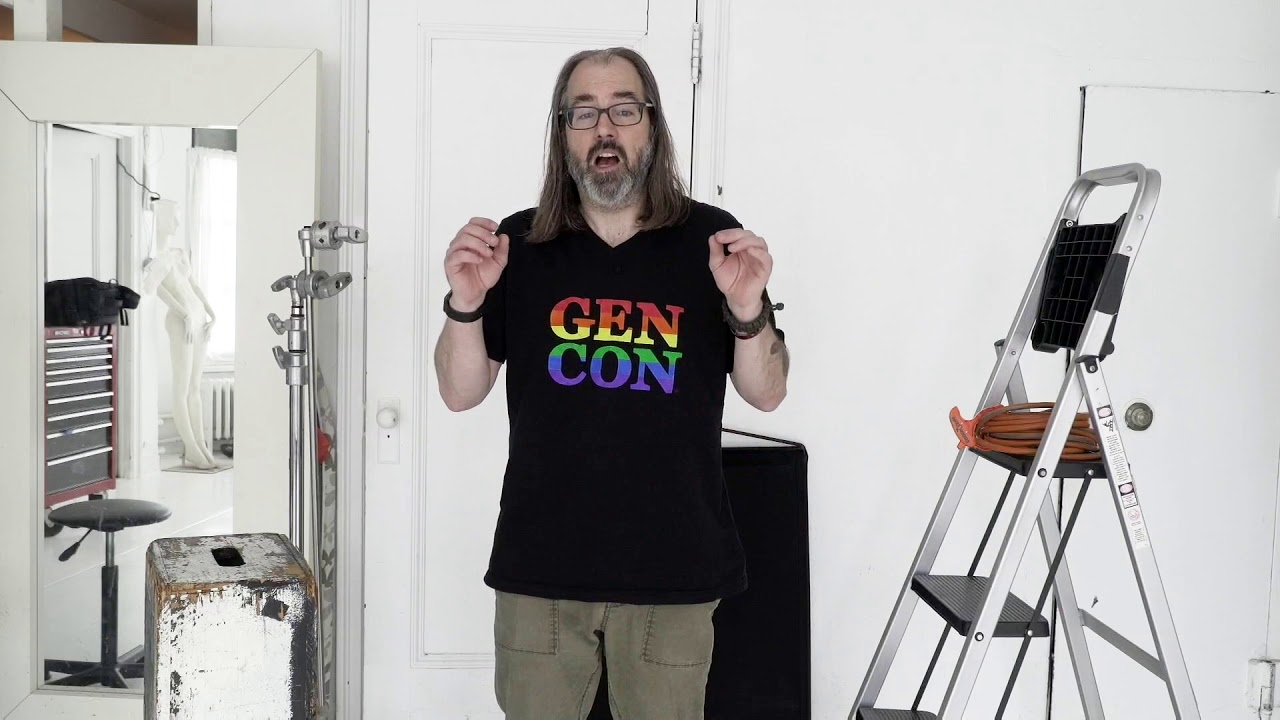
When I set up my first proper studio space in Los Angeles, I made the classic mistake of spending almost everything on lights and almost nothing on the infrastructure around them. I had beautiful strobes sitting on flimsy stands with no counterweights, apple boxes I was afraid to scratch, and a C-stand situation that I am not proud of. The lights looked great in the catalog. The actual shoots were a liability.
That’s why a tutorial like this one from Daniel Norton lands so well. Watch the full tutorial on YouTube. Norton cuts straight to the grip fundamentals that most gear conversations skip because they’re not glamorous. No one’s making a YouTube video about how excited they are about sandbags. But after fifteen years shooting fashion and beauty clients, I can tell you these five categories of gear are what separate a studio that runs smoothly from one that’s always one tipped stand away from a disaster.
This is a walkthrough of what Norton covers, filtered through what I’ve actually learned using this stuff on commercial sets. Follow along and you’ll have a clear picture of what to buy, what to prioritize, and why.
Step 1: Sandbags - Weight Everything, No Exceptions
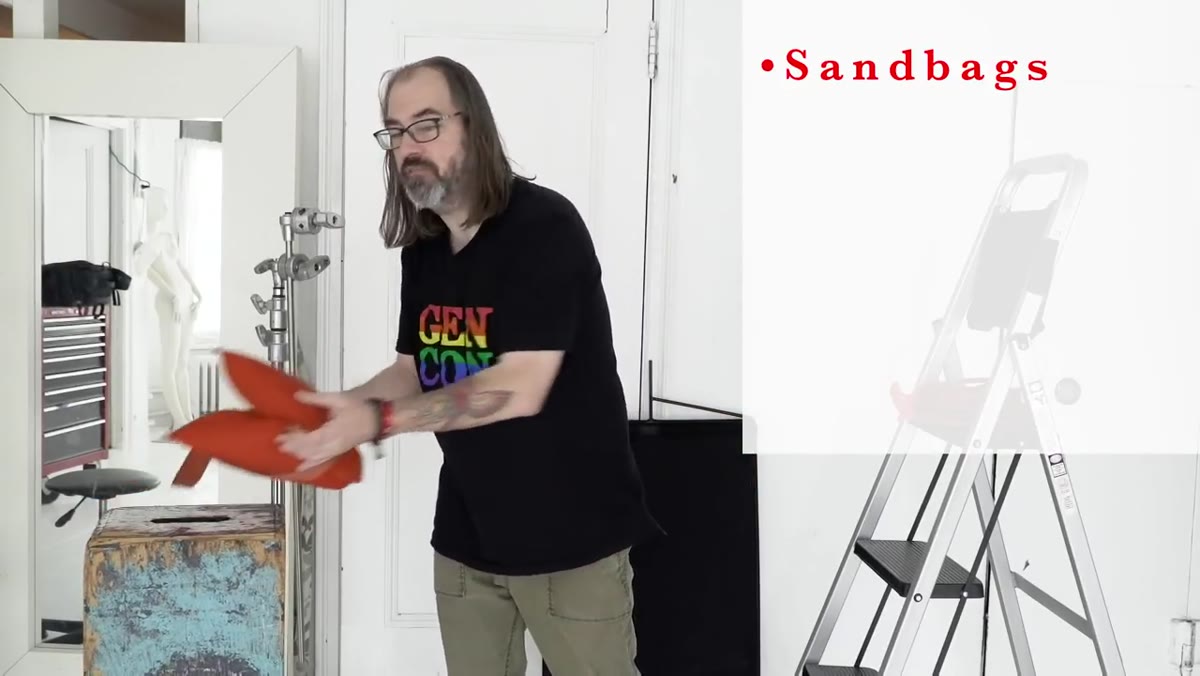 Matthews 25-pound orange sandbag held up to camera
Norton opens with sandbags and he’s right to. The most common weight range you’ll reach for is 20 to 25 pounds. That’s your workhorse size. Matthews makes a reliable version in both orange and black, and that color-coding is actually useful on a busy set when you’re tracking gear. I keep mine labeled with masking tape by weight because I’ve grabbed a five-pounder thinking it was a twenty-five and paid for it.
Matthews 25-pound orange sandbag held up to camera
Norton opens with sandbags and he’s right to. The most common weight range you’ll reach for is 20 to 25 pounds. That’s your workhorse size. Matthews makes a reliable version in both orange and black, and that color-coding is actually useful on a busy set when you’re tracking gear. I keep mine labeled with masking tape by weight because I’ve grabbed a five-pounder thinking it was a twenty-five and paid for it.
For most studio work, 20 to 25 pound bags go on your bigger stands, especially anything with a boom arm extended. Smaller 5-pound bags are useful for hanging off a boom counterweight or stabilizing lighter equipment. Norton mentions lead-shot bags as well, which pack more weight into less physical space. I use those when I’m tight on floor room, which in a compact LA studio happens constantly. The very heavy bags, 35 to 45 pounds, are mostly for crane work and film production. As a photographer, you can skip those entirely and just double up on your standard bags when you need serious ballast.
Step 2: Apple Boxes - Use Them Hard, Don’t Baby Them
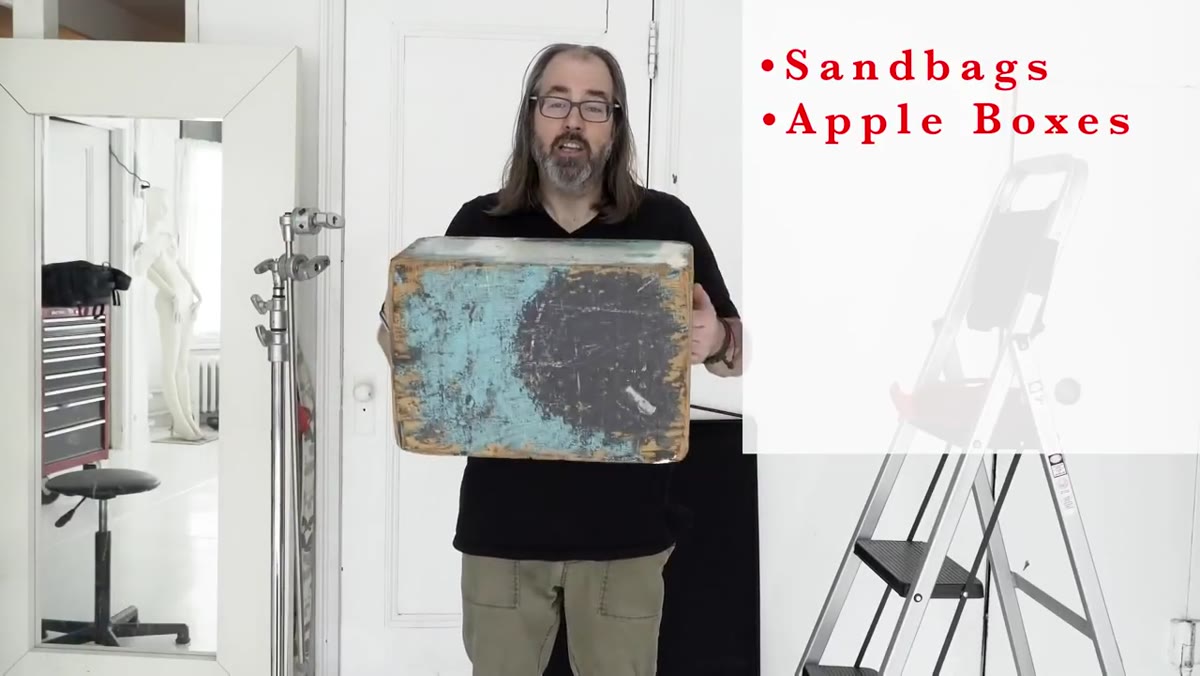 Well-worn full apple box shown in studio
Norton makes a point I want to underline: a pristine apple box is a useless apple box. These are tools. They are meant to be stepped on, drilled into, sat on, and generally abused. When I get a new one, it goes on the floor and gets walked on before it goes anywhere near a subject. The moment you’re precious about an apple box, it stops doing its job.
Well-worn full apple box shown in studio
Norton makes a point I want to underline: a pristine apple box is a useless apple box. These are tools. They are meant to be stepped on, drilled into, sat on, and generally abused. When I get a new one, it goes on the floor and gets walked on before it goes anywhere near a subject. The moment you’re precious about an apple box, it stops doing its job.
The standard sizing system is worth knowing. The footprint stays consistent across the whole line. What changes is the height: full, half, quarter, eighth (also called pancake). If you’re just starting out, a set of full boxes handles most situations. Halves are genuinely worth adding early, they get used constantly for fine-tuning subject height. Norton also mentions mini apple boxes, which are half the footprint. Those are useful for tighter spaces. The real tip here is to look for used boxes from studios that are closing or production companies moving on. Beat-up apple boxes are completely functional and significantly cheaper than new ones.
Step 3: C-Stands - Make These Your Default Studio Stand
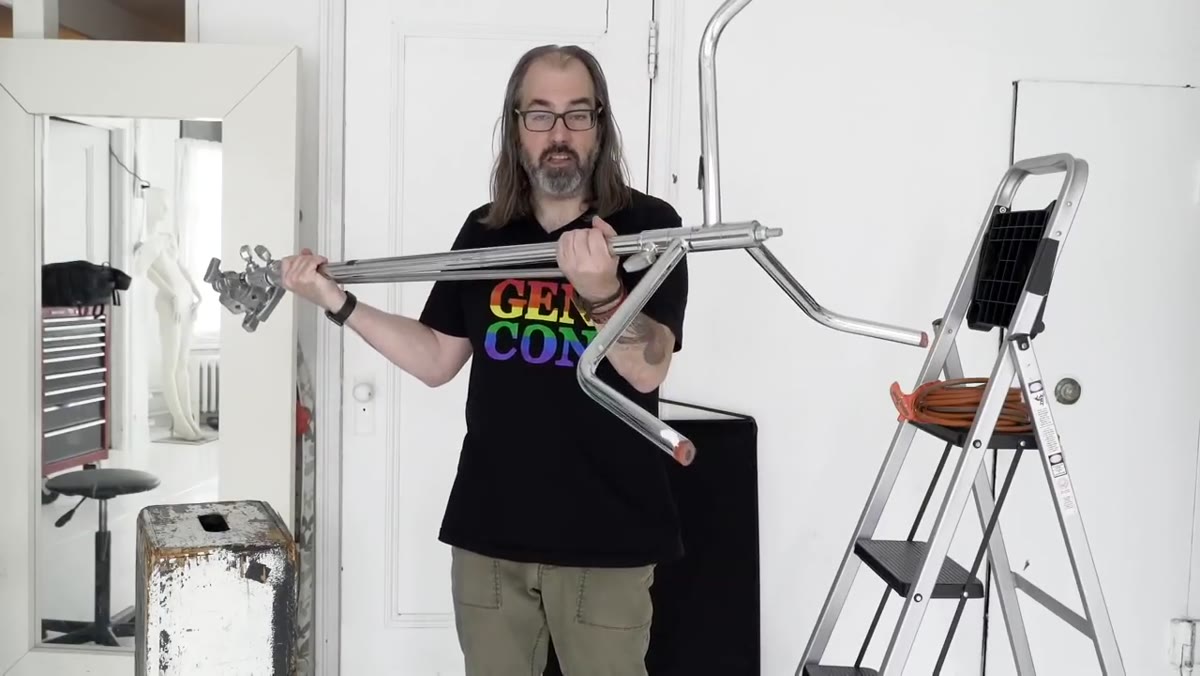
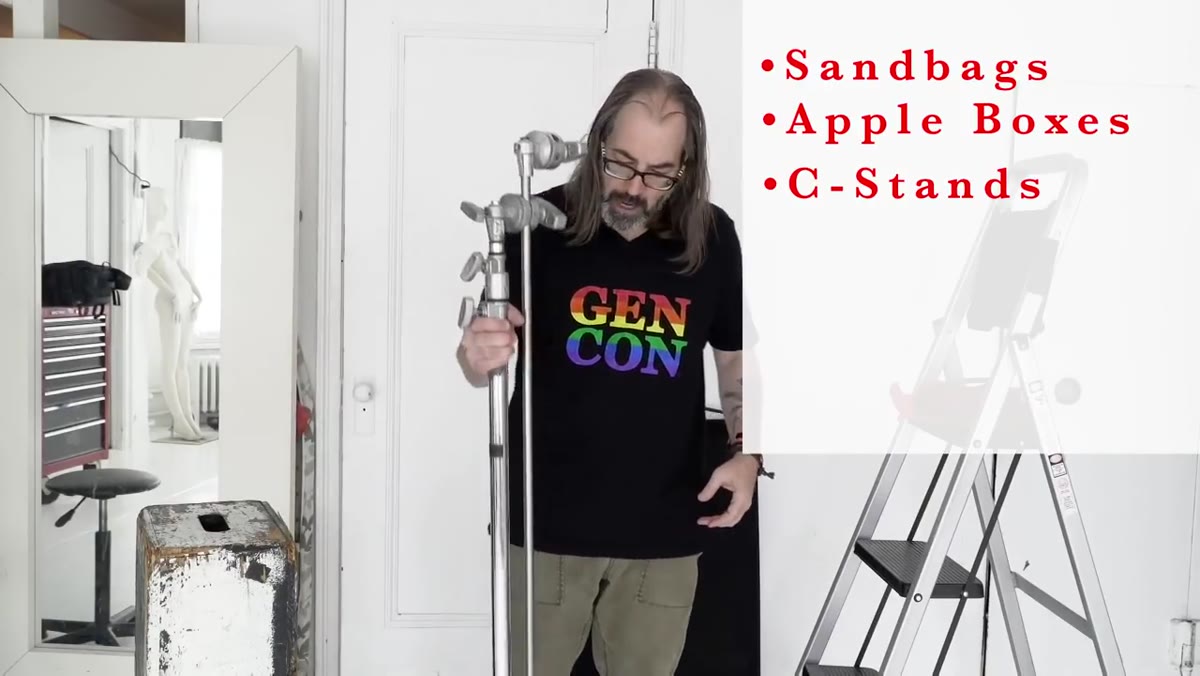 C-stand with arm and knuckle assembled in studio
If I had to keep only one type of stand in my studio, it would be the C-stand, no question. Norton describes it as his go-to, and my experience mirrors that completely. The standard 40-inch base handles a surprising amount of weight while keeping a small enough footprint that you can pack stands in close together. That matters when you’re working a tight set.
C-stand with arm and knuckle assembled in studio
If I had to keep only one type of stand in my studio, it would be the C-stand, no question. Norton describes it as his go-to, and my experience mirrors that completely. The standard 40-inch base handles a surprising amount of weight while keeping a small enough footprint that you can pack stands in close together. That matters when you’re working a tight set.
The key feature is the arm-and-knuckle system. Norton is clear on this: buy the kit that includes the arm and knuckle, not just the stand column. The knuckle lets you position the arm at any angle and lock it firmly in place. Without it, a C-stand is significantly less useful. I hold reflectors, flags, lights, and hair lights all on C-stands. Norton also points out the turtle base variant, which lets you remove the column and mount something directly at ground level. I use that configuration for low kicker lights on beauty work. One C-stand does jobs that would otherwise require three different specialty stands.
Step 4: Match Your Stand to Your Load
 C-stand base size compared against larger stand base
Norton briefly touches on stand sizing, and it’s worth slowing down on this. The 40-inch base is the standard for a reason, but there are shorter versions for low-profile work and taller versions that show up less frequently. The decision isn’t about height preference, it’s about what you’re mounting and how much lateral stress that thing puts on the stand.
C-stand base size compared against larger stand base
Norton briefly touches on stand sizing, and it’s worth slowing down on this. The 40-inch base is the standard for a reason, but there are shorter versions for low-profile work and taller versions that show up less frequently. The decision isn’t about height preference, it’s about what you’re mounting and how much lateral stress that thing puts on the stand.
A heavy strobe with a large softbox creates significant leverage. A small LED panel does not. Matching stand capacity to load isn’t just about safety, it’s about stability during a shoot. A stand that’s technically holding the weight but wobbling slightly will eventually go over, especially if someone walks past and grazes the arm. I sandbag every C-stand regardless of load. It’s not paranoia, it’s a habit that has never cost me anything and has absolutely saved gear.
Step 5: Buy the Kit, Not the Components Separately
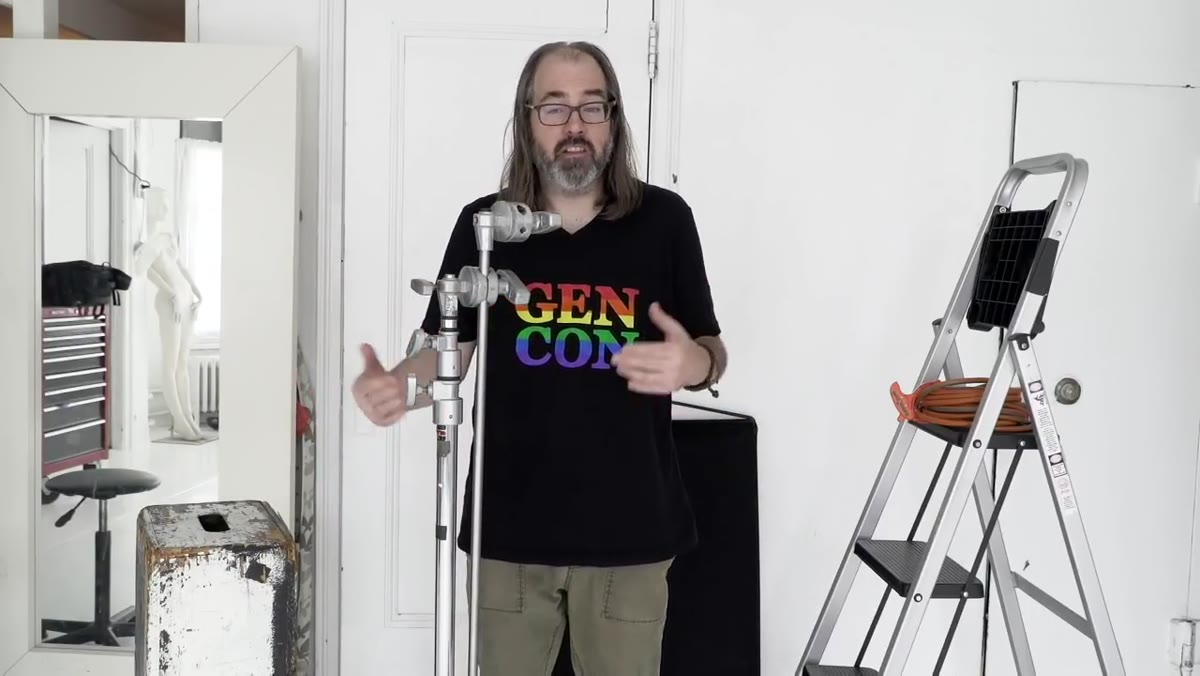 Complete C-stand kit with arm, knuckle, and stand together
Norton’s consistent advice across both sandbags and stands is to buy complete kits rather than building up incrementally. The upfront cost feels higher, but piece-by-piece purchasing almost always ends up more expensive and more frustrating. You’ll run a shoot and realize the arm you skipped is the one thing you needed. Then you’re improvising with tape and clamps and hoping nothing falls.
Complete C-stand kit with arm, knuckle, and stand together
Norton’s consistent advice across both sandbags and stands is to buy complete kits rather than building up incrementally. The upfront cost feels higher, but piece-by-piece purchasing almost always ends up more expensive and more frustrating. You’ll run a shoot and realize the arm you skipped is the one thing you needed. Then you’re improvising with tape and clamps and hoping nothing falls.
The same logic applies to apple box sets. Getting a full and a half together at the start covers most scenarios. It also means your studio is actually functional from day one rather than becoming functional after several painful lessons. I buy cheap where it makes sense, used apple boxes being a perfect example, but I don’t cut corners on the structural stuff that holds my equipment in the air.
What I’d Add From Experience
Norton covers the essentials cleanly, but one thing I’d layer on is the sandbag-to-stand ratio question. My working rule is at least one 25-pound bag per stand, minimum. For any stand with a boom arm extended past 18 inches, two bags, positioned on the low side of the base. I learned this the hard way early in my career when a fully extended boom stand went over during a shoot. Nothing catastrophic happened, but it was close. Now I keep a bag on every stand before a single light goes up. It adds maybe five minutes to setup and eliminates an entire category of risk.
The other thing worth mentioning is C-stand placement discipline. The arm always extends over one of the three legs, specifically the leg that’s facing out toward the set. That way the load is over a support point, not cantilevered into empty space. It seems like a small detail. It is not.
These five gear categories won’t make your photography better directly. What they do is build the foundation that lets your lighting decisions actually matter. A well-anchored stand with a properly mounted light is the starting point for everything else.
Watch the full tutorial on YouTube and pay attention to how Norton handles the C-stand section in particular. His assembly explanation is the clearest I’ve seen on this piece of equipment.
Comments (2)
I tried this on a client project yesterday and the results were way better than expected.
Tried this technique this morning. Game changer for real.
Leave a Comment