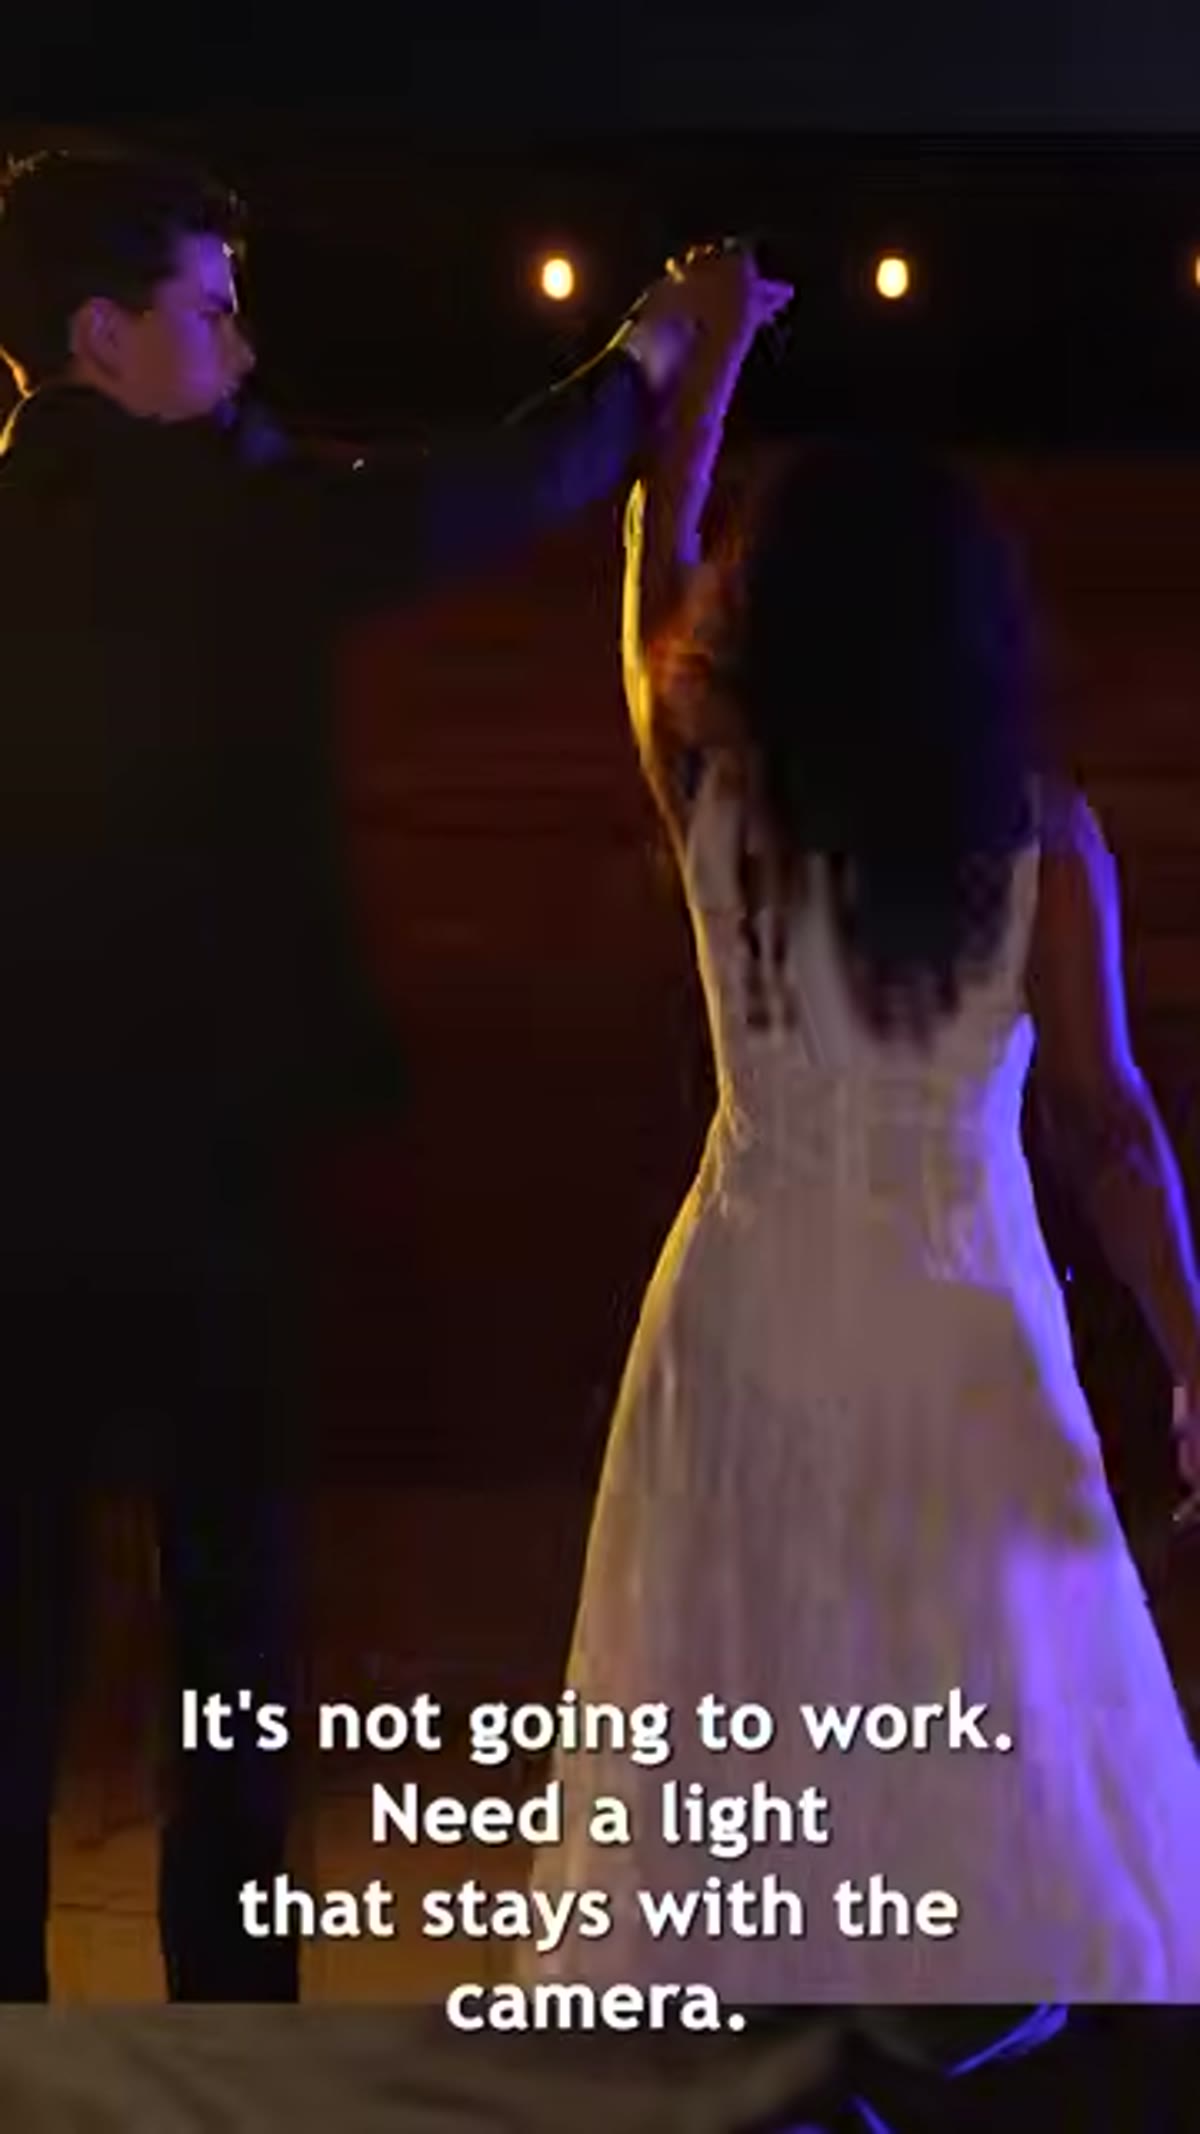
Run-and-gun video has always been the awkward cousin of controlled studio work. In the studio, I label every light with masking tape, sketch every setup in my lighting journal, and test every modifier before a client ever walks in. On location, chasing a moving subject? That whole system collapses. You can’t place a light on a stand when you’re following a couple down an alley or moving through a reception hall. The stand stays put. The subject doesn’t. And the result is either flat, ugly on-camera light or no light at all.
That problem is exactly what Jay P. Morgan addresses in this The Slanted Lens tutorial. Watch the full tutorial on YouTube before or alongside this breakdown. The solution he lands on is the Platypod Bracket, a mounting system that attaches a video light to your camera rig and holds it off to the side and slightly elevated. It sounds simple. The difference it makes is not.
I’ve spent enough time in controlled environments to recognize immediately why this matters. On-axis light, meaning anything sitting directly on your hot shoe pointing straight at the subject, flattens a face. It removes the shadows that define cheekbones, eye sockets, and jaw lines. Off-axis light, even just a few inches to the side and a few inches up, creates the separation and dimension that makes a subject look like a three-dimensional person instead of a passport photo. This tutorial shows you how to get that off-axis position without sacrificing mobility.
Step 1: Understand Why On-Camera Light Fails
 Camera hot shoe with light mounted directly on top
The first thing to absorb is the core problem. A light sitting directly on top of your camera, mounted to the hot shoe, fires straight into your subject’s face. There’s no angle. There’s no shadow. The light source and the lens are essentially on the same axis, which means the light wraps around the subject and kills all the dimensional modeling that makes a face interesting. This is the same reason ring lights look clinical or unflattering for anything other than beauty close-ups with a deliberate aesthetic choice behind them.
Camera hot shoe with light mounted directly on top
The first thing to absorb is the core problem. A light sitting directly on top of your camera, mounted to the hot shoe, fires straight into your subject’s face. There’s no angle. There’s no shadow. The light source and the lens are essentially on the same axis, which means the light wraps around the subject and kills all the dimensional modeling that makes a face interesting. This is the same reason ring lights look clinical or unflattering for anything other than beauty close-ups with a deliberate aesthetic choice behind them.
The alternative, a light on a stand positioned to the side, creates beautiful light. But the moment you start moving with a subject, you walk out of that light’s coverage area. A stand-mounted light is a fixed point. A moving camera is not. You need a solution that travels with you.
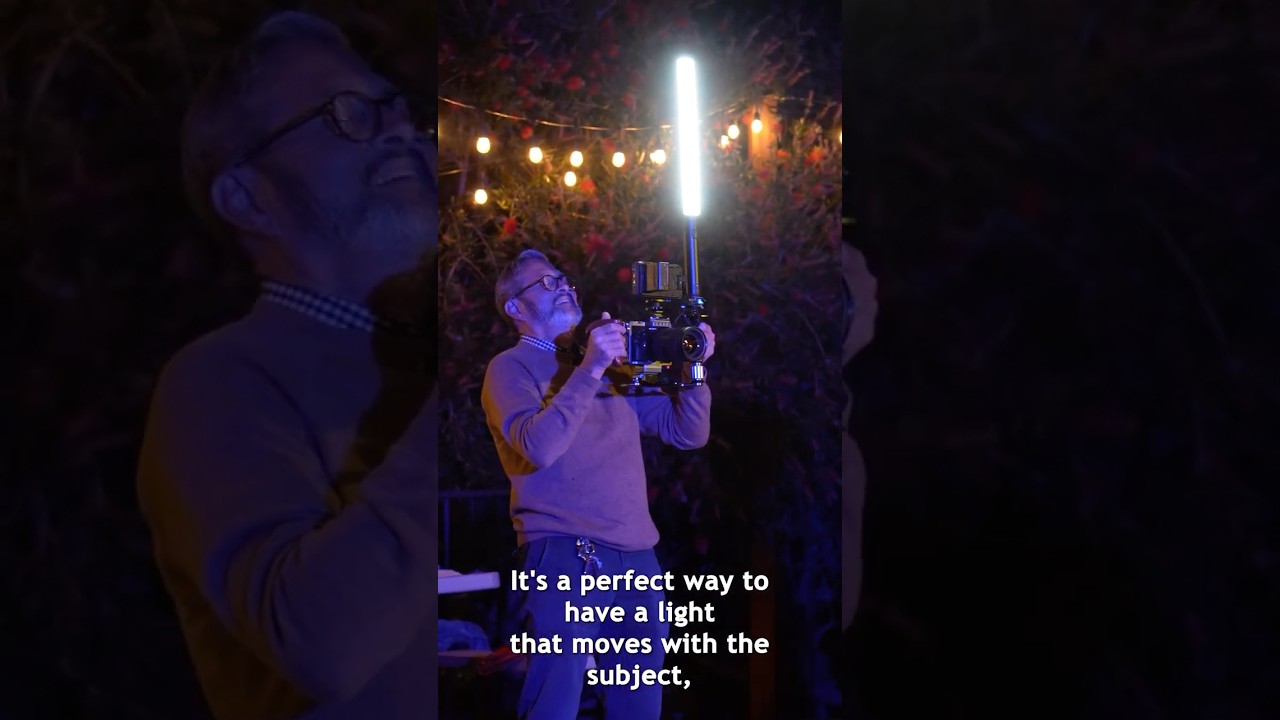
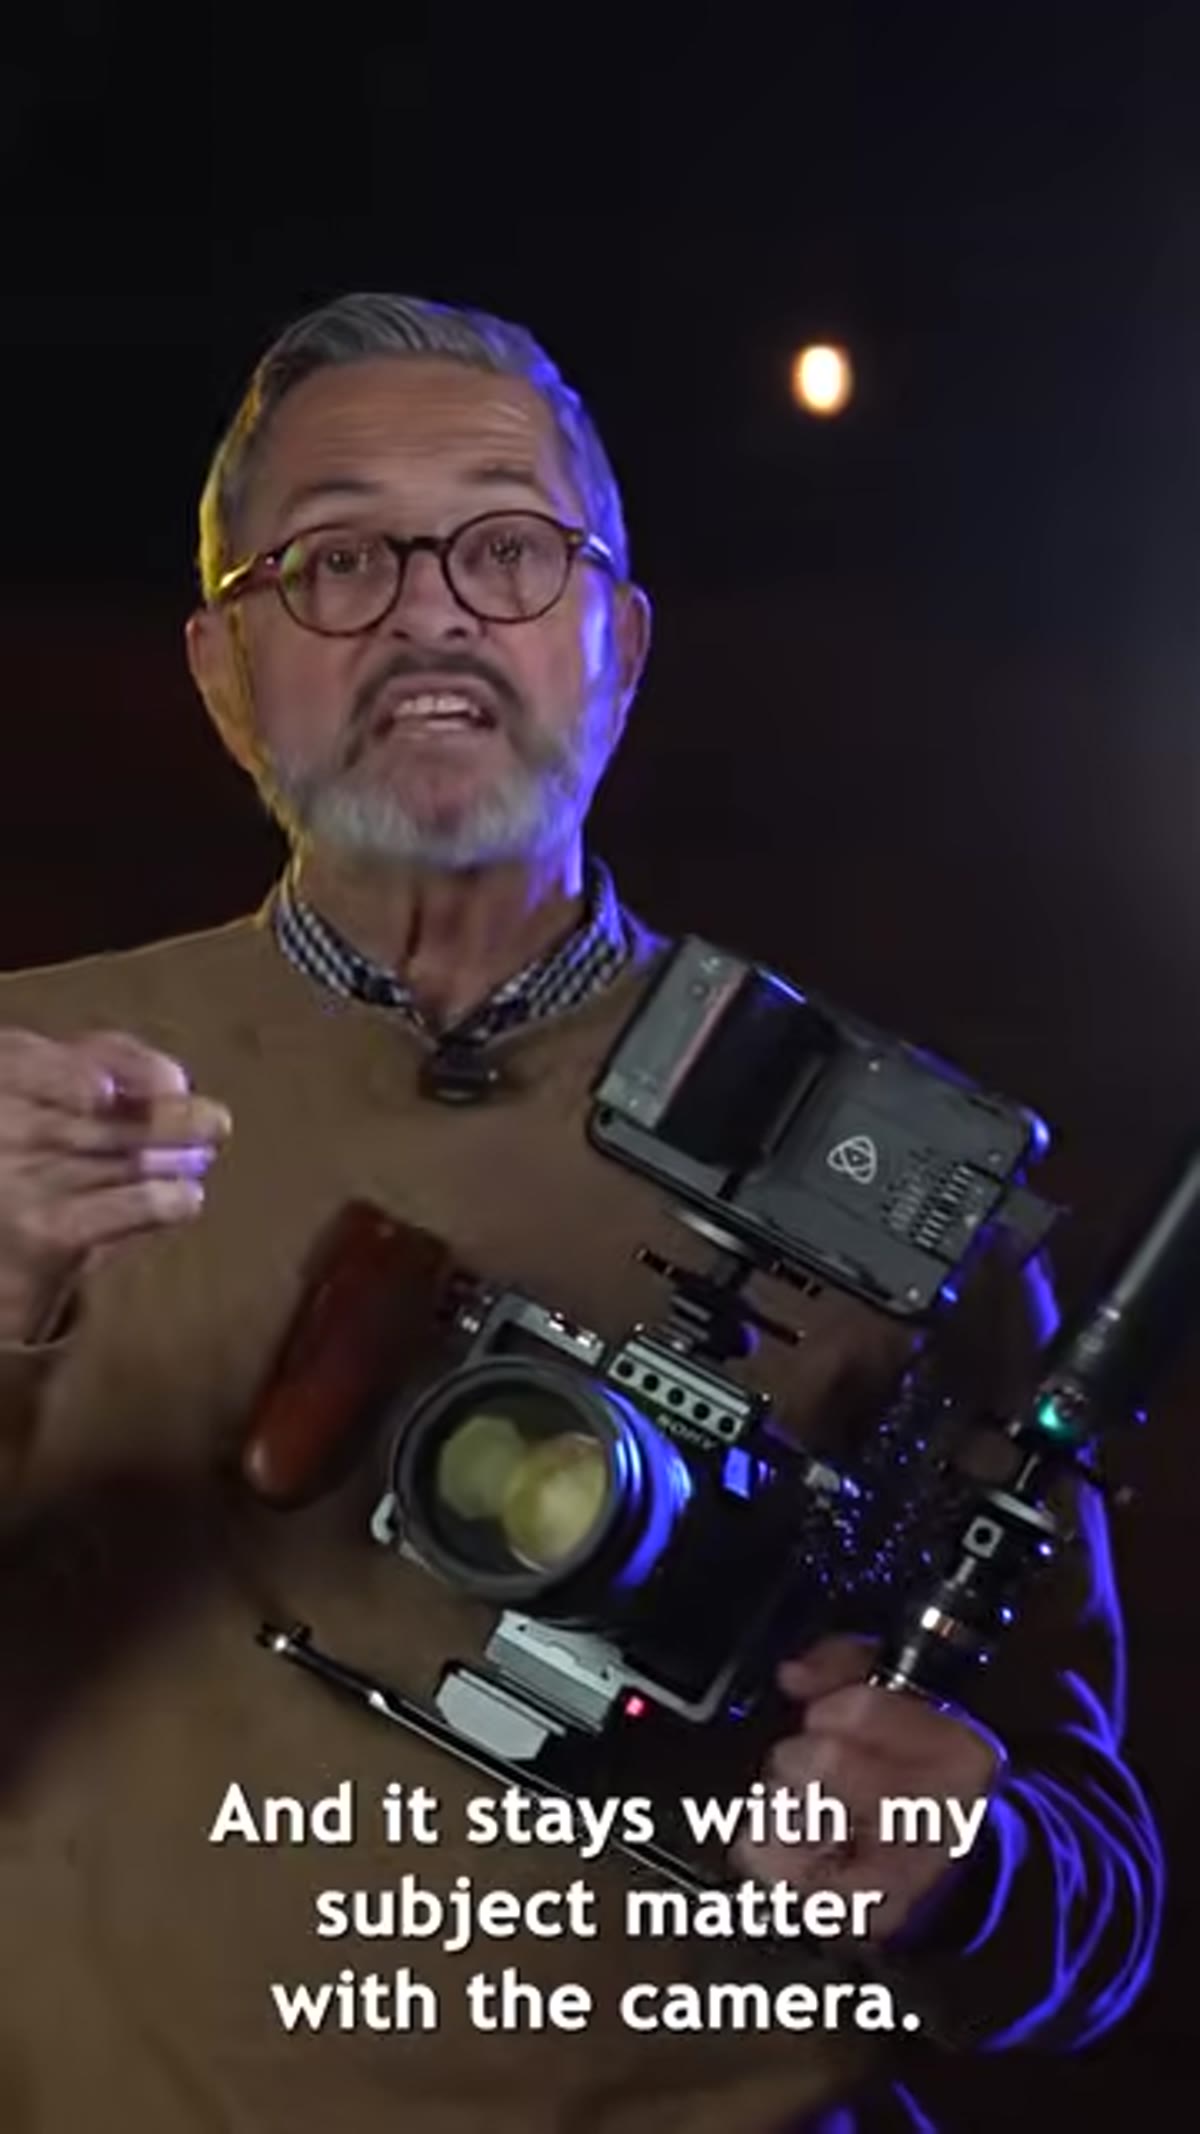
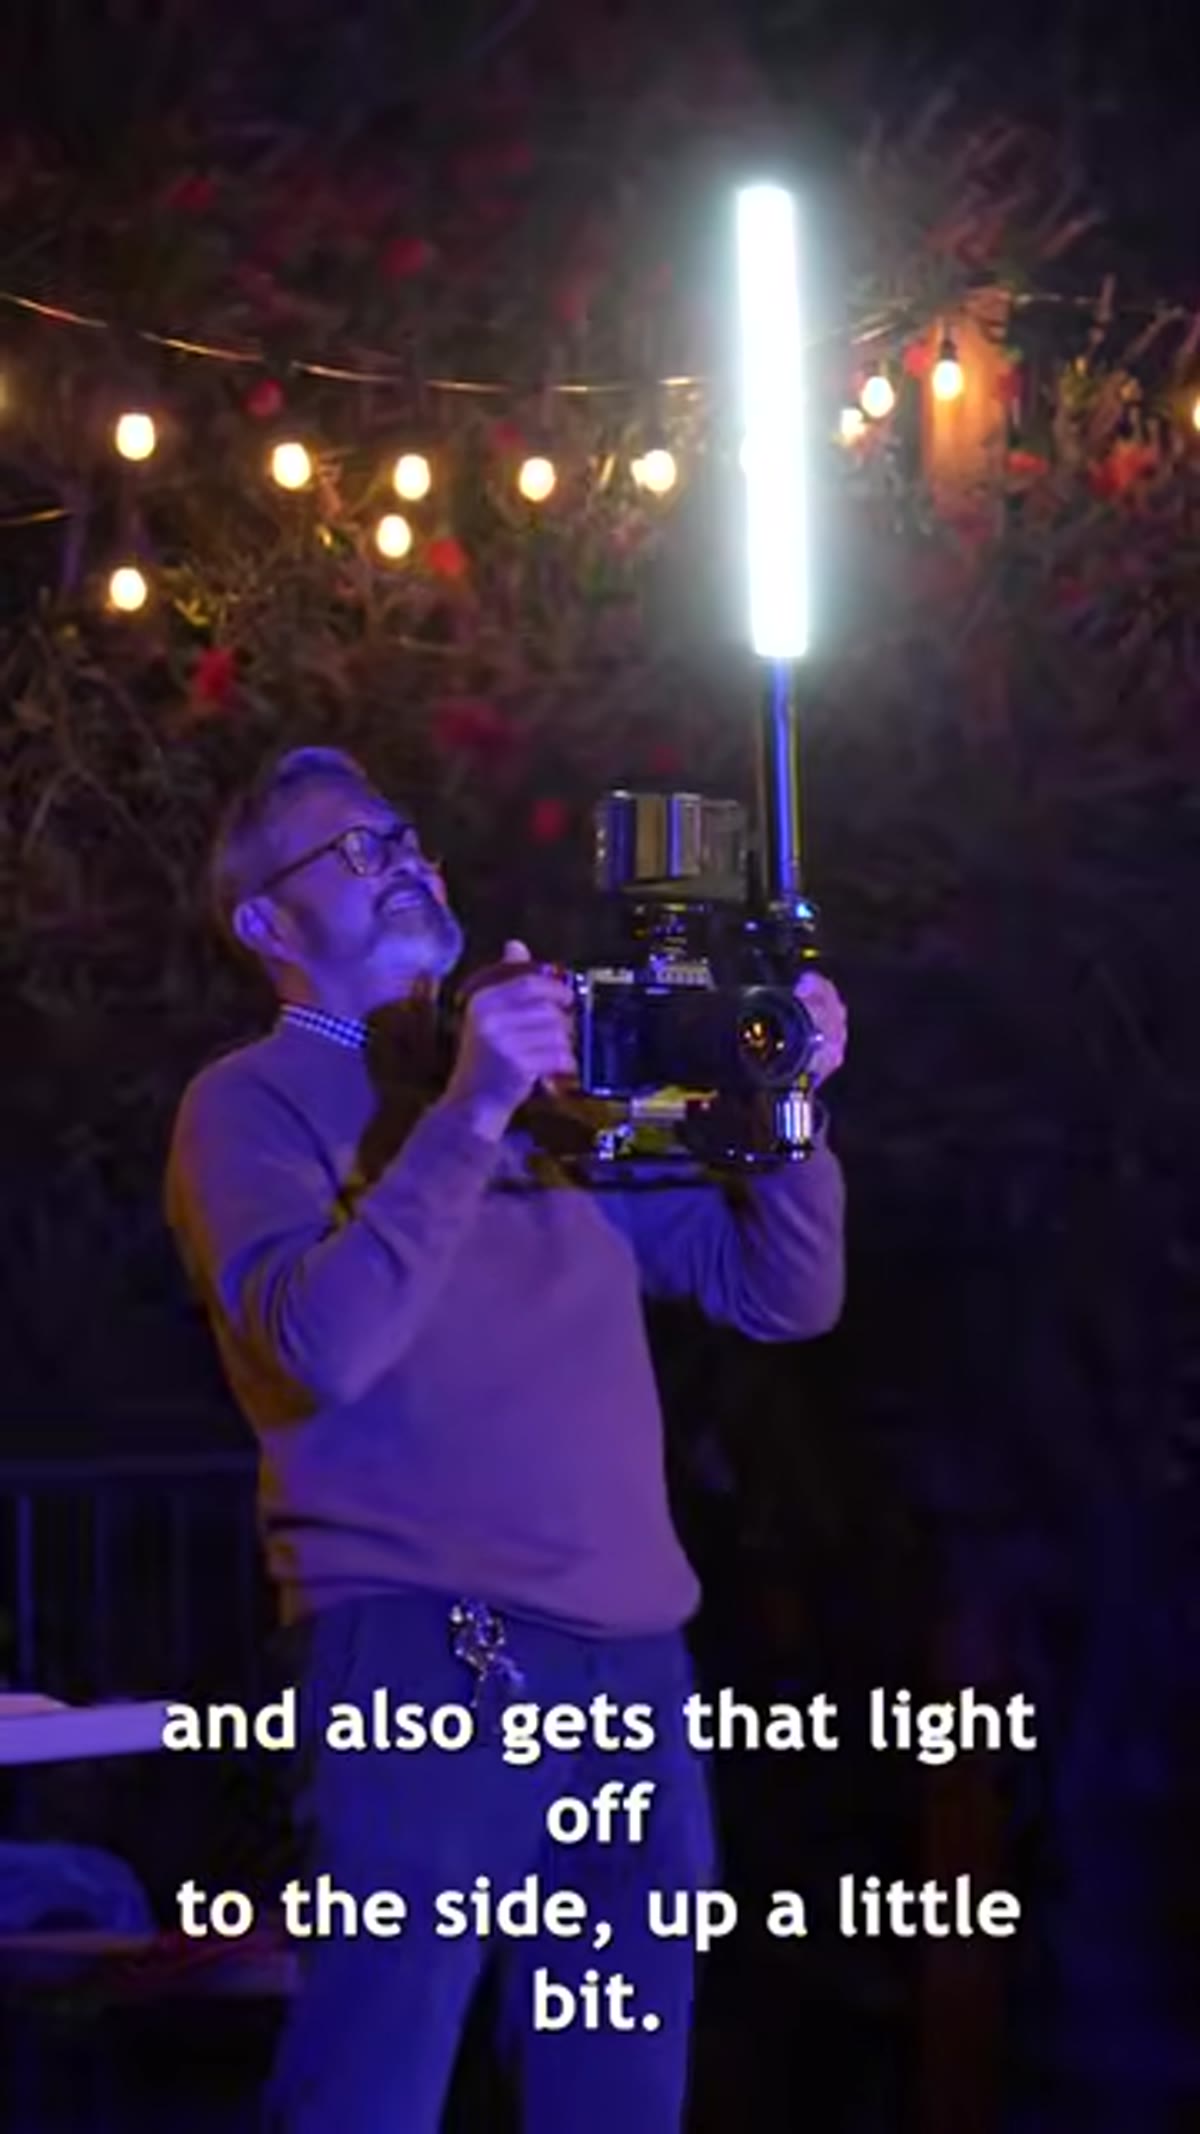
Step 2: Mount the Platypod Bracket to Your Camera Rig
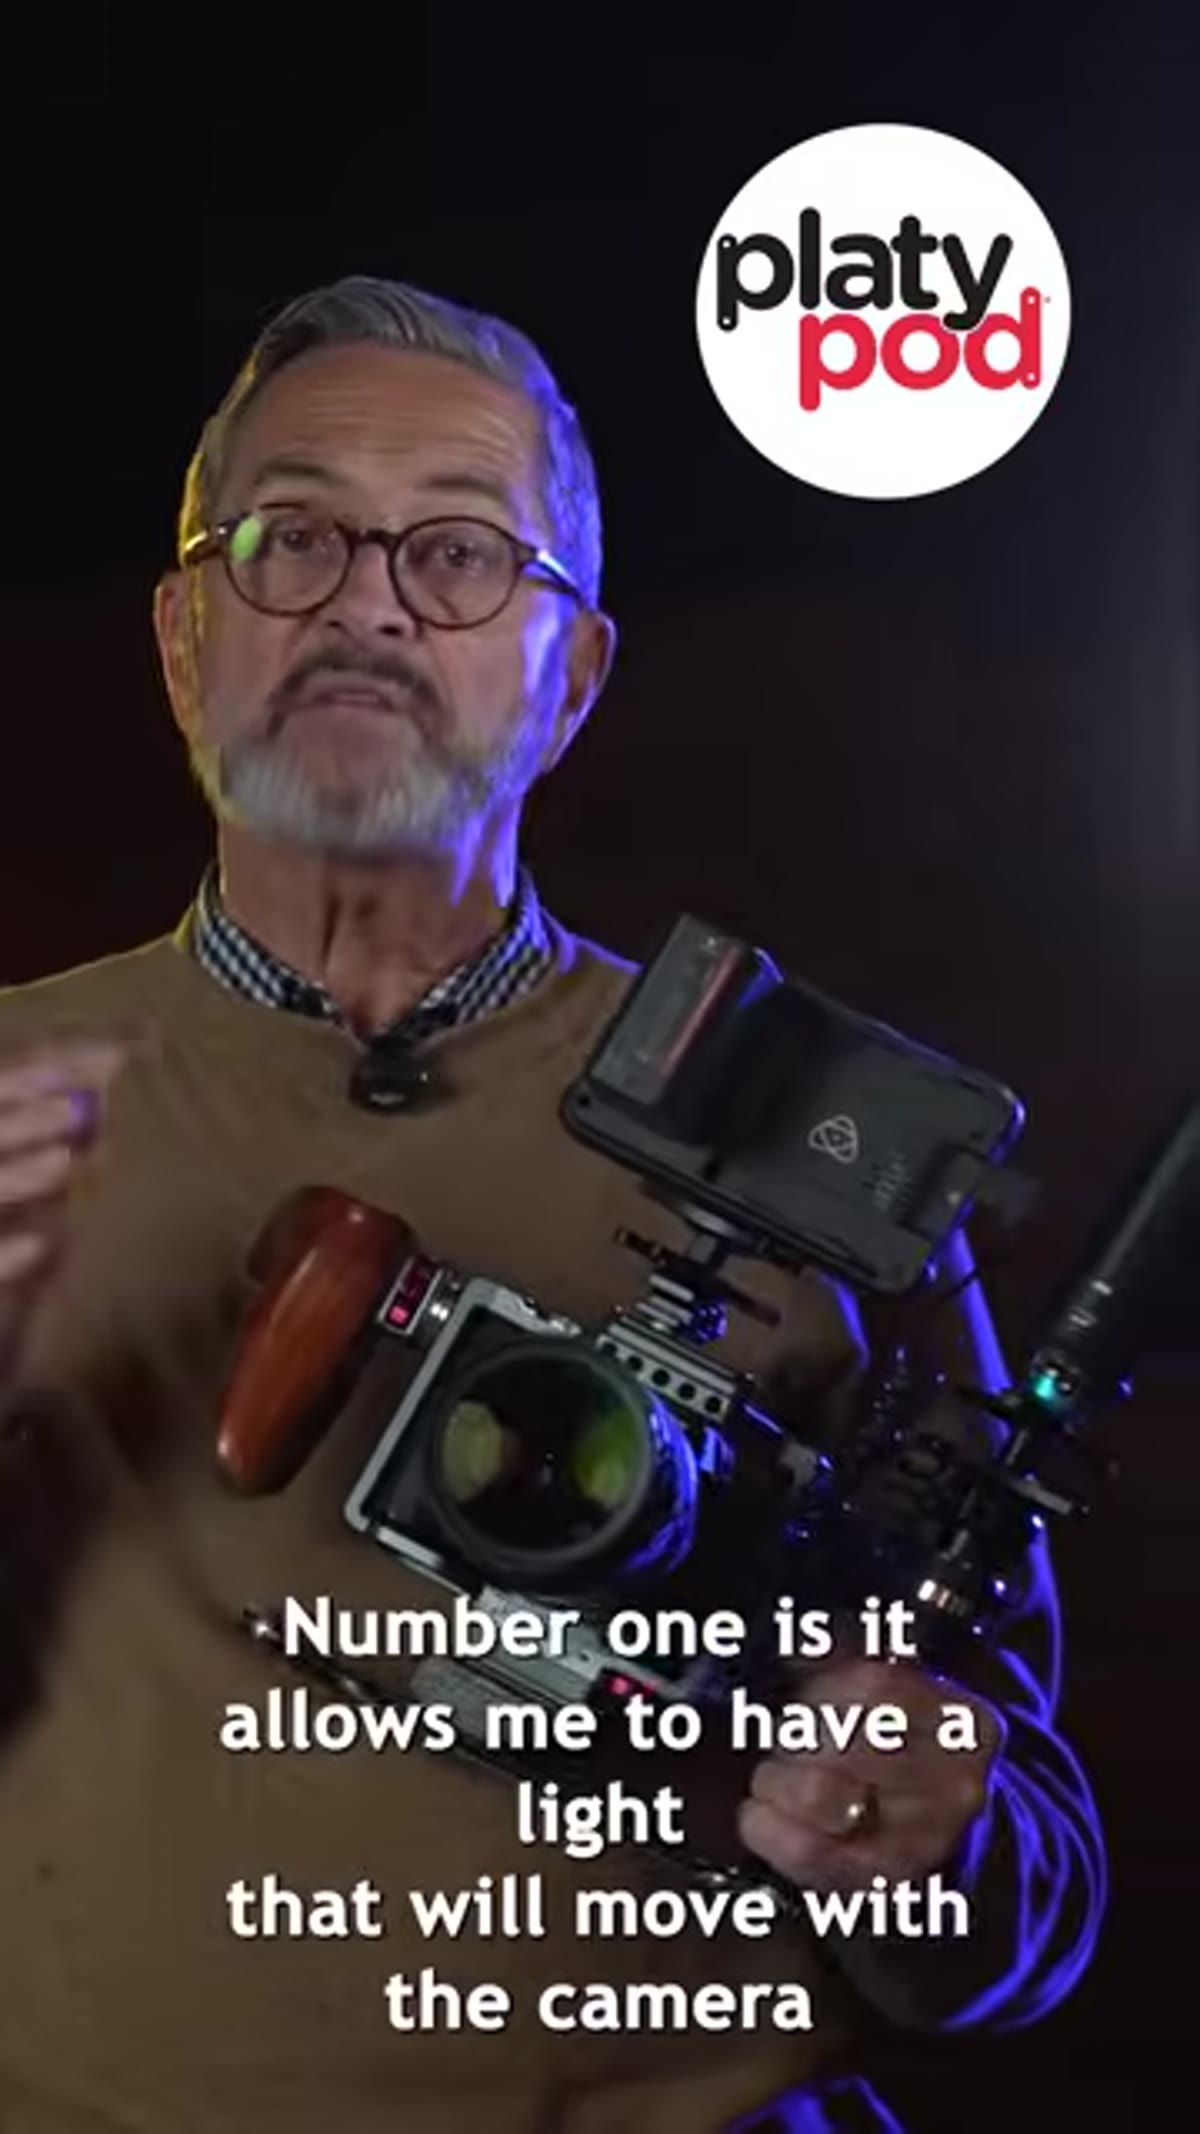 Platypod Bracket attached to camera, light positioned to the side
The Platypod Bracket attaches to your camera or camera cage and extends a light out to the side and slightly upward. The geometry here is the whole point. Getting the light source away from the lens axis, even by eight or ten inches, changes the angle of incidence on your subject’s face enough to create genuine shadow and highlight separation. You’re essentially recreating a simplified version of a 45-degree key light position, but on a rig that moves with you.
Platypod Bracket attached to camera, light positioned to the side
The Platypod Bracket attaches to your camera or camera cage and extends a light out to the side and slightly upward. The geometry here is the whole point. Getting the light source away from the lens axis, even by eight or ten inches, changes the angle of incidence on your subject’s face enough to create genuine shadow and highlight separation. You’re essentially recreating a simplified version of a 45-degree key light position, but on a rig that moves with you.
When mounting, position the bracket so the light sits above the camera’s horizontal center and off to the side toward the subject’s key side. This mirrors the basic short or broad lighting principles you’d use in a portrait studio. The bracket’s adjustability lets you dial in that angle before you start shooting, not after.
Step 3: Choose the Right Light for the Bracket
 Westcott Ice Light 3 mounted on the Platypod Bracket
Jay P. uses the Westcott Ice Light 3 RGBWW LED Kit here, and it’s a smart choice for this application. It’s a wand-style continuous light, which means the output is spread across a longer source rather than concentrated in a single point. A longer light source is a softer light source relative to its size. When you’re working inches from someone’s face in a run-and-gun context, that softness matters.
Westcott Ice Light 3 mounted on the Platypod Bracket
Jay P. uses the Westcott Ice Light 3 RGBWW LED Kit here, and it’s a smart choice for this application. It’s a wand-style continuous light, which means the output is spread across a longer source rather than concentrated in a single point. A longer light source is a softer light source relative to its size. When you’re working inches from someone’s face in a run-and-gun context, that softness matters.
The RGBWW color range also gives you flexibility for mixed lighting environments, which is exactly what you encounter on location. If you’re shooting under tungsten practical lights, you can shift the color temperature of your mounted light to match. Mismatched color temperature is one of the fastest ways to ruin footage, and having a tunable light on your rig means you can correct before you shoot rather than in post.
Step 4: Use a Quick Release for Fast Adjustments
 Kondor Quick Release Mini Lock securing the light mount
The tutorial references using the Kondor Quick Release Mini Lock to secure the light to the bracket. This is a detail worth taking seriously. On a run-and-gun shoot, you need to be able to adjust or remove the light quickly without hunting for a hex key. A quality quick release lets you pull the light off the rig in seconds when you move into a location with enough ambient light, or when you need to reduce bulk for a tight corridor or doorway.
Kondor Quick Release Mini Lock securing the light mount
The tutorial references using the Kondor Quick Release Mini Lock to secure the light to the bracket. This is a detail worth taking seriously. On a run-and-gun shoot, you need to be able to adjust or remove the light quickly without hunting for a hex key. A quality quick release lets you pull the light off the rig in seconds when you move into a location with enough ambient light, or when you need to reduce bulk for a tight corridor or doorway.
Don’t skip this component to save money. A light that shifts position mid-shoot because the mount loosened under movement is worse than no light at all. It creates inconsistent exposure across your footage and forces corrective work in post that could have been avoided entirely.
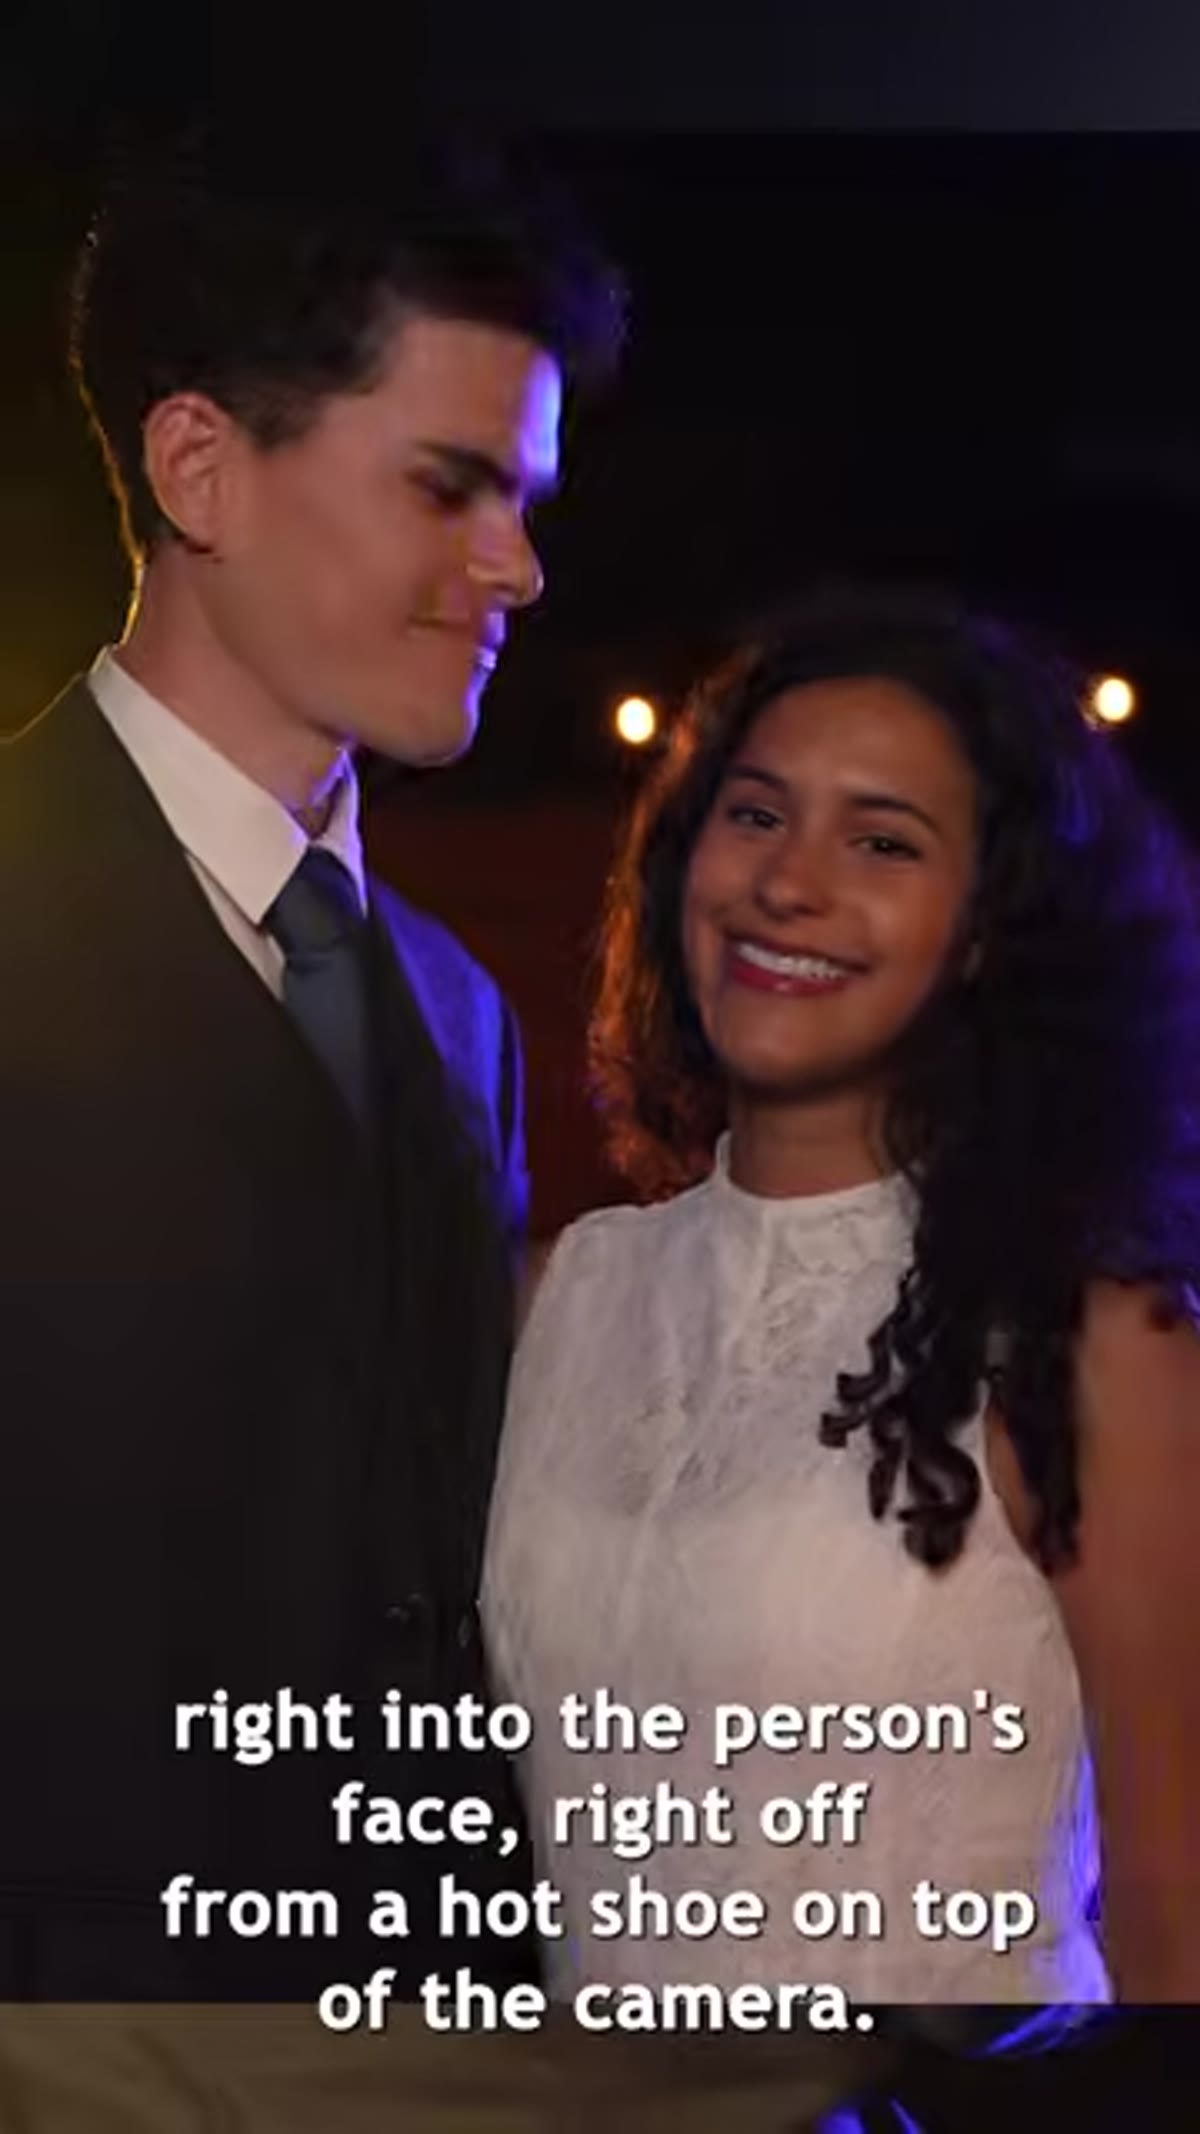
Step 5: Adjust the Light Position for Subject Separation
 Subject lit from the side showing dimension and background separation
With the bracket mounted and the light secured, the final adjustment is fine-tuning the angle to get subject-to-background separation. The light positioned to the side and slightly above the subject creates a highlight on the side of the face closest to the light, a natural shadow on the opposite side, and a subtle gradient that separates the subject from whatever is behind them.
Subject lit from the side showing dimension and background separation
With the bracket mounted and the light secured, the final adjustment is fine-tuning the angle to get subject-to-background separation. The light positioned to the side and slightly above the subject creates a highlight on the side of the face closest to the light, a natural shadow on the opposite side, and a subtle gradient that separates the subject from whatever is behind them.
This separation is what distinguishes professional video lighting from tourist footage. It gives the subject visual weight in the frame. In darker environments, a corridor, a reception hall, an alley at night, even a modest LED at this angle will create enough contrast between subject and background to make the shot read clearly.
What I’d Add From My Own Work
The Platypod Bracket solves the mobility problem well, but I’d push one step further for anyone doing narrative or wedding work: practice the grip before the shoot. Holding a camera with a bracket-mounted light changes the balance of the rig. The first time you try to move fluidly with an unfamiliar weight distribution is not when you’re following a bride down an aisle. Put the full rig together in your living room. Walk. Turn. Crouch. Get your hands and your body used to where the weight sits.
I also keep a small diffusion sock in my bag for the Ice Light. At very close subject distances, even a wand light can be harder than I want. Dropping a diffusion layer over it pulls the quality closer to window light and gives skin a cleaner, smoother look. It’s a thirty-second addition that consistently improves the result.
The single most important idea in this tutorial is that light position relative to subject position is what determines image quality, not light intensity or gear cost. Getting any light source even slightly off-axis and at a modest upward angle transforms the dimensional quality of your footage. The Platypod Bracket is a mechanical solution to a positioning problem, and positioning is everything.
Watch the full tutorial on YouTube to see Jay P. Morgan demonstrate the bracket in use and compare the on-camera versus off-camera light results side by side. The visual comparison alone is worth the four minutes.
Comments
Leave a Comment