I shoot in a controlled studio most of the time. Every light has a label on it. Every modifier gets tested the day it arrives. I have a lighting diagram app on my phone that I built myself because the existing ones didn’t think the way I do. So when I started picking up more video work alongside my editorial and commercial jobs, the lack of that same control drove me a little crazy. Studio shooting gives you time to solve problems. Run-and-gun video does not.
The specific problem I kept running into was simple and maddening: where does the light live when you’re moving? You can’t hold it. You can’t bag it between shots fast enough. You can’t rig it to a stand when you’re following someone through a reception hall or down a street at night. In Watch the full tutorial on YouTube, Jay P. Morgan from The Slanted Lens walks through a genuinely elegant solution using the Platypod Bracket, and the first time I watched it I actually paused and wrote it down in my lighting journal. That doesn’t happen often.
The core idea is straightforward: mount your continuous LED light to a side-handle bracket attached to your camera, get it up and off-axis from the lens, and give it a quick-release mechanism so you can reposition it in seconds. What makes it work in practice is the execution, and Jay P. breaks that down clearly enough that you can replicate it before your next shoot.
Step 1: Understand Why On-Camera Light Fails (And What “Off-Camera On-Rig” Actually Means)
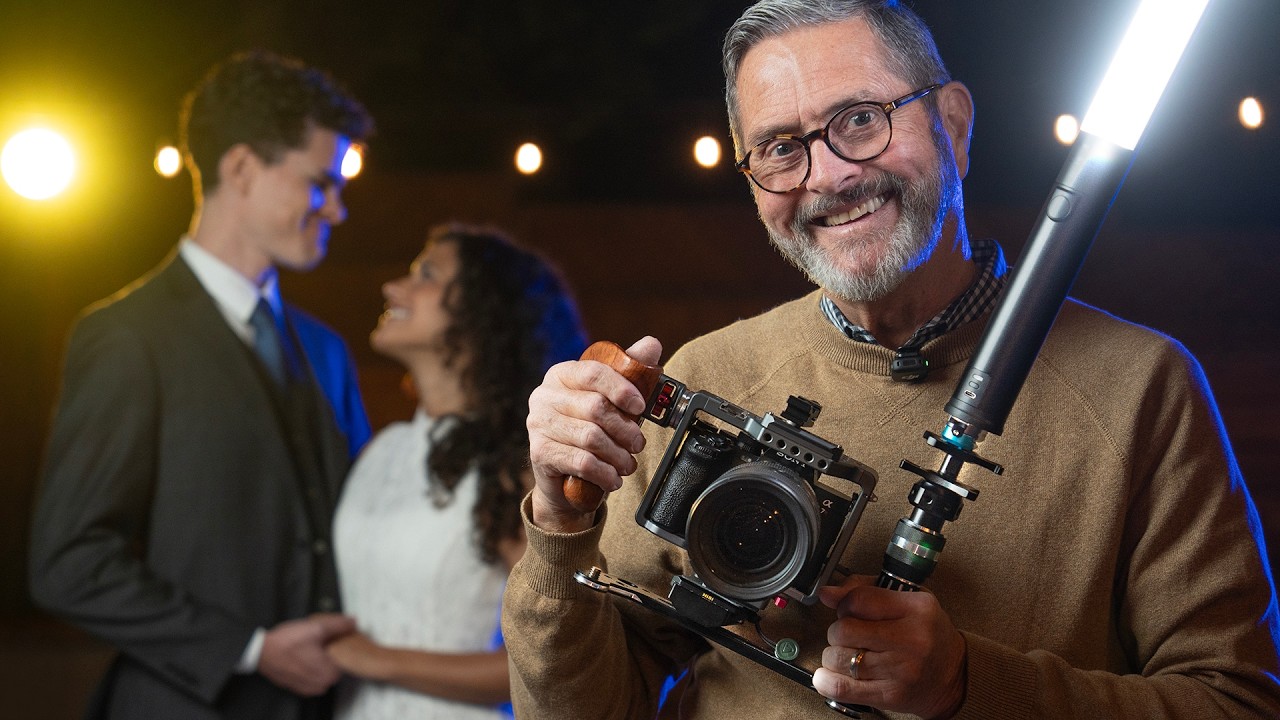
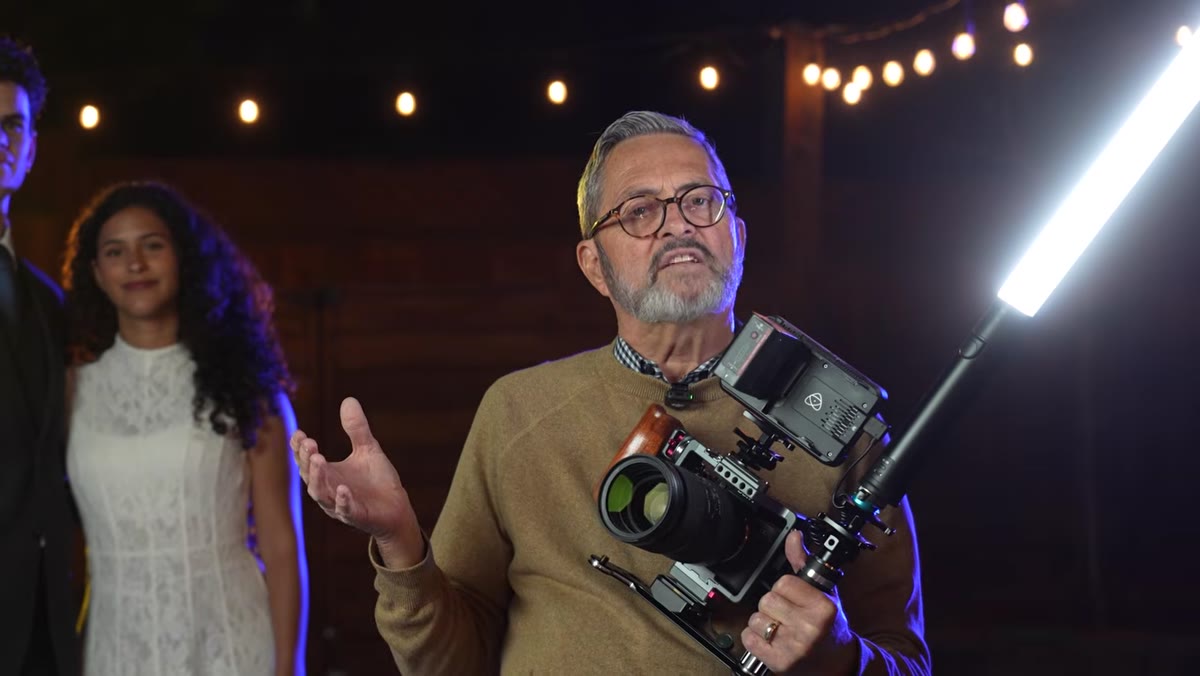
 Jay holding camera rig with LED light mounted to side bracket
The problem with a light sitting directly on your hot shoe is geometry. Dead-on-axis light flattens faces, kills shadow definition, and produces that flat, surveillance-camera look you see in amateur event video. Jay P. makes this point immediately and it is worth internalizing before you touch any gear: the goal is not just to have a light, it is to have a light that is elevated slightly and displaced to the side. Even a few inches of separation from the lens axis creates a more natural shadow fall on the face, a catch light that doesn’t sit dead center in the eye, and a modeling that actually reads on camera.
Jay holding camera rig with LED light mounted to side bracket
The problem with a light sitting directly on your hot shoe is geometry. Dead-on-axis light flattens faces, kills shadow definition, and produces that flat, surveillance-camera look you see in amateur event video. Jay P. makes this point immediately and it is worth internalizing before you touch any gear: the goal is not just to have a light, it is to have a light that is elevated slightly and displaced to the side. Even a few inches of separation from the lens axis creates a more natural shadow fall on the face, a catch light that doesn’t sit dead center in the eye, and a modeling that actually reads on camera.
The Platypod Bracket is the mechanical answer to this problem. It attaches to your camera rig and extends out to the side, giving your LED a fixed home that moves with you while keeping it off the optical axis. Think of it less like a hot shoe adapter and more like a miniature C-stand arm that you carry with you at all times.
Step 2: Assemble the Rig with the Platypod Bracket
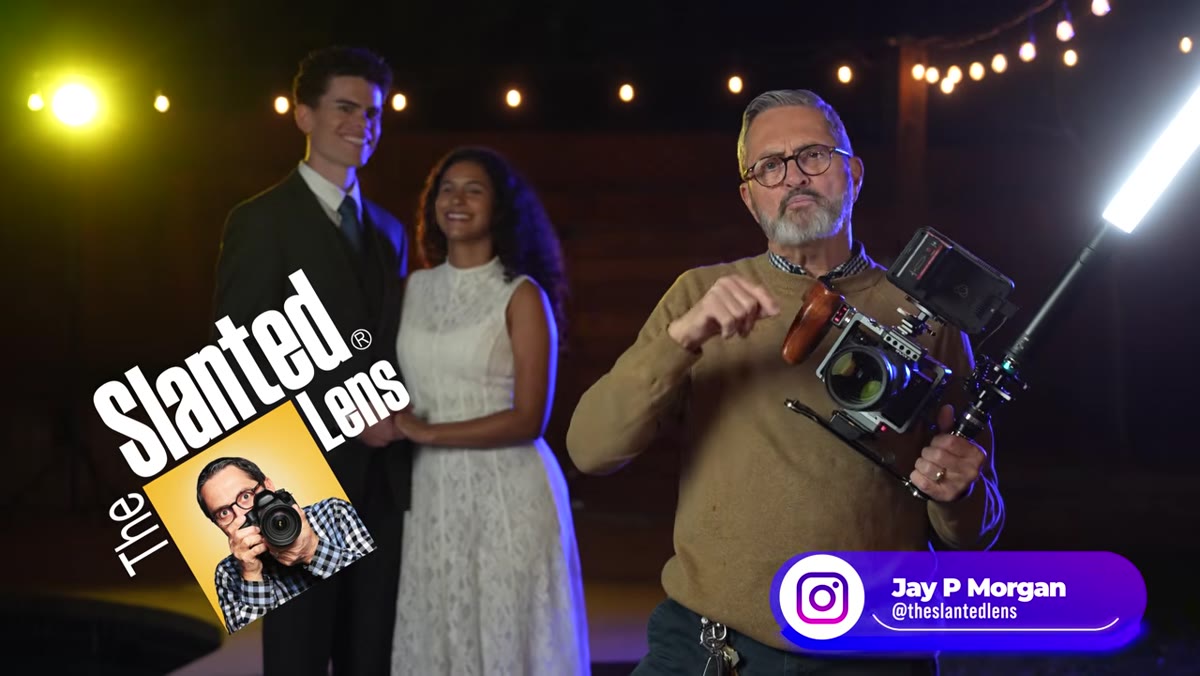
 Close-up of Platypod Bracket attached to camera handle
The bracket itself functions as a side handle for your camera while simultaneously serving as the mounting point for your light. Jay P. is using it with the Westcott Ice Light 3, an RGBWW LED wand that is light enough not to torque the rig but powerful enough to actually affect an image in mixed or low-light environments. The light mounts to the end of the bracket, positions above and to the side of the lens, and the whole assembly feels like a natural extension of the camera rather than an afterthought bolted on.
Close-up of Platypod Bracket attached to camera handle
The bracket itself functions as a side handle for your camera while simultaneously serving as the mounting point for your light. Jay P. is using it with the Westcott Ice Light 3, an RGBWW LED wand that is light enough not to torque the rig but powerful enough to actually affect an image in mixed or low-light environments. The light mounts to the end of the bracket, positions above and to the side of the lens, and the whole assembly feels like a natural extension of the camera rather than an afterthought bolted on.
For mounting and release, he adds a Kondor Quick Release Mini Lock between the bracket and the light. This is not optional if you want the rig to be genuinely functional on a moving shoot. The quick release means you can detach the light in one motion, hold it out to the side or over your subject, and then re-dock it without looking down. On a wedding day or a narrative walk-and-talk, that ability to reposition without fumbling is the difference between good light and no light.
Step 3: Set the Light Position for Run-and-Gun Coverage
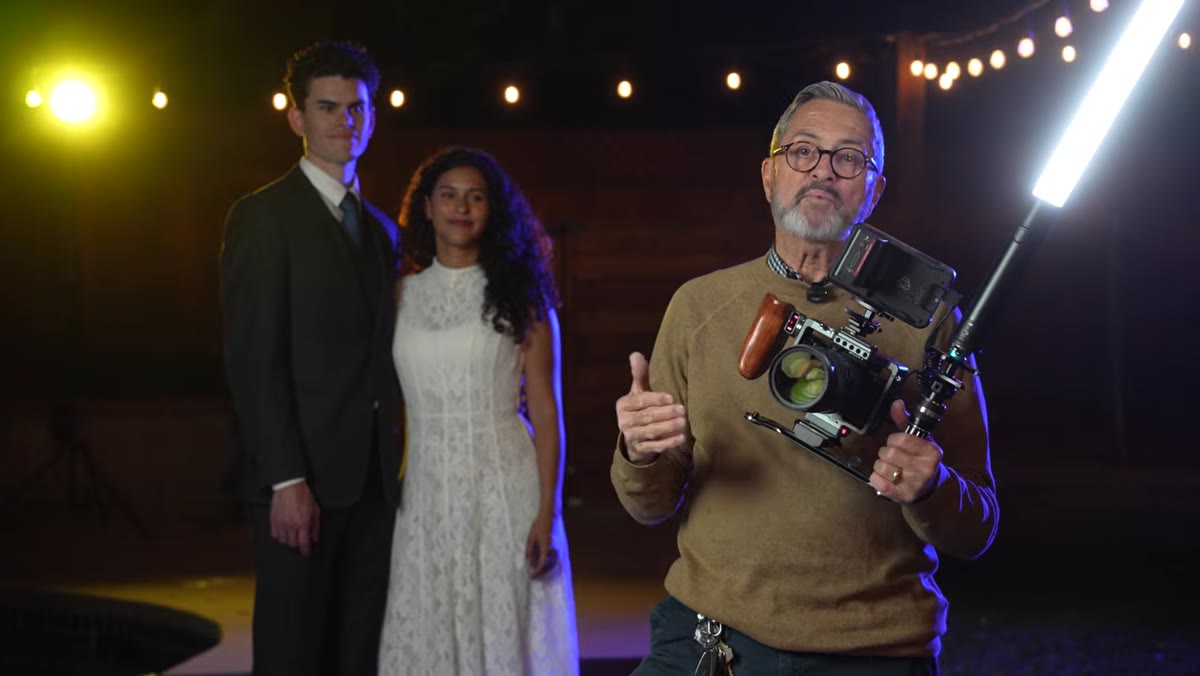
 Ice Light 3 mounted to bracket, elevated and offset from lens
The bracket holds the Ice Light 3 up and to the side, which does two things simultaneously. It creates a slight down angle on the subject’s face, which is a more flattering direction for light to come from than straight horizontal or straight up. And it puts a catch light in the eye at roughly the 10 o’clock or 2 o’clock position, which is where portrait photographers have been trained to want it for decades. You are essentially building a poor man’s beauty dish position into a handheld rig.
Ice Light 3 mounted to bracket, elevated and offset from lens
The bracket holds the Ice Light 3 up and to the side, which does two things simultaneously. It creates a slight down angle on the subject’s face, which is a more flattering direction for light to come from than straight horizontal or straight up. And it puts a catch light in the eye at roughly the 10 o’clock or 2 o’clock position, which is where portrait photographers have been trained to want it for decades. You are essentially building a poor man’s beauty dish position into a handheld rig.
Jay P.’s point about power level is important here: you are not trying to overpower the scene. You are trying to open the shadows. Think of it the way you would think about a fill card in a studio setup. The ambient is doing most of the work. This light is cleaning up the dark side of the face and putting life in the eyes. Keep the output low enough that it reads as natural, not as a video camera with a light attached.
Step 4: Use the Quick Release to Adapt Mid-Shot
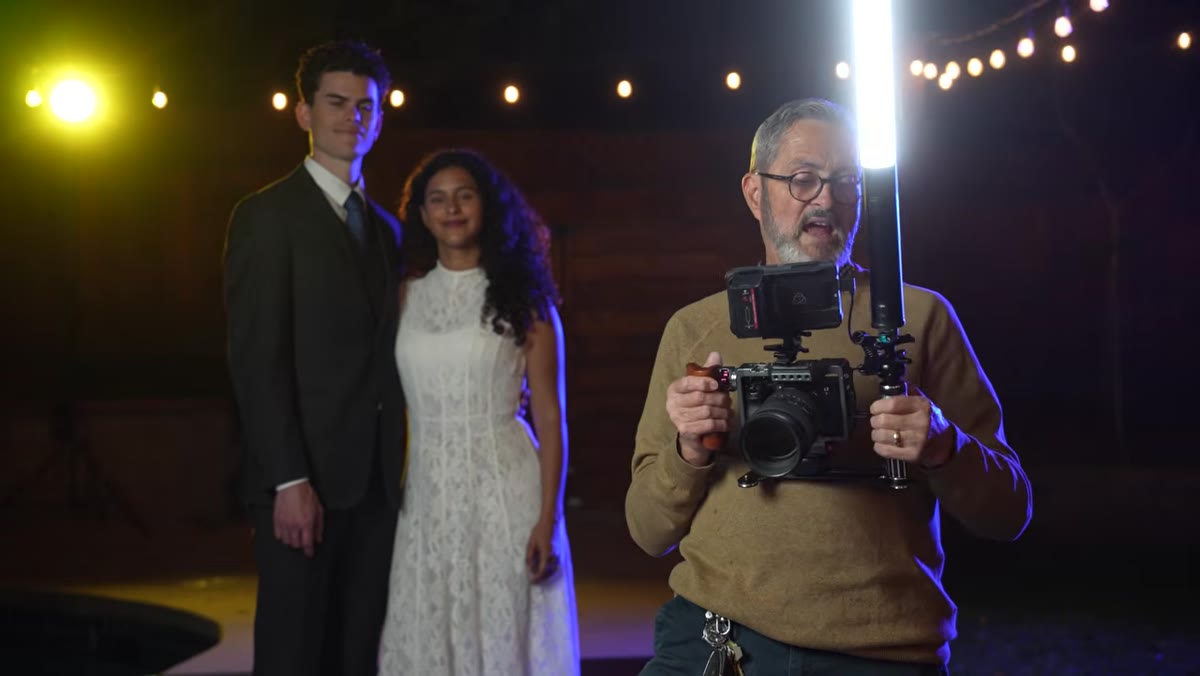 Jay releasing light from bracket and repositioning by hand
This step is where the Kondor quick release earns its place in the kit. With the lock disengaged, you can pull the Ice Light 3 off the bracket and hold it wherever the shot demands. Jay P. demonstrates holding it out to the left, then the right, then overhead. Each position produces a different shadow structure on the face. In narrative work, where you might be following a subject through a doorway, around a corner, or into a darker space, this adaptability is critical.
Jay releasing light from bracket and repositioning by hand
This step is where the Kondor quick release earns its place in the kit. With the lock disengaged, you can pull the Ice Light 3 off the bracket and hold it wherever the shot demands. Jay P. demonstrates holding it out to the left, then the right, then overhead. Each position produces a different shadow structure on the face. In narrative work, where you might be following a subject through a doorway, around a corner, or into a darker space, this adaptability is critical.
The muscle memory required to do this smoothly while also operating the camera takes practice, but the mechanical system makes it possible. Without the quick release, you would be fighting a screw mount in the dark. With it, repositioning the light takes about one second.
Step 5: Compare Footage With and Without the Light
 Side-by-side subjects filmed with and without bracket-mounted LED
Jay P. shoots the same subjects, the same movement, in the same location, with and without the light. Watch this section carefully because it makes the abstract argument concrete. Without the light, faces go into partial silhouette when subjects move through mixed-exposure environments. With the Ice Light 3 on the Platypod Bracket, the shadow side lifts, the eyes read clearly, and the footage looks like it belongs in a finished project rather than raw B-roll.
Side-by-side subjects filmed with and without bracket-mounted LED
Jay P. shoots the same subjects, the same movement, in the same location, with and without the light. Watch this section carefully because it makes the abstract argument concrete. Without the light, faces go into partial silhouette when subjects move through mixed-exposure environments. With the Ice Light 3 on the Platypod Bracket, the shadow side lifts, the eyes read clearly, and the footage looks like it belongs in a finished project rather than raw B-roll.
Slow motion is where the difference is most dramatic. At higher frame rates, you are typically shooting with more light to compensate for the faster shutter speed, and that extra demand on ambient makes the LED’s contribution even more visible. The light does not just improve things. It rescues shots that would otherwise be unusable.
My Own Caveat from Studio Work Applied to the Field
I have spent enough time matching color temperatures in controlled environments that mixing light sources is a reflex concern for me. One thing Jay P. does not spend a lot of time on in this particular tutorial, which is worth noting, is the RGBWW capability of the Ice Light 3. On location, ambient light is rarely daylight-balanced. Tungsten reception venues, sodium vapor streetlights, mixed fluorescent offices: all of them will fight a daylight-balanced LED and give you a color cast that looks off even if the exposure is right.
The RGBWW feature on the Ice Light 3 means you can dial in a white balance that matches your ambient rather than fighting it. I treat this the way I treat gelling strobes in a studio: figure out what the dominant source is, match it, and then let the camera’s white balance clean up the rest in post. It takes thirty seconds to do on set and saves significant time in grading.
The single most useful thing I took from this tutorial is the framing of the bracket as a location for the light to live, not just a mounting solution. When light has a home, you use it consistently. When it lives in your bag or in your hand, you use it only when desperate. Giving your LED a fixed, accessible position on your rig changes your shooting habits, and better habits produce better footage across an entire day, not just in the moments when you remember to reach for the light.
Watch the full tutorial on YouTube to see the before-and-after footage comparisons and Jay P.’s full breakdown of the Platypod Bracket in the field.
Comments
Leave a Comment