There is a specific kind of frustration that comes from standing in bright midday sun with a strobe, a great subject, and a camera that refuses to cooperate. You want to shoot wide open to separate your subject from a busy background. You want the shutter fast enough to darken that background down to something dramatic. But the moment you push past your sync speed, you get that ugly black bar creeping across the bottom of the frame. Every working photographer hits this wall eventually, and high-speed sync is the door through it.
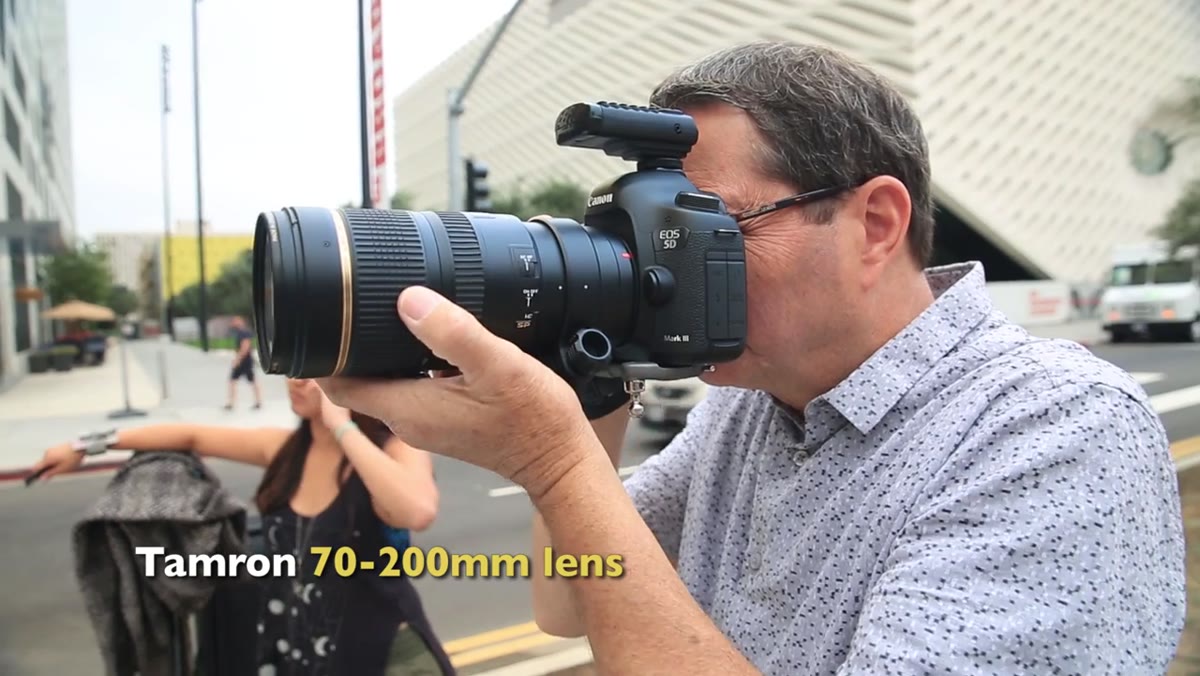
I kept putting off learning this properly, assuming it was more complicated than it was worth. Then I watched Watch the full tutorial on YouTube from The Slanted Lens, where Jay P Morgan breaks it down in a real outdoor location in downtown Los Angeles using Elinchrom Baja B4 strobes. It is a short, focused tutorial, and the clarity of the explanation finally made the mechanics click for me in a way that years of half-read forum posts never did.
What I want to do here is walk through the technique the way I would explain it to someone in my studio, step by step, with the reasoning attached to every decision. If you shoot on location with strobes in any capacity, this is worth understanding at a mechanical level, not just as a checkbox setting you toggle on and forget.
Step 1: Understand What Your Shutter Is Actually Doing
 Diagram of shutter curtains opening and closing at speed
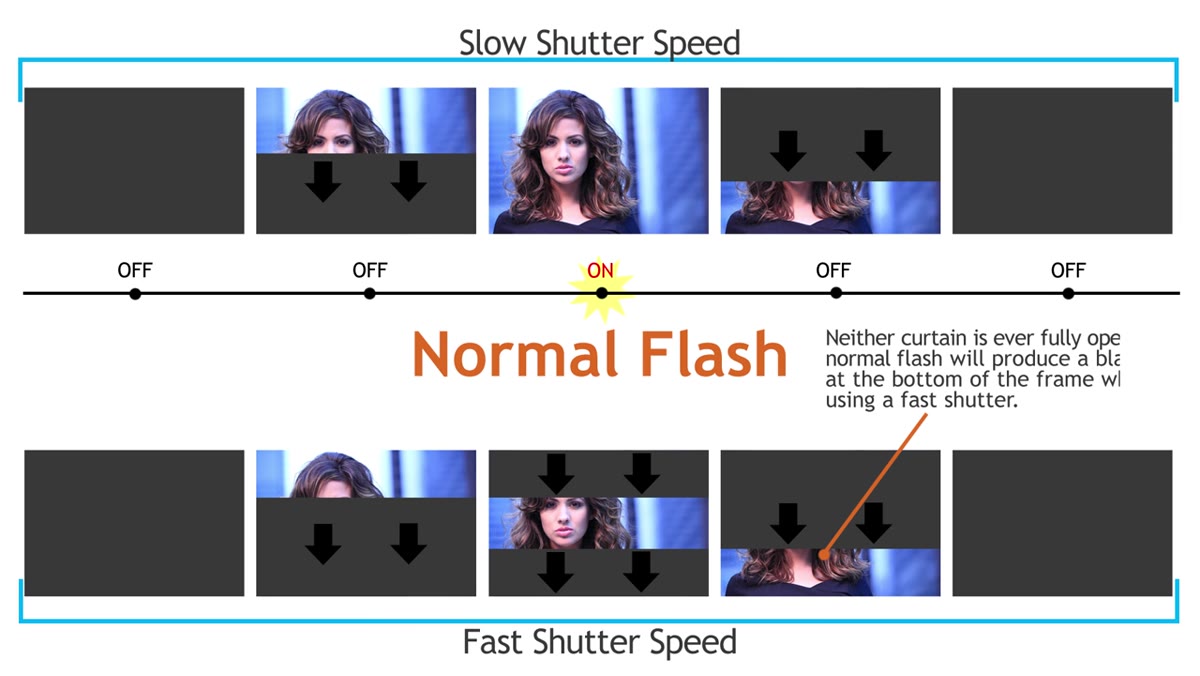
Before you touch a single button on your strobe, you need to understand why the problem exists. A camera shutter uses two curtains. At slower shutter speeds, the first curtain opens fully and stays open, exposing the entire sensor at once, before the second curtain closes. That is the window where a standard strobe flash can fire and hit the whole sensor cleanly.
Diagram of shutter curtains opening and closing at speed
Before you touch a single button on your strobe, you need to understand why the problem exists. A camera shutter uses two curtains. At slower shutter speeds, the first curtain opens fully and stays open, exposing the entire sensor at once, before the second curtain closes. That is the window where a standard strobe flash can fire and hit the whole sensor cleanly.
Once you push your shutter speed above roughly 1/125th or 1/160th of a second, depending on your camera body, the second curtain starts chasing the first before it has finished opening. Instead of the whole sensor being exposed at once, only a narrow traveling slit of the sensor sees light at any given moment. Fire a regular strobe in that situation and you capture the flash in one band while the rest of the frame goes dark.
Step 2: Understand How High-Speed Sync Solves the Problem
 Visual showing strobe pulsing across the shutter curtain travel
High-speed sync does not fight the traveling slit. It works with it. Instead of firing a single full burst of light, the strobe switches into a rapid pulsing mode, firing repeatedly as the slit travels across the sensor. The pulses happen fast enough that the sensor reads it as continuous light rather than a series of individual flashes.
Visual showing strobe pulsing across the shutter curtain travel
High-speed sync does not fight the traveling slit. It works with it. Instead of firing a single full burst of light, the strobe switches into a rapid pulsing mode, firing repeatedly as the slit travels across the sensor. The pulses happen fast enough that the sensor reads it as continuous light rather than a series of individual flashes.
The practical result is that your strobe and camera stay synchronized at any shutter speed you choose. You can push to 1/1000th of a second or beyond and the exposure will be clean, edge to edge. That is the core of what this technique gives you: shutter speed freedom.
Step 3: Know the Trade-Off Before You Commit
 Jay P Morgan adjusting strobe power output on location
High-speed sync costs you light output. In the tutorial, Jay P Morgan notes he lost roughly half a stop of power when switching the Baja B4 into high-speed sync mode at equivalent settings. That may not sound like much, but outdoors in bright sun when you are already fighting ambient light, half a stop matters. Other strobes may lose more.
Jay P Morgan adjusting strobe power output on location
High-speed sync costs you light output. In the tutorial, Jay P Morgan notes he lost roughly half a stop of power when switching the Baja B4 into high-speed sync mode at equivalent settings. That may not sound like much, but outdoors in bright sun when you are already fighting ambient light, half a stop matters. Other strobes may lose more.
The reason for the loss is straightforward: the strobe is firing many short pulses instead of one concentrated burst. Total energy output is distributed across those pulses, so peak power per pulse drops. You compensate by increasing strobe power, which in turn means faster battery drain. On longer location shoots, that is worth factoring into how many batteries you bring.
Step 4: Set Your Strobe to High-Speed Sync Mode
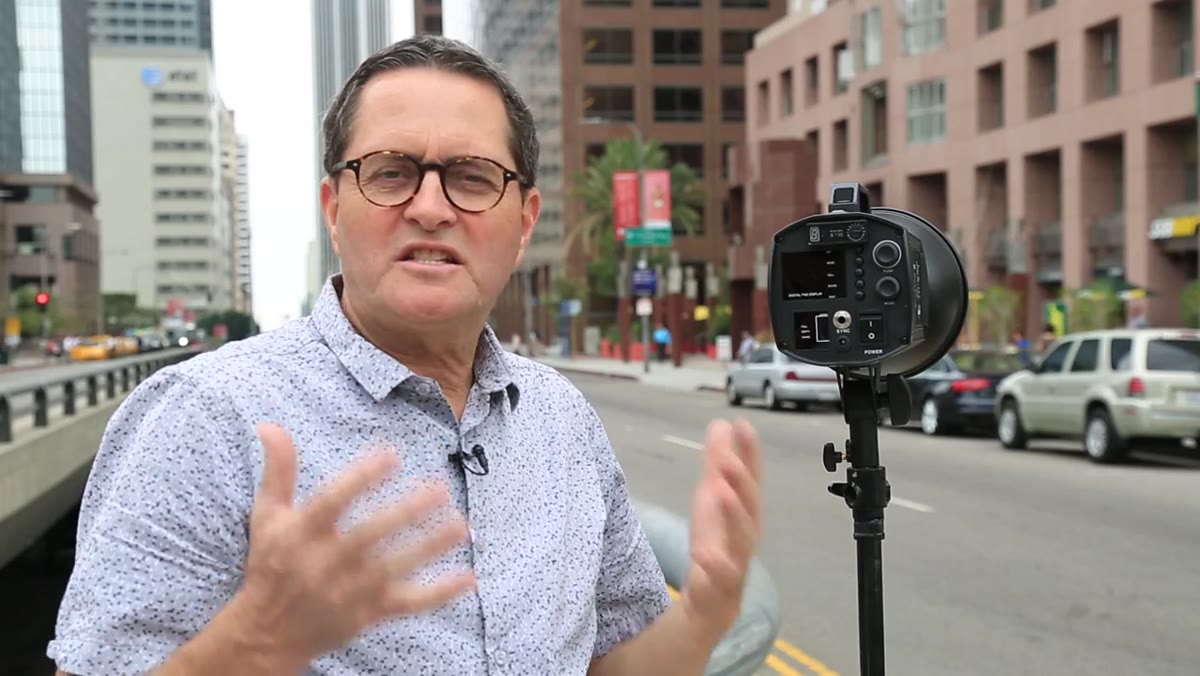 RPT button being pressed on the Baja B4 strobe unit
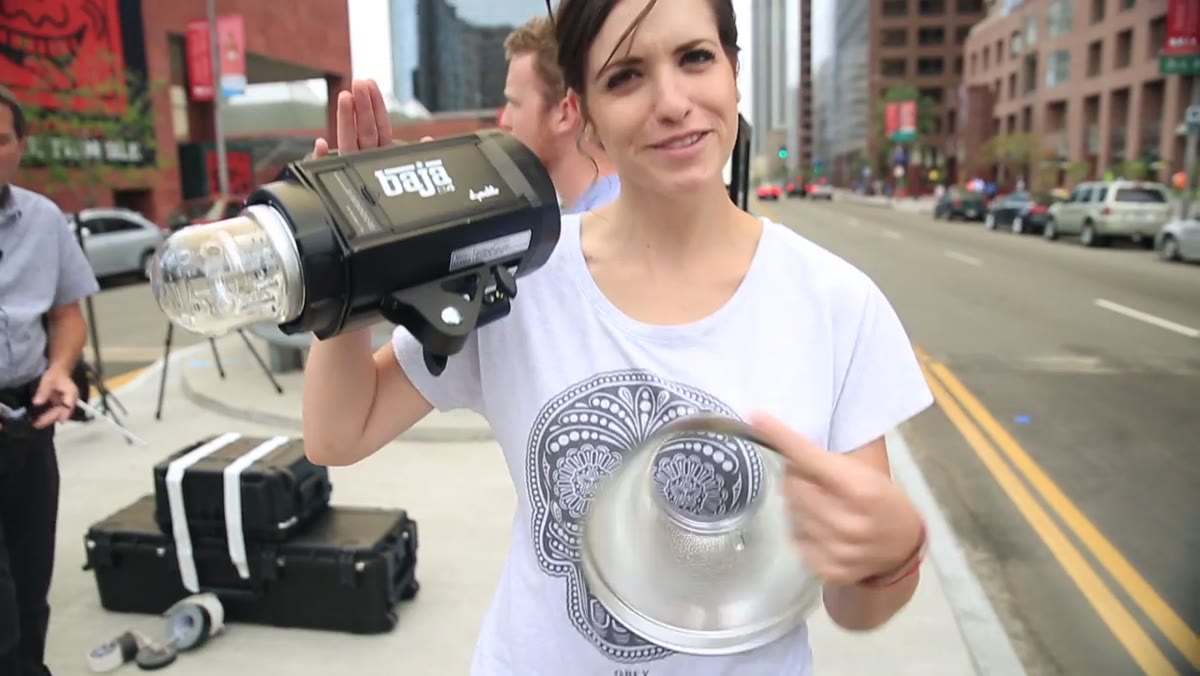
On the Baja B4 specifically, you activate high-speed sync by pressing the RPT button on the unit and cycling through until the display reads H1. That puts you in high-speed sync at the lowest available power in that mode. From there you can dial up through H2, H3, and so on, all the way to H7, which is the maximum output the Baja offers in high-speed sync.
RPT button being pressed on the Baja B4 strobe unit
On the Baja B4 specifically, you activate high-speed sync by pressing the RPT button on the unit and cycling through until the display reads H1. That puts you in high-speed sync at the lowest available power in that mode. From there you can dial up through H2, H3, and so on, all the way to H7, which is the maximum output the Baja offers in high-speed sync.
For outdoor shooting in full sun where you are trying to darken a background and still push light onto your subject, you will almost certainly want to be at or near H7. Set it there first, then dial back if your exposure requires it. It is easier to pull power down than to discover mid-shoot that you are underexposed and out of headroom.
Step 5: Enable High-Speed Sync on the Remote Trigger
 Plus button being pressed on the camera-mounted remote trigger
The strobe being in high-speed sync mode is only half the connection. Your camera-mounted remote trigger also needs to be told to operate in high-speed sync. On the Baja system, this means pressing the plus button on the receiver that sits in your hotshoe. If you skip this step, the strobe and the camera are not communicating the right protocol and you will not get clean sync at high speeds.
Plus button being pressed on the camera-mounted remote trigger
The strobe being in high-speed sync mode is only half the connection. Your camera-mounted remote trigger also needs to be told to operate in high-speed sync. On the Baja system, this means pressing the plus button on the receiver that sits in your hotshoe. If you skip this step, the strobe and the camera are not communicating the right protocol and you will not get clean sync at high speeds.
This is the step I see people miss most often when they are troubleshooting on set. They set up the strobe correctly and assume that is enough. Always confirm both ends of the wireless connection are in the right mode before you start shooting.
Step 6: Dial in Your Exposure Using Shutter Speed to Control the Background
 Subject lit by strobe against darkened Los Angeles skyline background
Here is where the creative control lives. Lock your aperture to match the strobe output, then use shutter speed as your background dimmer. If you are at f/5 and your subject is correctly exposed by the strobe, increasing shutter speed from 1/250th to 1/1000th will progressively darken everything that is lit by ambient light while leaving your strobe-lit subject largely unchanged.
Subject lit by strobe against darkened Los Angeles skyline background
Here is where the creative control lives. Lock your aperture to match the strobe output, then use shutter speed as your background dimmer. If you are at f/5 and your subject is correctly exposed by the strobe, increasing shutter speed from 1/250th to 1/1000th will progressively darken everything that is lit by ambient light while leaving your strobe-lit subject largely unchanged.
This is the principle that makes high-speed sync genuinely useful rather than just technically interesting. You can shoot wide open in full daylight and still have a background that looks controlled and intentional. The shallow depth of field you get from a wide aperture, combined with a darkened background, gives you the kind of subject separation that used to require a studio setup or a heavily overcast day.
A Note on Power Planning for Real Shoots
I do location shoots regularly for editorial clients around Los Angeles, and the practical lesson I would add is this: always bring more battery capacity than you think you need when high-speed sync is in the plan. I keep a note in my lighting journal from a rooftop shoot two summers ago where I burned through batteries faster than expected because I had not accounted for the extended pulsing at H7. We finished the shoot but it was closer than I wanted.
If high-speed sync is your primary shooting mode for a session, estimate roughly double your usual battery consumption and pack accordingly. The technique is worth every bit of the extra weight in the bag.
The single most important thing to take away from this technique is the relationship between your two exposure controls. Shutter speed manages ambient light. Aperture matches your strobe output. Once that relationship is clear, high-speed sync stops being a workaround and becomes a deliberate creative tool you can reach for any time a location shoot demands it.
Watch the full tutorial on YouTube to see Jay P Morgan demonstrate all of this live on location. Watching the actual exposure change as he adjusts shutter speed against a downtown skyline makes the theory land in a way that diagrams alone cannot quite achieve.
Comments
Leave a Comment