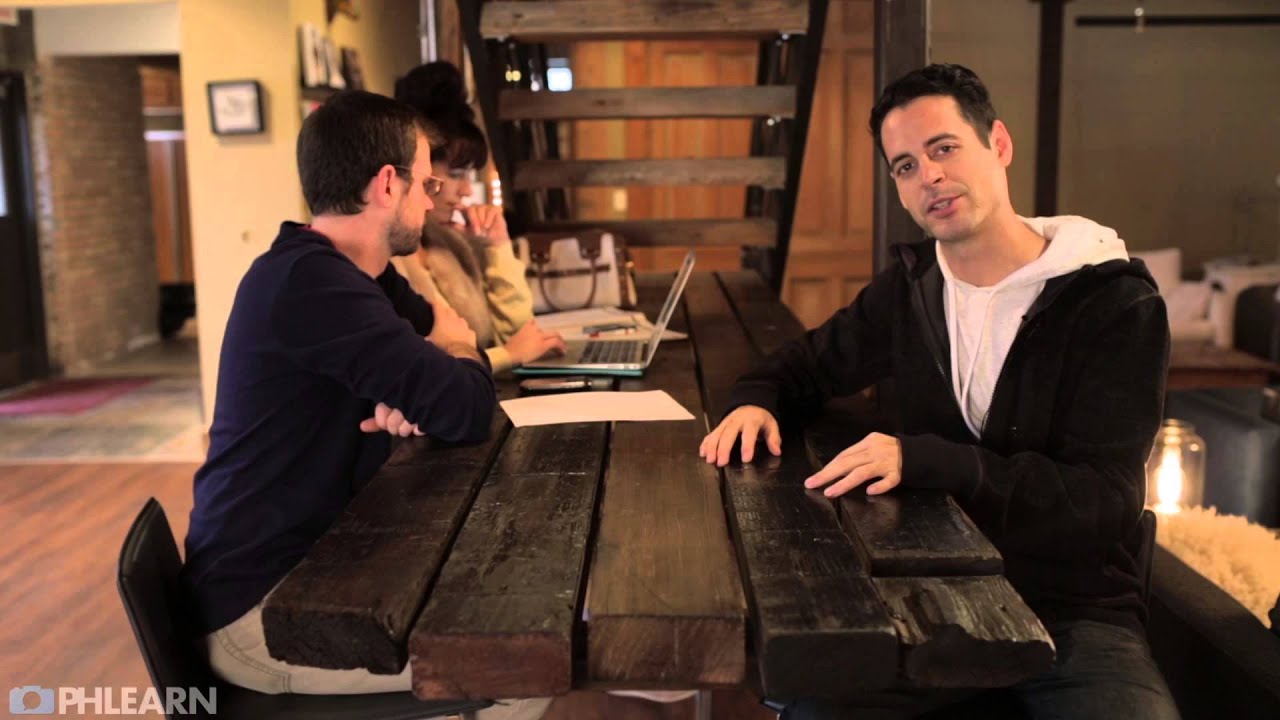
There is a particular kind of chaos that kills a shoot. Not the creative kind, where you’re pivoting mid-session because something better is happening. The bad kind: hunting for a C-stand knob while your model stands in a half-lit set, momentum draining by the second. I’ve been there. Early in my career I lost a full hour of a beauty editorial because I couldn’t locate the right gel holder, and the client was watching. That was the day I started treating studio organization as seriously as I treat lighting ratios.
So when Aaron Nace released a full walkthrough of the PHLEARN studio, I watched it the same afternoon. Watch the full tutorial on YouTube. What struck me wasn’t the size of the space or the gear on the shelves. It was the intentionality behind every decision. Aaron runs a working production studio and it shows. Every system in that room exists to solve a specific, recurring problem. This breakdown pulls out the practical lessons so you can apply them to your own studio, whether it’s a spare bedroom or a 2,000-square-foot commercial space.
Step 1: Make the First Impression Part of the Brand
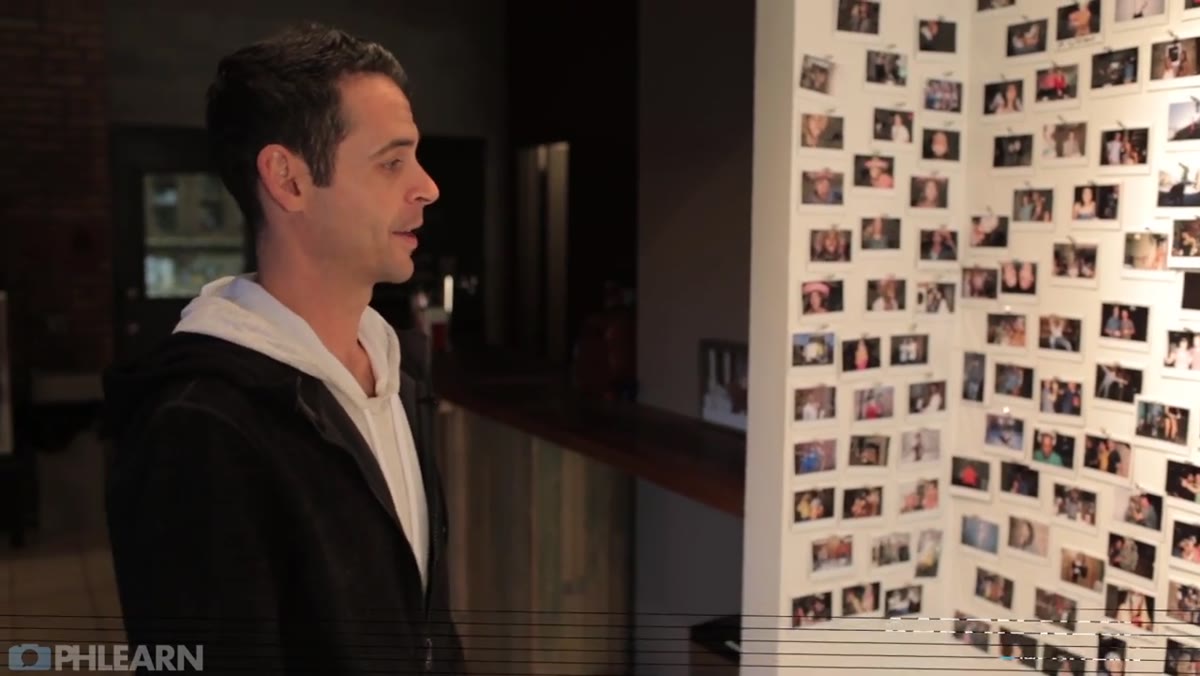 Logo wall covered in Polaroid photos of studio guests
The first thing Aaron shows is the entry wall. Polaroids of everyone who has ever come through the studio, pinned up next to the PHLEARN logo. It sounds like a decorative choice, but it’s actually doing two jobs at once. For clients and models walking in cold, it signals immediately that this is a place where people are relaxed and valued. For Aaron’s team, it reinforces the culture.
I’ve started doing something similar in my own studio in Los Angeles. Not Polaroids necessarily, but I keep a printed contact sheet on the wall from a recent shoot I’m proud of. It shifts the energy when a new client walks in. They see finished work, not just equipment, and that changes the conversation before you’ve said a word.
Step 2: Design Your Space Around Flexibility, Not Permanence
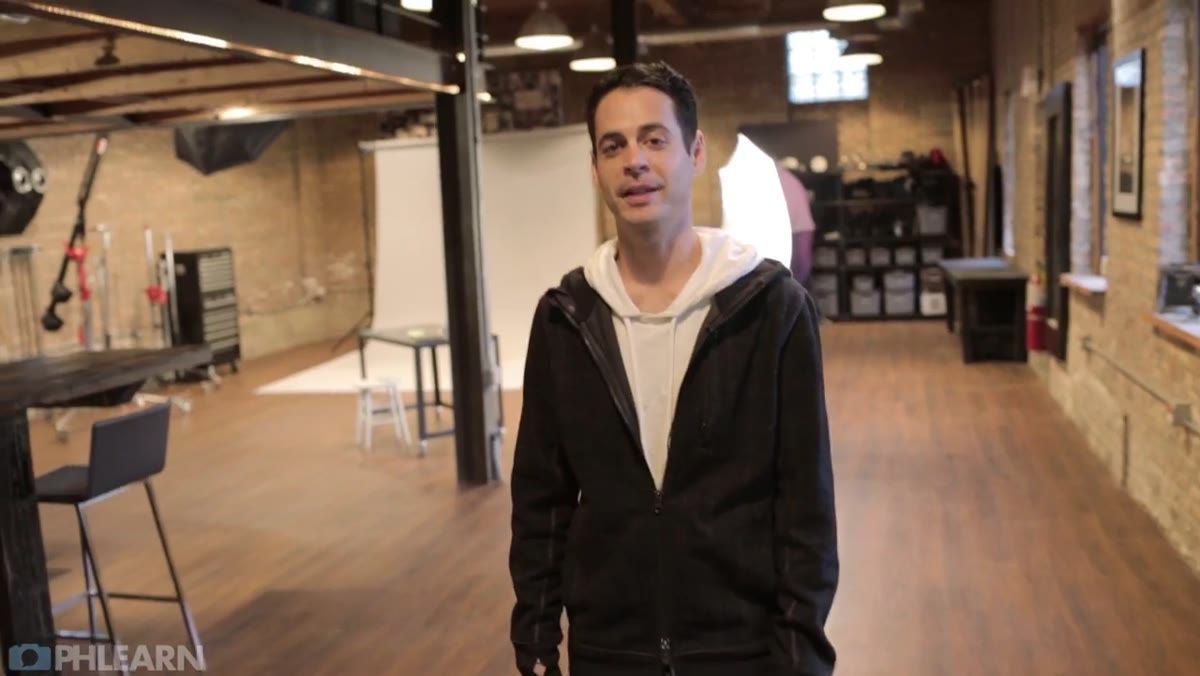 Wide open studio floor with moveable equipment visible
Aaron makes a point of noting that the main shooting floor is kept as open as possible. Nothing is fixed in place that doesn’t have to be. The filming area, the photo set, the video recording corner where the PHLEARN episodes are shot. All of it shares the same floor and can be reconfigured depending on what’s being produced that day.
For a commercial studio, this is the right call. A fixed cyc wall is wonderful if you shoot infinity backgrounds every day. But if you work across product, portrait, and fashion, hard-built permanent sets will constantly work against you. Keep the floor clear, invest in good rolling stands, and let the space be whatever the job needs it to be.
Step 3: Keep Small Hardware Grouped and Immediately Reachable
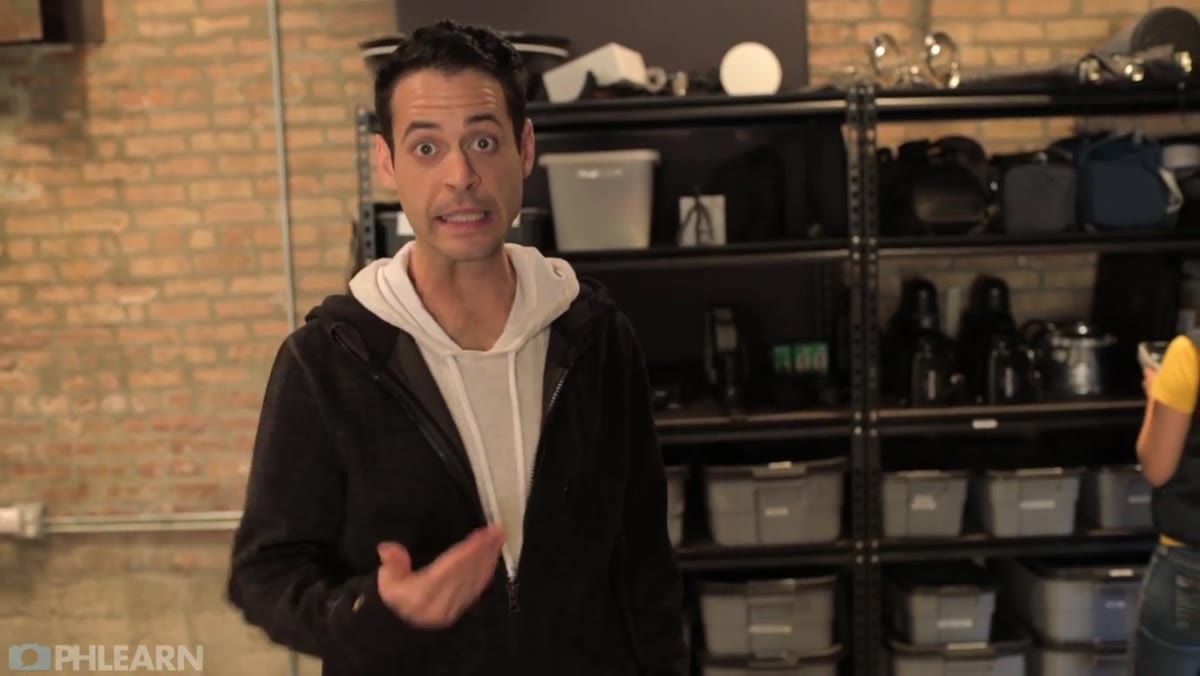 Organized containers holding clamps and small hardware
This is the one I show every assistant I hire. Aaron and his team store small hardware, clamps, clips, and connectors in labeled containers rather than leaving them loose in a drawer or worse, scattered across a cart. The logic is simple: during a live shoot, reaching for a clamp should take three seconds, not three minutes.
I use a pegboard system in my studio and label every hook with masking tape. It looks almost aggressively organized, but it means I can hand a grip a specific item by pointing at the wall. When you’re working fast, that clarity pays for itself in the first session. The exact storage product doesn’t matter. What matters is that like things live together and never migrate.
Step 4: Mount Equipment on Walls to Reclaim Floor Space
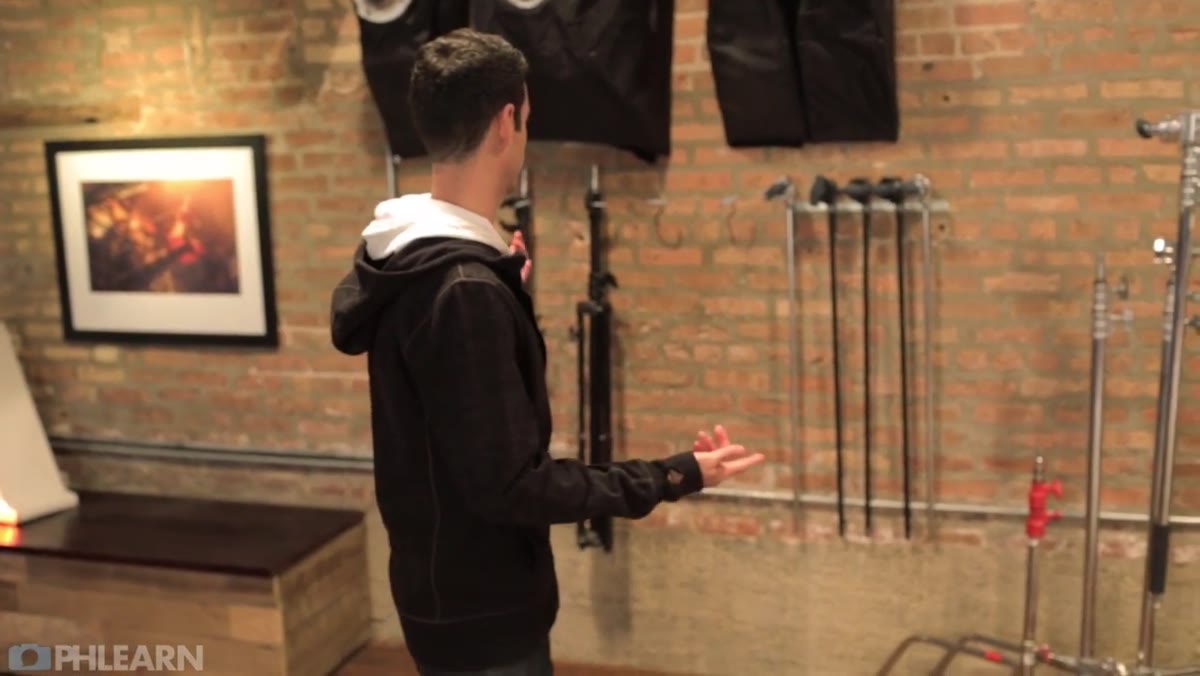 Brick wall with screw hooks holding extension cords and equipment
Aaron walks over to a brick wall lined with cheap screw hooks from a hardware store, around three dollars each. Extension cords, rods, and other long equipment hang on them in a line, completely off the floor. No coils piled in the corner, no tripping hazards, no cable searching.
The hooks he’s using are the same style you’d find in a utility closet for hanging mops and brooms. They work perfectly for extension cords because the cord’s own weight keeps it in place. If you have a painted drywall studio rather than brick, you can achieve the same result with heavy-duty wall anchors. The point is vertical storage. Floor space in a studio is productive space. Wall space is mostly dead until you put it to work.
Step 5: Add Velcro to Softboxes for Fast, Secure Wall Storage
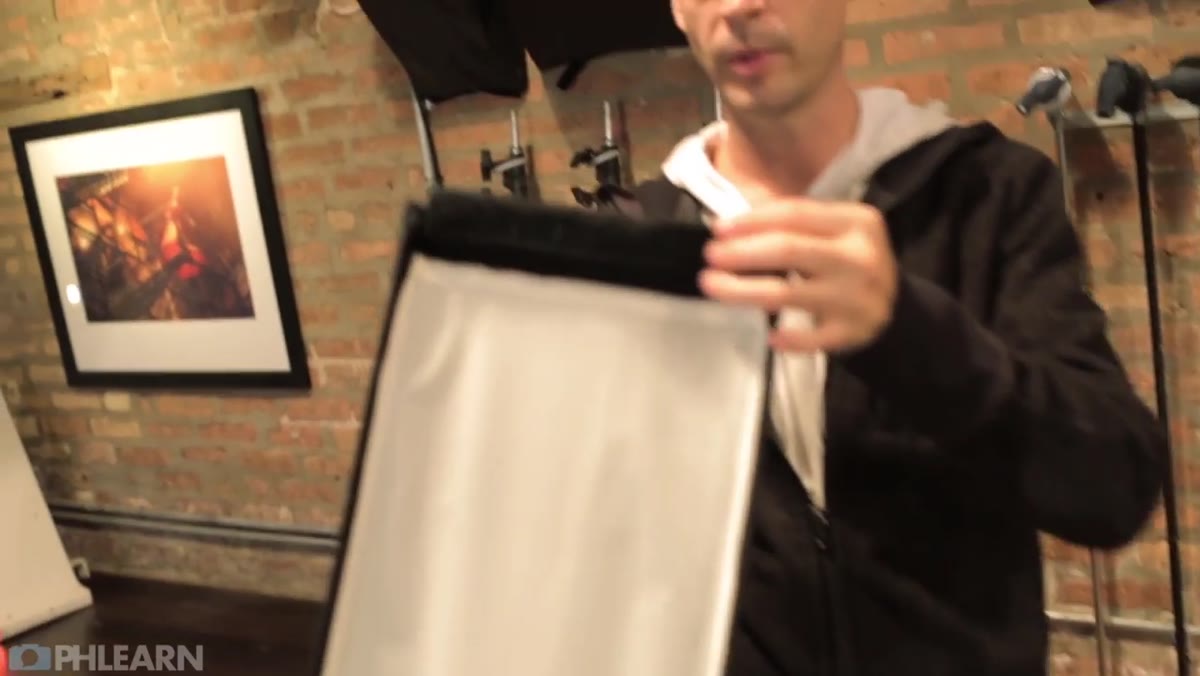 Softboxes attached to wall strip with Velcro fasteners
This is the tip I’ve recommended the most since watching this video. Aaron’s team added Velcro to the top of their softboxes and mounted a corresponding Velcro strip on the wall. When the softbox is not in use, it presses against the wall and stays put. No case, no rack, no floor space consumed.
Many softboxes already include Velcro tabs in the design, as Aaron notes. If yours don’t, industrial-strength Velcro tape from any hardware store will adhere to fabric and hold reliably. I was skeptical the first time I tried this. I thought the weight would pull them loose. Three months in, nothing has moved. For a studio that cycles through multiple modifiers in a single session, this is genuinely useful, not a gimmick.
What I’d Add From My Own Experience
The PHLEARN studio tour covers physical organization, and every tip in it works. But the system I’d layer on top is documentation. I keep a lighting journal where I sketch every setup from every shoot: modifier choice, distance, angle, power ratio, any gels used. It takes about four minutes at the end of a session. When a client comes back six months later and wants “the same light as last time,” I can match it exactly rather than guessing.
Organization in a studio isn’t just about where equipment lives. It’s about preserving the decisions that produced good work, so you can repeat them deliberately. The physical setup Aaron shows gets you to the shoot faster. The documentation habit gets you to the right result faster.
The single most transferable idea from this entire tutorial is that a functional studio is designed backwards from the moment you need something urgently. Build every system assuming you’ll need that clamp, that cord, that softbox in thirty seconds with a client watching. That discipline of thinking about failure states before they happen is what separates a professional production environment from a well-intentioned mess.
Watch the full tutorial on YouTube to see Aaron walk through the full PHLEARN studio space. It’s a short tour with a lot of practical detail, and worth watching at least twice.
Comments (4)
Love how you break down complex stuff into manageable steps.
The before and after really sells it. Incredible difference.
This should be required reading for anyone starting out.
Never thought of approaching it this way. Really creative.
Leave a Comment