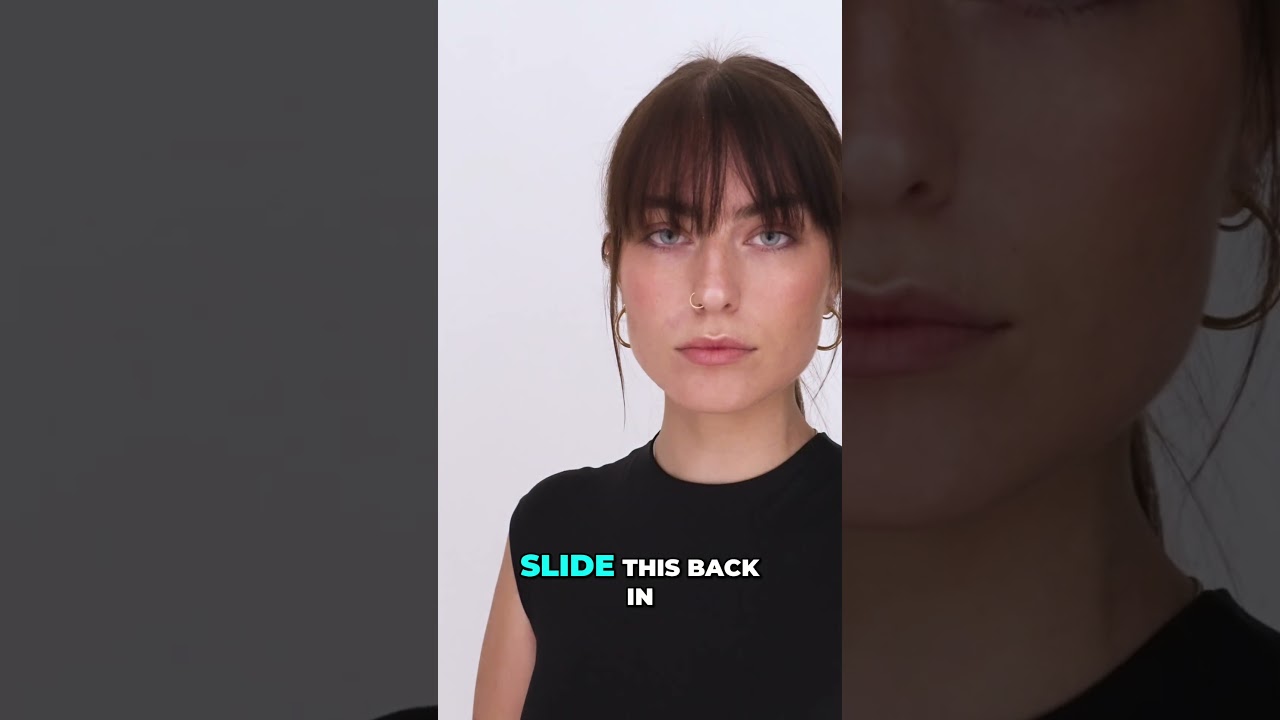
There’s a problem I kept running into early in my studio work: I’d dial in a beautiful softbox position, get the exposure right, and still walk away with portraits that looked flat. The light was technically correct but it wasn’t doing anything interesting to the face. The cheekbones weren’t defined. The jawline disappeared into the background. Everything looked like it was lit for a driver’s license photo, not a magazine page. The fix wasn’t a new light or a bigger modifier. It was two pieces of black foam board.
In this Visual Education tutorial on portrait lighting, the technique demonstrated is one I now use on nearly every controlled studio shoot I do. Watch the full tutorial on YouTube before or after reading this breakdown. The concept is simple enough to explain in a sentence but nuanced enough that the positioning details genuinely matter. What follows is a step-by-step breakdown you can take directly into your own studio.
Step 1: Understand What a Flag Actually Is
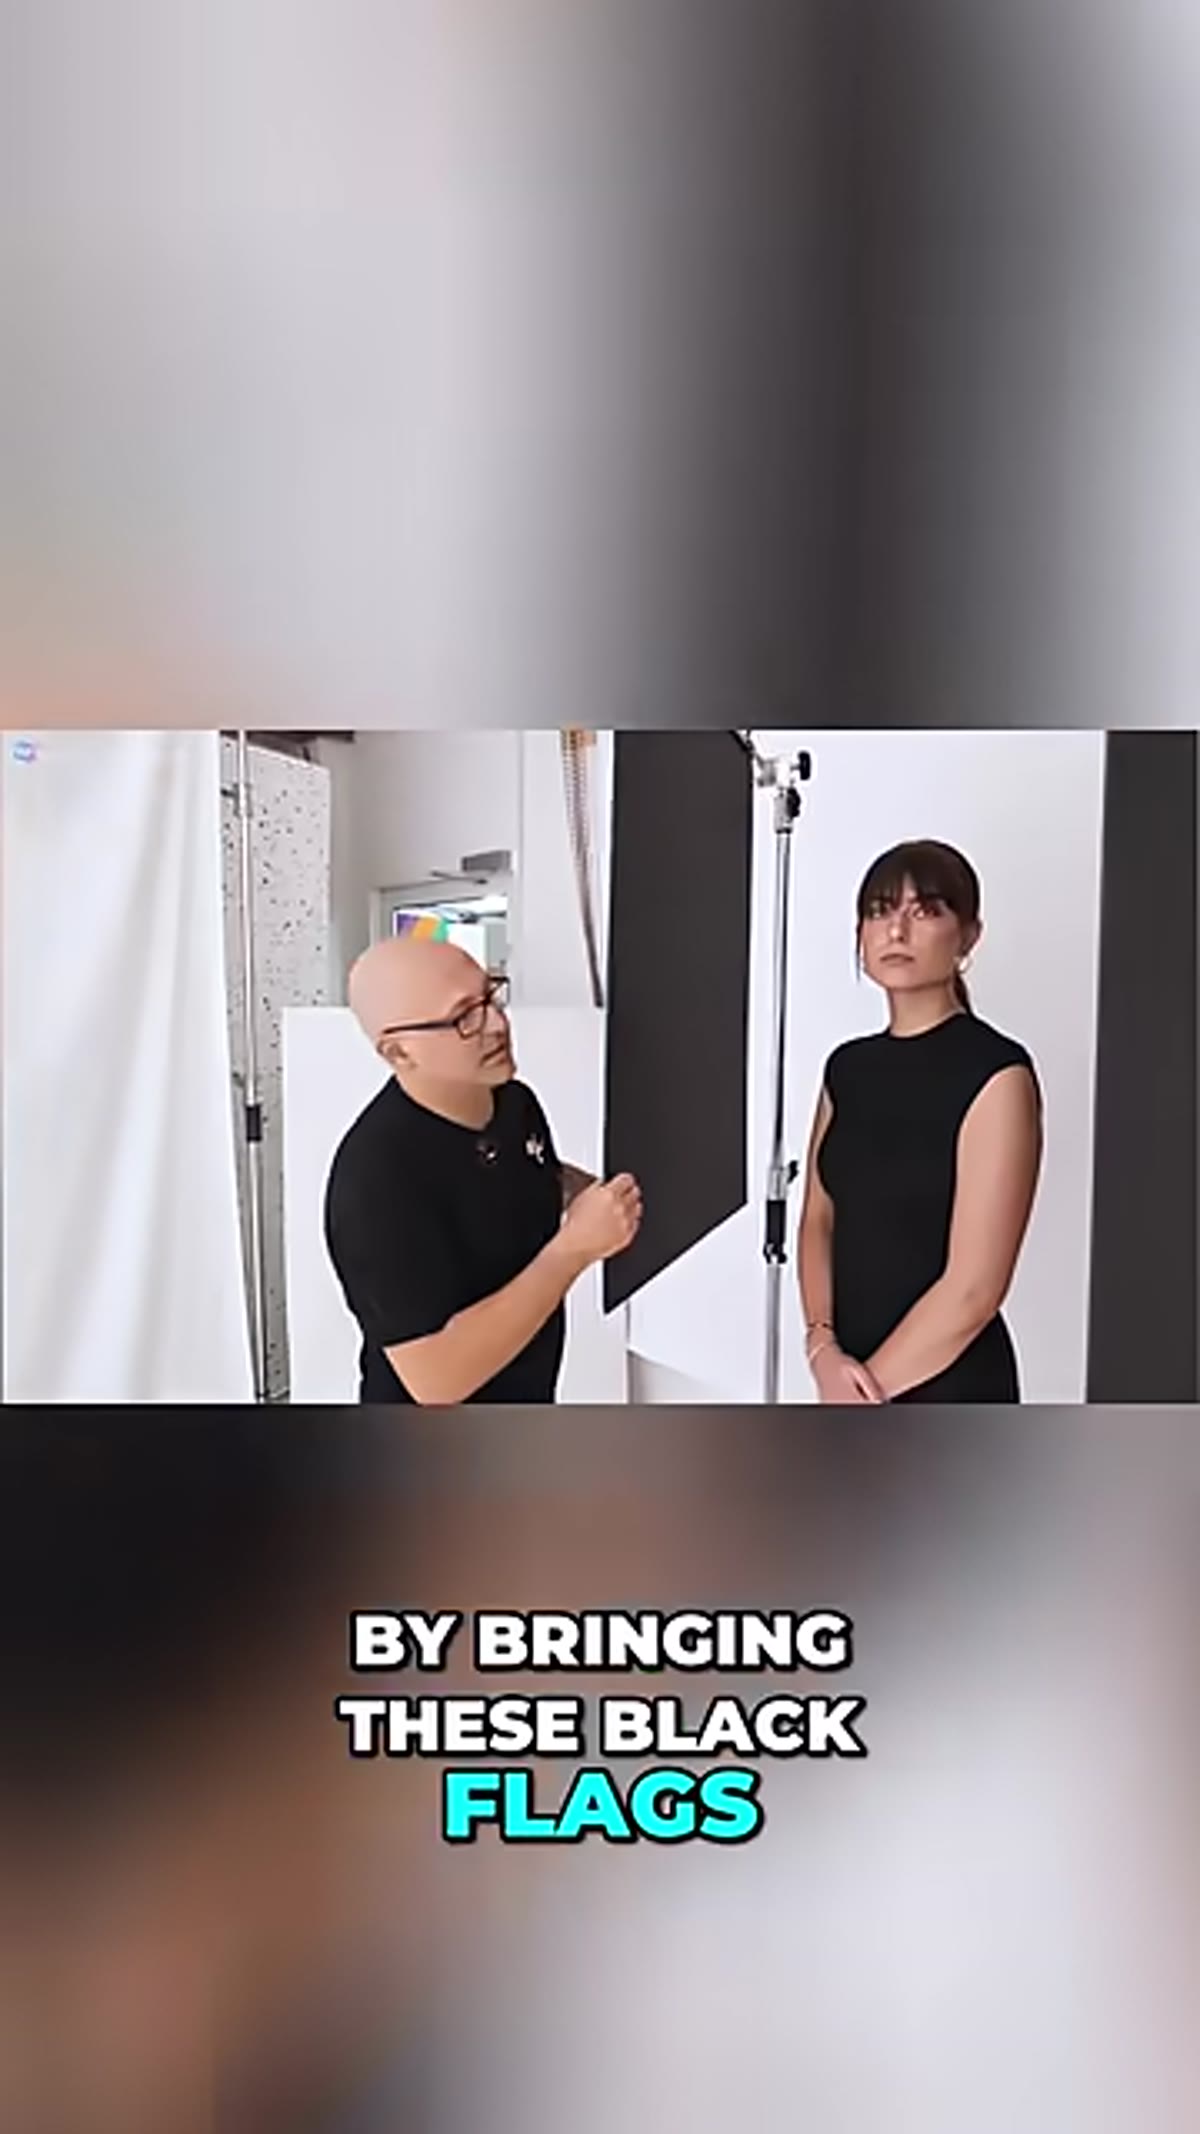 Hands holding black foam board panel next to subject
A flag is nothing more than a light-blocking panel. In professional grip and lighting work, flags come in metal frames with black fabric, but for portrait photography you don’t need any of that. Black foam board from a craft store works perfectly. Black card stock works. Anything flat, rigid, and fully non-reflective on both sides will do the job. I keep a stack of foam board panels in three sizes in my studio, and yes, they all have pieces of masking tape labeling which side faces the light. Old habit.
Hands holding black foam board panel next to subject
A flag is nothing more than a light-blocking panel. In professional grip and lighting work, flags come in metal frames with black fabric, but for portrait photography you don’t need any of that. Black foam board from a craft store works perfectly. Black card stock works. Anything flat, rigid, and fully non-reflective on both sides will do the job. I keep a stack of foam board panels in three sizes in my studio, and yes, they all have pieces of masking tape labeling which side faces the light. Old habit.
The purpose of a flag is not to add light. It blocks light that already exists, preventing it from spilling onto areas of your subject where you don’t want it. That’s a meaningfully different way of thinking about shaping light. Instead of asking “where do I put the light,” you start asking “where do I want darkness, and how do I protect it.”
Step 2: Identify Where the Light Is Spilling Without Control
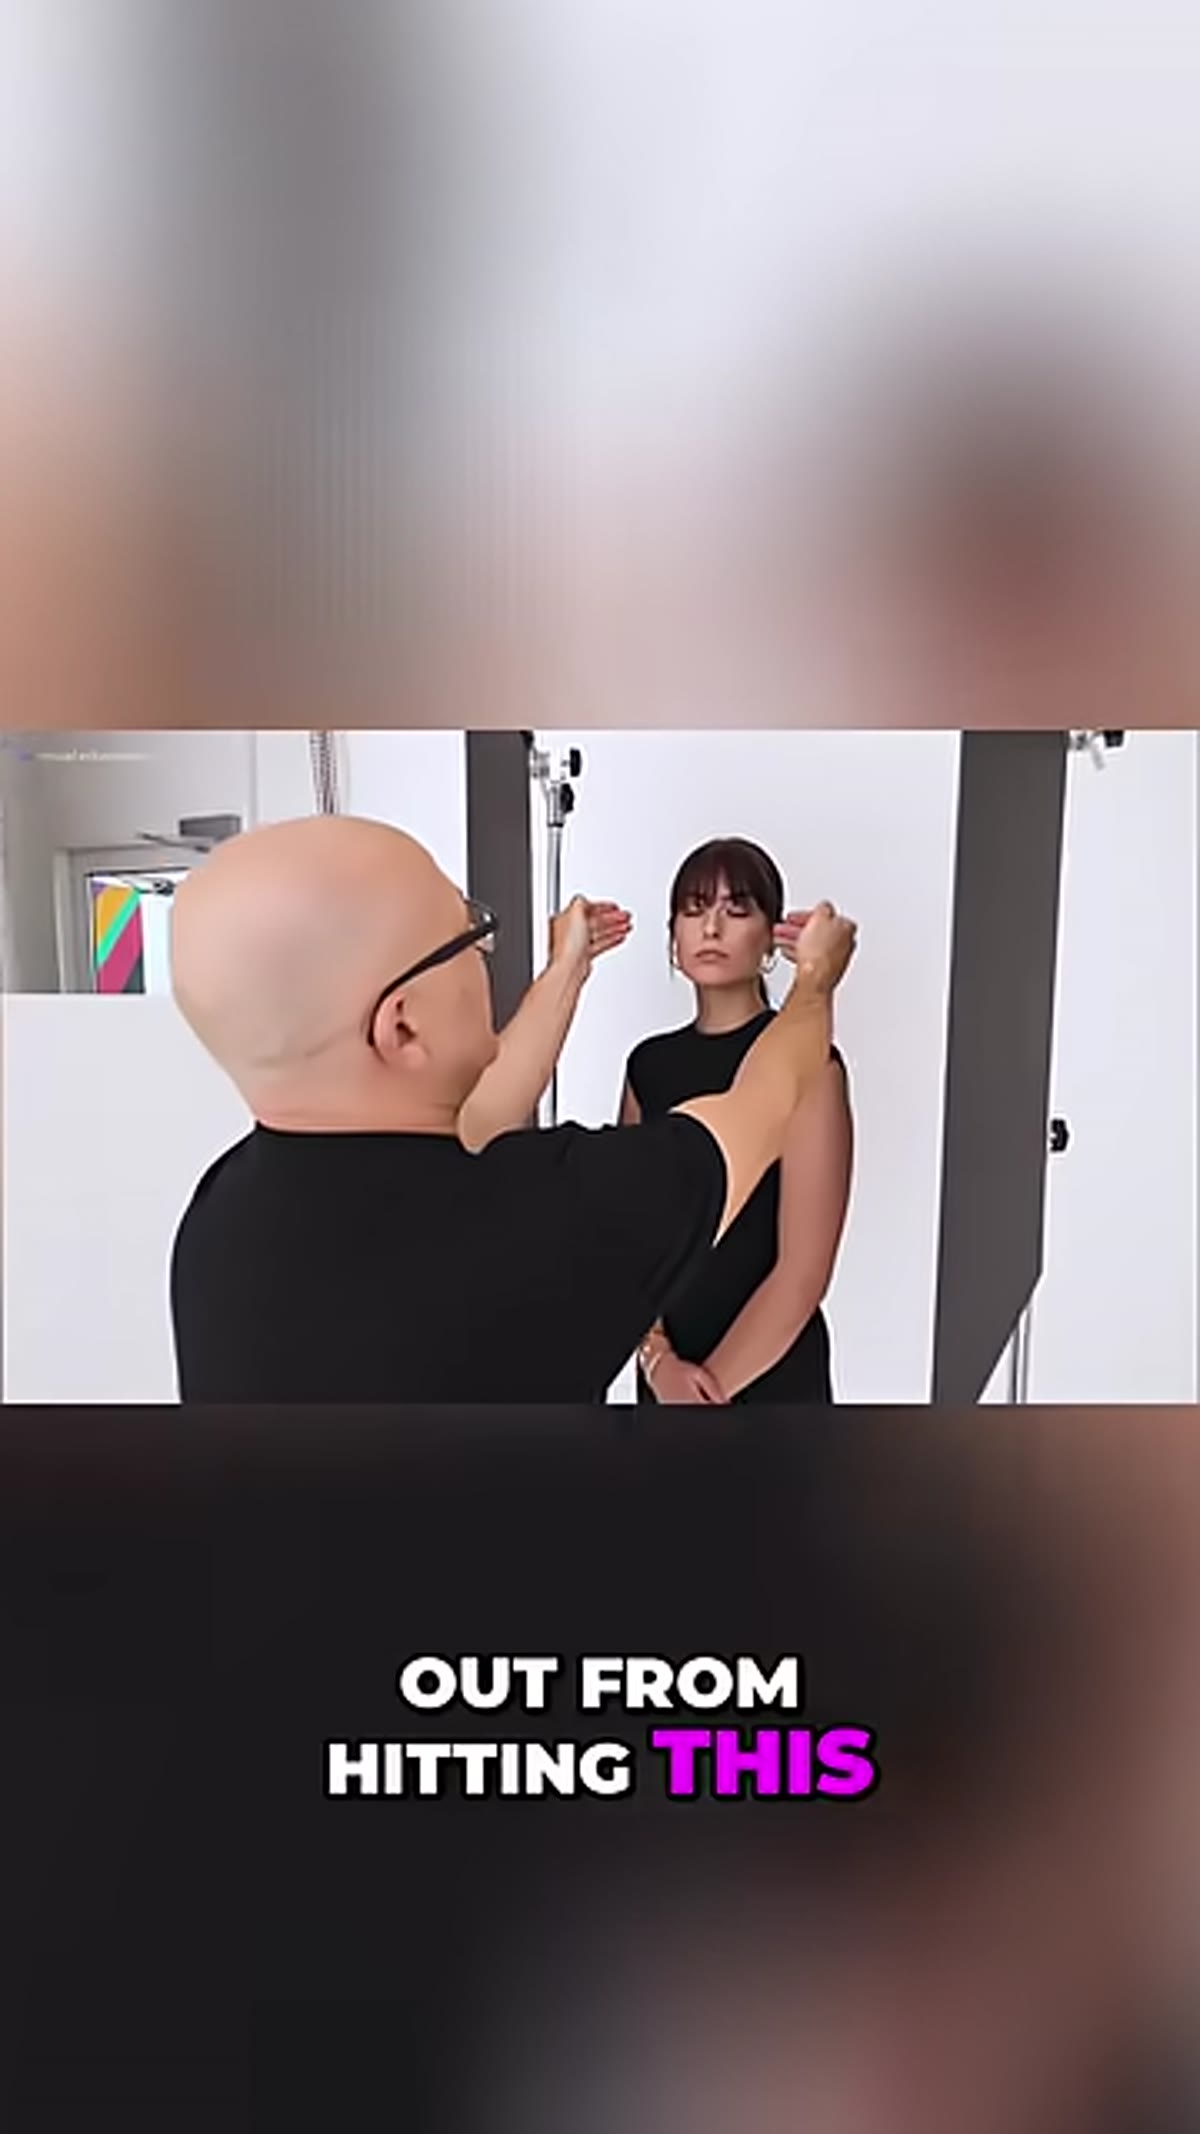 Light falling across subject’s cheek, jaw, and shoulder area
Before you position any flags, take a good look at your subject under your current lighting setup with no modifiers blocking anything. On a face, the areas that tend to go flat when light wraps too generously are the sides of the cheekbones, the jaw definition, the neck, and the transition from neck to shoulder. These are exactly the planes of the face and body where shadow creates the appearance of structure. Without shadow there, the face reads as a single, undifferentiated surface.
Light falling across subject’s cheek, jaw, and shoulder area
Before you position any flags, take a good look at your subject under your current lighting setup with no modifiers blocking anything. On a face, the areas that tend to go flat when light wraps too generously are the sides of the cheekbones, the jaw definition, the neck, and the transition from neck to shoulder. These are exactly the planes of the face and body where shadow creates the appearance of structure. Without shadow there, the face reads as a single, undifferentiated surface.
This is something my wife pointed out to me years ago when she looked at a test shot over my shoulder. She said the woman in the frame looked like she had no cheekbones, which was clearly wrong because she had great bone structure. The light was just filling in every contour that would have shown them. That comment changed how I think about portrait light permanently.
Step 3: Position the First Flag Along the Near Side of the Face
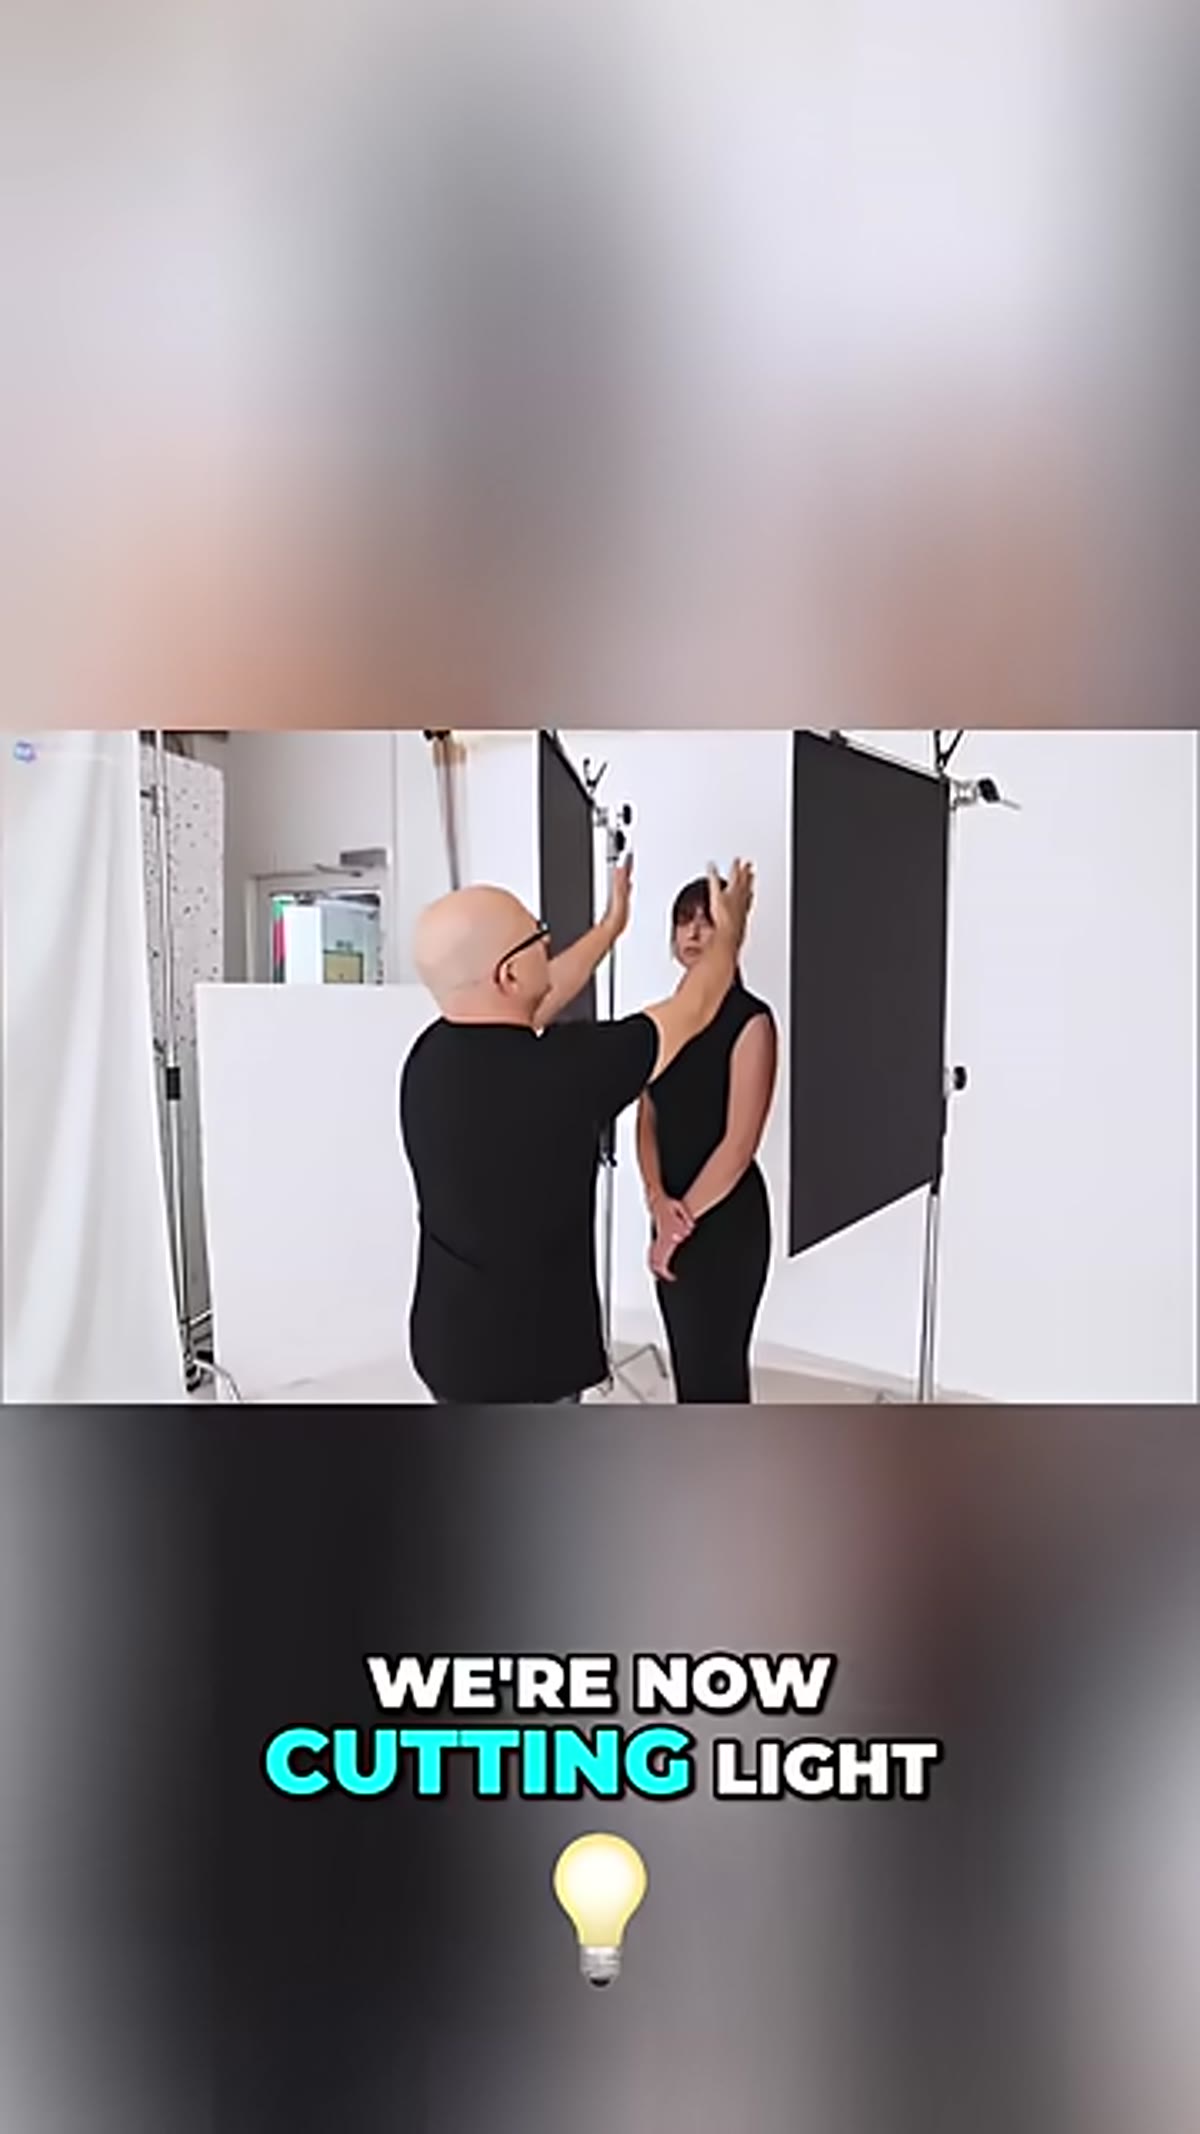 Black foam board placed close to subject’s cheek side
Place your first flag on the same side as your key light, positioned to intercept the light before it wraps around the front of the face onto the cheek and jaw. The flag needs to be close to your subject. Not nearby. Actually close, within inches of the face and body. This is the part most photographers resist because it feels intrusive and it makes the frame feel crowded when you’re looking through the viewfinder.
Black foam board placed close to subject’s cheek side
Place your first flag on the same side as your key light, positioned to intercept the light before it wraps around the front of the face onto the cheek and jaw. The flag needs to be close to your subject. Not nearby. Actually close, within inches of the face and body. This is the part most photographers resist because it feels intrusive and it makes the frame feel crowded when you’re looking through the viewfinder.
The proximity is necessary because the closer the flag is to the subject, the harder and more defined the shadow edge will be. Pull the flag back two feet and the shadow line becomes soft and gradual, which often defeats the purpose. Keep it close and you get a clean line running down the cheekbone that looks deliberate and sculpted. Position it slightly in front of the plane of the cheek, angled so it cuts the light from reaching the jaw and neck below.
Step 4: Add the Second Flag for the Far Side
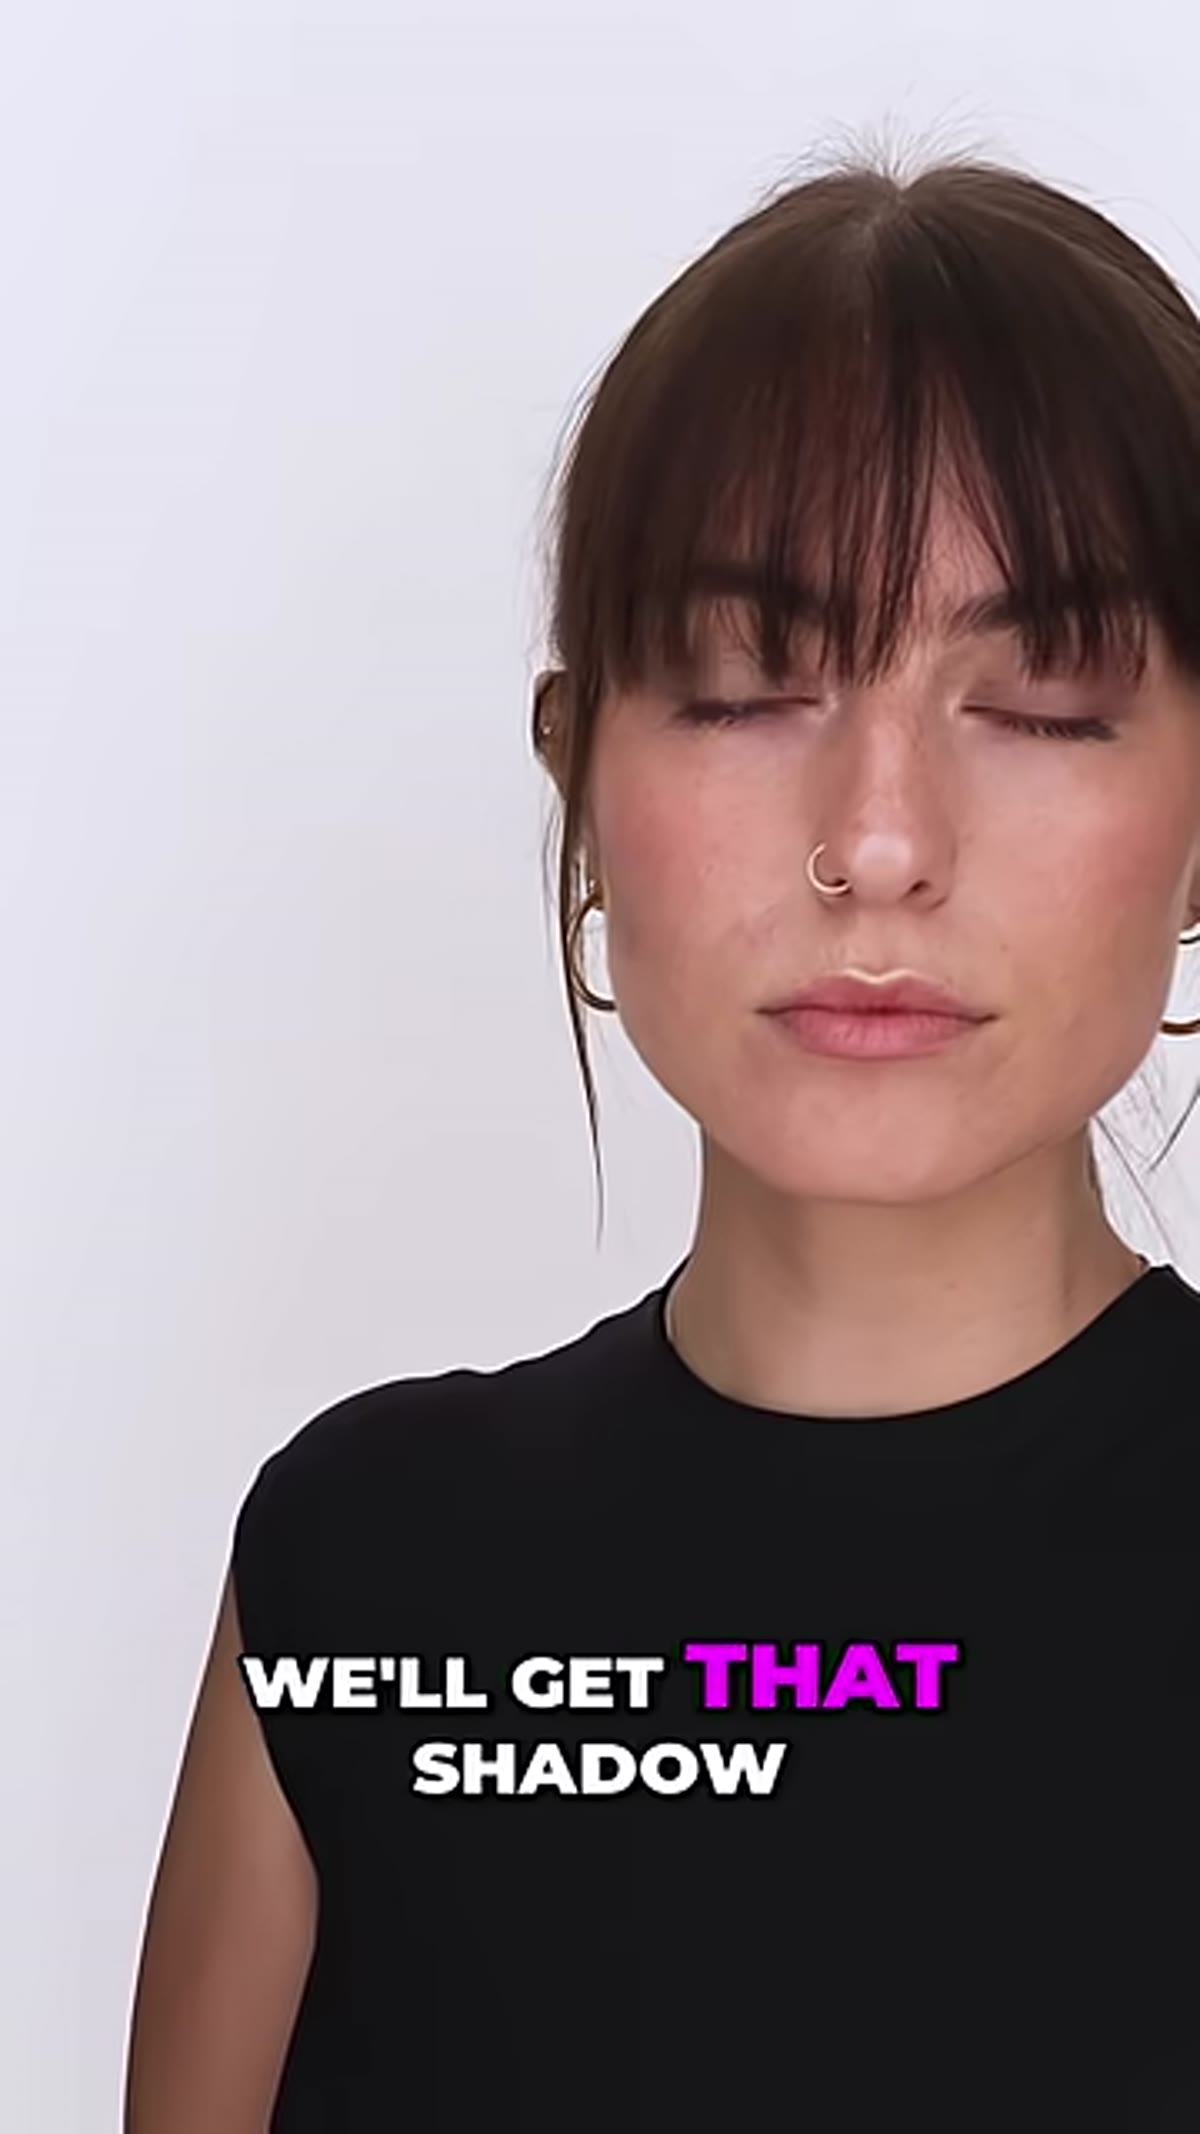 Second black panel introduced on opposite side of subject
The second flag works the opposite side of the face and body. Where the first flag was creating shadow by blocking light on the lit side, this one is preventing any ambient fill or bounce from lightening the shadow side beyond what you want. Together, the two flags create a controlled corridor of light that falls exactly where you intend and stops exactly where you intend.
Second black panel introduced on opposite side of subject
The second flag works the opposite side of the face and body. Where the first flag was creating shadow by blocking light on the lit side, this one is preventing any ambient fill or bounce from lightening the shadow side beyond what you want. Together, the two flags create a controlled corridor of light that falls exactly where you intend and stops exactly where you intend.
Slide this second panel in and watch what happens to the neck and shoulder area on the shadow side of your frame. You’ll see the tone drop and the separation between the jaw, neck, and shoulder become more visible. The overall effect reads as more three-dimensional even in a flat, two-dimensional photograph.
Step 5: Fine-Tune Position While Watching the Subject’s Face Live
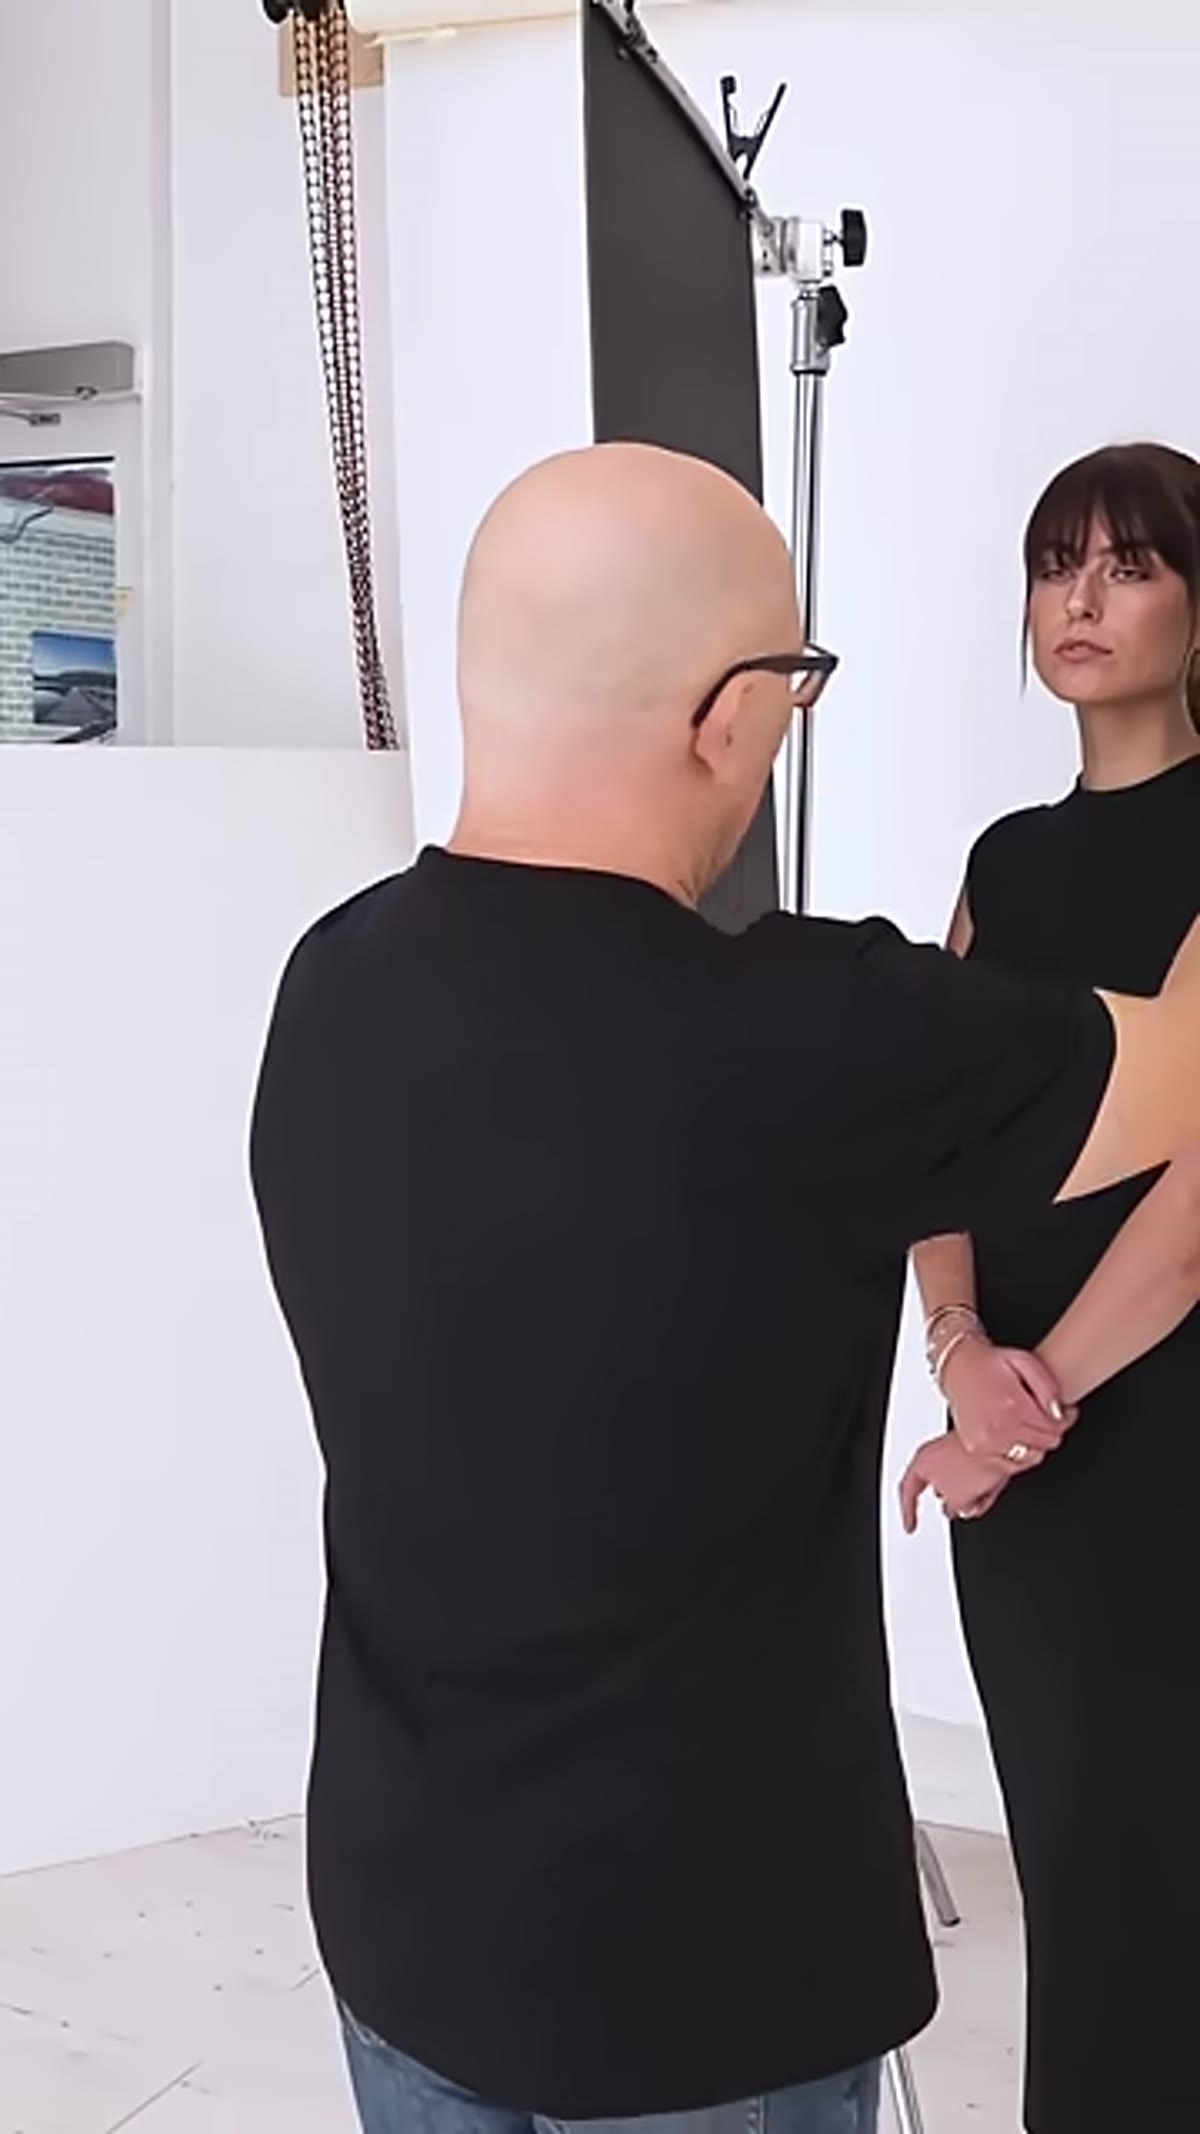 Photographer adjusting flag position while observing subject
Don’t set the flags and walk away. Move them incrementally and watch the shadow lines respond in real time. Tilt the top edge of the flag toward the light source and the shadow will creep further across the cheek. Pull the bottom of the flag back and the jaw shadow softens. Small adjustments produce visible changes. I keep a lighting journal where I sketch out flag positions after sessions so I can recreate setups that worked without having to rediscover them from scratch.
Photographer adjusting flag position while observing subject
Don’t set the flags and walk away. Move them incrementally and watch the shadow lines respond in real time. Tilt the top edge of the flag toward the light source and the shadow will creep further across the cheek. Pull the bottom of the flag back and the jaw shadow softens. Small adjustments produce visible changes. I keep a lighting journal where I sketch out flag positions after sessions so I can recreate setups that worked without having to rediscover them from scratch.
The goal is a shadow line that follows the natural bone structure of the face rather than cutting across it arbitrarily. When the flag placement is right, it looks like the face has always been lit this way. When it’s wrong, the shadow will cross the nose or bisect the lips in a way that reads as a lighting accident.
What I Do Differently in Commercial Work
When I’m shooting beauty or fashion editorial, I often add a third flag positioned above the frame to kill any ceiling bounce that’s lifting my shadow values across the forehead. Studio ceilings, especially light-colored ones, act as enormous uncontrolled fill sources. The two-flag setup from this tutorial handles the sides beautifully, but if your shadows keep going softer than you want and you can’t figure out why, look up.
I also use flags during tethered shooting and check the histogram specifically on the shadow-side cheek region. I want to see those values sitting somewhere in the lower midtones, not clipping into pure black, but definitely not floating up into the midrange where the structure disappears.
The single most important idea this tutorial makes concrete is that shadow is not a failure of lighting. Shadow is the actual tool. Two pieces of foam board cost less than a coffee and they’ll do more for the sculptural quality of your portraits than most modifiers that cost hundreds of dollars. Flags give you control over where the darkness lives, and controlling darkness is just as important as controlling light.
Watch the full tutorial on YouTube to see the before-and-after difference on camera. Seeing the shadow line develop in real time on an actual subject makes the whole technique click faster than any diagram can.
Comments (2)
Great breakdown. The step-by-step approach really helps.
Great breakdown. The step-by-step approach really helps.
Leave a Comment