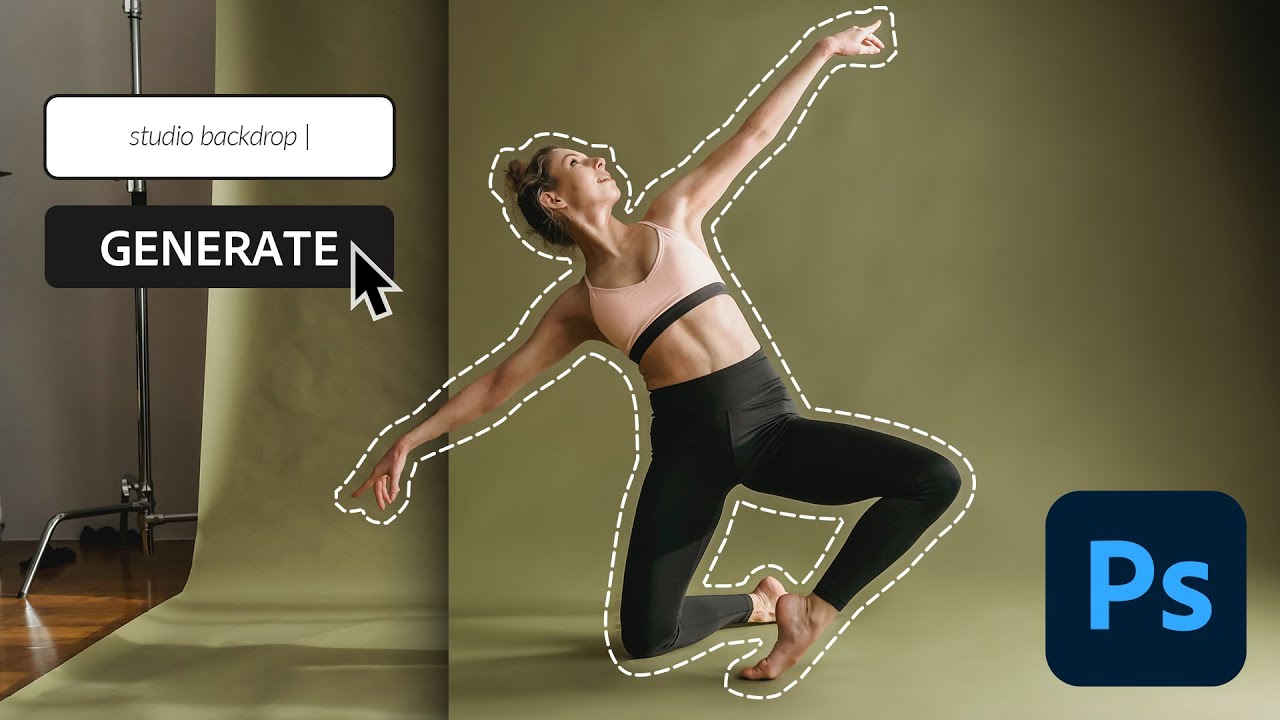
Every studio photographer I know has a folder of otherwise great shots that got killed by the background. A wrinkled sweep, a muslin with a crease right behind the subject’s shoulder, a seamless paper that got scuffed during a wardrobe change. I’ve had entire selects from editorial jobs where I spent more time cloning background imperfections than I did on the actual retouching. It’s one of those invisible taxes on studio work that nobody talks about when they’re showing off their beautiful setups on Instagram.
In this Aaron Nace (PHLEARN) tutorial - Watch the full tutorial on YouTube - the technique uses Photoshop’s AI-powered Generative Fill to replace messy studio backgrounds in a matter of minutes. What caught my attention is that the workflow isn’t destructive and it doesn’t require a perfect selection. The AI does the heavy lifting. After running through it myself on a few client images, I can tell you it holds up on real-world files, not just the clean demo shots that tutorials tend to use.
The core sequence is simple enough to build into a standard retouching routine: select the subject, invert the selection to isolate the background, and use Generative Fill with a targeted text prompt to replace whatever is back there with something clean. Here is exactly how to do it.
Step 1: Open the Contextual Taskbar
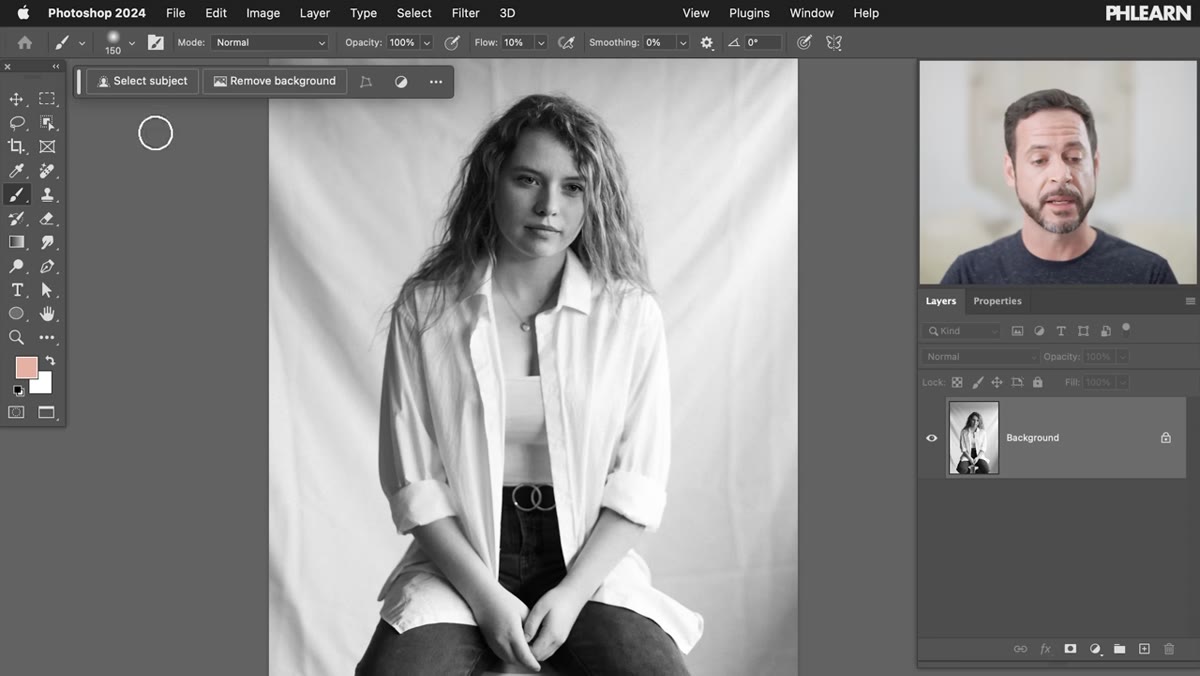 Contextual taskbar pinned at top of Photoshop interface
The Contextual Taskbar is the floating panel that drives most of this workflow, and if you haven’t pinned it yet, do it now before anything else. Go to Window, scroll all the way down to Contextual Taskbar, and enable it. Once it appears, click the three-dot menu on the bar itself and select “Pin in bar position,” then drag it somewhere you can see it while you’re working - Aaron keeps his at the top of the screen, which I’ve found works well to keep it out of the canvas area.
Contextual taskbar pinned at top of Photoshop interface
The Contextual Taskbar is the floating panel that drives most of this workflow, and if you haven’t pinned it yet, do it now before anything else. Go to Window, scroll all the way down to Contextual Taskbar, and enable it. Once it appears, click the three-dot menu on the bar itself and select “Pin in bar position,” then drag it somewhere you can see it while you’re working - Aaron keeps his at the top of the screen, which I’ve found works well to keep it out of the canvas area.
This bar changes dynamically depending on what you have selected, so it will show you context-appropriate options at every stage of the process. Getting comfortable with it saves real time.
Step 2: Select Your Subject
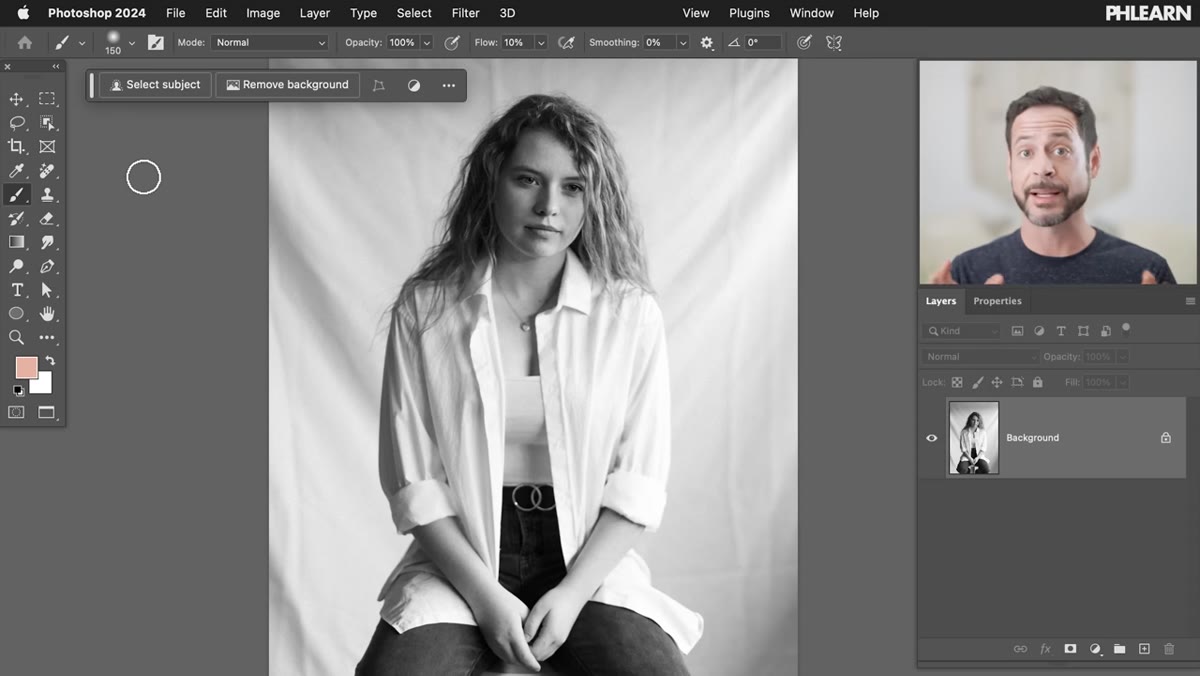 Select Subject button highlighted in contextual taskbar
With your image open, click “Select Subject” in the Contextual Taskbar. Photoshop’s AI-driven subject selection has improved to the point where it handles hair, complex edges, and even translucent fabric reasonably well. On most studio portraits shot against a simple background, you’ll get a usable selection on the first try without any manual cleanup.
Select Subject button highlighted in contextual taskbar
With your image open, click “Select Subject” in the Contextual Taskbar. Photoshop’s AI-driven subject selection has improved to the point where it handles hair, complex edges, and even translucent fabric reasonably well. On most studio portraits shot against a simple background, you’ll get a usable selection on the first try without any manual cleanup.
If your subject has flyaway hair or a particularly tricky edge, run the selection first and then refine it through Select and Mask before moving on. Clean edges on the subject boundary mean cleaner blending when the fill comes in around them.
Step 3: Invert the Selection to Target the Background
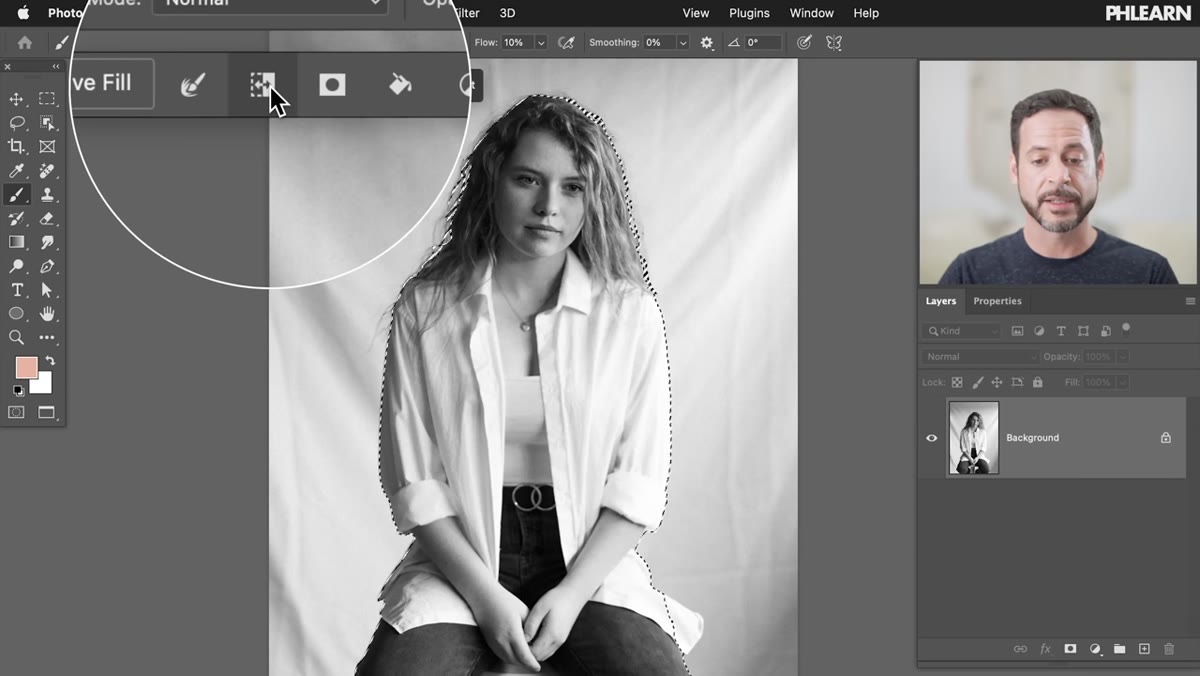 Inverted selection showing marching ants around background area
Once the subject is selected, invert the selection so the background becomes the active area. The Contextual Taskbar shows an invert icon at this stage - click it, or use the keyboard shortcut Shift+Ctrl+I (Shift+Command+I on Mac). Now the marching ants are running around the background rather than the subject.
Inverted selection showing marching ants around background area
Once the subject is selected, invert the selection so the background becomes the active area. The Contextual Taskbar shows an invert icon at this stage - click it, or use the keyboard shortcut Shift+Ctrl+I (Shift+Command+I on Mac). Now the marching ants are running around the background rather than the subject.
This is the selection Generative Fill will use to build the new background, so make sure it covers the full background area including any edges near the frame. A selection that clips the corners will leave obvious untouched areas at the edges of the frame.
Step 4: Open Generative Fill and Write Your Prompt
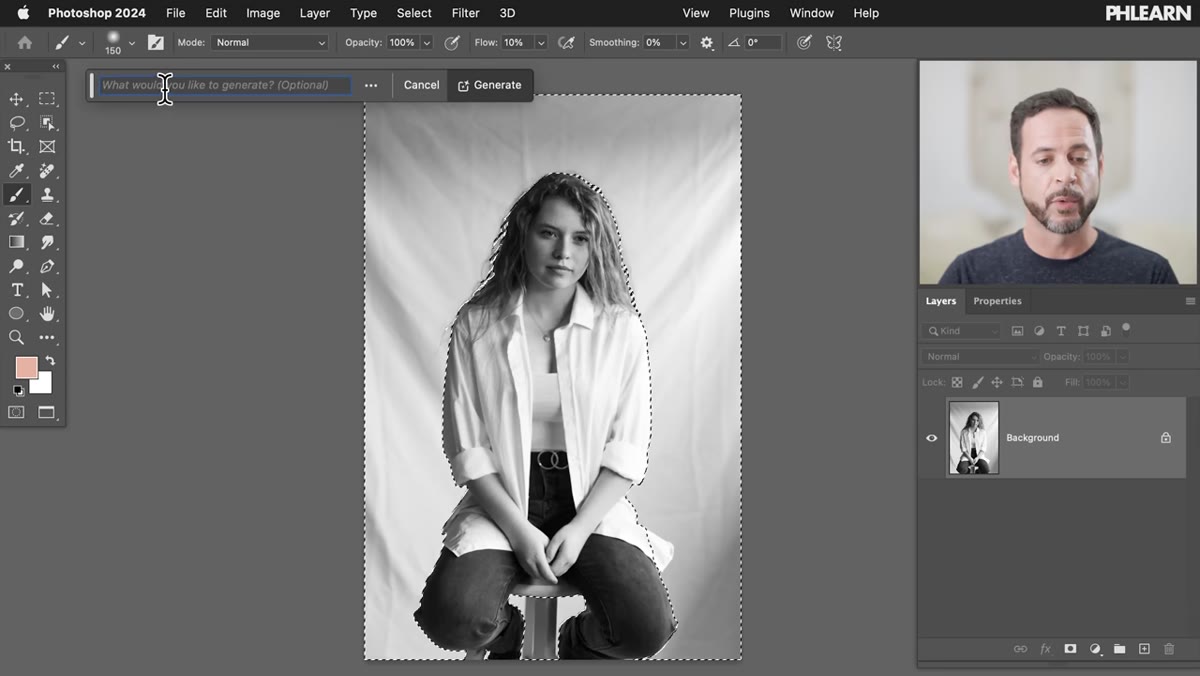 Generative Fill dialog open with text prompt field visible
With the background selected, click the Generative Fill button in the Contextual Taskbar. A small prompt window opens. This is where your choice of words actually matters. Aaron tests two different prompts in the tutorial: “clean backdrop” and “plain background.” Both produce results, but the second tends toward smoother, more neutral tones with less added texture.
Generative Fill dialog open with text prompt field visible
With the background selected, click the Generative Fill button in the Contextual Taskbar. A small prompt window opens. This is where your choice of words actually matters. Aaron tests two different prompts in the tutorial: “clean backdrop” and “plain background.” Both produce results, but the second tends toward smoother, more neutral tones with less added texture.
In my own testing, prompts like “white seamless paper background” or “dark gray studio backdrop soft shadow” give me results that match the lighting language of the original image more closely. Spend thirty seconds thinking about what the background should look like before you type. The AI responds to specificity.
Step 5: Generate and Cycle Through Variations
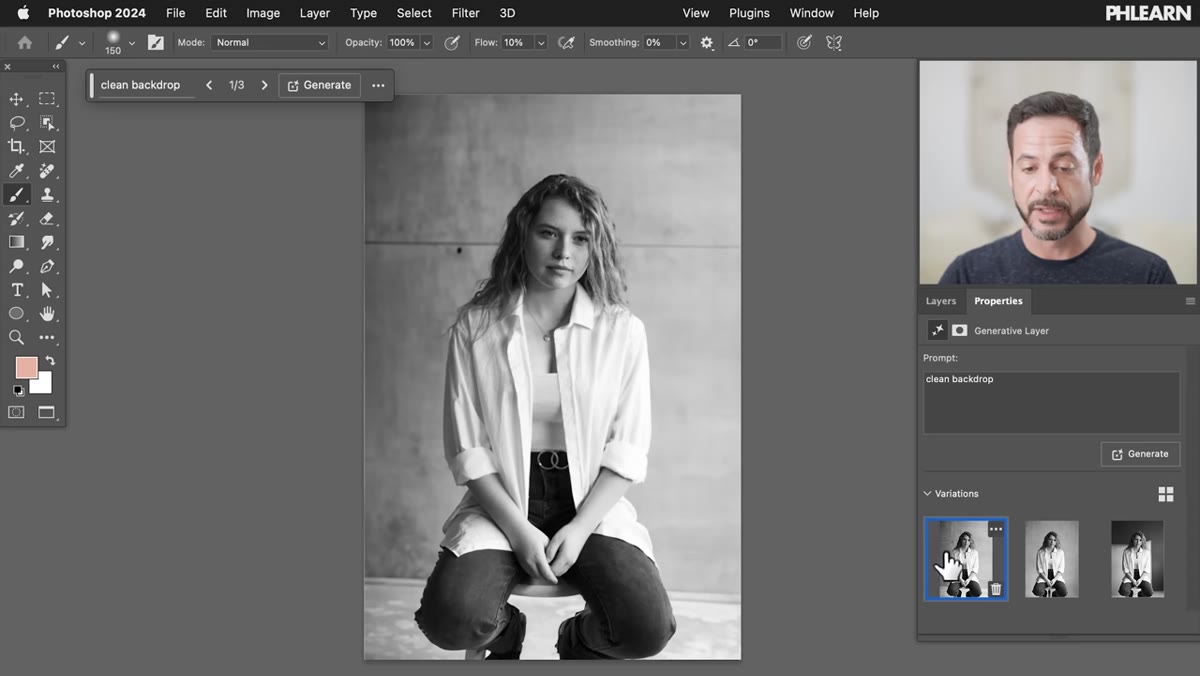 Properties panel showing three generated background variations
Hit Generate and wait for Photoshop to process the request through the cloud. You’ll see a progress bar, and when it finishes, three variations appear in the Properties panel. Click through each one. The differences between variations can be significant: one might introduce a subtle vignette, another might add a cast shadow on the floor, a third might be flatter and more neutral.
Properties panel showing three generated background variations
Hit Generate and wait for Photoshop to process the request through the cloud. You’ll see a progress bar, and when it finishes, three variations appear in the Properties panel. Click through each one. The differences between variations can be significant: one might introduce a subtle vignette, another might add a cast shadow on the floor, a third might be flatter and more neutral.
If none of the three variations work, retype or refine your prompt in the Properties panel and generate again. You can repeat this as many times as you need without affecting your original image layer - the Generative Fill creates its own editable layer automatically, which means you can go back and regenerate at any point in the future.
Step 6: Evaluate the Result Against Your Lighting
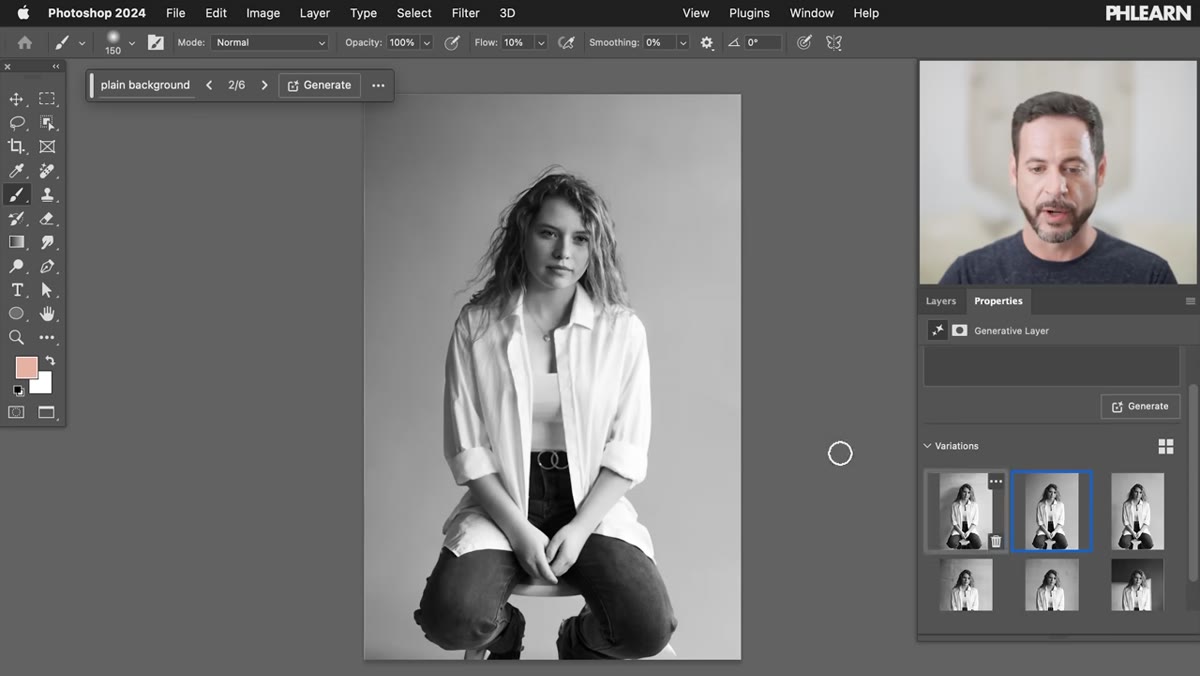 Final image with clean AI-generated studio backdrop applied
Once you’ve chosen a variation, zoom into the transition zone between the subject and the new background. Look at how shadows fall, how the background tone relates to your key light direction, and whether the overall luminosity matches what your original light setup would have produced. Generative Fill is good, but it isn’t always consistent with the physics of your specific lighting scenario.
Final image with clean AI-generated studio backdrop applied
Once you’ve chosen a variation, zoom into the transition zone between the subject and the new background. Look at how shadows fall, how the background tone relates to your key light direction, and whether the overall luminosity matches what your original light setup would have produced. Generative Fill is good, but it isn’t always consistent with the physics of your specific lighting scenario.
If the background looks right but the transition edge is soft or slightly off, a small masked adjustment layer targeting just the background can help bring the tones into alignment with the rest of the image.
What I’d Add From My Own Experience
The one thing this workflow doesn’t solve on its own is lighting consistency. If you shot your subject with a strong rim light from camera left, the AI-generated background won’t automatically include a matching reflection or gradation that makes physical sense. I’ve started keeping notes on this - same habit as my lighting journal, just applied to retouching decisions. Before I prompt the AI, I note the key light position and whether there’s a practical shadow on the floor, then I write that into the prompt. “Seamless gray paper background, soft shadow falling left” gets me much closer to a physically plausible result than a vague descriptor.
Also worth noting: this technique shines on solid-color or simple textured studio backgrounds. If you’re shooting against a complex location background, a different approach is going to serve you better. But for the classic studio problems - wrinkled muslin, dirty seamless, a sweep that ran out before the subject’s feet - this is the fastest clean solution I’ve found.
The single most important thing to take away here is that Generative Fill works on the background as a selection, not as a full-image operation. That distinction keeps your subject completely untouched and gives you maximum control over what changes and what stays. It’s a small conceptual shift from how most photographers think about AI tools, and it makes all the difference.
Watch the full tutorial on YouTube - Aaron walks through multiple examples including a ballerina portrait, and seeing the variety of source images helps calibrate your expectations for how far this technique can stretch.
Comments
Leave a Comment