Client calls on a Tuesday. Shoot is Friday. Location is a rooftop in downtown Los Angeles, full midday sun, and they want dramatic, clean portraits with a shallow depth of field. That’s the exact situation where a weak or poorly chosen strobe system stops being an inconvenience and starts costing you the job. I’ve been burned before by gear that looked fine in the studio and fell apart the moment I took it outside, and it taught me to treat strobe selection like I treat any other part of my workflow: with a clear, repeatable checklist.
In this Joel Grimes Photography tutorial, Grimes walks through exactly what criteria he uses when evaluating a strobe system before he buys it. He’s a working commercial photographer with serious output demands, and his thinking maps directly onto the kind of work I do for fashion and beauty clients. What follows is my breakdown of his framework, with the specifics filled in from my own experience running similar setups.
Step 1: Ask Whether the System Can Travel With You
 Grimes holding a compact strobe unit
The first question Grimes asks isn’t about power or color accuracy. It’s whether the gear can actually get on a plane. That might sound like a logistics question, but it’s really a creative one. If your system is too bulky or fragile to travel, you’re locked into your studio, and most of the best commercial work happens on location. His target is four to five strobes that can all pack down small enough for a flight without checking a crate.
Grimes holding a compact strobe unit
The first question Grimes asks isn’t about power or color accuracy. It’s whether the gear can actually get on a plane. That might sound like a logistics question, but it’s really a creative one. If your system is too bulky or fragile to travel, you’re locked into your studio, and most of the best commercial work happens on location. His target is four to five strobes that can all pack down small enough for a flight without checking a crate.
My rule is similar. If I can’t fit my full lighting kit into two rolling cases that fit airline carry-on or overhead restrictions, I reconsider the gear. I’ve started labeling every case compartment with masking tape so I can repack in the dark after a night shoot without thinking. Portability isn’t just about the unit’s size on paper. It’s about whether the whole system, modifiers included, travels as a coherent kit.
Step 2: Prioritize an Integrated Battery
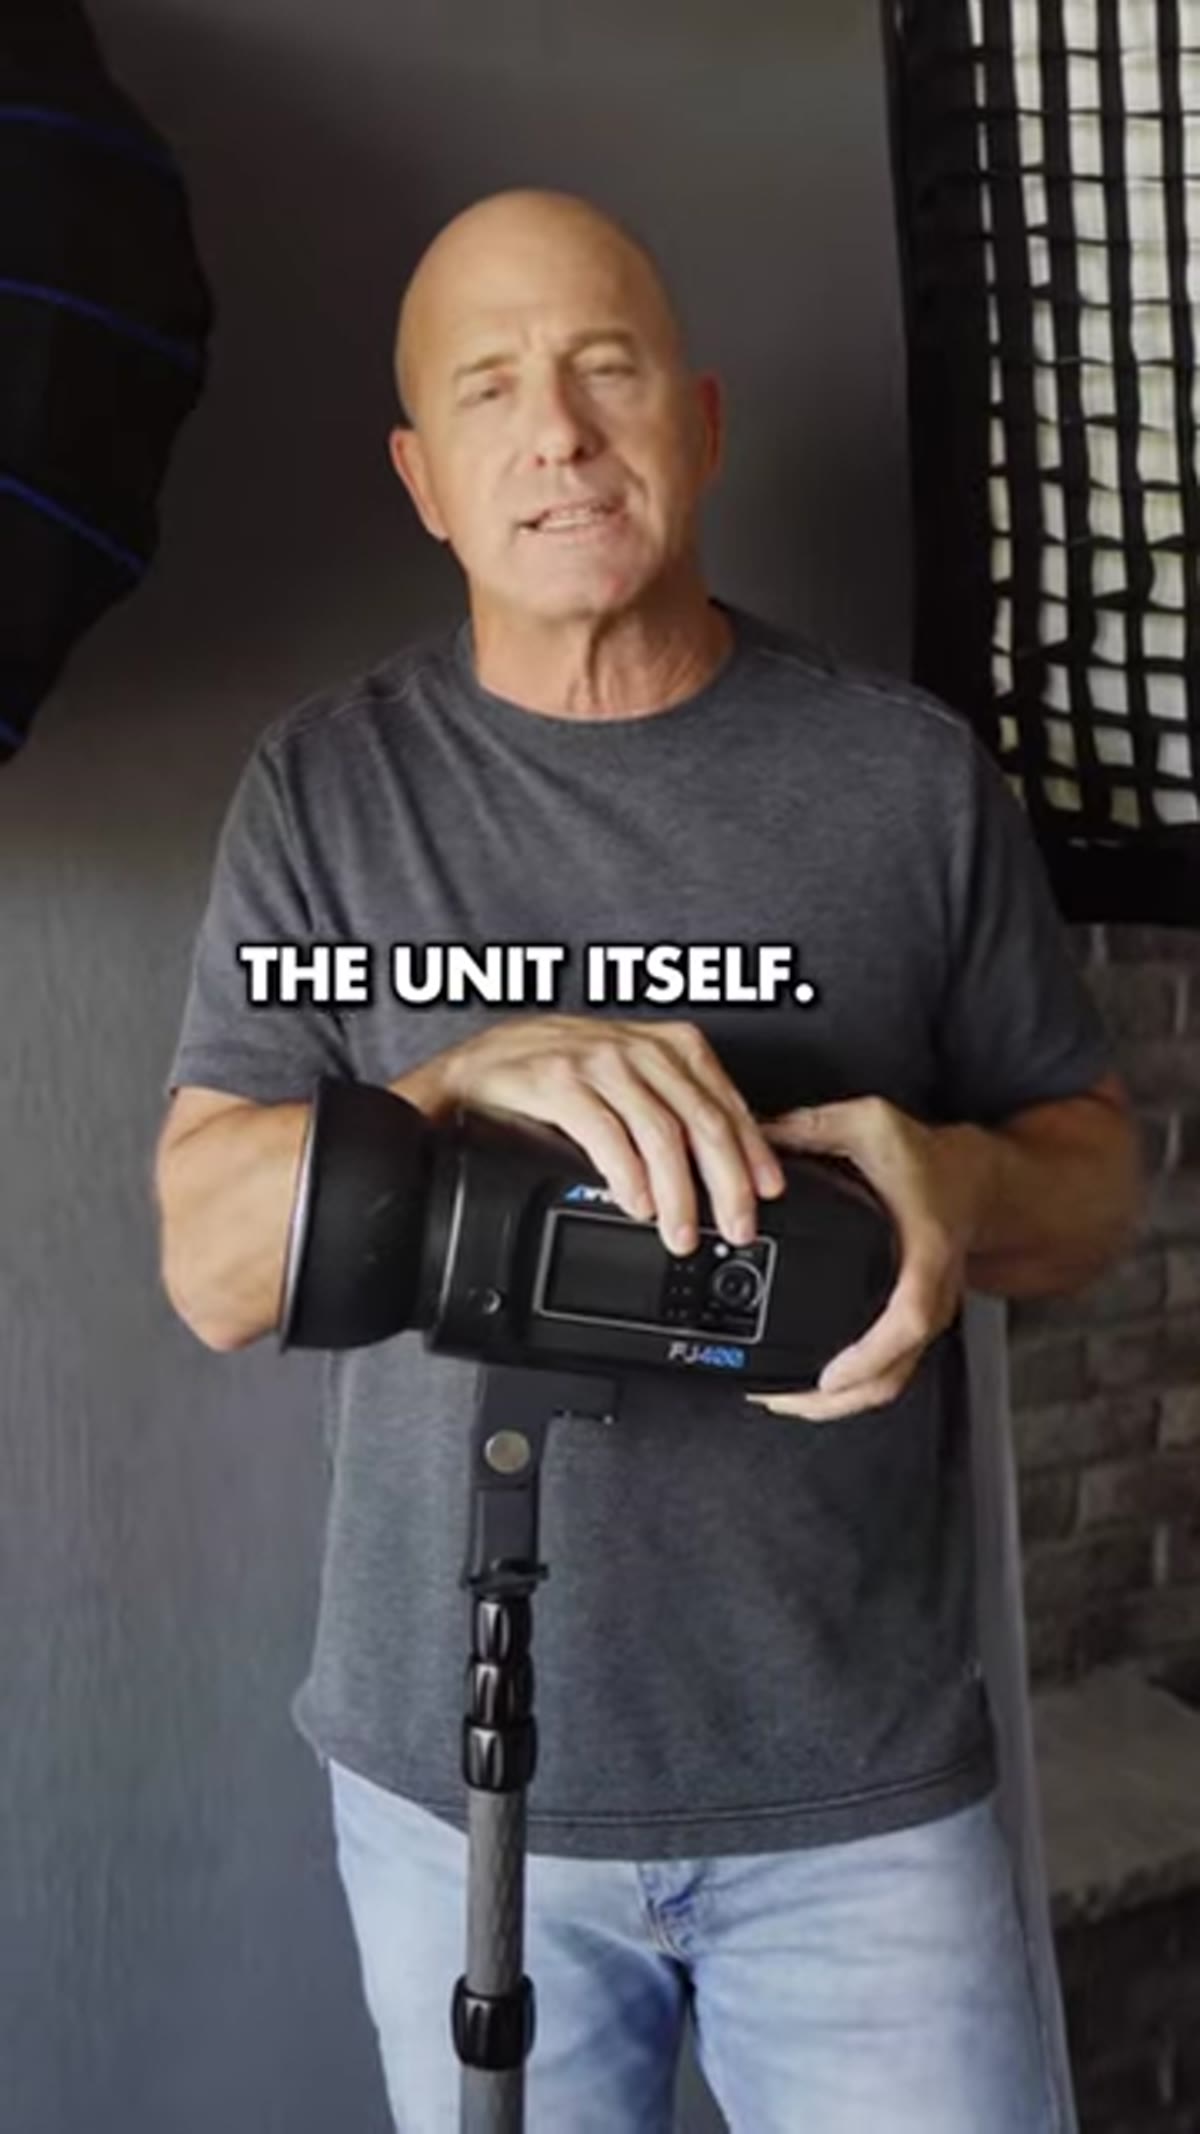 Strobe unit with battery attached directly to the body
Grimes is specific about this: he wants the battery connected directly to the unit, not hanging off a cable or sitting on the floor. This is one of those preferences that sounds like comfort but actually affects your shooting speed. When the battery is integrated, you move the head and the power moves with it. You’re not managing a tether every time you reposition a light.
Strobe unit with battery attached directly to the body
Grimes is specific about this: he wants the battery connected directly to the unit, not hanging off a cable or sitting on the floor. This is one of those preferences that sounds like comfort but actually affects your shooting speed. When the battery is integrated, you move the head and the power moves with it. You’re not managing a tether every time you reposition a light.
On a fashion shoot with quick turnaround between setups, that matters. I’ve worked with pack-and-head systems where repositioning a single light meant someone had to manage the cable to the floor-mounted battery, and that’s one more person or one more step between me and the next frame. Monolight designs that put everything in one body eliminate that friction entirely.
Step 3: Confirm High-Speed Sync Capability
 Grimes discussing high-speed sync for outdoor portraits
This is non-negotiable for location work. Grimes flags high-speed sync as essential for two specific scenarios: shooting wide-open apertures in bright conditions, and overpowering the sun when you want your strobe to be the dominant light source. Both of those situations will kill you without HSS.
Grimes discussing high-speed sync for outdoor portraits
This is non-negotiable for location work. Grimes flags high-speed sync as essential for two specific scenarios: shooting wide-open apertures in bright conditions, and overpowering the sun when you want your strobe to be the dominant light source. Both of those situations will kill you without HSS.
Standard sync speed on most cameras tops out around 1/200s or 1/250s. In full sun, that means you’re stuck at f/8 or f/11 unless you use ND filters, which cuts your strobe’s effective power. With high-speed sync, you can shoot at 1/1000s or faster, open up to f/1.8 or f/2, and let the background fall into that creamy separation that makes location portraits look expensive. I shoot a lot of beauty work where skin texture and background separation are everything, and I won’t take a strobe on location that doesn’t support HSS.
Step 4: Evaluate the Modifier Ecosystem Before You Buy
 Array of light modifiers compatible with the strobe system
Grimes doesn’t just evaluate the strobe in isolation. He looks at what system of accessories exists around it. Modifiers, grids, softboxes, beauty dishes, all of it. A strobe is only as good as the light shaping tools you can mount on it, and if the manufacturer’s ecosystem is thin or the mount requires adapters for everything, you’ll feel that limitation on every shoot.
Array of light modifiers compatible with the strobe system
Grimes doesn’t just evaluate the strobe in isolation. He looks at what system of accessories exists around it. Modifiers, grids, softboxes, beauty dishes, all of it. A strobe is only as good as the light shaping tools you can mount on it, and if the manufacturer’s ecosystem is thin or the mount requires adapters for everything, you’ll feel that limitation on every shoot.
When I’m evaluating a new strobe, I go straight to the modifier page before I even look at the specs sheet. I want to see a native beauty dish, at least two softbox sizes, an octa option, and a grid for each. If I’m buying into a system where I have to use third-party adapters to get a standard Bowens mount working, that’s a friction tax I’ll pay on every single shoot. The Westcott FJ400 that Grimes demos has a developed system around it, which is part of why it makes sense as a travel kit anchor.
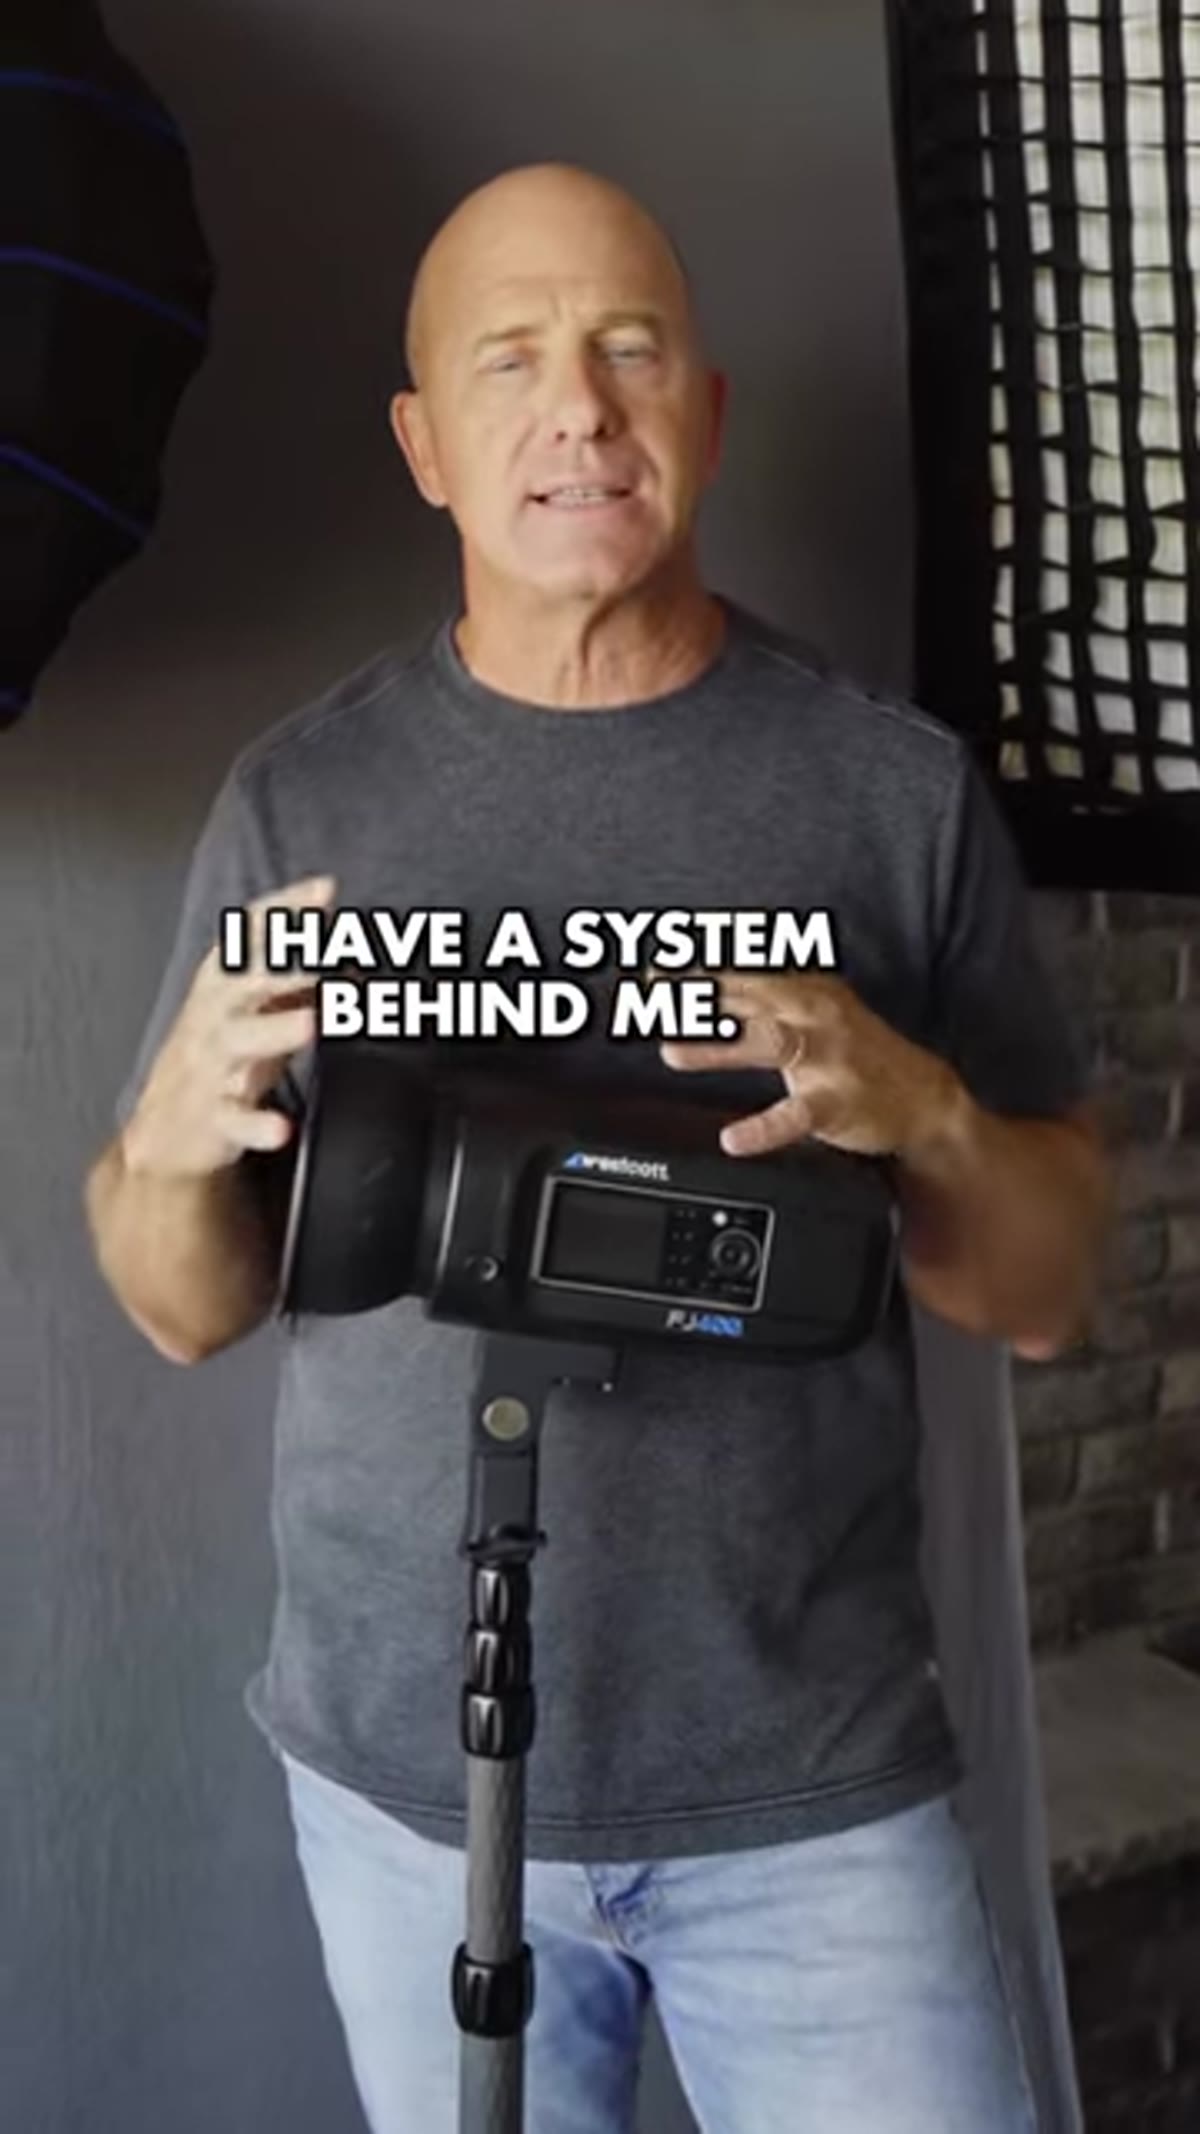
Step 5: Think in Systems, Not Individual Units
 Full strobe kit laid out showing multiple units and accessories
Grimes frames his whole purchasing decision around what a complete system looks like at four or five units. That’s an important shift in thinking. A lot of photographers buy one strobe, love it, then find out two years later that the second and third units behave slightly differently in color or power accuracy. Buying into a system means every unit is matched, triggers work consistently across all of them, and the modifier ecosystem applies to every head in your kit.
Full strobe kit laid out showing multiple units and accessories
Grimes frames his whole purchasing decision around what a complete system looks like at four or five units. That’s an important shift in thinking. A lot of photographers buy one strobe, love it, then find out two years later that the second and third units behave slightly differently in color or power accuracy. Buying into a system means every unit is matched, triggers work consistently across all of them, and the modifier ecosystem applies to every head in your kit.
I keep a lighting journal where I sketch every setup from every shoot, with notes on which units I used and what modifiers were mounted. When I started doing that, I noticed immediately which gear combinations gave me consistent results and which ones introduced variables I had to compensate for. A coherent system reduces the number of variables you’re managing on set.
What I’d Add From My Own Work
The checklist Grimes outlines is solid, but there’s one thing I’d put at the top before any of his criteria: test the unit’s color temperature consistency across its power range before you commit to it. I learned this painfully on an early editorial job where I was mixing strobe power levels across a multi-light setup and ended up with a color cast that was subtle enough to miss on the back of the camera and obvious enough to require serious retouching on every frame. Some strobes shift noticeably in color as you dial power down, and that inconsistency becomes a post-production problem fast. Now I run every new strobe through a power range test the day it arrives, shooting a grey card at full, half, and quarter power, then comparing the results in Lightroom before I ever take it to a client job.
The single most important takeaway from Grimes’s framework is this: buy into a system, not just a unit. The strobe head is almost secondary to the question of whether the trigger protocol, modifier mount, battery design, and accessories all work together without friction. That coherence is what lets you show up on a difficult location shoot and solve problems with light instead of spending energy managing your gear.
Watch the full tutorial on YouTube to see Grimes walk through the FJ400 system and explain his reasoning in his own words.
Comments (1)
Shared this with my photography group. Everyone loved it.
Leave a Comment