
There’s a specific kind of panic that sets in when you’re on location, the sun is dropping fast, and your strobes and the sky refuse to cooperate. I’ve had shoots where the background went completely nuclear orange while my subject looked like she was lit by a hospital fluorescent. Other times I’ve crushed the ambient into near-darkness trying to control it, and the whole image looks like a bad composite. For years I treated sunset shooting as a guessing game, adjusting everything at once and hoping something clicked. What I needed was a system.
In this The Slanted Lens tutorial, photographer Jay P. Morgan lays out exactly that system. Watch the full tutorial on YouTube before reading or alongside it. The approach is built on a simple principle: treat ISO, aperture, and shutter speed as three separate jobs, and assign each one a specific task. Once I internalized that, sunset shoots stopped feeling like emergencies.
What makes this method stick is that it’s genuinely sequential. You lock one variable, set the next, and by the time you’re adjusting your third control, you’re already close to a workable exposure. The camera isn’t fighting you. The strobes aren’t fighting the sky. You’re directing the whole scene with intention.
Step 1: Lock Your ISO First
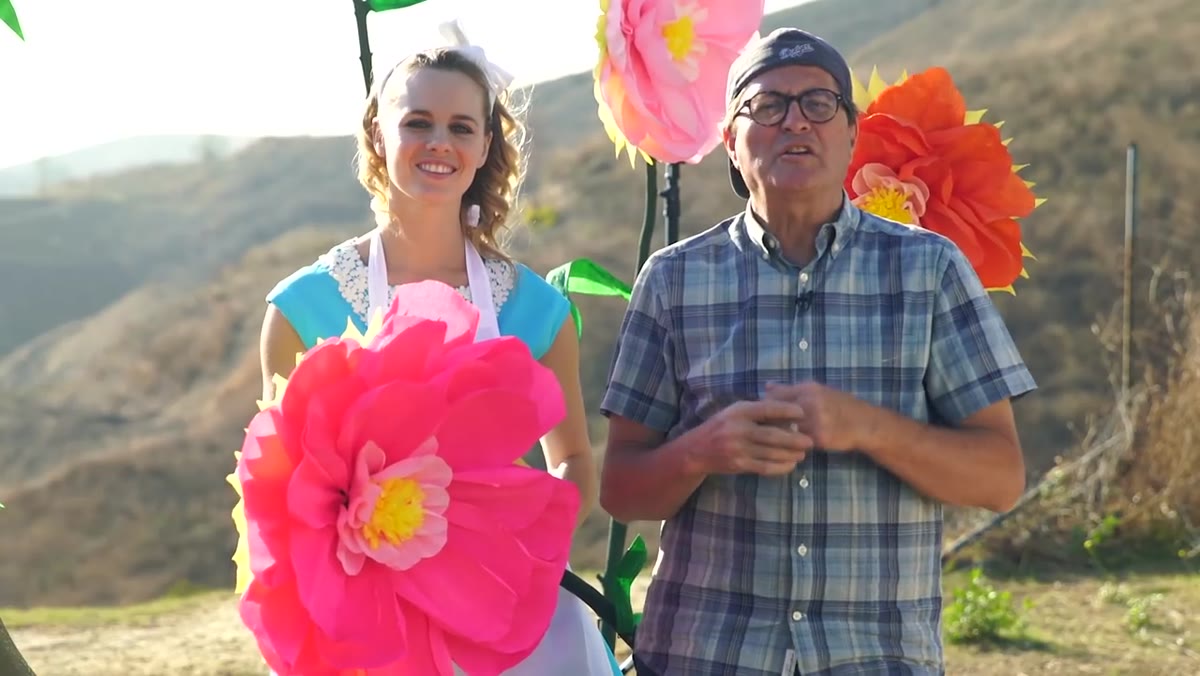 Jay P. Morgan explaining ISO as the starting point
ISO is your foundation, and Morgan’s instruction here is blunt: set it and forget it. He starts at ISO 100 in most situations. The reason this matters is that ISO affects both your ambient light and your strobe output equally, so it’s not a variable you use to balance one against the other. Raising ISO makes everything brighter – sky and subject alike. That means ISO is a global brightness control, not a balancing tool. Set it low to start, keep it consistent, and move on.
In my own commercial work, I almost always stay at ISO 100 for exactly this reason. If I’m struggling later and I reach for the ISO dial, I’ve already lost the plot. Keep it fixed.
Step 2: Choose Your Aperture Based on Depth of Field Intent
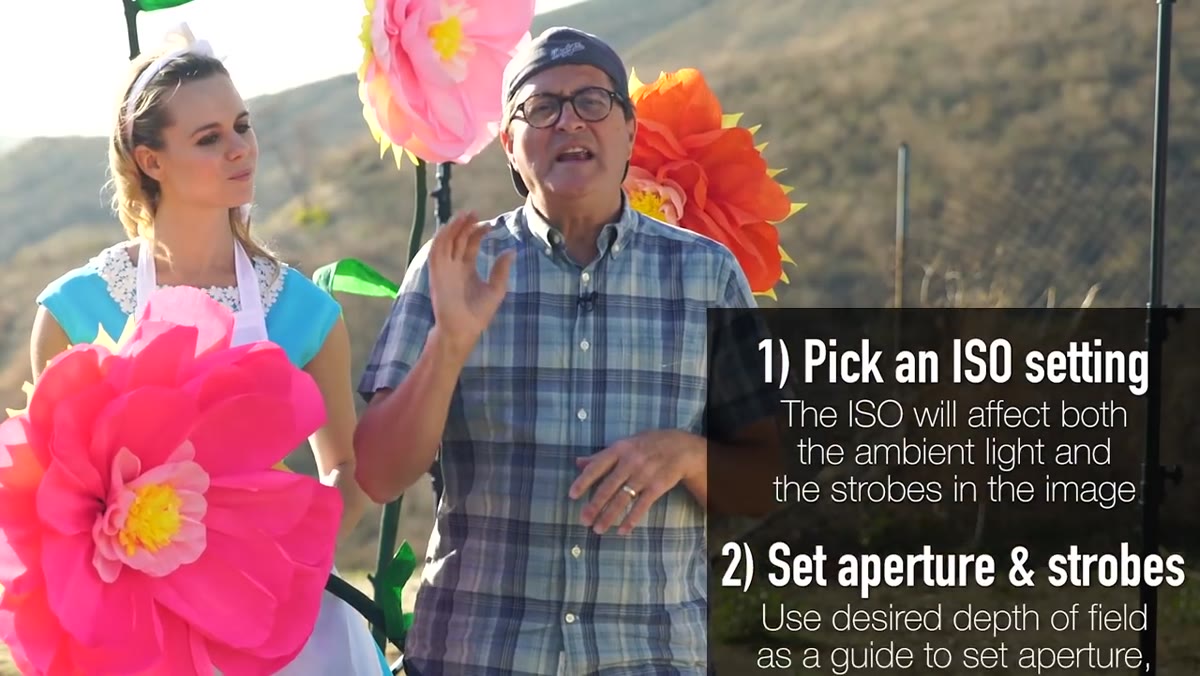 Discussion of aperture settings and strobe power relationship
Once ISO is locked, aperture becomes your second decision, and it’s tied directly to your creative intent for the image. Morgan frames it clearly: if you want a shallow, intimate depth of field, open up to something like f/2.8. If you want edge-to-edge sharpness, stop down to f/11. This is an artistic call, not a technical one – make it before you touch your strobes.
Here’s the part that tends to trip people up: after you’ve set your aperture, you then dial your strobe power up or down until the light on your subject reads as a correct exposure at that aperture. You’re not adjusting aperture to match your strobes. You’re adjusting strobe power to match your aperture. That’s the right order of operations. I keep a small diagram in my lighting journal for exactly this reason – the arrows always point from aperture to strobe power, never the other way.
Step 3: Use Shutter Speed to Control the Sky
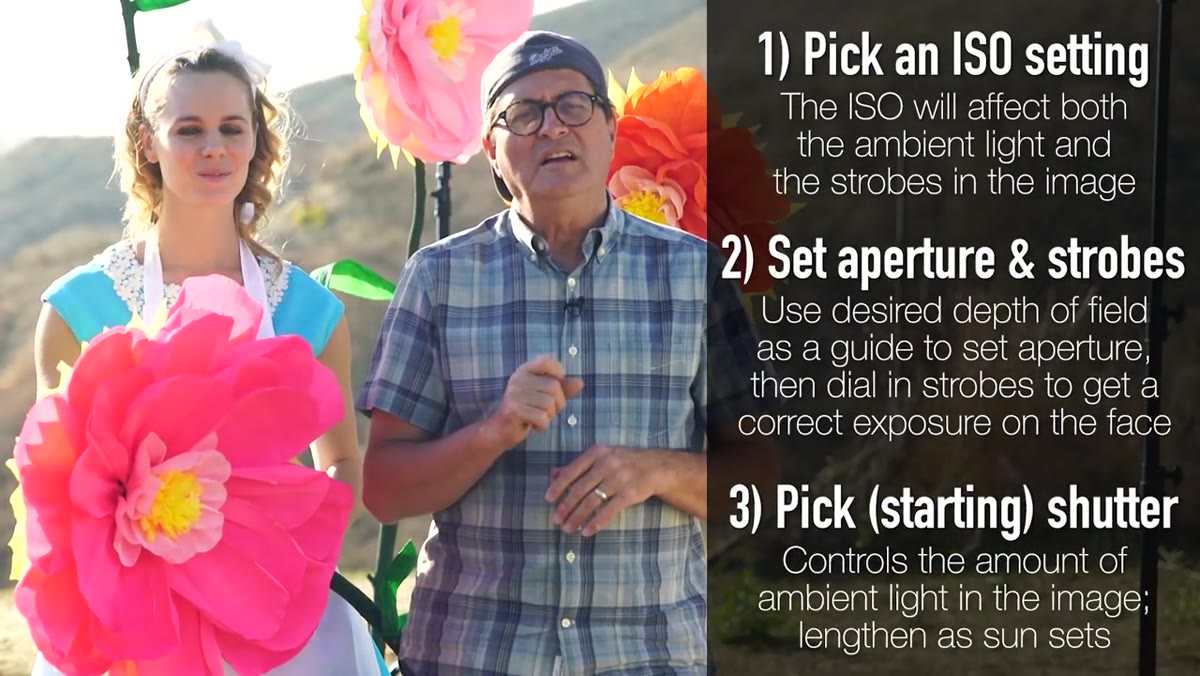 Explanation of shutter speed controlling ambient light independently
This is where the method becomes genuinely elegant. With ISO locked and strobes dialed to match your aperture, the shutter speed becomes a dedicated control for ambient light only. Strobes freeze faster than any shutter speed you’ll be using here, so changing the shutter doesn’t affect your strobe exposure. It only affects how much of that fading sky registers on the sensor.
Sky too bright and blowing out? Shorten the shutter. Sky too dark and moody for your taste? Lengthen it. Morgan starts around 1/160 or 1/125 of a second and progressively slows it down as the sun drops. That’s a rhythm you can follow in real time as the light changes, without touching ISO or strobes at all.
Step 4: Chase the Sun Down – and Then Keep Shooting
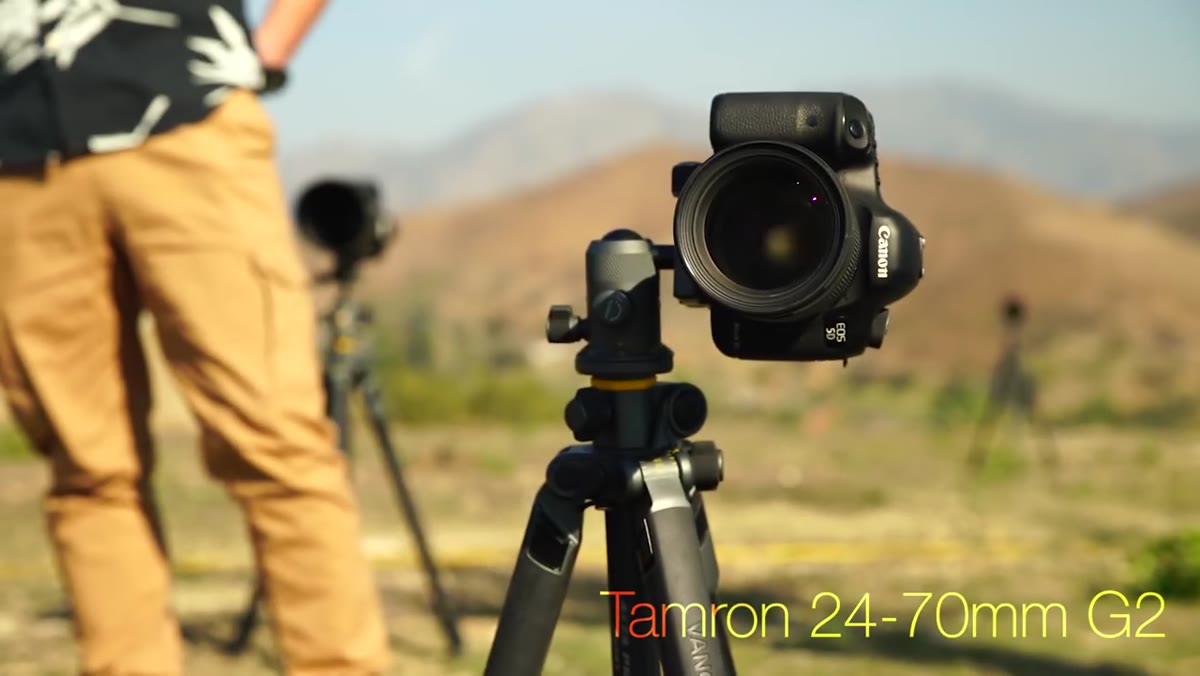 Morgan describing civil twilight as prime shooting time
One of the most valuable things Morgan shares is how far past sunset you can continue working. Most photographers pack up when the sun disappears below the horizon. That’s the wrong instinct. The 30 to 40 minutes immediately after sunset – what’s called civil twilight – often produce the most compelling skies. The light turns a deep, cool blue that strobes warm beautifully against.
After civil twilight ends, you have roughly another 20 to 25 minutes of usable sky before it goes genuinely dark. At that point your shutter may be running as long as a full second or more. Morgan notes a side effect worth knowing: at exposures that long, any movement your subject makes after the strobe fires will register as a secondary ghost image against the burning background. It’s something to manage through direction and timing, not something to fear.
Step 5: Let Auto White Balance Do the Heavy Lifting
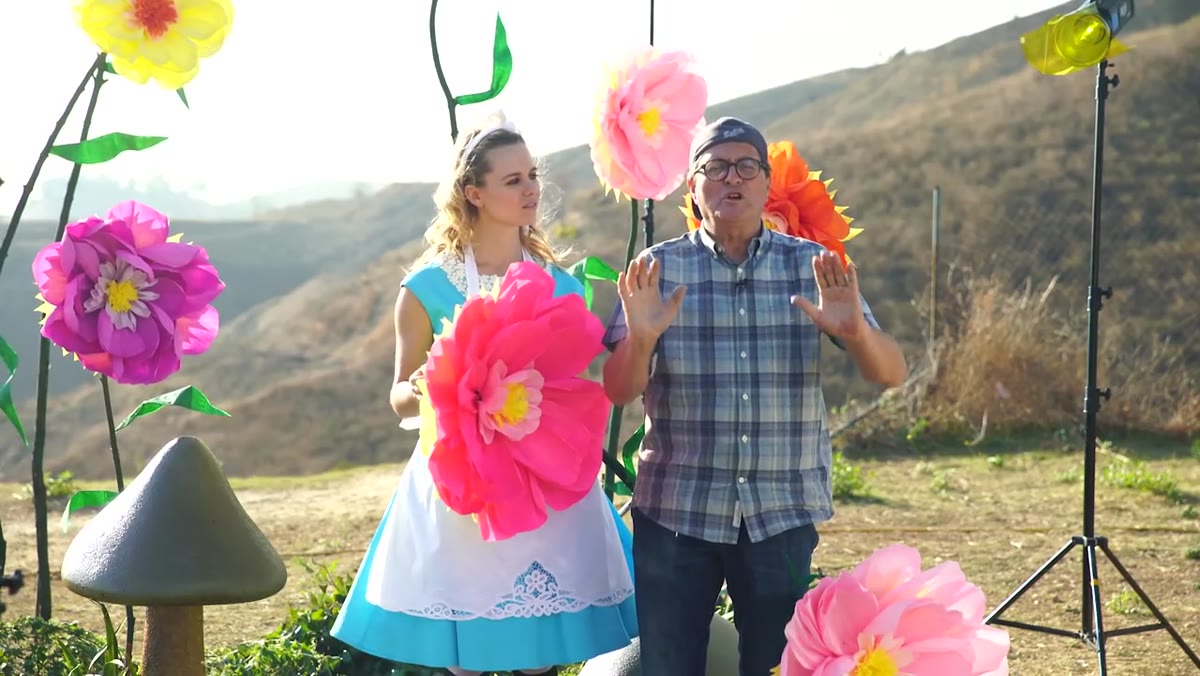 Noting auto white balance creating warm subject, blue sky contrast
Morgan runs auto white balance throughout this kind of shoot, and it produces something that looks deliberate: warmth on the subject’s skin from the strobe, and a progressively bluer, cooler sky in the background. Because strobes run daylight-balanced and the sky during civil twilight shifts toward blue, the camera’s auto white balance tends to average toward a reading that flatters skin while letting that sky go cool.
If you’re shooting RAW – and you should be for any session this complex – you can refine the white balance in post. But Morgan’s point stands: auto white balance at sunset often gets you closer to a beautiful result than a manually locked setting would.
Step 6: Plan the Sun’s Position Before You Arrive
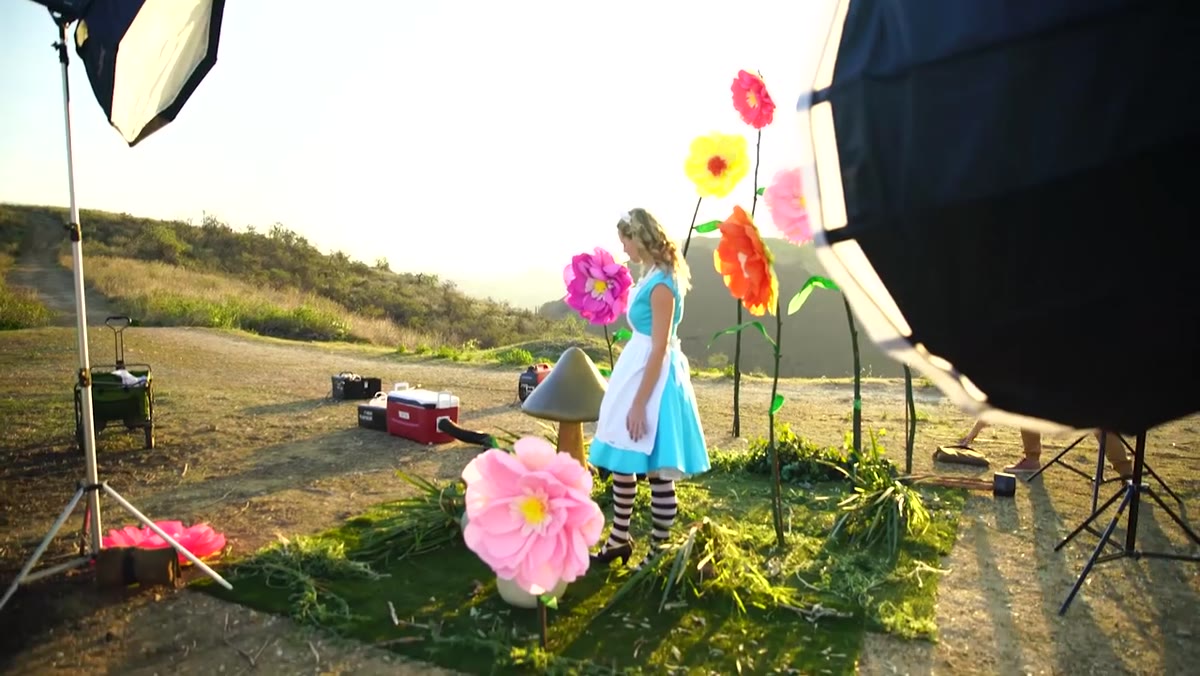 Reference to using sun tracking app to predict sun position
Morgan uses a sun-tracking app to predict exactly where the sun will set relative to his shooting position. This is location scouting with precision, not approximation. Knowing the sun’s path lets you position your subject so the setting sun acts as a rim light or a directional kicker, rather than landing in an awkward spot or going behind something inconvenient.
I do the same thing before any outdoor commercial job. If the sun is going to be behind and to camera-left for the last 20 minutes of golden hour, I build my whole strobe setup around that. The app removes the guesswork and lets you arrive on set with a lighting plan already sketched out.
What I’d Add From My Own Experience
The one thing I’d stack on top of Morgan’s framework is a gel strategy. Strobes at this time of day are firing daylight-balanced light, and the sky is shifting toward blue. That contrast is part of what makes the look work. But if you want the subject to feel more integrated with the warm remnants of the sunset rather than separated from it, a quarter or half CTO gel on your key light can close that gap. I test this on every sunset shoot – sometimes the clean daylight-balanced strobe is exactly right, and sometimes the gelled version feels more cohesive. Worth building into your setup time.
The single biggest takeaway from Morgan’s tutorial is the hierarchy: ISO sets the floor, aperture drives your strobe power, and shutter speed is your ambient dial. Once those three jobs are clearly separated in your head, sunset shooting becomes methodical instead of reactive. You stop chasing the light and start working with it.
Watch the full tutorial on YouTube to see Morgan demonstrate the exposure changes in real time as the sun drops – watching the actual image sequence as shutter speeds lengthen makes the whole system click into place.
Comments (3)
Been doing this wrong for years apparently. Thanks for the wake-up call.
This is fantastic. I've been recommending this approach to my readers too.
Would love to see a follow-up going deeper into this topic.
Leave a Comment