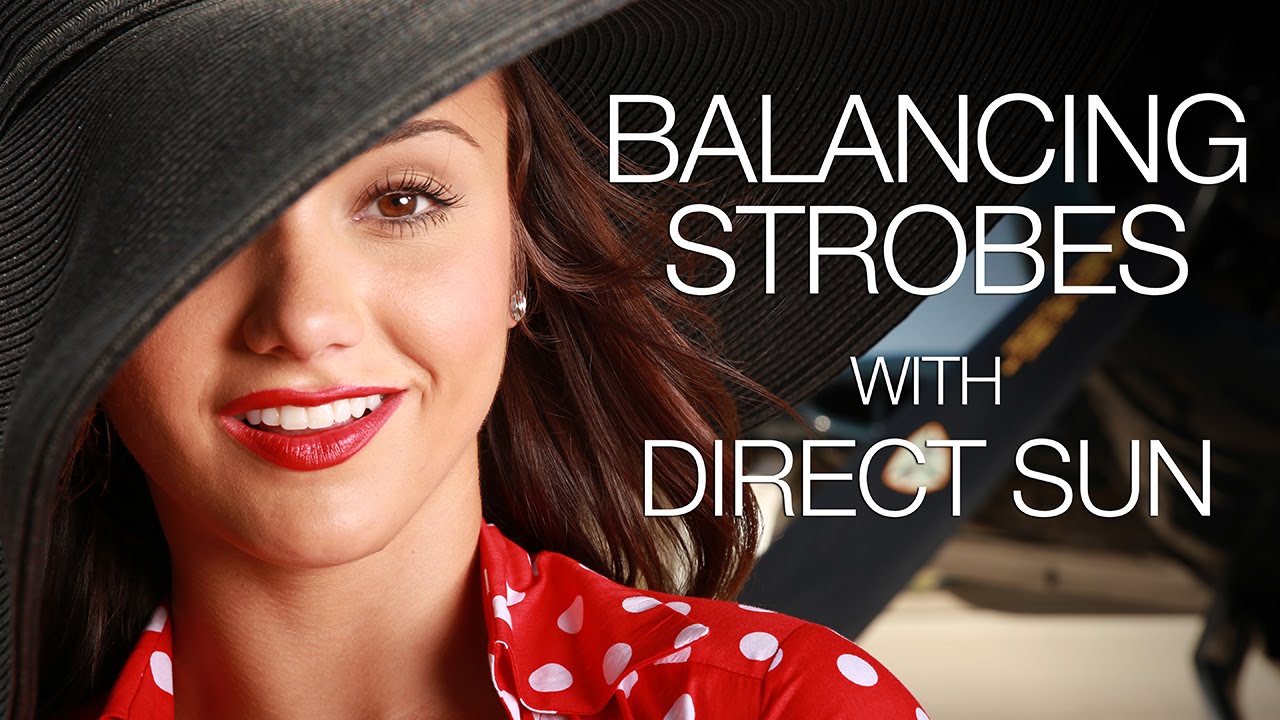
Shooting in direct sunlight used to be my least favorite scenario. Not because I couldn’t get an exposure, but because I kept making a choice between two bad options: expose for the subject and torch the sky, or expose for the sky and bury the subject in shadow. For years I defaulted to golden hour or open shade and called it creative intention. What I was really doing was avoiding the problem.
That changed when I worked through this technique from Jay P Morgan over at The Slanted Lens. Watch the full tutorial on YouTube – it’s shot inside a vintage aviation museum with a model, World War I era aircraft, and harsh midday-style sun cutting through the space. The location is specific, but the problem it demonstrates is universal: hard directional light, a dark background subject, and a sky you want to keep. The solution is strobe power used deliberately, not as a crutch.
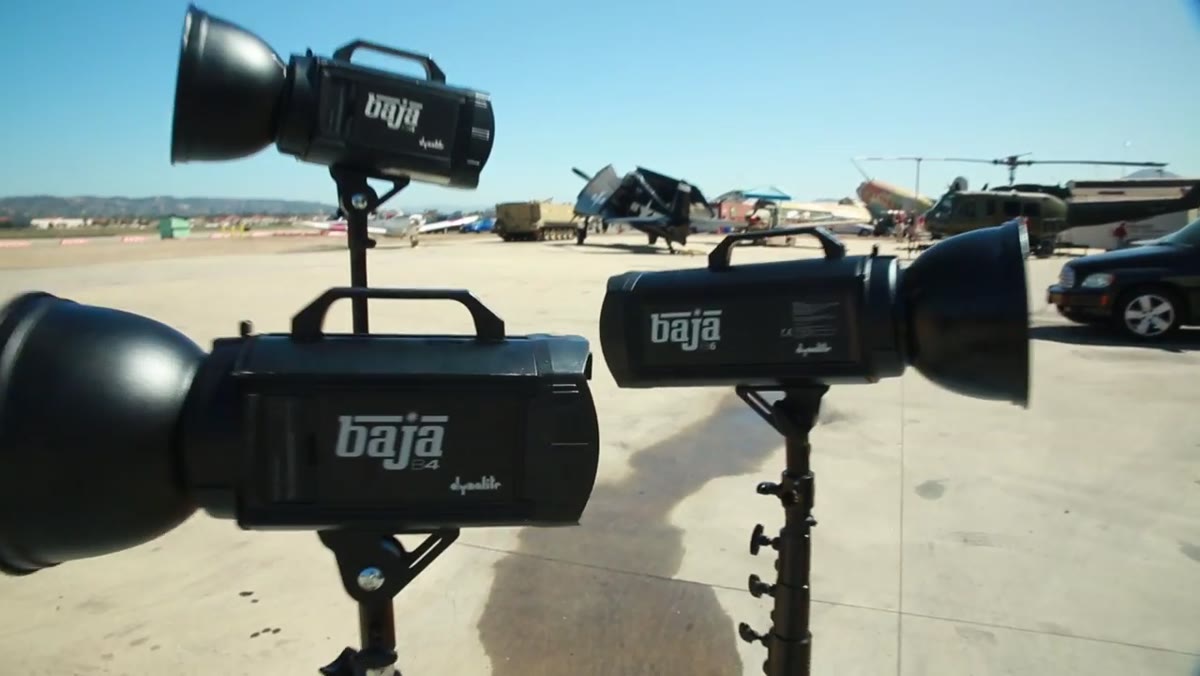
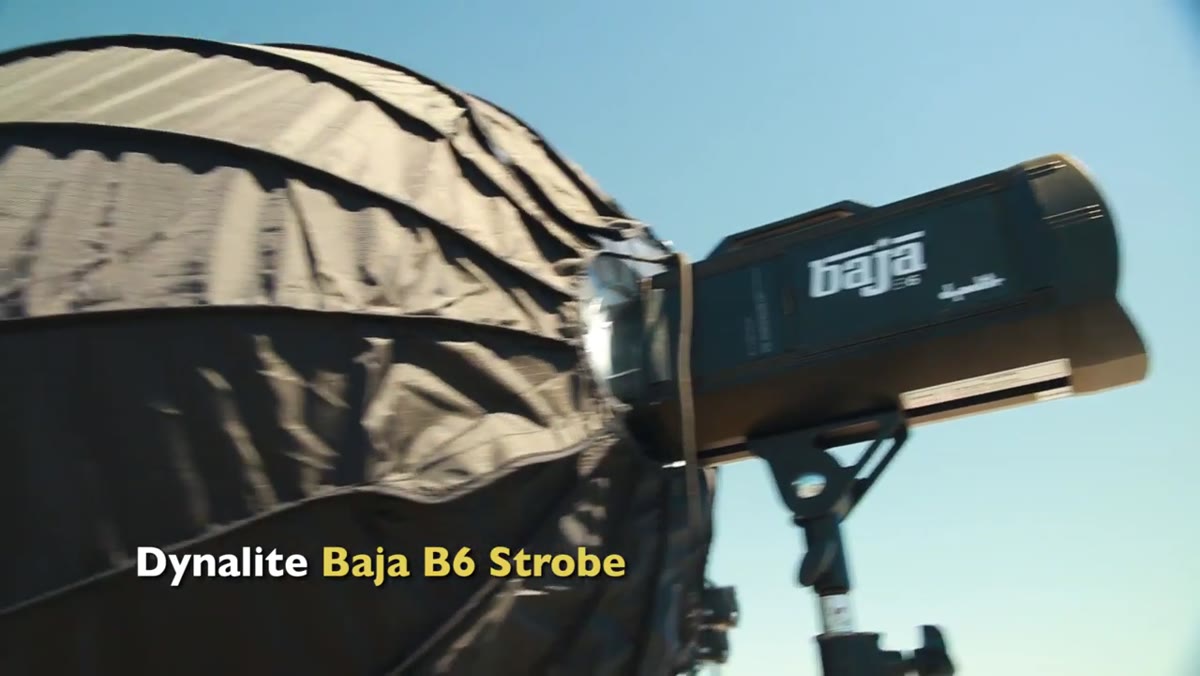
What I appreciated most is that Jay doesn’t soft-pedal the gear requirement. You need a unit powerful enough to compete with the sun at a usable aperture. He uses the Baja B6, a 600 watt-second battery-powered monolight. I’ve run similar setups with comparable units and the principle holds regardless of brand – underpowered strobes in full sun just give you muddy fill that reads as a mistake. This walkthrough is worth studying even if you don’t own that specific unit.
Step 1: Read the Location Before You Touch the Light Stand
 JayP assessing airplane and light angles in the museum
Before any gear comes out, figure out what the sun is actually doing to your background. In this tutorial, Jay wants a deep blue sky behind the model. That means he can’t use the sun as a backlight, because turning the camera toward the backlit direction would mean pointing it at buildings. He solves this by rotating the setup so the sun crosses the subject from the right side, what he calls a cross light. The background stays clean, the sky stays saturated, and the airplane reads dark but not dead.
JayP assessing airplane and light angles in the museum
Before any gear comes out, figure out what the sun is actually doing to your background. In this tutorial, Jay wants a deep blue sky behind the model. That means he can’t use the sun as a backlight, because turning the camera toward the backlit direction would mean pointing it at buildings. He solves this by rotating the setup so the sun crosses the subject from the right side, what he calls a cross light. The background stays clean, the sky stays saturated, and the airplane reads dark but not dead.
This is the decision most photographers skip. Posing the subject in relation to the environment isn’t a styling choice – it’s a lighting architecture choice. Lock in your background first, then figure out where the sun lands on your subject, then decide where your strobe has to go to fix what the sun gets wrong.
Step 2: Set Exposure for the Background, Not the Subject
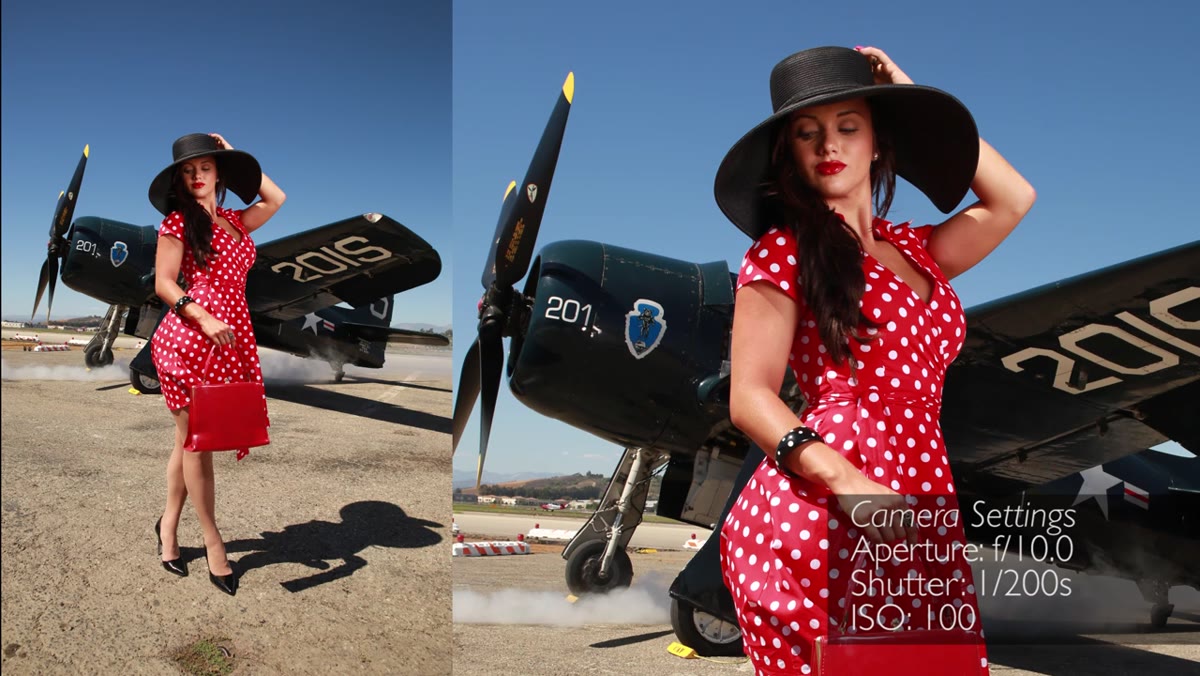
 Camera settings being dialed in for the ambient sky exposure
The foundational rule for strobe-in-sun work: expose for the ambient light you want to keep, then use the strobe to bring the subject up to meet it. Jay exposes to hold that deep blue sky. At those settings, the model’s face goes dark – he shows the before image explicitly so you can see how underexposed the subject looks without strobe intervention.
Camera settings being dialed in for the ambient sky exposure
The foundational rule for strobe-in-sun work: expose for the ambient light you want to keep, then use the strobe to bring the subject up to meet it. Jay exposes to hold that deep blue sky. At those settings, the model’s face goes dark – he shows the before image explicitly so you can see how underexposed the subject looks without strobe intervention.
Your shutter speed is the primary tool for controlling ambient exposure here. Aperture affects both the strobe and the ambient, so move it carefully. If your camera’s sync speed caps at 1/200s or 1/250s, that’s your ceiling. Shoot at ISO 100 and stop down your aperture until the sky looks exactly the way you want it in the frame. The subject being dark at this point is expected and correct. That’s what the strobe is for.
Step 3: Match Strobe Output to the Sun’s Intensity
 Baja B6 strobe positioned near the subject on location
Jay places the Baja B6 with a parabolic modifier on the sun side of the subject, angling it slightly upward from below to work around the model’s low brimmed hat. At 600 watt-seconds, the unit has enough output to illuminate the face at a level that matches the ambient exposure on the background. The result is a subject who looks naturally lit – not flash-blasted, not shadowed.
Baja B6 strobe positioned near the subject on location
Jay places the Baja B6 with a parabolic modifier on the sun side of the subject, angling it slightly upward from below to work around the model’s low brimmed hat. At 600 watt-seconds, the unit has enough output to illuminate the face at a level that matches the ambient exposure on the background. The result is a subject who looks naturally lit – not flash-blasted, not shadowed.
The practical test is simple: after you fire the first frame with the strobe, check whether the subject’s skin tone matches the tonal range of the lit areas of the background. If the face looks brighter than anything else in the frame, pull the strobe power down. If the face still falls into shadow, push it up. Chimp aggressively here. This is iterative work.
Step 4: Use the Modifier to Shape the Fill, Not Just Add Brightness
 Parabolic modifier on the B6 creating even facial illumination
Jay runs a parabolic softbox – a GSB 71 – throughout this shoot, and he’s specific about why. The light is even from edge to edge, which means it reads as open fill rather than a hard strobe. The goal is for the viewer to believe the light is coming from the sky or from a large ambient bounce, not from a piece of equipment four feet off camera left.
Parabolic modifier on the B6 creating even facial illumination
Jay runs a parabolic softbox – a GSB 71 – throughout this shoot, and he’s specific about why. The light is even from edge to edge, which means it reads as open fill rather than a hard strobe. The goal is for the viewer to believe the light is coming from the sky or from a large ambient bounce, not from a piece of equipment four feet off camera left.
Modifier choice in outdoor strobe work matters more than people think. A bare reflector dish in this situation would create a specular highlight and a readable shadow direction that competes with the sun’s shadow. A large parabolic wraps around the face and blends. If you’re doing this without a parabolic, a large octobox at distance can work. What you want to avoid is any modifier that creates a catch light or shadow direction that contradicts the existing sun angle.
Step 5: Cross-Light When the Shadow Logic Lets You Get Away With It
 Second setup with strobe placed opposite the sun for fill
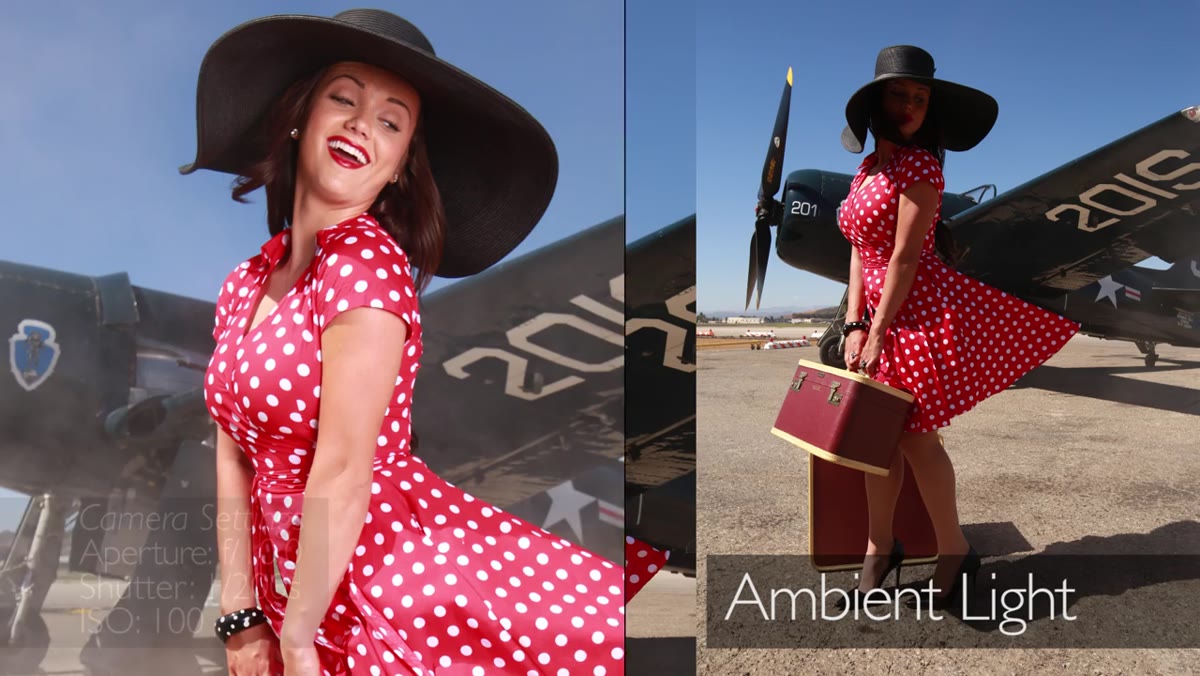
In the second setup, Jay moves the strobe to the opposite side of the sun entirely. The sun is hitting the model from the left; the strobe comes in from camera right. This is a cross-light configuration, and it works because the background is a dark airplane. There’s no ground shadow visible to the camera, no plane surface catching the strobe’s shadow in a contradictory direction. The light reads as plausible.
Second setup with strobe placed opposite the sun for fill
In the second setup, Jay moves the strobe to the opposite side of the sun entirely. The sun is hitting the model from the left; the strobe comes in from camera right. This is a cross-light configuration, and it works because the background is a dark airplane. There’s no ground shadow visible to the camera, no plane surface catching the strobe’s shadow in a contradictory direction. The light reads as plausible.
This is a useful rule: you can get away with crossing your light sources when the surfaces around your subject don’t expose the contradiction. If you’re shooting against a white wall or a bright ground plane, crossing your lights will show. Against a dark, textured, or distant background, you have room to work.
What I Do Differently on Commercial Jobs
I keep a lighting journal – a physical notebook where I sketch every setup after every shoot. When I reviewed my outdoor strobe work against what Jay demonstrates here, I noticed I was consistently placing my strobe too far from the subject to compensate for the sun. My instinct was to push the light back for a more diffuse effect, but at distance in bright sun, you’re just losing output for no gain in quality.
I also calibrate my strobe’s color temperature against the ambient before I shoot, not after. Direct sun runs warm, typically 5500K to 6000K depending on time of day. Most battery strobes run slightly cooler out of the box. I gel the strobe with a quarter CTO on outdoor jobs to match, then set my white balance to the ambient. It’s a small adjustment, but it’s the kind of thing that shows up in skin tones when you’re delivering to an art director who will notice.
The single most important idea in this tutorial is that strobe in sunlight is an exposure control problem, not a gear problem. You’re using the strobe to fill a shadow created by a deliberate underexposure of the ambient. Everything else – modifier choice, strobe placement, cross-lighting – flows from understanding that sequence.
Watch the full tutorial on YouTube to see Jay walk through the before-and-after comparisons in each setup. The visual difference between strobe-off and strobe-on frames is the clearest explanation of why this technique works.
Comments
Leave a Comment