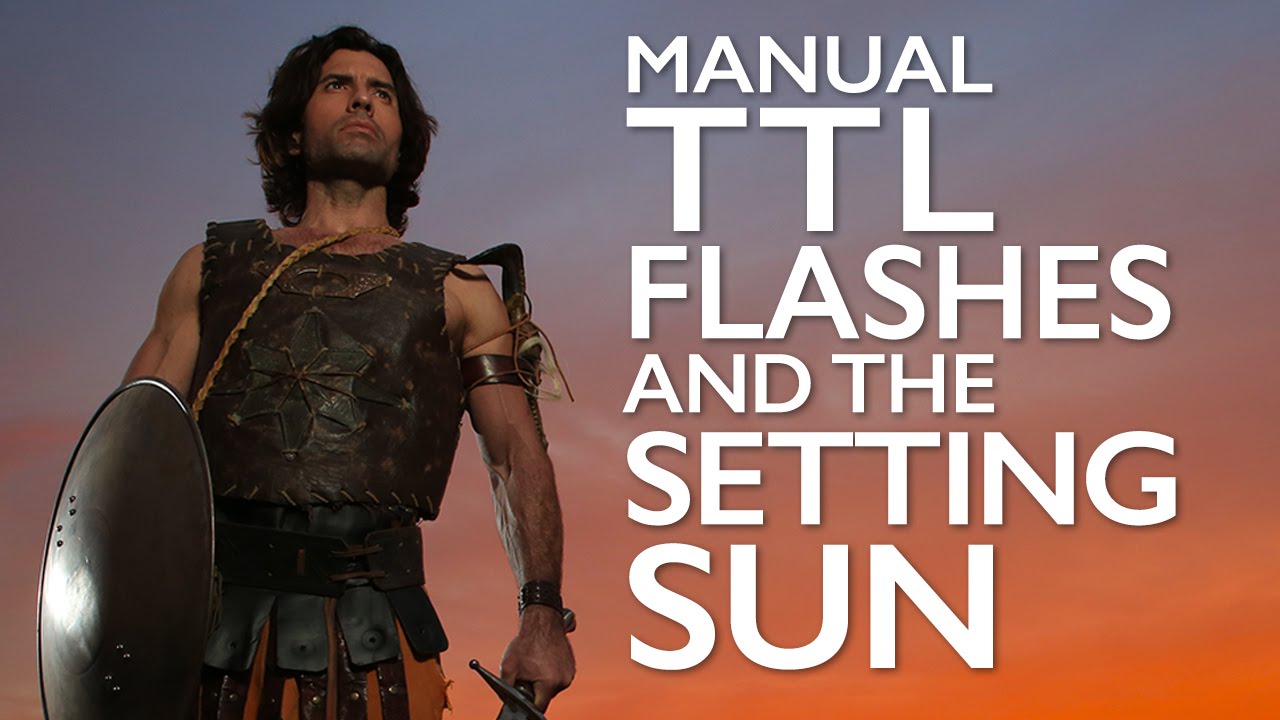
There is a specific kind of frustration that comes from standing in golden hour light with a subject who looks incredible and realizing your on-camera flash is about to ruin everything. The light is directional, warm, and dramatic. Your strobe is flat and about eight inches from your lens. I have been there more times than I want to admit, and it is the reason I started treating off-camera TTL as a non-negotiable part of my location kit. The problem is that TTL flash, by design, wants to live on your hot shoe. Getting it off the camera and keeping the TTL communication intact requires a little more infrastructure than most people expect.
Jay P. Morgan over at The Slanted Lens put together a tutorial that tackles exactly this. Watch the full tutorial on YouTube and you will see him shoot a swordsman against a Los Angeles sunset using two off-camera TTL flashes balanced against the ambient sky. The technique is clean, the gear choices are deliberate, and the exposure logic he walks through is the kind of thing I wish someone had laid out for me about ten years ago. Here is the full breakdown.
Step 1: Choose Your Off-Camera TTL System
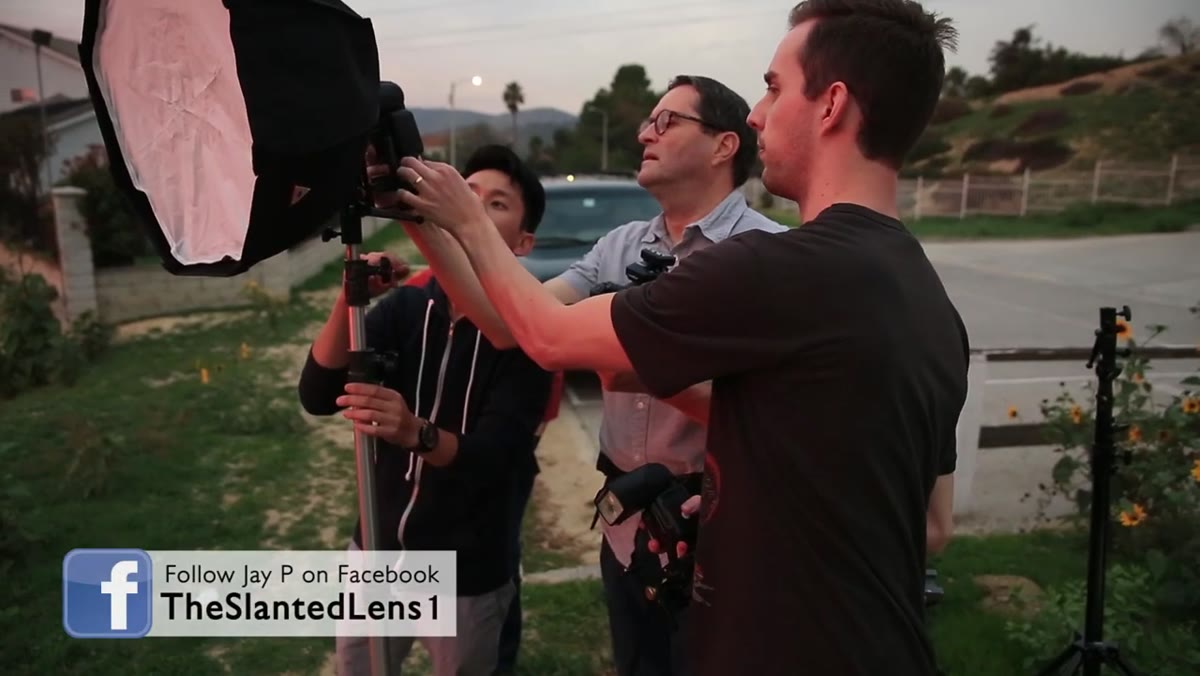 PocketWizard Flex TT5 and Mini TTi mounted on flash and camera
Jay uses a PocketWizard system built around three components: a Flex TT5 transceiver on each flash, a Mini TTi on the camera hot shoe, and an AC3 Zone Controller sitting on top of the Mini TTi. This combination keeps the TTL signal alive between the camera and the flashes while giving you physical control over output without touching the flash units themselves. He is also mixing flash brands, running a Canon 600EX as his key light and a Strobies Pro-Flash TLi-C as his rim light. The PocketWizard system is what makes that cross-brand mixing possible. It is not a cheap solution, and Jay says so directly, but it works without hiccups in the field where hiccups are expensive.
PocketWizard Flex TT5 and Mini TTi mounted on flash and camera
Jay uses a PocketWizard system built around three components: a Flex TT5 transceiver on each flash, a Mini TTi on the camera hot shoe, and an AC3 Zone Controller sitting on top of the Mini TTi. This combination keeps the TTL signal alive between the camera and the flashes while giving you physical control over output without touching the flash units themselves. He is also mixing flash brands, running a Canon 600EX as his key light and a Strobies Pro-Flash TLi-C as his rim light. The PocketWizard system is what makes that cross-brand mixing possible. It is not a cheap solution, and Jay says so directly, but it works without hiccups in the field where hiccups are expensive.
Step 2: Assign Zones and Attach Modifiers
 Canon 600EX mounted on Flex TT5 with Photoflex octodome attached
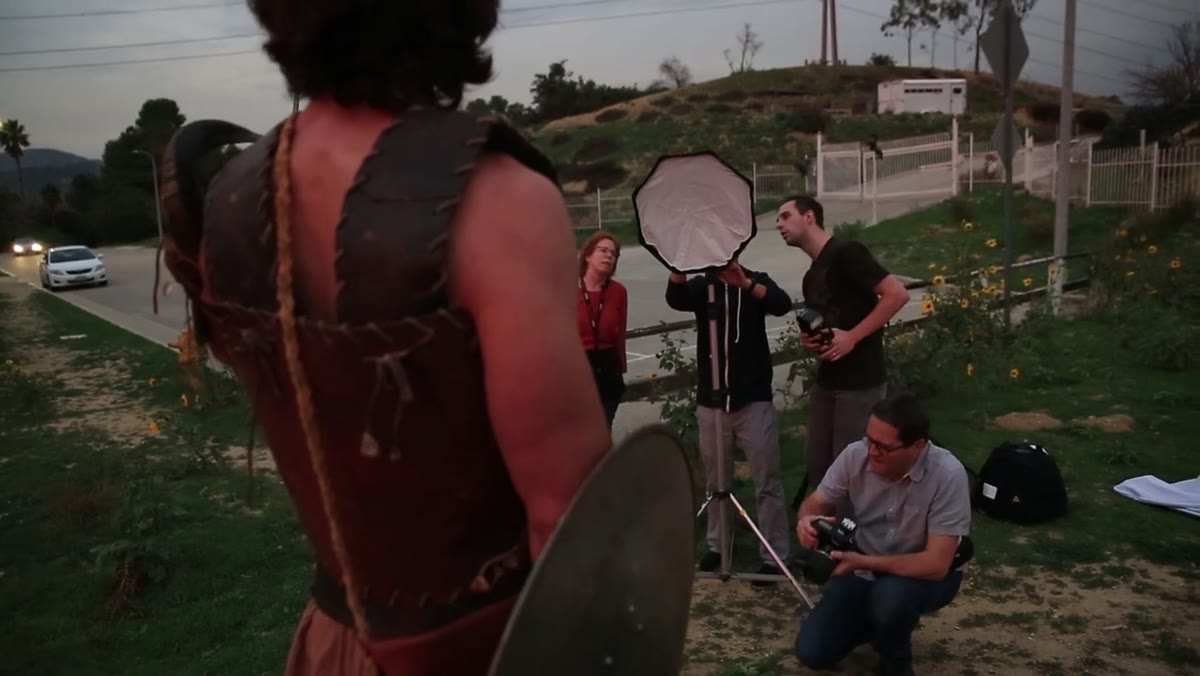
Each flash gets assigned to a zone through the Flex TT5. The key light, the Canon 600EX, goes to Zone A. The rim light, the Strobies unit held by an assistant, goes to Zone B. Assigning zones is what lets you adjust each light independently from the camera using the AC3 controller. The key light is shooting through a small octodome on a Photoflex bracket, which gives the light some shape and wraps it just enough to flatter the subject’s face without going soft and flat. The rim light is handheld, which Jay calls “Hollywood-ing it.” I keep a labeled strip of masking tape on every modifier in my kit so I can ID the right mount in low light, and I would do the same on those Flex TT5 units if I were running two of them on a shoot.
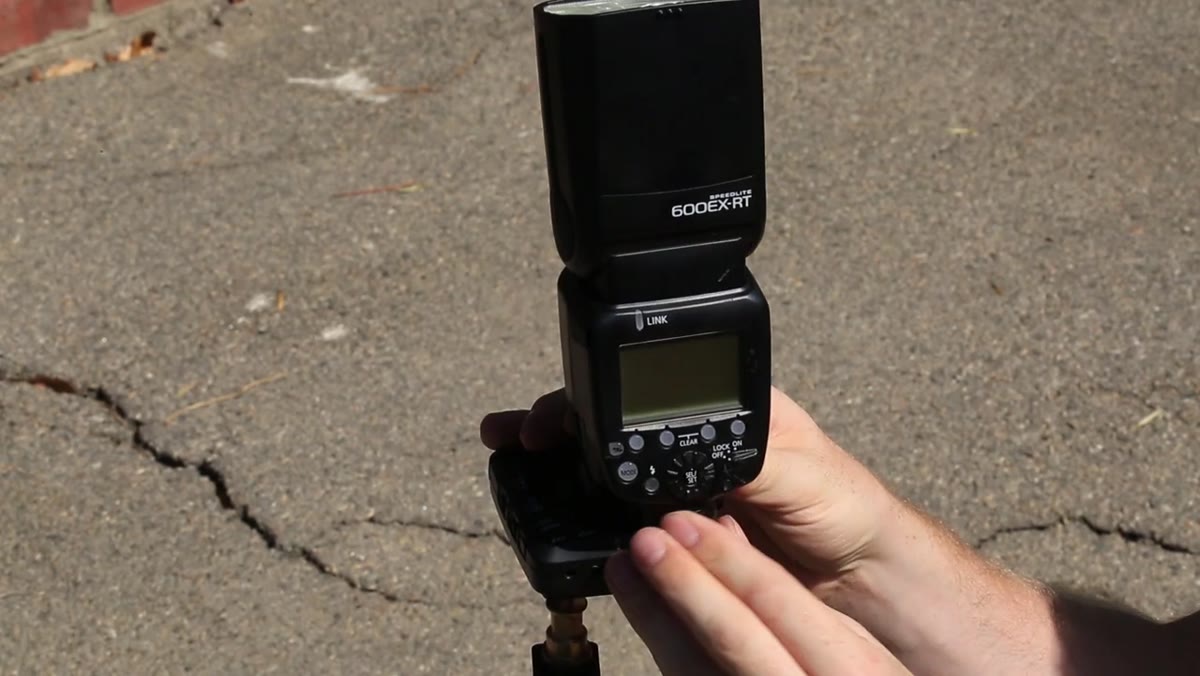
Canon 600EX mounted on Flex TT5 with Photoflex octodome attached
Each flash gets assigned to a zone through the Flex TT5. The key light, the Canon 600EX, goes to Zone A. The rim light, the Strobies unit held by an assistant, goes to Zone B. Assigning zones is what lets you adjust each light independently from the camera using the AC3 controller. The key light is shooting through a small octodome on a Photoflex bracket, which gives the light some shape and wraps it just enough to flatter the subject’s face without going soft and flat. The rim light is handheld, which Jay calls “Hollywood-ing it.” I keep a labeled strip of masking tape on every modifier in my kit so I can ID the right mount in low light, and I would do the same on those Flex TT5 units if I were running two of them on a shoot.
Step 3: Switch TTL Flashes into Manual Mode via the AC3
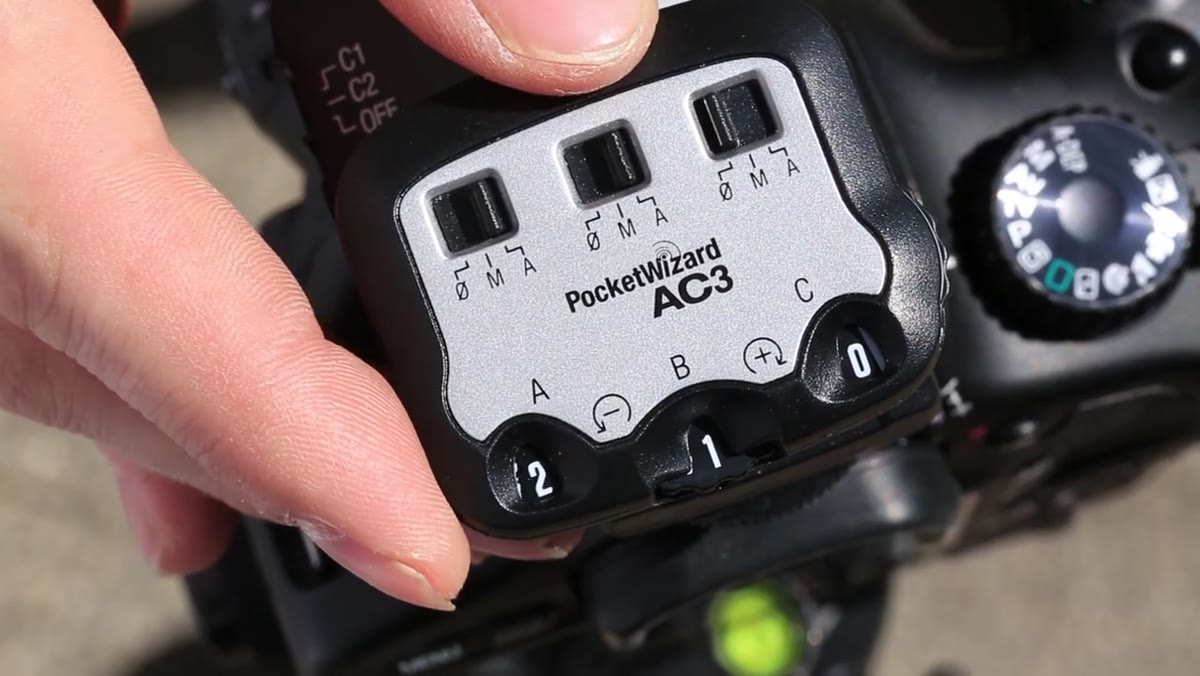
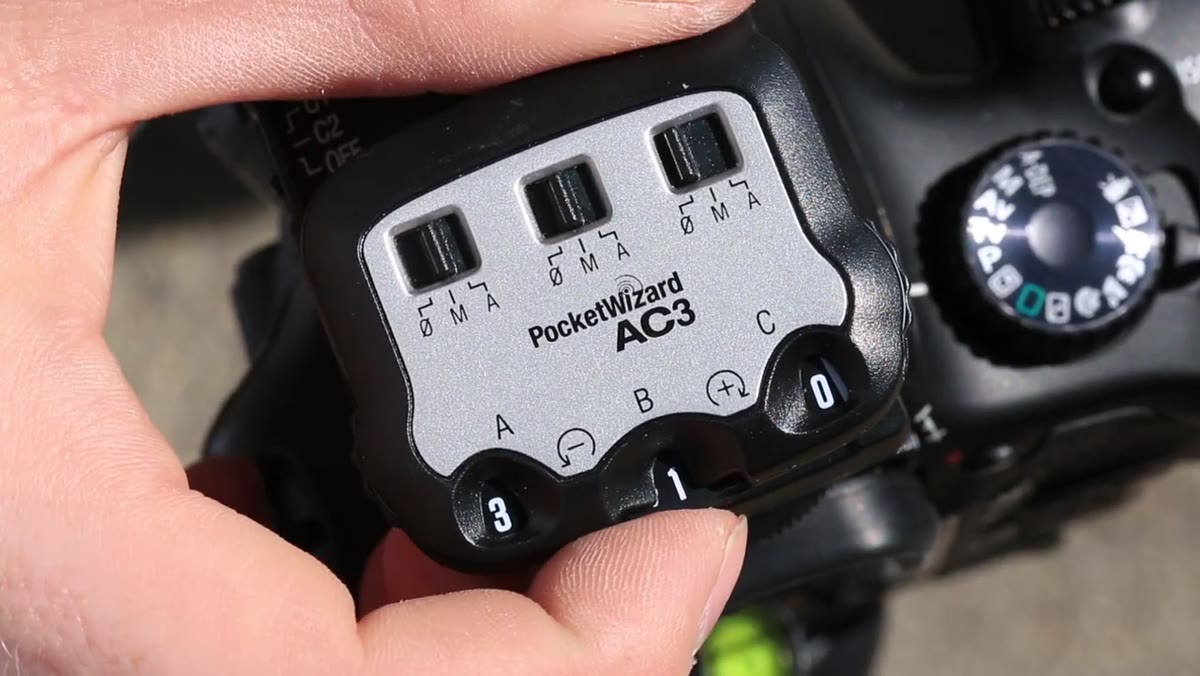
 AC3 Zone Controller dials set to manual mode on camera hot shoe
This is the step that most people overlook, and it is the one that gives you real control. Jay puts both TTL flashes into manual mode through the AC3 controller. Even though the flashes are TTL-capable, running them in manual from the AC3 means you are dialing in a specific output, from 1/64th power up to full power, rather than letting the camera’s metering make guesses. TTL metering can be erratic outdoors, especially against a bright sky. Manual output means your flash exposure stays consistent from frame to frame. You are doing the thinking instead of the camera.
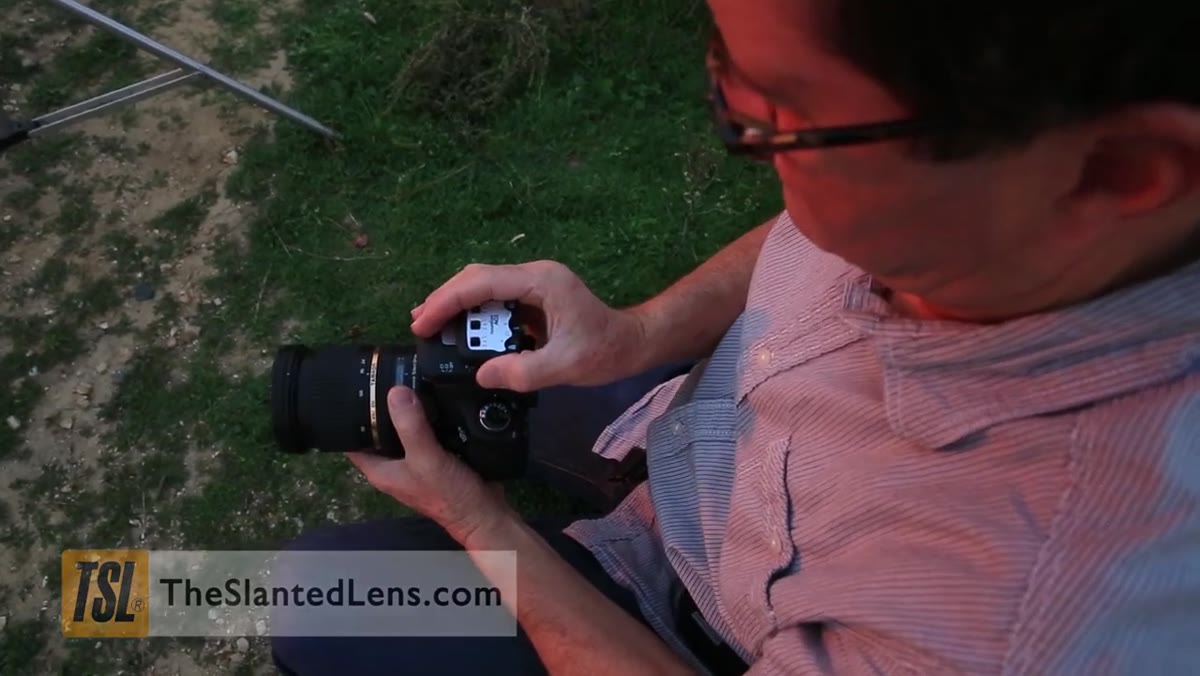
AC3 Zone Controller dials set to manual mode on camera hot shoe
This is the step that most people overlook, and it is the one that gives you real control. Jay puts both TTL flashes into manual mode through the AC3 controller. Even though the flashes are TTL-capable, running them in manual from the AC3 means you are dialing in a specific output, from 1/64th power up to full power, rather than letting the camera’s metering make guesses. TTL metering can be erratic outdoors, especially against a bright sky. Manual output means your flash exposure stays consistent from frame to frame. You are doing the thinking instead of the camera.
Step 4: Set Your Base Camera Exposure for the Ambient Light
 Camera settings displayed: ISO 800, f/10, 1/80th second
Jay’s starting point is ISO 800, f/10, and 1/80th of a second. The aperture at f/10 gives him enough depth of field to keep both the subject and the dramatic background in focus. The shutter at 1/80th is fast enough to avoid motion blur but slow enough to let the sunset sky register properly. ISO 800 keeps noise manageable without needing to push the flash output too hard. At this stage, the strobes are off and the image is just ambient sky. The subject is underlit. That is intentional. You are establishing the background exposure first, then layering the flash on top of it.
Camera settings displayed: ISO 800, f/10, 1/80th second
Jay’s starting point is ISO 800, f/10, and 1/80th of a second. The aperture at f/10 gives him enough depth of field to keep both the subject and the dramatic background in focus. The shutter at 1/80th is fast enough to avoid motion blur but slow enough to let the sunset sky register properly. ISO 800 keeps noise manageable without needing to push the flash output too hard. At this stage, the strobes are off and the image is just ambient sky. The subject is underlit. That is intentional. You are establishing the background exposure first, then layering the flash on top of it.
Step 5: Power Up the Flashes and Dial In the Balance
 First flash test shot showing overexposed face, key light dialed down
With both flashes firing at full power, the first test frame comes back too bright on the subject’s face. Jay rolls the AC3 dial for Zone A from the three-stop position down to two stops, which is a one-stop reduction on the key light. The next frame is slightly too dark, so he moves the dial clockwise to the two-thirds position. That split-stop adjustment lands the exposure right where it needs to be. The rim light is helping separate the subject from the sky, and the key light is matching the warm color of the setting sun. The three light sources, key, rim, and background sky, are now working as a single balanced scene rather than fighting each other.
First flash test shot showing overexposed face, key light dialed down
With both flashes firing at full power, the first test frame comes back too bright on the subject’s face. Jay rolls the AC3 dial for Zone A from the three-stop position down to two stops, which is a one-stop reduction on the key light. The next frame is slightly too dark, so he moves the dial clockwise to the two-thirds position. That split-stop adjustment lands the exposure right where it needs to be. The rim light is helping separate the subject from the sky, and the key light is matching the warm color of the setting sun. The three light sources, key, rim, and background sky, are now working as a single balanced scene rather than fighting each other.
Step 6: Chase the Sun Down with Your Shutter Speed
 Shutter speed extended to 1/15th second as sky darkens behind subject
As the sun drops, the ambient sky gets darker, but the flash output on the subject’s face stays exactly the same because the aperture has not changed. This is the core logic of the whole technique. Aperture controls flash exposure. Shutter speed controls ambient exposure. Jay lengthens the shutter to 1/15th of a second first to bring the sky back up, then extends it further, past one second, as the sky continues to fade. The subject stays sharp because the flash is freezing the motion during the exposure. The sky gets the longer exposure it needs. You can keep shooting well past what you would think of as the end of golden hour.
Shutter speed extended to 1/15th second as sky darkens behind subject
As the sun drops, the ambient sky gets darker, but the flash output on the subject’s face stays exactly the same because the aperture has not changed. This is the core logic of the whole technique. Aperture controls flash exposure. Shutter speed controls ambient exposure. Jay lengthens the shutter to 1/15th of a second first to bring the sky back up, then extends it further, past one second, as the sky continues to fade. The subject stays sharp because the flash is freezing the motion during the exposure. The sky gets the longer exposure it needs. You can keep shooting well past what you would think of as the end of golden hour.
What I Would Add from My Own Experience
The shutter-controls-ambient principle Jay demonstrates is one of those things that sounds obvious once you hear it but takes a few ruined frames to really trust. I keep a lighting journal where I sketch every setup I run, and I have a full page dedicated to sunset balancing shots where I tried to fix a dark background by opening the aperture instead of slowing the shutter. That adjustment dimmed the sky, killed the depth of field, and blew out the face all at once. The lesson stuck. Beyond that, I would suggest testing your PocketWizard zone assignments indoors before heading out. Swap zones accidentally in the field and you will be adjusting the wrong light in fading light with a client waiting.
The single most important idea in this tutorial is that you do not have to accept flat, on-camera TTL just because you are using automatic flash. A wireless TTL system puts shape, direction, and control back in your hands while keeping the convenience of quick power adjustments from the camera position. That combination is what makes this approach worth the investment in the trigger system.
Watch the full tutorial on YouTube to see the final unretouched images Jay pulls from this setup. They make a strong argument for doing all of this in the field instead of fixing it in post.
Comments
Leave a Comment