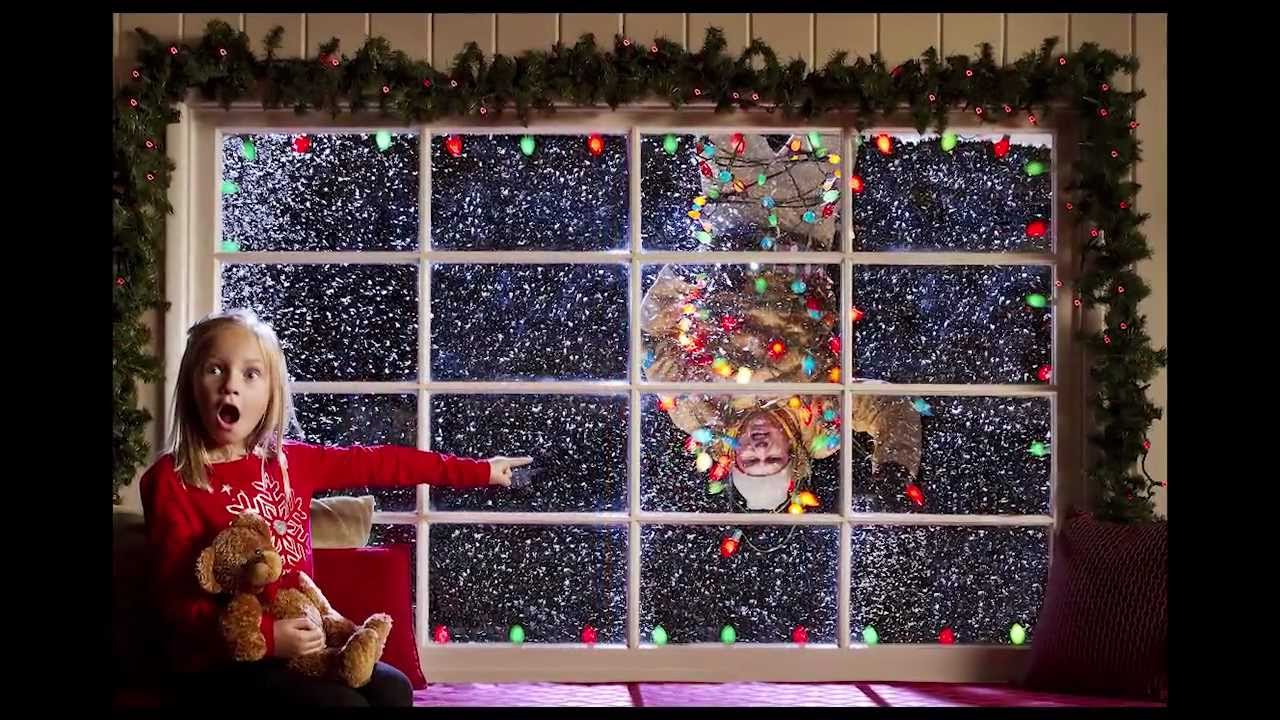
Every few winters, a client asks for falling snow in a shot. The first time it happened to me, it was July, we were on a stage in Culver City, and the brief said “cozy winter scene.” I’ve been in commercial photography long enough to know that “we’ll fix it in post” is rarely the right answer for something as kinetic as falling snow. You need the real thing, or something close enough that the camera believes it. That’s exactly what JP Morgan at The Slanted Lens walks through in this tutorial, and it’s one of the cleanest, most replicable solutions I’ve seen for manufacturing weather on demand.
Watch the full tutorial on YouTube
What I appreciate most about this approach is how low-tech the rigging is and how seriously the lighting is taken. The snow rig itself costs almost nothing to build. The lighting plan, though, is where the real work is. Morgan layers five separate light sources to sell a complete environmental illusion, and each one has a specific job. That’s the part most behind-the-scenes articles skip. This one doesn’t.
Step 1: Build the Frame
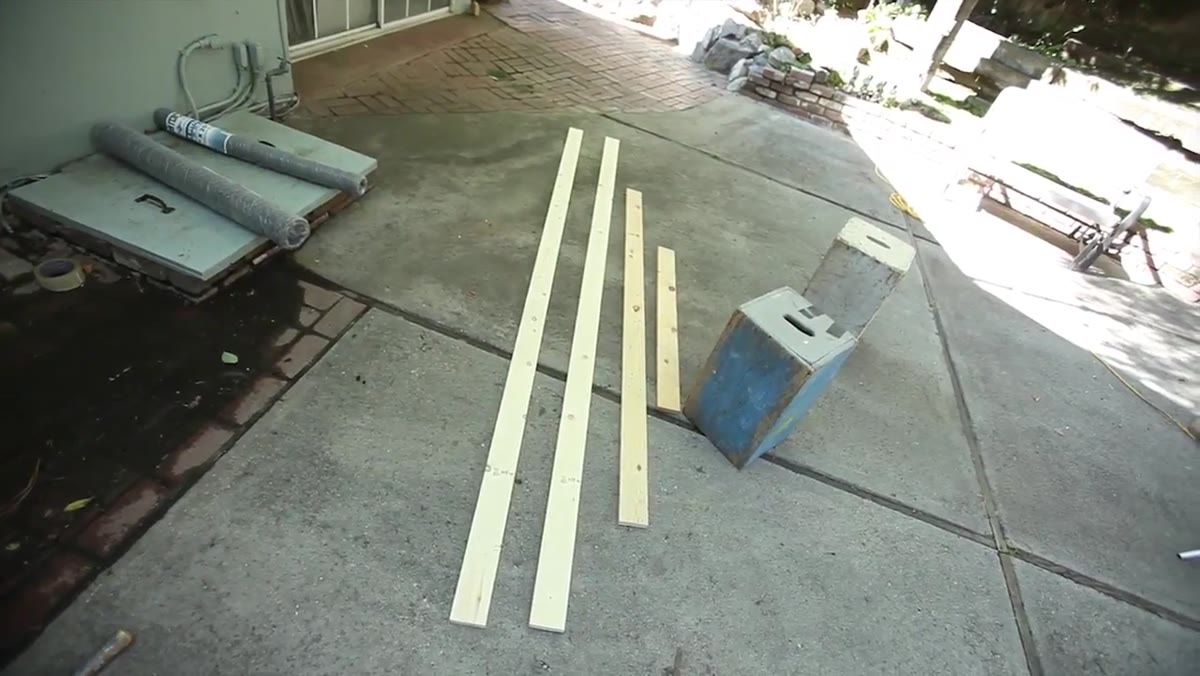 Cutting and assembling one-by-four lumber into a rectangular frame
Start with 1x4 lumber cut to whatever dimensions fit your shooting space. In the tutorial, the frame runs 10 feet long by 34 inches wide, which is a practical size for a two-person scene with some breathing room. Join the four corners with a screw gun. Keep it simple and keep it flat. This is not a precision woodworking project. It just needs to be square enough to hold its shape when loaded with artificial snow and shaken repeatedly.
Cutting and assembling one-by-four lumber into a rectangular frame
Start with 1x4 lumber cut to whatever dimensions fit your shooting space. In the tutorial, the frame runs 10 feet long by 34 inches wide, which is a practical size for a two-person scene with some breathing room. Join the four corners with a screw gun. Keep it simple and keep it flat. This is not a precision woodworking project. It just needs to be square enough to hold its shape when loaded with artificial snow and shaken repeatedly.
The size you choose should match the width of your camera frame, not the entire set. The snow only needs to cover the field of view to create the illusion that it’s falling everywhere. Oversizing the rig wastes material and makes it harder to control.
Step 2: Staple Chicken Wire Across the Frame
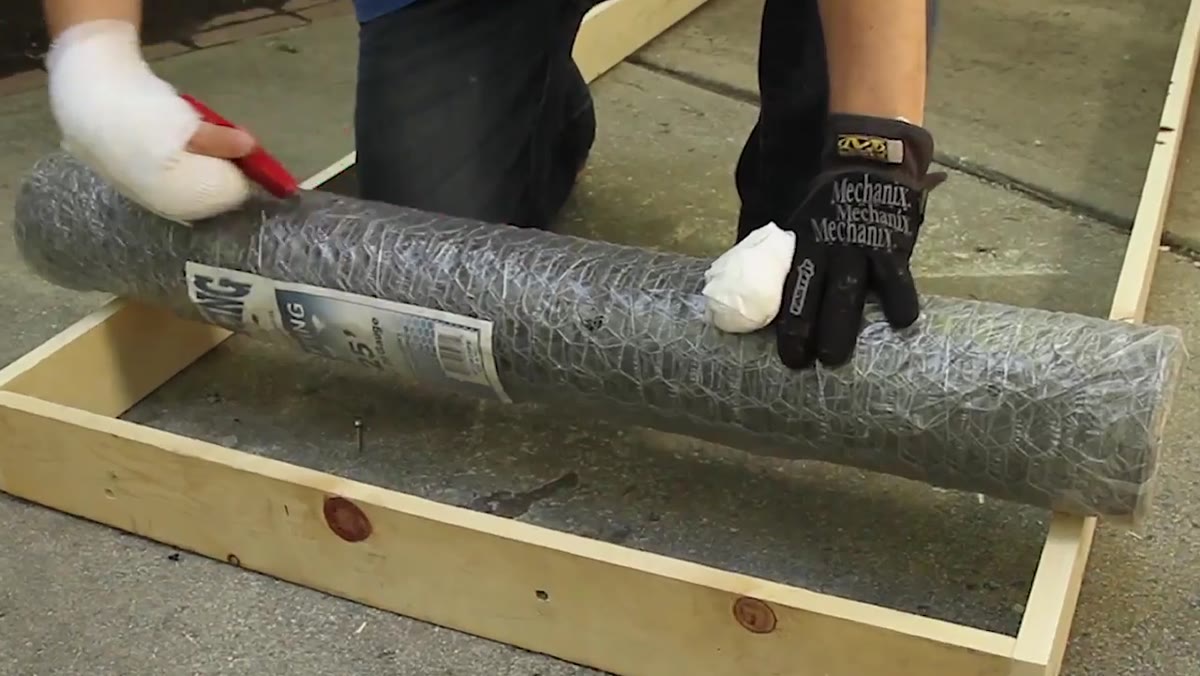 Stapling one-inch chicken wire flat across the wooden frame
Stretch one-inch chicken wire across the frame and staple it down tight. The gauge of the wire matters here. Half-inch mesh is too fine and the plastic snow clumps and chokes rather than filtering through cleanly. One-inch mesh lets each flake fall individually, which is what gives you that soft, even distribution on camera. Think of the wire as a sieve, not a surface. You want controlled release, not a dump.
Stapling one-inch chicken wire flat across the wooden frame
Stretch one-inch chicken wire across the frame and staple it down tight. The gauge of the wire matters here. Half-inch mesh is too fine and the plastic snow clumps and chokes rather than filtering through cleanly. One-inch mesh lets each flake fall individually, which is what gives you that soft, even distribution on camera. Think of the wire as a sieve, not a surface. You want controlled release, not a dump.
Staple every few inches around the perimeter so the wire stays taut under the weight of the snow. A sagging mesh will cause the material to pool in the center and fall unevenly.
Step 3: Rig the Frame to Hang and Rock
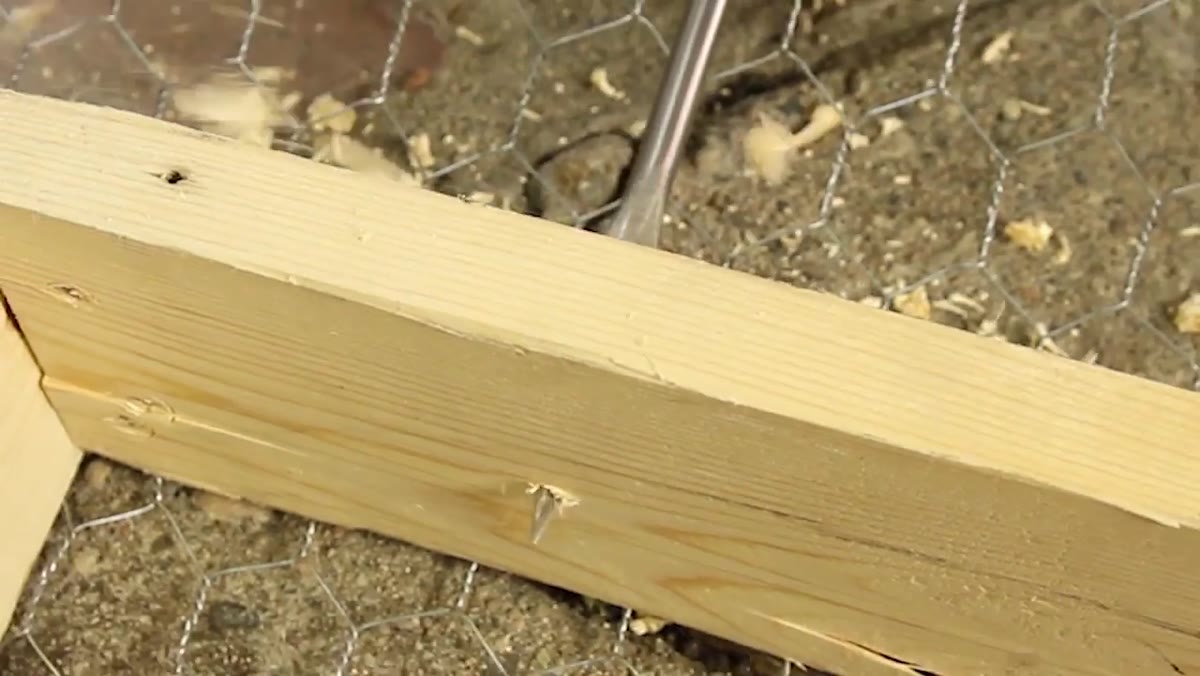 Drilling rope holes in each end of the frame for hanging
Drill two holes at each short end of the frame. Thread rope through each pair of holes and tie a knot on the underside so the rope can’t pull through. What you end up with is a loop at each end that drops over a c-stand or hangs from a truss or high-hat. The rig should sit at a height where the snow has enough distance to spread out before it reaches your subject, typically eight to ten feet overhead.
Drilling rope holes in each end of the frame for hanging
Drill two holes at each short end of the frame. Thread rope through each pair of holes and tie a knot on the underside so the rope can’t pull through. What you end up with is a loop at each end that drops over a c-stand or hangs from a truss or high-hat. The rig should sit at a height where the snow has enough distance to spread out before it reaches your subject, typically eight to ten feet overhead.
Here’s the key design detail: the frame is meant to be unstable. It rocks. That lateral movement is what distributes the snow across the full width of the frame rather than sending it straight down in one column. When you shake it, work side to side. Let the momentum do the work.
Step 4: Load and Test the Snow Fall
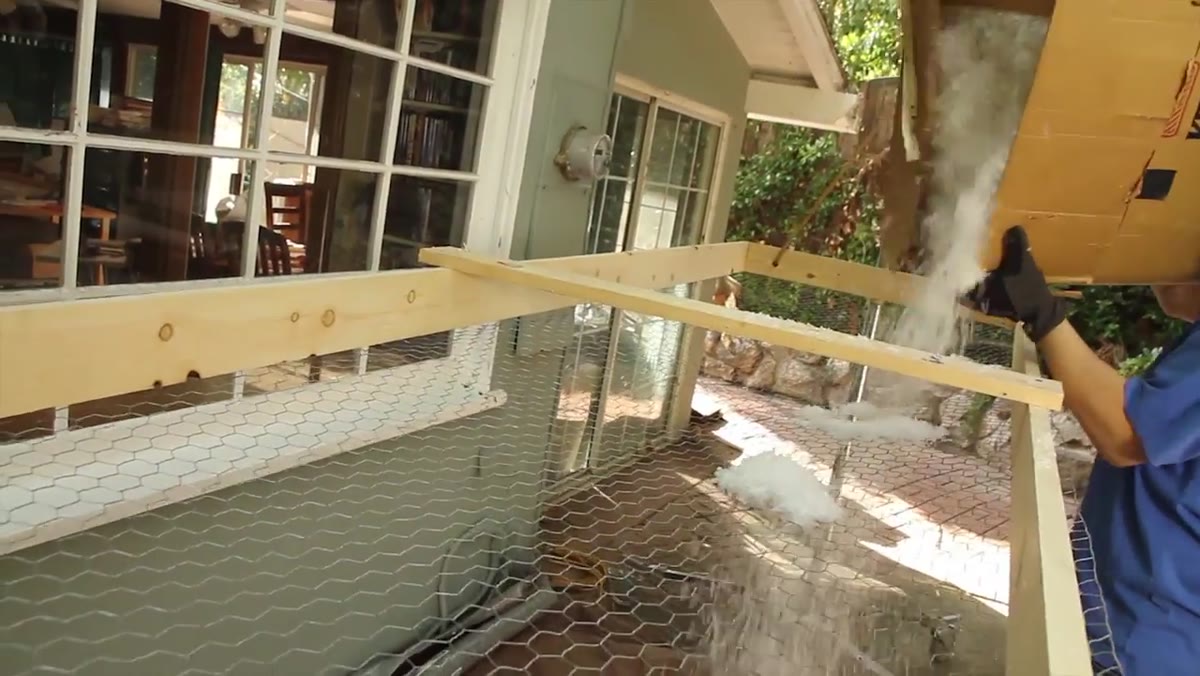 Pouring plastic snow onto the chicken wire mesh
Pour plastic snow directly onto the mesh. Morgan uses a product from Superior Studio Specialties, which is a good starting point. Load a moderate amount first and test the fall pattern before your talent is in position. You’re looking for even distribution edge to edge with no thick clumps dropping together. Adjust your shaking rhythm until the fall looks natural through the viewfinder, not just to the naked eye.
Pouring plastic snow onto the chicken wire mesh
Pour plastic snow directly onto the mesh. Morgan uses a product from Superior Studio Specialties, which is a good starting point. Load a moderate amount first and test the fall pattern before your talent is in position. You’re looking for even distribution edge to edge with no thick clumps dropping together. Adjust your shaking rhythm until the fall looks natural through the viewfinder, not just to the naked eye.
Your shutter speed controls how the snow registers. A faster shutter, around 1/250, freezes individual flakes and makes each one distinct. A slower shutter softens them into streaks. Neither is wrong, but decide before you finalize your exposure so you’re not chasing the look during the shoot.
Step 5: Expose for the Ambient First
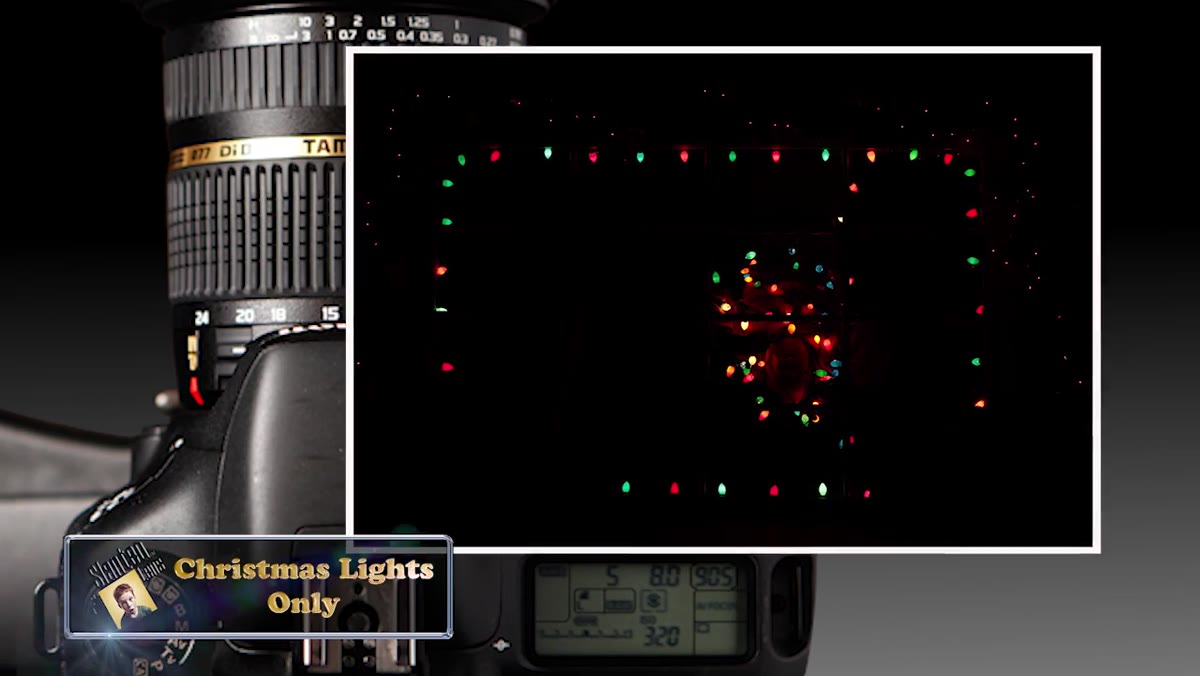 Camera frame showing only Christmas lights exposed, no strobe
Before adding a single strobe, expose your camera for whatever ambient or practical light exists in the scene. In the tutorial, that means setting exposure for the Christmas lights on the tree. This establishes your baseline and tells you exactly how much work the strobes need to do. If you add flash before doing this, you’re building on an unknown foundation and you’ll spend the whole shoot chasing a balance you never locked down.
Camera frame showing only Christmas lights exposed, no strobe
Before adding a single strobe, expose your camera for whatever ambient or practical light exists in the scene. In the tutorial, that means setting exposure for the Christmas lights on the tree. This establishes your baseline and tells you exactly how much work the strobes need to do. If you add flash before doing this, you’re building on an unknown foundation and you’ll spend the whole shoot chasing a balance you never locked down.
I do this on every environmental portrait regardless of the season. It goes into my lighting journal as the first notation on any setup page. Everything else gets measured against that first ambient frame.
Step 6: Build the Interior Lighting Layer by Layer
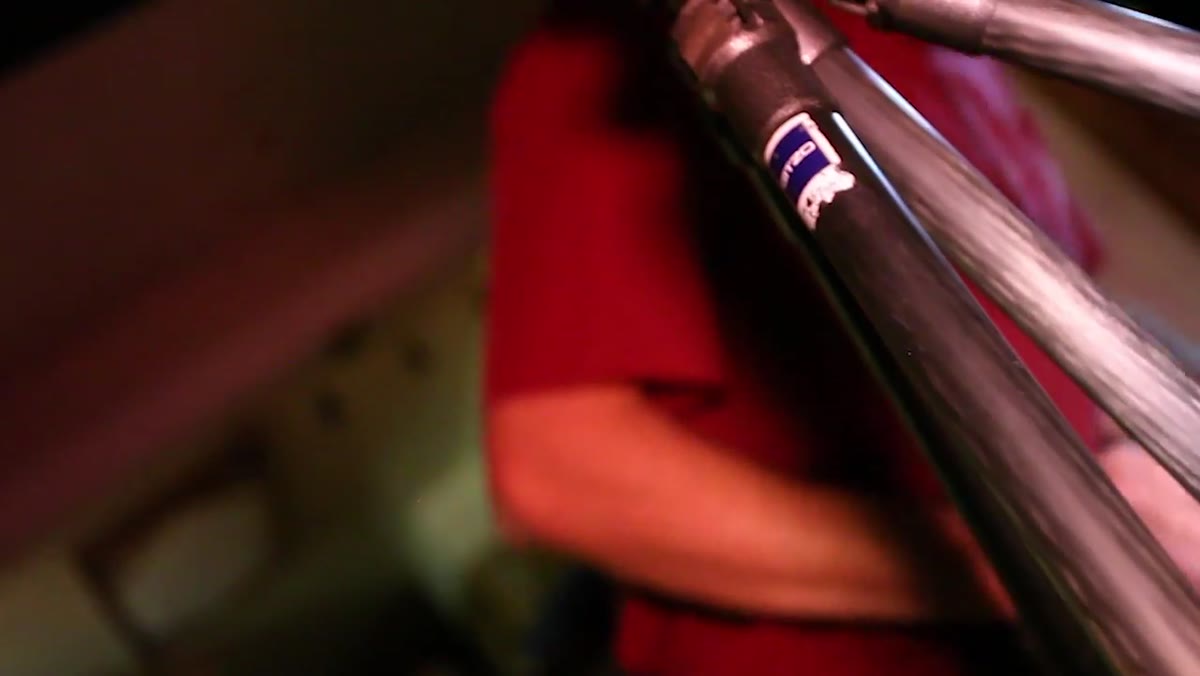 Hansel monoblock with 30-degree grid positioned as key light on subject
The interior lighting in this setup uses two heads. The first is a Hensel monoblock fitted with a 30-degree grid, positioned as a key light on the foreground subject. The grid keeps the light from spilling onto the background and gives the face definition without flooding the whole room. It’s a precise, directional hit that reads as motivated light from inside the scene.
Hansel monoblock with 30-degree grid positioned as key light on subject
The interior lighting in this setup uses two heads. The first is a Hensel monoblock fitted with a 30-degree grid, positioned as a key light on the foreground subject. The grid keeps the light from spilling onto the background and gives the face definition without flooding the whole room. It’s a precise, directional hit that reads as motivated light from inside the scene.
The second head bounces into the ceiling as fill, but Morgan deliberately keeps it off-center toward camera left. That positioning creates a gradual brightness increase from left to right across the frame, which adds dimensionality to the room and avoids the flat look that a straight-on ceiling bounce produces. Keep that offset in mind when you replicate it.
Step 7: Add Exterior and Rim Lighting for Depth
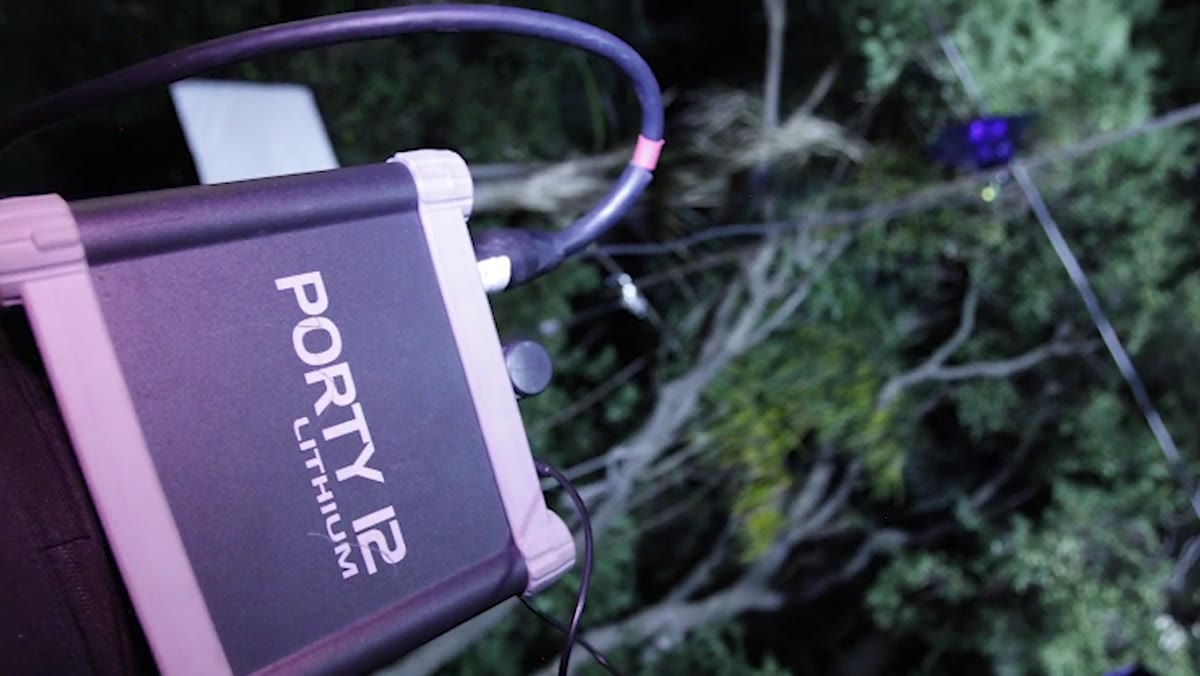 Blue-gelled 1200-watt Hensel pack creating rim light from behind subject outside window
The exterior figure and the sense of night outside the window get handled by a 1200-watt Hensel pack with a full blue gel. This becomes a rim light that wraps the outside subject and also catches the girl through the glass, suggesting moonlight without stating it. The color temperature of the gel does the narrative work. A small softbox on the ground below the outside figure fills in his face with a warm tone, implying that light is spilling out from the room behind him.
Blue-gelled 1200-watt Hensel pack creating rim light from behind subject outside window
The exterior figure and the sense of night outside the window get handled by a 1200-watt Hensel pack with a full blue gel. This becomes a rim light that wraps the outside subject and also catches the girl through the glass, suggesting moonlight without stating it. The color temperature of the gel does the narrative work. A small softbox on the ground below the outside figure fills in his face with a warm tone, implying that light is spilling out from the room behind him.
A final blue-gelled rim comes in from camera right as a subtle kicker. It’s a supporting light, not a statement. Its job is to separate the subjects from the background edge and add a little visual interest on the opposite side of the frame from the main key.
What I Would Do Differently on a Commercial Job
When I use a setup like this for editorial or brand work, I add a thin layer of translucent material, diffusion gel or even a single sheet of unbleached muslin, a few feet below the snow rig. It slows the fall slightly and scatters the flakes even more. It also gives you a cleaner white value in the snow itself, which matters when you’re shooting for a client who will be placing product in the frame and needs true white to remain accurate. Test it first because it changes the character of the fall. But on certain jobs, that slower, dreamier quality is exactly what the brief calls for.
The single most important lesson from this tutorial is that the snow rig is only half the solution. The lighting is what makes the effect believable. A well-shaken rig in flat, uncontrolled light will look like someone poured soap flakes in front of a fluorescent tube. Build the light first, test the snow second, and treat every source as a specific decision with a specific reason. That’s the discipline that separates a polished final image from a party trick.
Watch the full tutorial on YouTube
Comments (1)
Great breakdown. The step-by-step approach really helps.
Leave a Comment