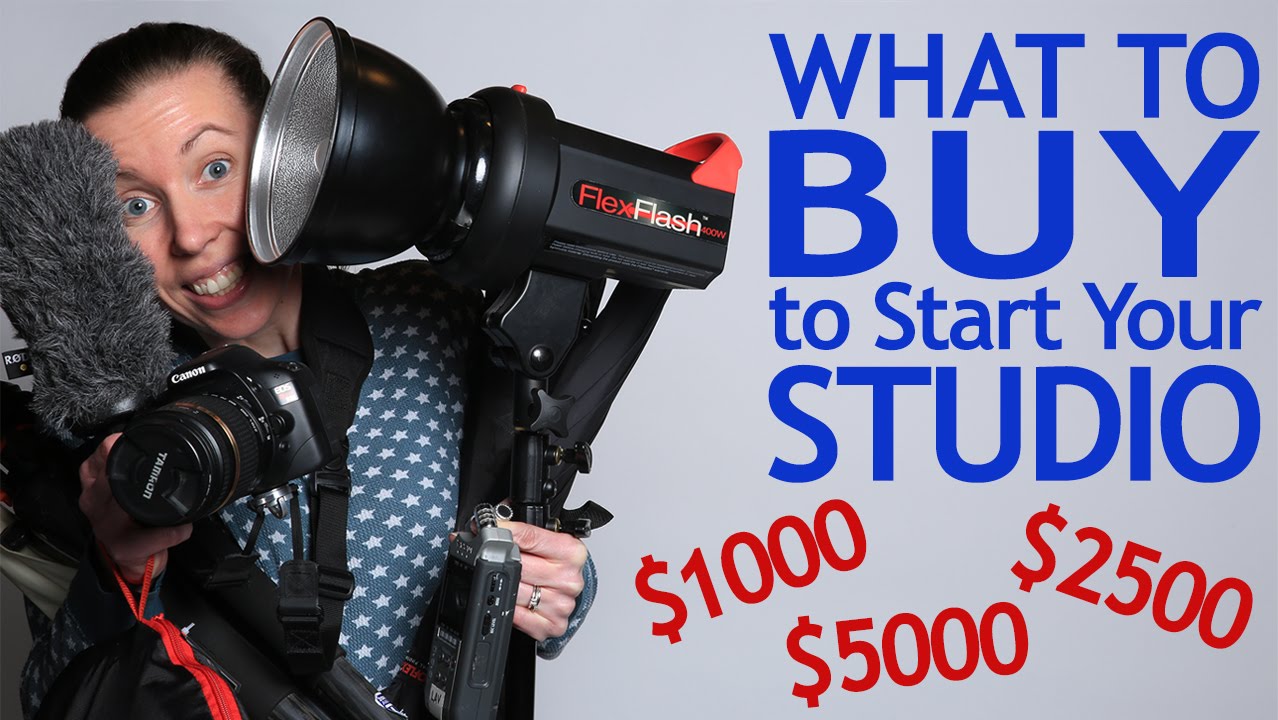
One of the questions I get more than almost any other, from assistants on my commercial shoots and photographers at workshops, is some version of: “I want to set up a studio. Where do I even start?” The problem with most gear guides is that they either assume unlimited budget or they recommend the cheapest possible option without thinking about what you’re actually trying to produce. What I appreciate about JP Morgan and Lars Lindstrom at The Slanted Lens is that they approach gear the way a working photographer actually thinks about it: budget first, priorities second, compromises third. Watch the full tutorial on YouTube
In this The Slanted Lens tutorial, the two hosts physically walk a camera store and build out three studio kits at three price points: $1,000, $2,500, and $5,000. One focuses on stills, the other on video. It is a smart structure because it forces real tradeoffs rather than wishlist thinking. I have been shooting commercial and editorial work in Los Angeles for years and I still found myself nodding along, because the logic they apply is the same logic I use when I am helping a junior photographer figure out what to spend money on first.
Step 1: Set Your Budget Ceiling and Commit to It
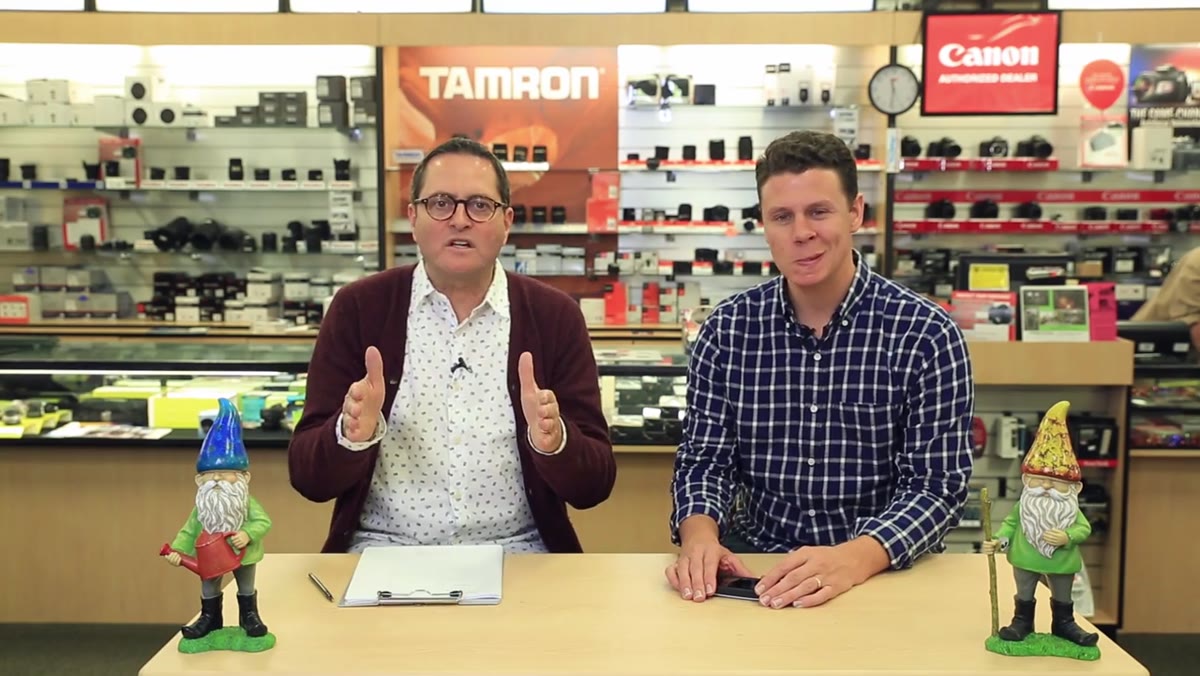 JP Morgan explaining the three common budget questions from beginners
Before you touch a single piece of gear, pick your number and treat it as fixed. The hosts work from three real-world entry points: $1,000, $2,500, and $5,000. These are not arbitrary. They correspond roughly to the point where you can shoot portraits with available-light augmentation, the point where you can handle small paid assignments, and the point where you have a genuinely professional kit. Deciding which tier you are in before you start shopping keeps you from buying a great camera body and then having nothing left for light control, which is the single most common mistake I see new studio shooters make. Light shaping almost always matters more than extra megapixels.
JP Morgan explaining the three common budget questions from beginners
Before you touch a single piece of gear, pick your number and treat it as fixed. The hosts work from three real-world entry points: $1,000, $2,500, and $5,000. These are not arbitrary. They correspond roughly to the point where you can shoot portraits with available-light augmentation, the point where you can handle small paid assignments, and the point where you have a genuinely professional kit. Deciding which tier you are in before you start shopping keeps you from buying a great camera body and then having nothing left for light control, which is the single most common mistake I see new studio shooters make. Light shaping almost always matters more than extra megapixels.
Step 2: Choose a Camera Body That Fits the Remaining Budget
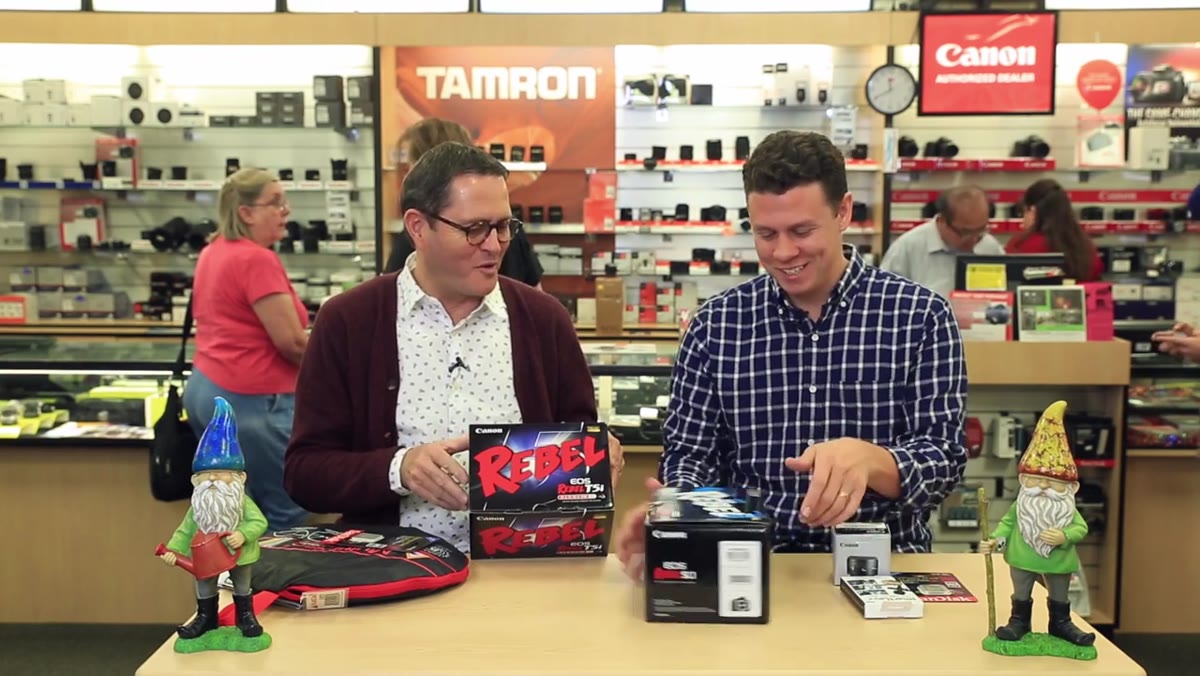 Both hosts comparing Canon Rebel camera bodies on a store counter
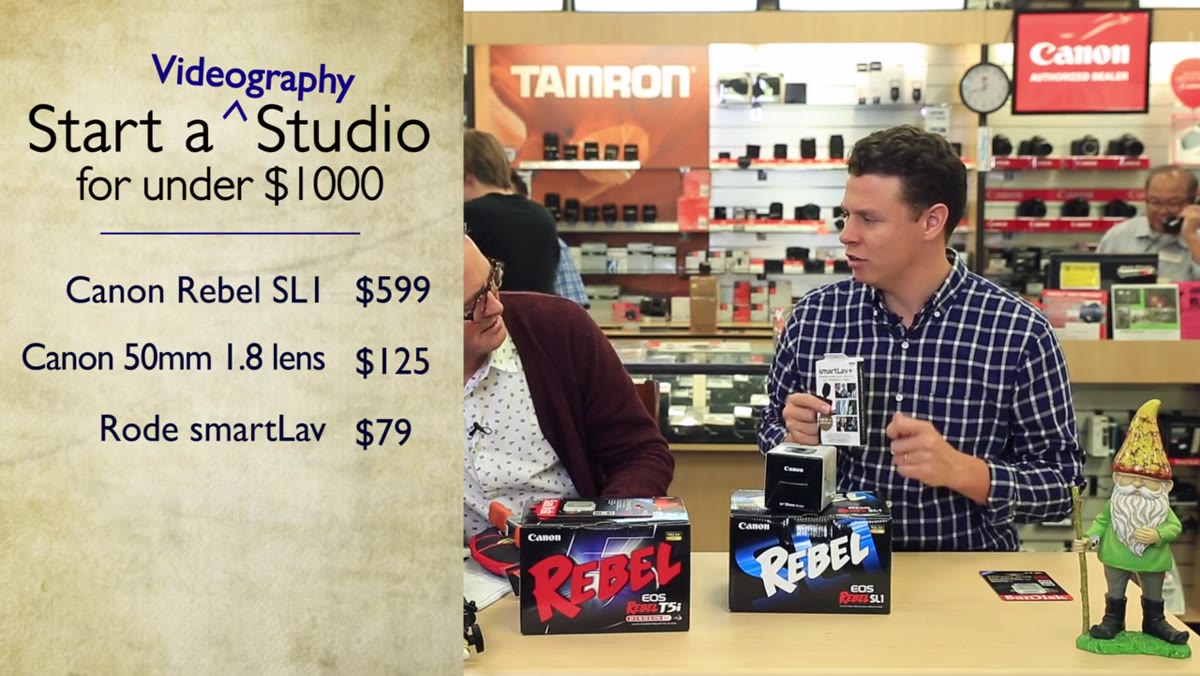
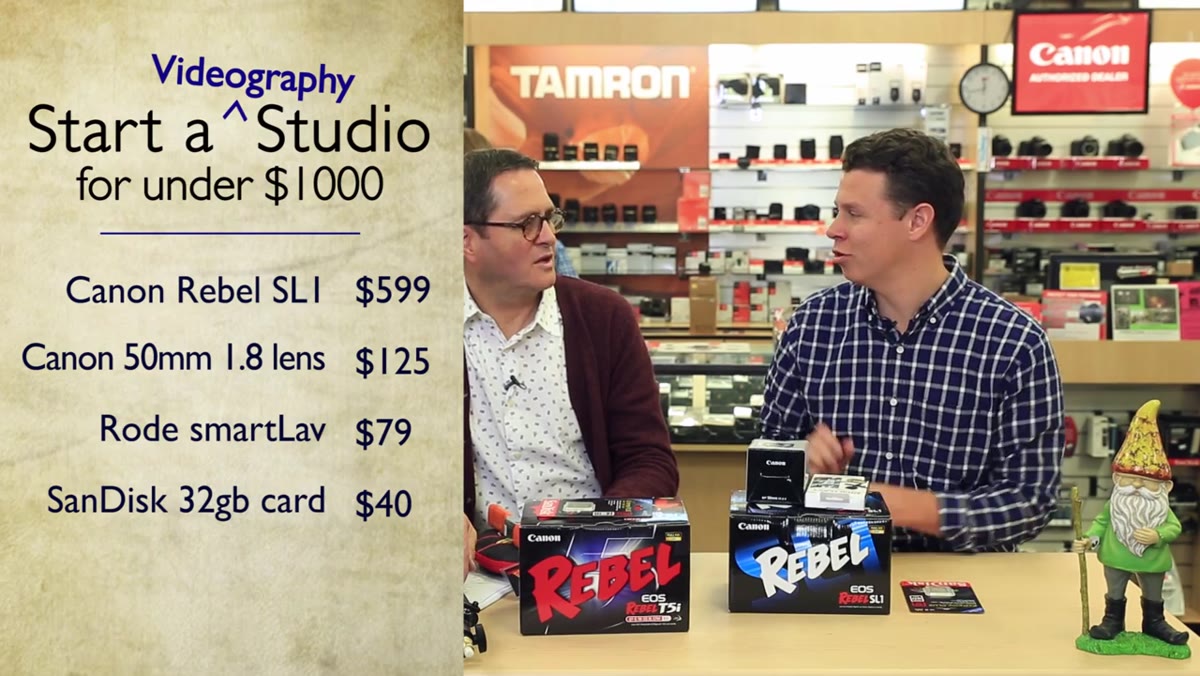
At the $1,000 tier, both hosts land on Canon Rebels, and this is the right call for a specific reason: the remaining money after the camera has to cover everything else. For still photography, the T5i with an 18-55mm kit lens comes in around $750 combined. For video, the smaller SL1 body costs about $100 less and that gap matters when you still need to buy audio gear and a light source. The kit lens is a variable aperture zoom, which is not what I would use on a paid shoot, but for learning exposure relationships between ambient and strobe or LED light, it is completely adequate. A 32GB memory card is non-negotiable and costs almost nothing, so buy it now and do not think about it again.
Both hosts comparing Canon Rebel camera bodies on a store counter
At the $1,000 tier, both hosts land on Canon Rebels, and this is the right call for a specific reason: the remaining money after the camera has to cover everything else. For still photography, the T5i with an 18-55mm kit lens comes in around $750 combined. For video, the smaller SL1 body costs about $100 less and that gap matters when you still need to buy audio gear and a light source. The kit lens is a variable aperture zoom, which is not what I would use on a paid shoot, but for learning exposure relationships between ambient and strobe or LED light, it is completely adequate. A 32GB memory card is non-negotiable and costs almost nothing, so buy it now and do not think about it again.
Step 3: Solve Light Control Before You Buy a Single Strobe
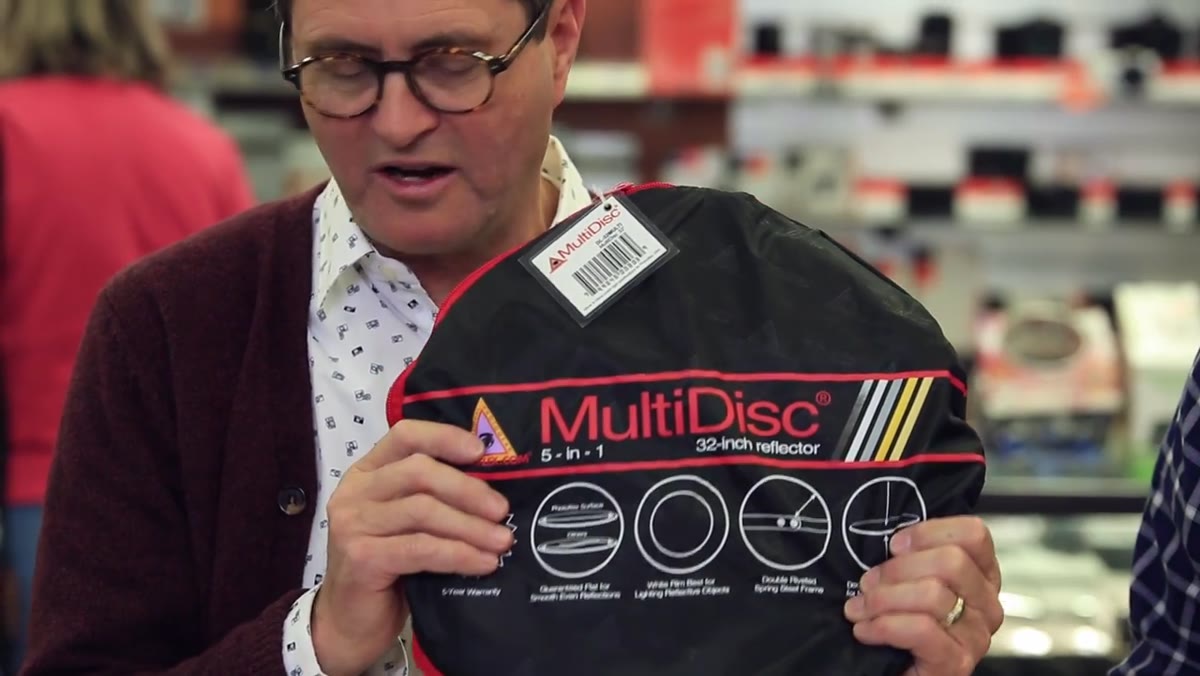 Host holding a Photoflex 5-in-1 reflector with a Matthews stand
At the $1,000 level, neither host buys a strobe or a continuous light head, and I think this is the most instructive part of the whole video. For stills, the choice is a 5-in-1 reflector from Photoflex at roughly $100, paired with one Matthews stand and an oversized clamp to hold it in position. This setup lets you photograph portraits using a window or any directional ambient source and actually shape where the light falls. A reflector on a stand is one of the most underrated tools in a studio photographer’s kit at any budget level. I still use one on beauty shoots to pop a little warmth into shadows under the chin.
Host holding a Photoflex 5-in-1 reflector with a Matthews stand
At the $1,000 level, neither host buys a strobe or a continuous light head, and I think this is the most instructive part of the whole video. For stills, the choice is a 5-in-1 reflector from Photoflex at roughly $100, paired with one Matthews stand and an oversized clamp to hold it in position. This setup lets you photograph portraits using a window or any directional ambient source and actually shape where the light falls. A reflector on a stand is one of the most underrated tools in a studio photographer’s kit at any budget level. I still use one on beauty shoots to pop a little warmth into shadows under the chin.
Step 4: Solve Audio Before You Solve Lighting (Video Track Only)
 Host demonstrating the RODE lavalier microphone connected to a smartphone
This step is specific to anyone building the video side of the kit, and it is a lesson I have watched people learn the hard way. The video-focused host spends $80 of his remaining budget on a RODE lavalier microphone that connects directly to a smartphone. The phone runs the RODE app, records clean audio, and the talent can literally put the phone in their pocket and move freely. Bad audio destroys video content faster than bad lighting does. Viewers tolerate slightly soft images but they will click away from muffled or noisy sound in seconds. Solving audio before you spend on a light modifier is the right priority order for video work.
Host demonstrating the RODE lavalier microphone connected to a smartphone
This step is specific to anyone building the video side of the kit, and it is a lesson I have watched people learn the hard way. The video-focused host spends $80 of his remaining budget on a RODE lavalier microphone that connects directly to a smartphone. The phone runs the RODE app, records clean audio, and the talent can literally put the phone in their pocket and move freely. Bad audio destroys video content faster than bad lighting does. Viewers tolerate slightly soft images but they will click away from muffled or noisy sound in seconds. Solving audio before you spend on a light modifier is the right priority order for video work.
Step 5: Add a Budget-Integrated Light System for the $1,000 Video Kit
 Host describing the Lоwell total light kit as a stand, reflector, and light combined
For the video budget, the host rounds out the kit with a Lowell Tota-light system, which bundles a stand, reflector, and continuous light head together for around $200. This matters because continuous light is necessary for video in a way that strobes are not: you need to see what you are exposing in real time. At the $1,000 level this is a practical choice. It is not a daylight-balanced LED panel, and the color temperature requires attention, but it gives you a controllable directional source you can bounce or flag. The whole $1,000 video kit comes in just over budget at about $1,025 before tax, which the hosts acknowledge honestly.
Host describing the Lоwell total light kit as a stand, reflector, and light combined
For the video budget, the host rounds out the kit with a Lowell Tota-light system, which bundles a stand, reflector, and continuous light head together for around $200. This matters because continuous light is necessary for video in a way that strobes are not: you need to see what you are exposing in real time. At the $1,000 level this is a practical choice. It is not a daylight-balanced LED panel, and the color temperature requires attention, but it gives you a controllable directional source you can bounce or flag. The whole $1,000 video kit comes in just over budget at about $1,025 before tax, which the hosts acknowledge honestly.
Step 6: Step Up to the $2,500 Kit with a More Capable Body and Dedicated Audio
 Host presenting the Canon 70D with flip-out touchscreen for video work
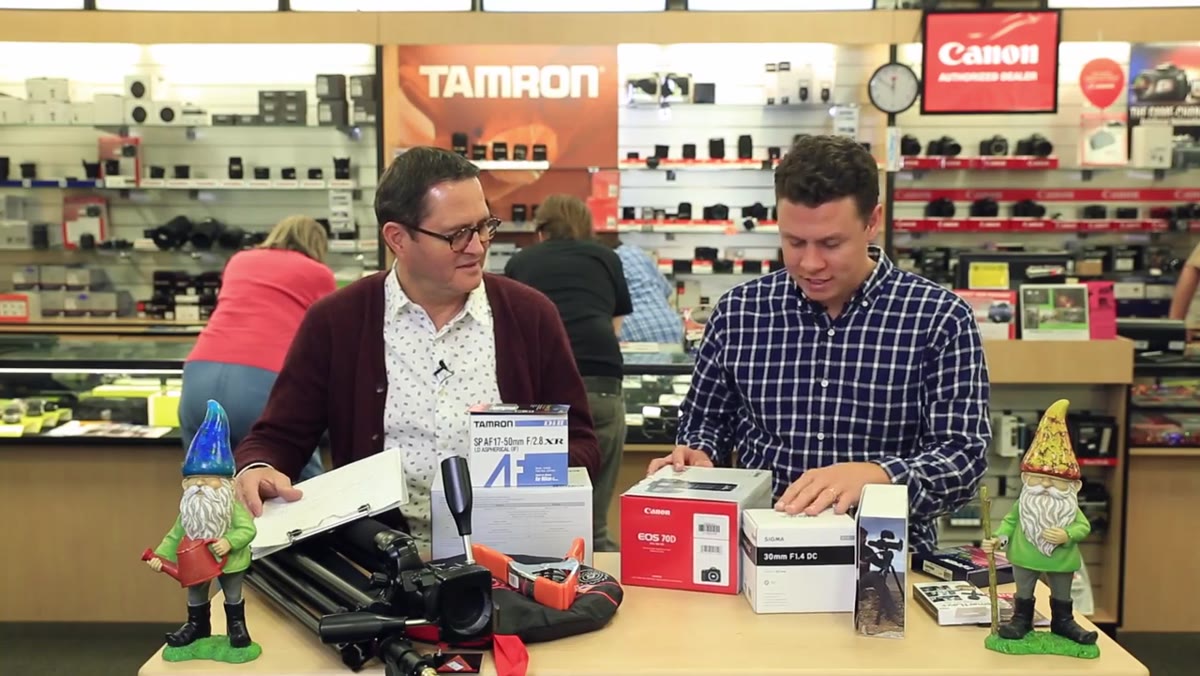
At $2,500, the video kit upgrades to the Canon 70D. The flip-out touchscreen is not a vanity feature: it lets you monitor your frame accurately at low angles and high positions, which matters when you are shooting alone or with a small crew. The articulating screen combined with tap-to-focus makes solo video production significantly more manageable. At this tier you have budget headroom to address color accuracy more seriously, whether that means a better LED panel with a known color temperature or a basic color calibration tool for your monitor. This is the tier where paid work becomes realistic.
Host presenting the Canon 70D with flip-out touchscreen for video work
At $2,500, the video kit upgrades to the Canon 70D. The flip-out touchscreen is not a vanity feature: it lets you monitor your frame accurately at low angles and high positions, which matters when you are shooting alone or with a small crew. The articulating screen combined with tap-to-focus makes solo video production significantly more manageable. At this tier you have budget headroom to address color accuracy more seriously, whether that means a better LED panel with a known color temperature or a basic color calibration tool for your monitor. This is the tier where paid work becomes realistic.
What I Would Add From My Own Experience
The one thing the tutorial does not address directly is color temperature discipline, and for me it is non-negotiable even at the entry level. My first editorial assignment went sideways because I mixed tungsten-balanced continuous lights with daylight coming through an uncovered window and never measured either source. The resulting color cast was not fixable in post without destroying skin tones. Whatever kit you build, spend $30 on a gray card and $0 on downloading the free color temperature guide from your light manufacturer. Measure your sources before you shoot, not after.
I also keep a lighting journal where I sketch every setup from every shoot, with notes on modifier distance, output settings, and what I would change. Starting that habit when your kit is simple means the diagrams are actually useful later when your lighting gets complex. One notebook costs almost nothing. The information it captures is irreplaceable.
The core takeaway from this tutorial is deceptively simple: buy the camera last, or at least buy the smallest camera body that does the job so you have budget left for everything else. The light you control and the sound you capture are what determine the quality of the finished product. The camera body is the least interesting variable in that equation. Watch the full tutorial on YouTube and pay particular attention to how the hosts think through the tradeoffs in real time. That thinking process is the actual lesson.
Comments
Leave a Comment