Engagement sessions have a way of exposing weaknesses fast. Unlike a controlled studio shoot, you’re working with whatever light the location gives you, a couple who may never have been photographed together before, and a timeline that doesn’t care if the shot isn’t working. For years, I handled this by over-planning, showing up with a shot list so detailed it left no room to read what the light was actually doing. What changed my approach wasn’t a workshop or a book. It was watching how photographers like Pye Jirsa move through a scene with almost no wasted motion, treating posing and lighting as one continuous decision rather than two separate problems.
In this CreativeLive tutorial, Watch the full tutorial on YouTube, Pye walks through three posing ideas for an engagement session on location, but what he’s really demonstrating is a workflow: dial in your exposure first, read the available light, and then move your subjects to fit the light rather than fighting it. That sequence sounds obvious until you watch how quickly it produces usable frames. Every step below pulls directly from what he demonstrates, rewritten so you can apply it without needing to pause and rewind.
Step 1: Lock in Your Settings Before You Touch the Pose
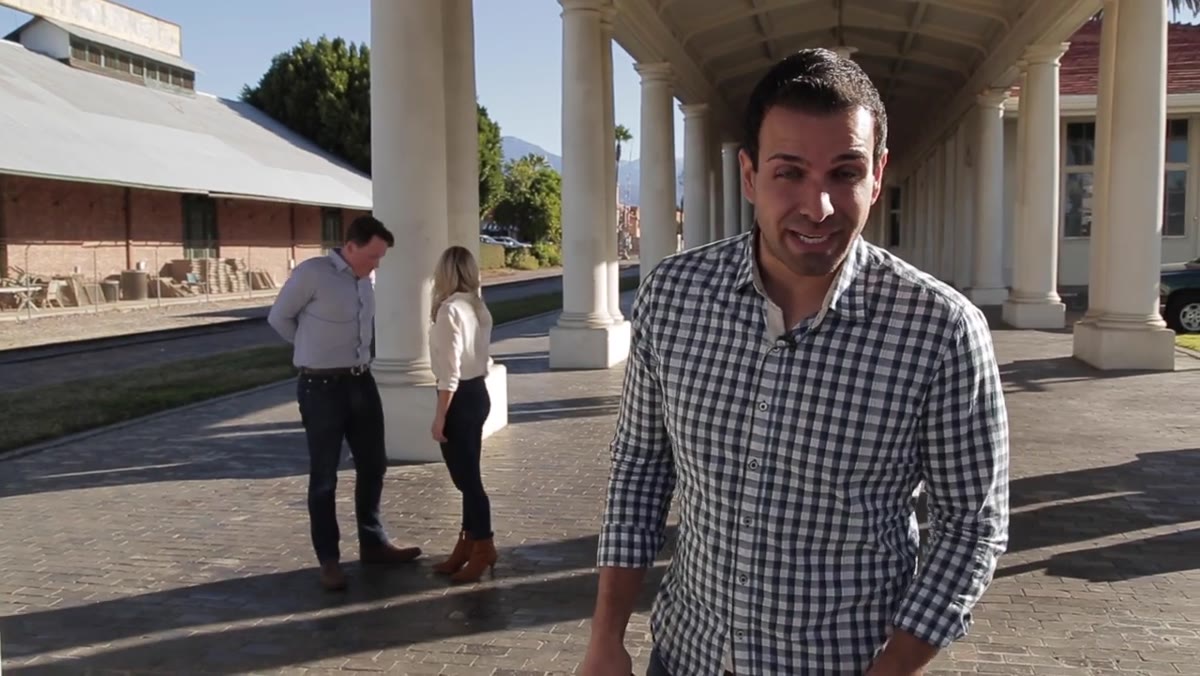 Photographer adjusting camera settings before positioning couple
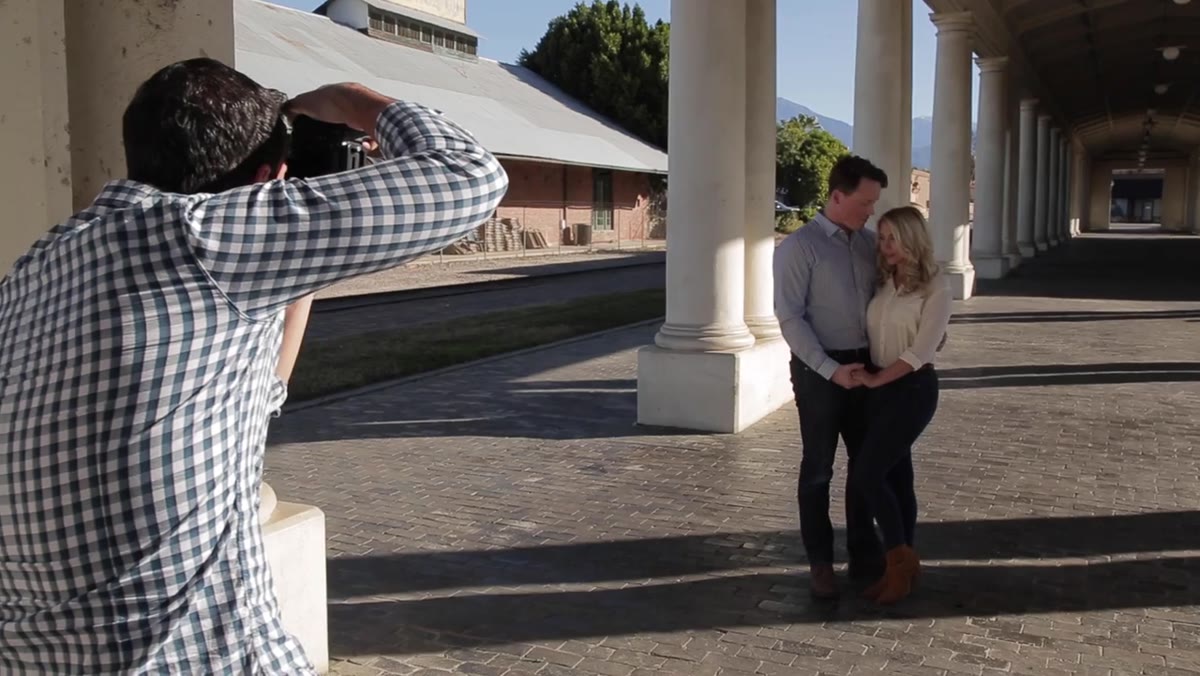
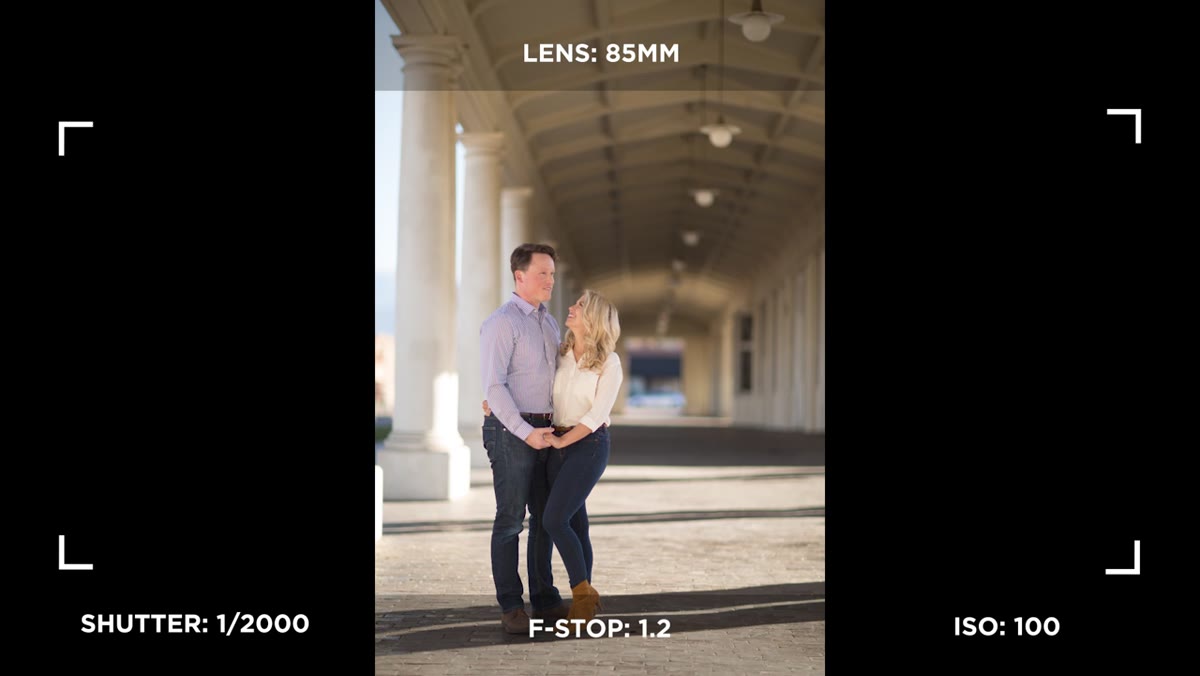
The first thing Pye does on location is not pose the couple. He shoots manual, sets his white balance deliberately, and takes an exposure reading before a single pose begins. This matters more than people admit. I learned this the hard way on my first major editorial job, where a mixed-temperature environment wrecked my consistency across the card. Now I treat the calibration step as non-negotiable. Read your light, confirm your white balance is locked, and get a manual exposure that holds up across the area you plan to shoot in. A consistent baseline means you can move quickly without stopping to chimp after every position change.
Step 2: Place Both Subjects in Open Shade First
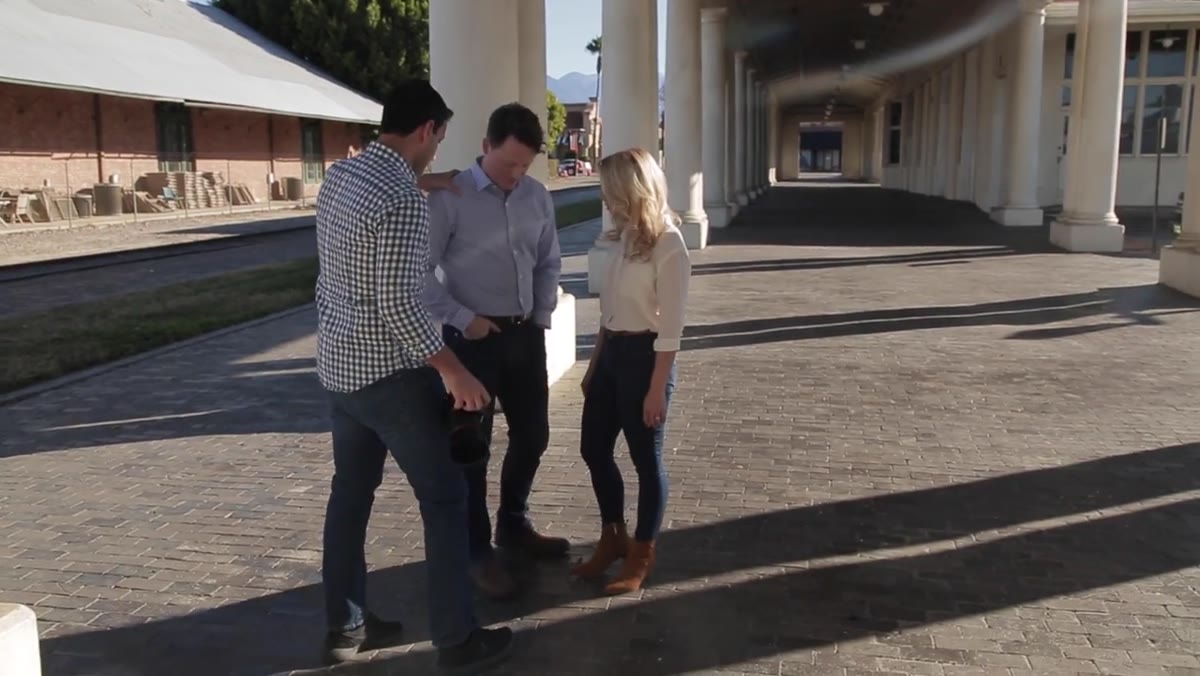 Couple positioned in shaded area against a wall
Before any pose is introduced, Pye moves both subjects into shade. On location, you’re often working with walls, overhangs, or columns that create pockets of even, indirect light. That fill coming off surrounding surfaces is your friend. Pye specifically looks for a zone where neither subject is getting unflattering bottom-up light, which washes out facial structure and reads poorly on skin. He repositions them incrementally, checking the direction the ambient fill is traveling rather than just where the shadow falls. For your own sessions, look for the transition line between direct sun and open shade, then position your subjects just inside it, with their faces angled toward the brightest part of the sky or the most reflective nearby surface.
Step 3: Start With the V-Up Position
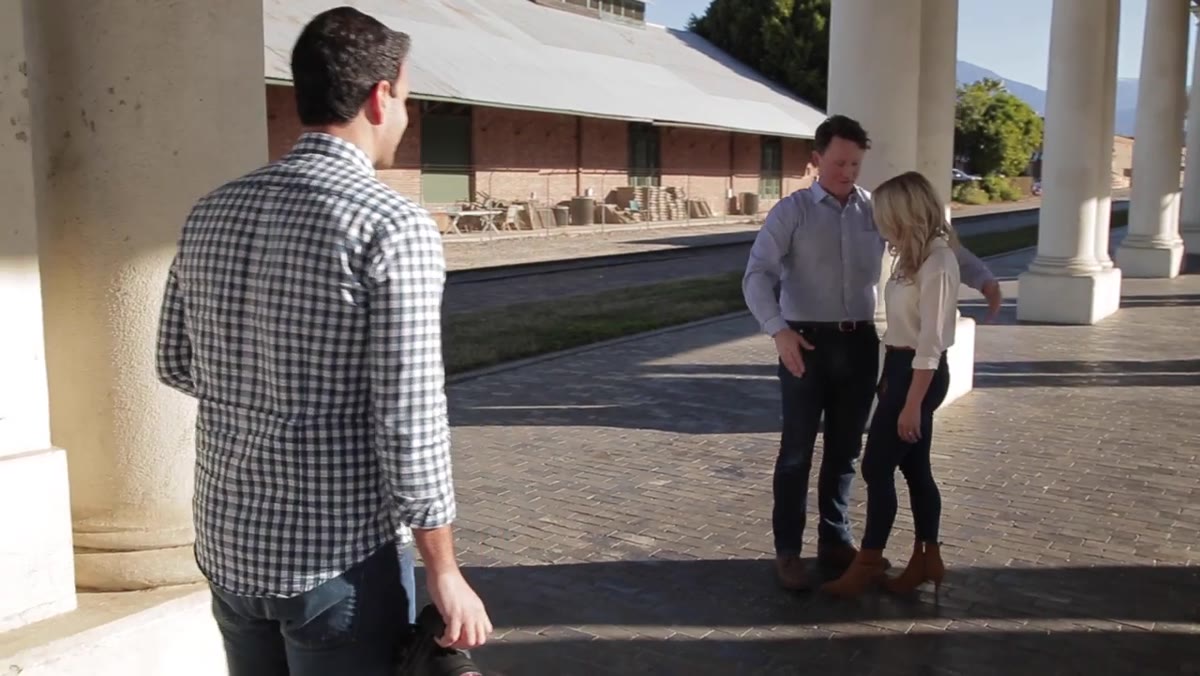 Couple arranged in V-up stance, holding hands, both looking down
The V-up is Pye’s opening pose, and it’s a reliable foundation because it immediately creates separation between the subjects while keeping them physically close. The couple stands facing each other at a slight angle, forming a V shape when viewed from above. He has them hold hands, then directs both to look downward, which accomplishes two things at once: it softens the expressions into something natural rather than forced, and it angles the faces toward the fill light coming from the side. Start here on your own sessions. The downward look removes the pressure of performing for the camera and tends to generate genuine, quiet moments between couples who are still warming up.
Step 4: Work the Eyes Separately, Then Together
 Photographer directing female subject to look toward camera, chin angled
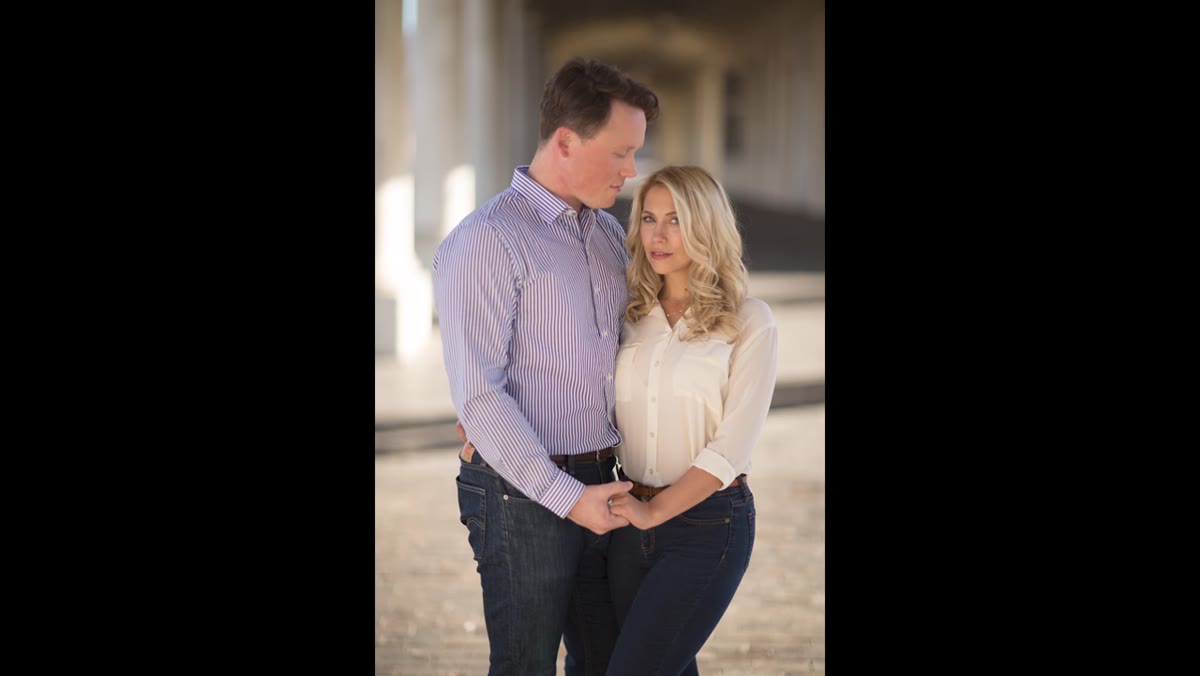
Once the base pose is set, Pye directs each subject’s gaze independently rather than giving one blanket instruction to both. He has the female subject look toward the camera with her chin angled down and slightly across, while directing the male subject to look toward her. Then he reverses it. Then he has both look directly into the lens for what he describes as “the shot for the parents,” which gets a laugh but also serves a real purpose: it breaks tension and reminds the couple that not everything needs to be artistic. Directing eyes individually gives you multiple distinct images from a single body position. It also means you don’t have to reset or reblock the shot to get variety.
Step 5: Add a Simple Gesture to Break the Static Frame
 Male subject kissing female subject’s forehead, her eyes closed
A forehead kiss is a small action with outsized photographic value. Pye calls this out explicitly: he asks the male subject to go for a peck on her forehead while directing her to close her eyes and hold a soft smile. The gesture creates a triangular sightline in the frame, gives both subjects something to do with their expressions, and produces the kind of moment that looks unplanned even when it is entirely directed. For studio or on-location work, build a short list of micro-gestures you can drop into any pose: foreheads touching, a whisper, one subject adjusting the other’s collar. These are not gimmicks. They change the energy of the frame.
Step 6: Transition Into the Closed Wrap for Intimacy
 Couple in closed embrace, arms wrapped around each other
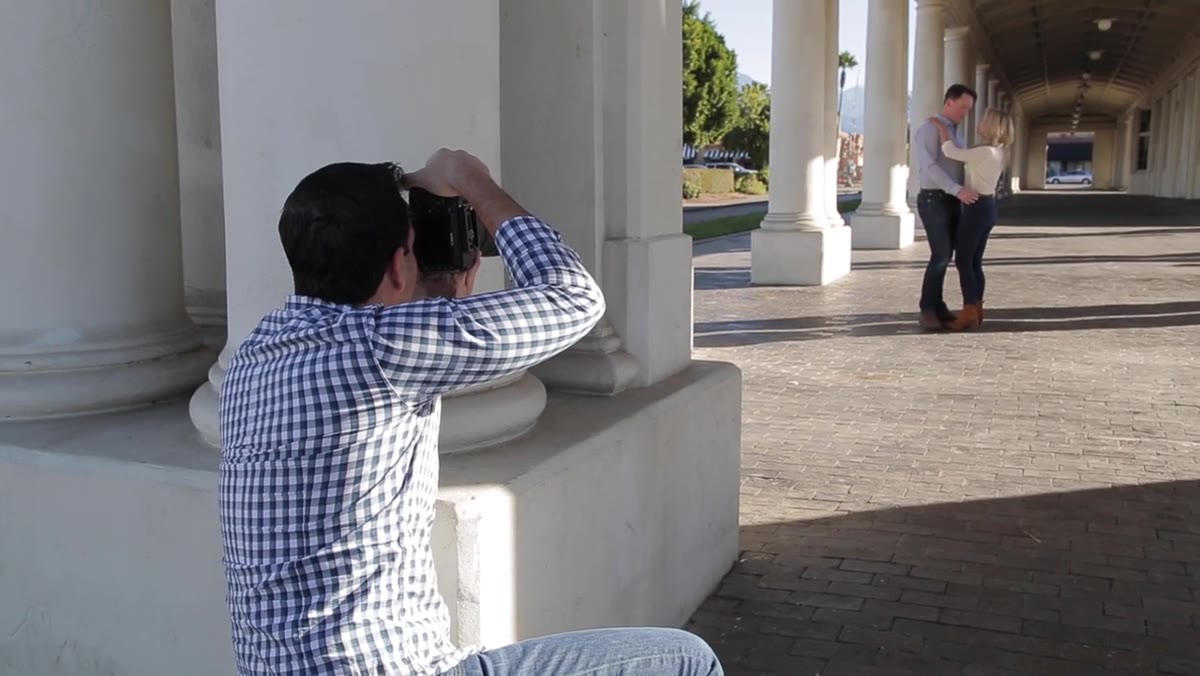
The third distinct pose Pye introduces is what he calls the fully closed pose, but I think of it as the wrap. One subject turns fully toward the other, both arms wrapping around them. The key adjustment he makes is keeping the female subject slightly open to the camera, maybe 10 to 15 degrees, so her face remains readable rather than buried in his chest. He also has her drop her back toe, which shifts weight, softens the stance, and creates a more natural hip angle. The wrap reads as the most emotionally intense of the three poses, which makes it a good closer for a sequence. Use it after the couple is already relaxed and moving naturally, not as an opener.
Step 7: Let the Environment Inform Small Adjustments
 Photographer using parked car as foreground framing element
When a parked car appears in the frame, Pye doesn’t wait for it to move. He repositions himself to use it as a foreground element, letting the lines of the environment draw the eye toward the subjects. This is the posing and composition principle that gets ignored most often: the scene is not a problem to work around, it’s material to work with. On your location sessions, spend two minutes before shooting just walking the area and noting what lines exist, where light falls, and what might serve as natural framing. That reconnaissance changes the quality of decisions you make under pressure.
What I’d Add From My Own Practice
The one thing I’d layer on top of Pye’s workflow is tracking light direction throughout the session rather than reading it once at the start. On location, the sun moves faster than you expect, and a shadow pattern that was flattering at the beginning of the hour can turn unflattering twenty minutes in. I keep a sketch of the light setup in my journal for every session I shoot, including on-location work, noting where the primary fill was coming from and which direction I had subjects facing. It takes thirty seconds and has saved me from repeating the same placement mistakes at familiar venues. If you’re just starting to build that habit, a phone photo of the scene with a quick note attached works fine.
The core takeaway from Pye’s tutorial is that posing and lighting are not sequential. You read the light, move the subjects to fit it, and then shape the pose around where they land. That order matters. If you’re posing first and then hoping the light cooperates, you’re working against yourself.
Watch the full tutorial on YouTube to see how Pye moves through these transitions in real time. The pacing of his direction is just as instructive as the poses themselves.
Comments
Leave a Comment