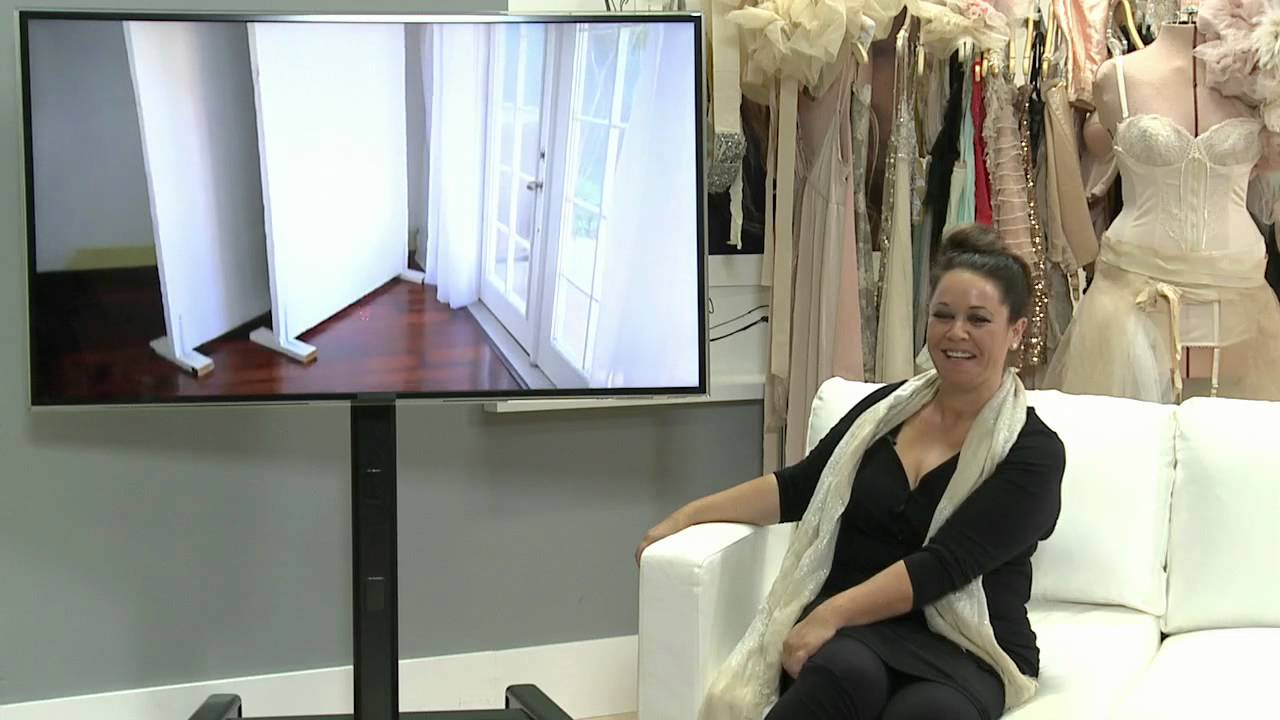
Every few months I get an email from a photographer asking what those big white panels are in my studio shots. I used to point people toward commercial V-flat vendors and watch their eyes glaze over at the price tags. Then I came across this CreativeLive tutorial featuring Sue Bryce and her collaborators Tiffany and Mark, and the answer turned out to be sitting in the building materials aisle of a home improvement store the whole time. Watch the full tutorial on YouTube
The tutorial starts with something I think a lot of photographers undervalue: the two-person shooting team. Sue makes a clear case that having an assistant working a reflector in real time changed the quality and pace of her sessions entirely. I used to think one-on-one with a subject was the purest way to work. I was wrong. Walking around your camera every thirty seconds to fix a strand of hair or reposition a reflector breaks the session’s momentum and signals to your subject that you’re not quite in control. Once I started working with an assistant on beauty and portrait work, my shot-to-shot consistency improved immediately. That context matters for everything that follows, because these panels are built specifically for that kind of fluid, close-quarters shooting.
What makes this tutorial genuinely useful is that it answers a practical question with a practical answer. No affiliate links, no sponsored products, no upsell. Just a trip to the hardware store and some basic assembly. Here is how the whole thing works.
Step 1: Find the Right Material at the Hardware Store
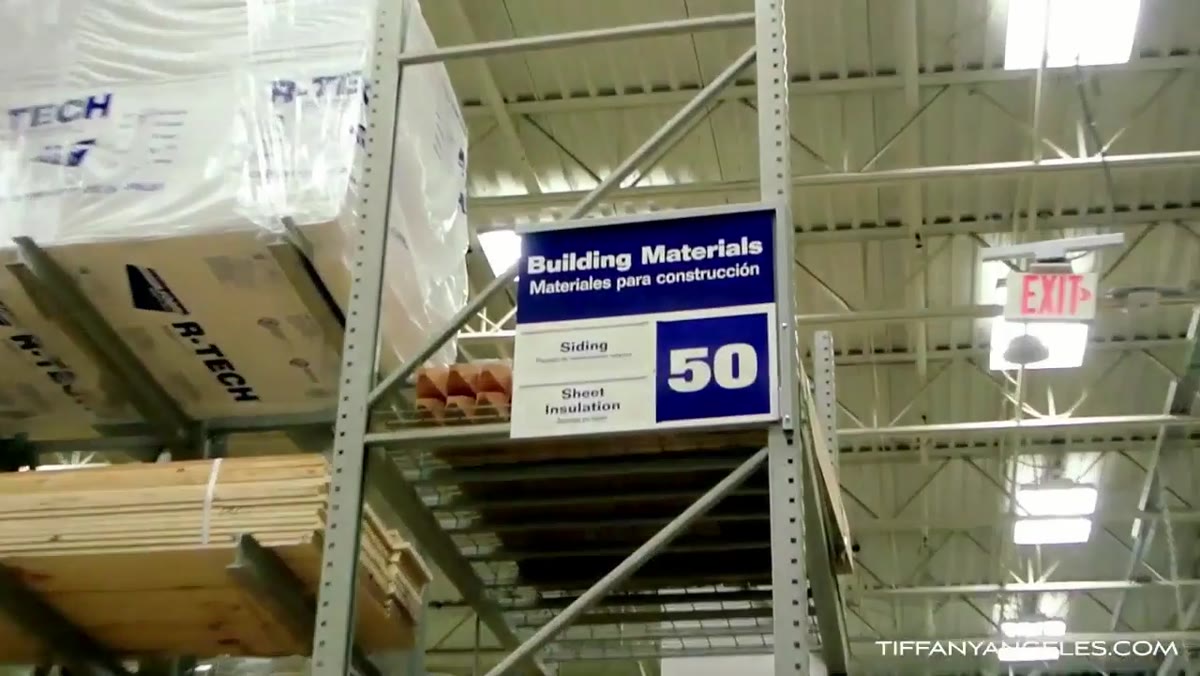 Mark standing in the sheet insulation aisle of a hardware store
The core material is polystyrene sheet insulation, the kind sold in the building materials section of any large hardware store. Mark specifies the inch-and-a-half thickness, which gives the panel enough rigidity to stand without flopping while keeping it light enough to reposition quickly. This is not foam core from an art supply store. It is home insulation, sold in full sheets, and it costs a fraction of what photography supply retailers charge for comparable panels. Buy it in full 4x8 sheets and you have a proper studio-scale reflector.
Mark standing in the sheet insulation aisle of a hardware store
The core material is polystyrene sheet insulation, the kind sold in the building materials section of any large hardware store. Mark specifies the inch-and-a-half thickness, which gives the panel enough rigidity to stand without flopping while keeping it light enough to reposition quickly. This is not foam core from an art supply store. It is home insulation, sold in full sheets, and it costs a fraction of what photography supply retailers charge for comparable panels. Buy it in full 4x8 sheets and you have a proper studio-scale reflector.
The surface of the sheet matters depending on how you intend to use each side. One face typically has a thin printed plastic film, which paints well and becomes your backdrop surface. The opposite face has a different plastic layer that needs to come off entirely if you want a clean white reflector surface. Keep that distinction in mind before you start because it determines which side faces your subject.
Step 2: Peel the Reflector Side Clean
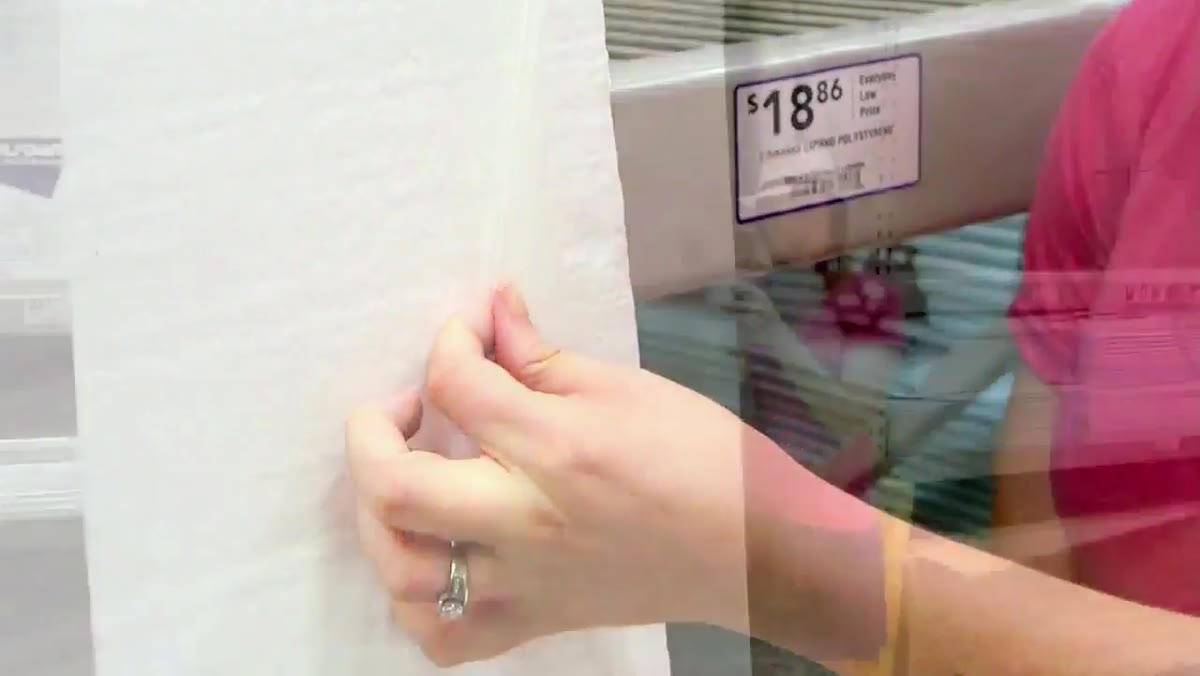 Hands peeling the thin plastic film off the polystyrene sheet
The side you will use as a reflector needs to have its plastic film removed. Peel it off by hand. It comes off cleanly without tools in most cases, and what you are left with is a bright white foam surface that bounces light back toward your subject with a soft, even quality. This is not a specular reflector. It does not create a hard, punchy fill the way a silver reflector does. The light it returns is broad and gentle, which makes it ideal for beauty and portrait work where you want shadow detail without introducing a competing light source.
Hands peeling the thin plastic film off the polystyrene sheet
The side you will use as a reflector needs to have its plastic film removed. Peel it off by hand. It comes off cleanly without tools in most cases, and what you are left with is a bright white foam surface that bounces light back toward your subject with a soft, even quality. This is not a specular reflector. It does not create a hard, punchy fill the way a silver reflector does. The light it returns is broad and gentle, which makes it ideal for beauty and portrait work where you want shadow detail without introducing a competing light source.
If you plan to use the other side as a painted backdrop, leave that plastic film in place for now. It gives the paint something to grip.
Step 3: Source the Shelf Brackets for the Base
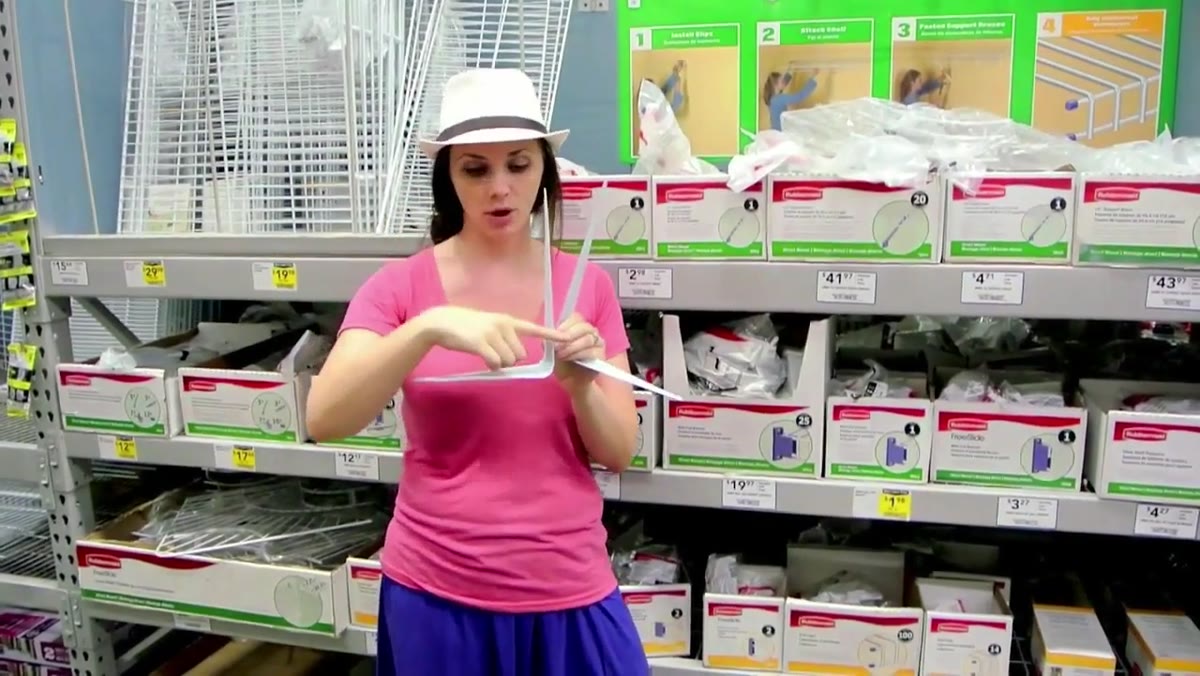
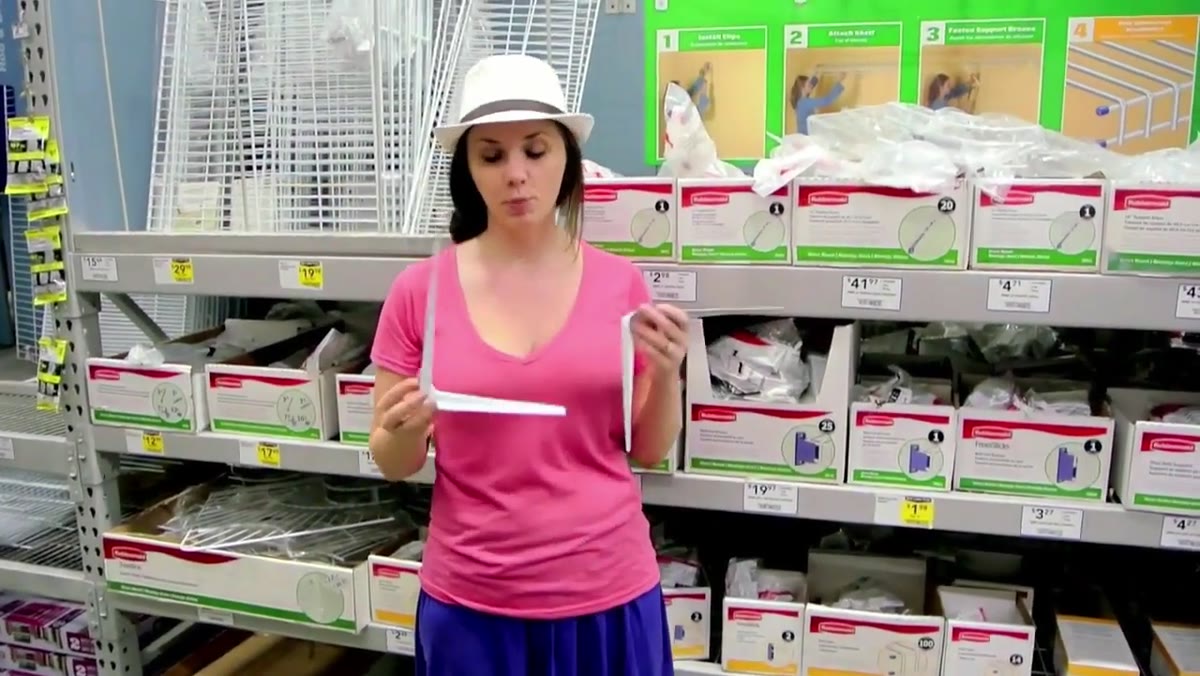 Mark in the shelving department holding L-shaped metal brackets
Polystyrene sheets will not stand upright on their own. The solution Tiffany and Mark use is shelf brackets pulled from the shelving hardware section of the same store. Mark uses 8-inch by 10-inch L-brackets and orients them so the 10-inch side runs vertically along the panel edge. Two brackets per panel, one on each side at the base, give you enough stability for normal studio use. This is important: you are not building something that will survive a warehouse. These panels live indoors, in controlled environments, and the bracket system is perfectly adequate for that purpose.
Mark in the shelving department holding L-shaped metal brackets
Polystyrene sheets will not stand upright on their own. The solution Tiffany and Mark use is shelf brackets pulled from the shelving hardware section of the same store. Mark uses 8-inch by 10-inch L-brackets and orients them so the 10-inch side runs vertically along the panel edge. Two brackets per panel, one on each side at the base, give you enough stability for normal studio use. This is important: you are not building something that will survive a warehouse. These panels live indoors, in controlled environments, and the bracket system is perfectly adequate for that purpose.
The hardware is cheap, it is available everywhere, and the brackets can be swapped out or replaced without rebuilding the whole panel. I have a set in my studio right now and I have replaced exactly one bracket in two years.
Step 4: Screw the Brackets Directly Into the Foam
 Bracket being screwed into the side edge of the polystyrene panel
Mount the brackets by driving screws directly into the polystyrene at the base of each side edge. The foam accepts standard wood screws without pre-drilling, and the hold is more than adequate for a panel this size. The 10-inch side of the bracket goes flush against the face of the foam, and the 8-inch side extends outward to form the foot. When both brackets are mounted, the panel stands flat on a hard floor without leaning. On carpet, it is slightly less stable, but a sandbag or a second person can solve that immediately.
Bracket being screwed into the side edge of the polystyrene panel
Mount the brackets by driving screws directly into the polystyrene at the base of each side edge. The foam accepts standard wood screws without pre-drilling, and the hold is more than adequate for a panel this size. The 10-inch side of the bracket goes flush against the face of the foam, and the 8-inch side extends outward to form the foot. When both brackets are mounted, the panel stands flat on a hard floor without leaning. On carpet, it is slightly less stable, but a sandbag or a second person can solve that immediately.
Do not over-tighten the screws. Polystyrene will crack around the fastener if you apply too much torque, and that weakens the entire base connection. Snug is enough.
Step 5: Paint One Side for Use as a Backdrop
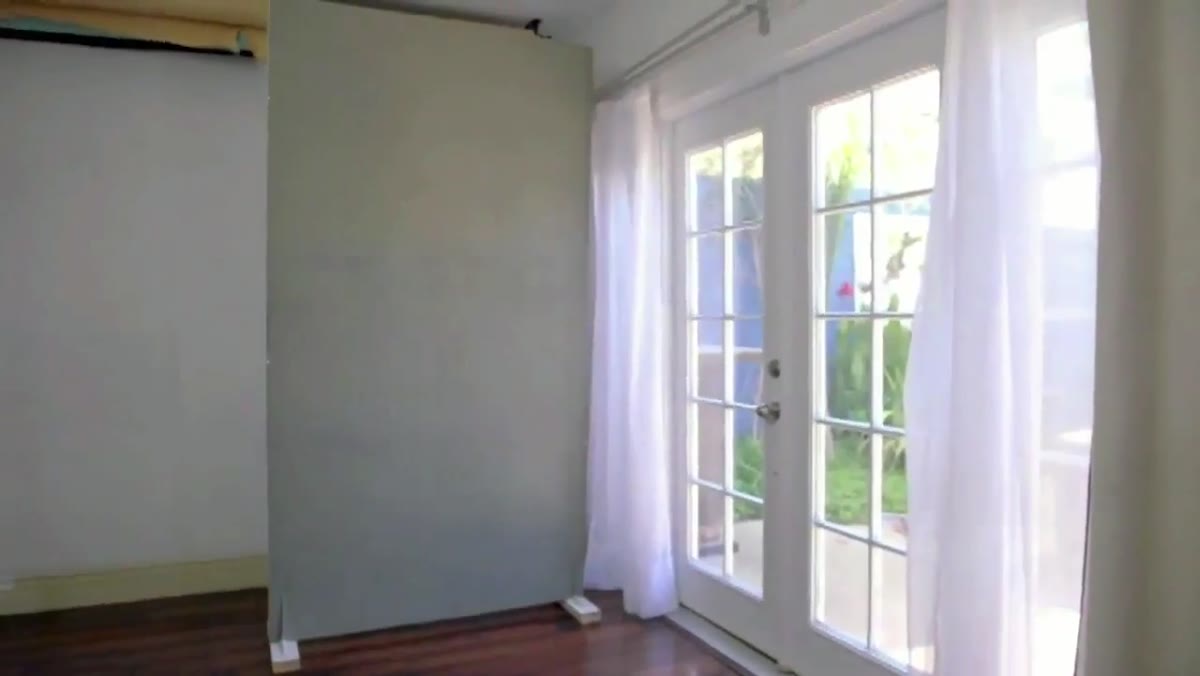 Mark gesturing to the printed plastic side described as the backdrop surface
The side with the printed plastic film is your canvas for backdrops. Standard latex paint adheres to it well. Tiffany designs custom painted backdrops for Sue’s LA sessions using this exact surface, which means you can create mottled grey, textured, or gradient effects with nothing more than a roller and a few colors. The panel’s rigidity keeps the surface flat while you work, and once dry, the paint does not crack or flake under normal handling.
Mark gesturing to the printed plastic side described as the backdrop surface
The side with the printed plastic film is your canvas for backdrops. Standard latex paint adheres to it well. Tiffany designs custom painted backdrops for Sue’s LA sessions using this exact surface, which means you can create mottled grey, textured, or gradient effects with nothing more than a roller and a few colors. The panel’s rigidity keeps the surface flat while you work, and once dry, the paint does not crack or flake under normal handling.
For a straightforward setup, a mid-grey base coat with a slightly lighter highlight toward the center gives you a classic portrait backdrop that photographs cleanly under almost any light. I keep two panels painted and two panels left raw white so I can mix and match depending on the session.
My Own Addition: Label Your Panels and Log the Bounce Ratio
I label everything in my studio with masking tape, and the V-flats are no exception. Each panel gets a tape label noting whether it is a reflector face, a painted backdrop, or both, plus the paint color reference on the backdrop side. Takes thirty seconds and saves ten minutes of confusion when you are setting up quickly before a client arrives.
The other thing I track in my lighting journal is how far the reflector panel sits from the subject relative to my key light. At about eighteen inches from the face, a raw white polystyrene panel pulls shadows down by roughly one and a half stops in my setup. Closer than twelve inches and the fill becomes almost too even for my taste in beauty work. Your numbers will vary with your key light output and distance, so spend an hour testing with a stand-in before you commit that panel position to your regular workflow. That test session is worth more than any chart.
The single most transferable idea from this tutorial is that the best studio tools are often the ones no one marketed to you as photography gear. A sheet of building insulation and two shelf brackets outperform a lot of expensive softboxes as a fill source, and you can build a full set of V-flats for the cost of a single reflector kit from a camera retailer.
Watch the full tutorial on YouTube to see Sue, Tiffany, and Mark walk through the build and demonstrate how these panels integrate into a live portrait session.
Comments
Leave a Comment