There’s a particular kind of location shoot that exposes every gap in your lighting toolkit: hard midday sun, a background you can’t move, and subjects whose faces you need to control precisely. I’ve been in that situation more times than I’d like to admit, usually squinting at my laptop screen trying to figure out why the ambient exposure looks nothing like what I wanted when I planned the shot at 8am. The core problem is that the sun moves and you don’t get a vote. Your hero background light shifts, softens, and changes color temperature across a six-hour shoot, and every frame starts to feel inconsistent.
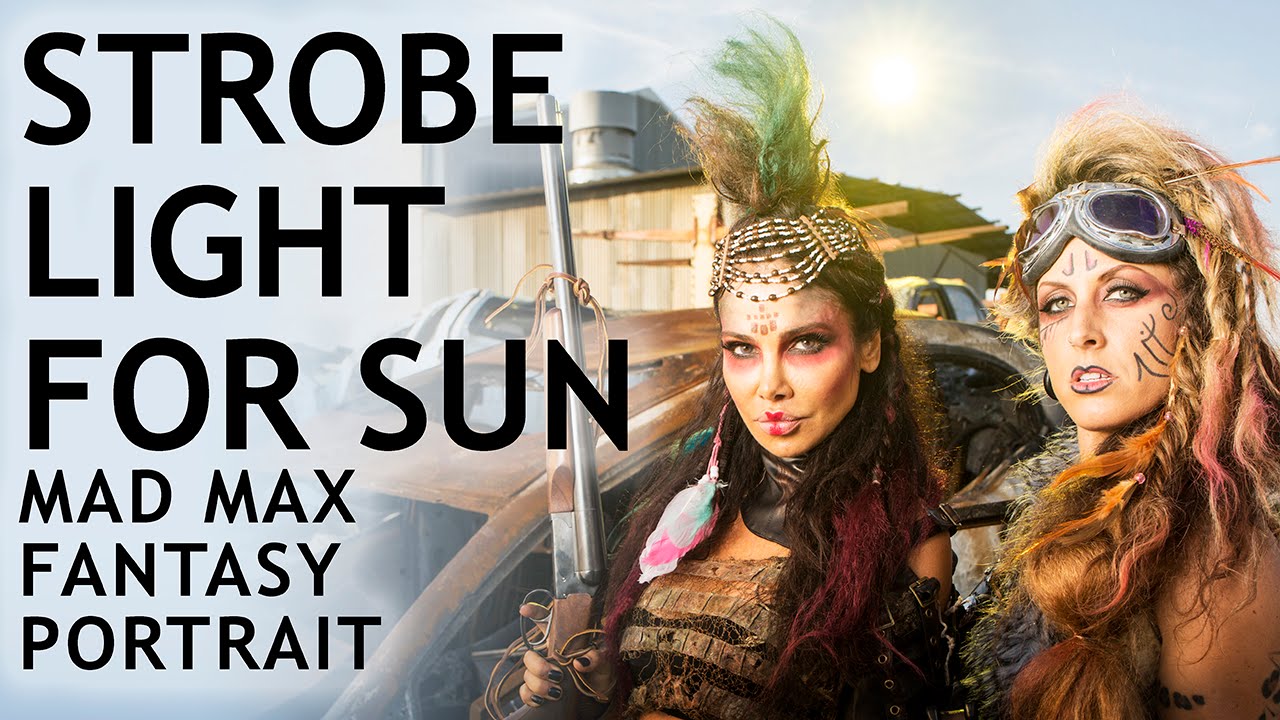
In this The Slanted Lens tutorial, photographer JP Morgan tackles exactly that problem in an extreme way, building a Mad Max-style fantasy portrait in a Sun Valley, California junkyard with burned-out cars, smoke, and two models. The setup is dramatic, but the underlying logic is completely transferable. His solution to the moving-sun problem is elegant: replace the sun with a strobe, gel it warm, and keep your hero backlight consistent for the entire shoot. Watch the full tutorial on YouTube
What I find most useful here isn’t the fantasy aesthetic. It’s the sequencing. Morgan builds the exposure in distinct layers, locking each one before adding the next. That kind of discipline is easy to skip when you’re on location and feeling pressure, but it’s what separates a controllable lighting setup from a chaotic one.
Step 1: Lock Down Your Ambient Exposure First
 Camera and ambient-only test frame at the junkyard
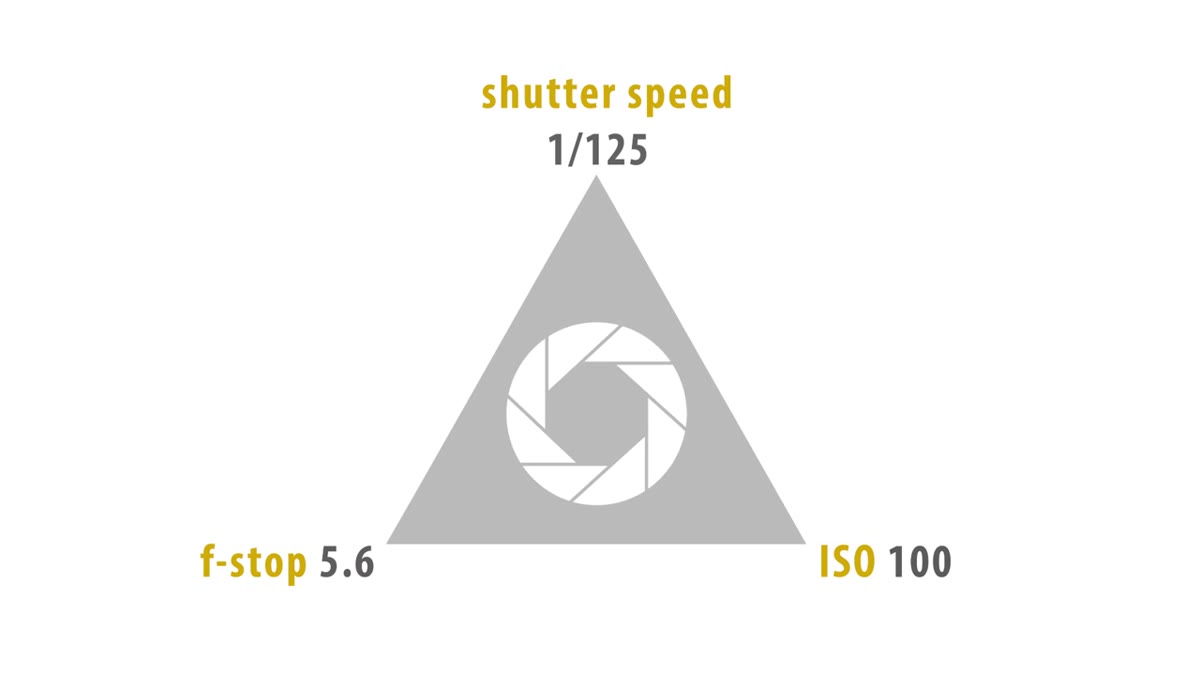
Before any artificial light enters the frame, Morgan sets his camera to 1/125s, f/5.6, ISO 100 in direct sun. These aren’t arbitrary numbers. At 1/125s you’re likely at or near your sync speed, which keeps the ambient from overpowering your strobes later. The f/5.6 gives him enough depth of field to keep both models sharp while still throwing the car wreckage into a slightly softer background. He shoots an ambient-only test frame here and evaluates it before touching a single light. That frame becomes his baseline. Everything added after this point is intentional contrast, not correction.
Camera and ambient-only test frame at the junkyard
Before any artificial light enters the frame, Morgan sets his camera to 1/125s, f/5.6, ISO 100 in direct sun. These aren’t arbitrary numbers. At 1/125s you’re likely at or near your sync speed, which keeps the ambient from overpowering your strobes later. The f/5.6 gives him enough depth of field to keep both models sharp while still throwing the car wreckage into a slightly softer background. He shoots an ambient-only test frame here and evaluates it before touching a single light. That frame becomes his baseline. Everything added after this point is intentional contrast, not correction.
Step 2: Diffuse the Sun Off Your Subjects
 Light panel with translucent cover positioned over subjects
With direct California sun hammering down, Morgan positions a Photoflex 72x39-inch Light Panel with a translucent cover over the models. This isn’t a reflector. It’s a diffuser, placed between the sun and the subjects to kill the harsh overhead quality without blocking the ambient entirely. He also raises a 12x12-foot silk on a T-bar over the background car to pull that same hard sun off the vehicle. The goal is a clean, neutral starting point, no specular highlights burning out on skin or chrome, no raccoon shadows under the eyes. You’re not adding light here. You’re subtracting the worst of what’s already there.
Light panel with translucent cover positioned over subjects
With direct California sun hammering down, Morgan positions a Photoflex 72x39-inch Light Panel with a translucent cover over the models. This isn’t a reflector. It’s a diffuser, placed between the sun and the subjects to kill the harsh overhead quality without blocking the ambient entirely. He also raises a 12x12-foot silk on a T-bar over the background car to pull that same hard sun off the vehicle. The goal is a clean, neutral starting point, no specular highlights burning out on skin or chrome, no raccoon shadows under the eyes. You’re not adding light here. You’re subtracting the worst of what’s already there.
Step 3: Place Your “Sun” Strobe in the Background
 Strobe head positioned behind subjects to simulate sun flare
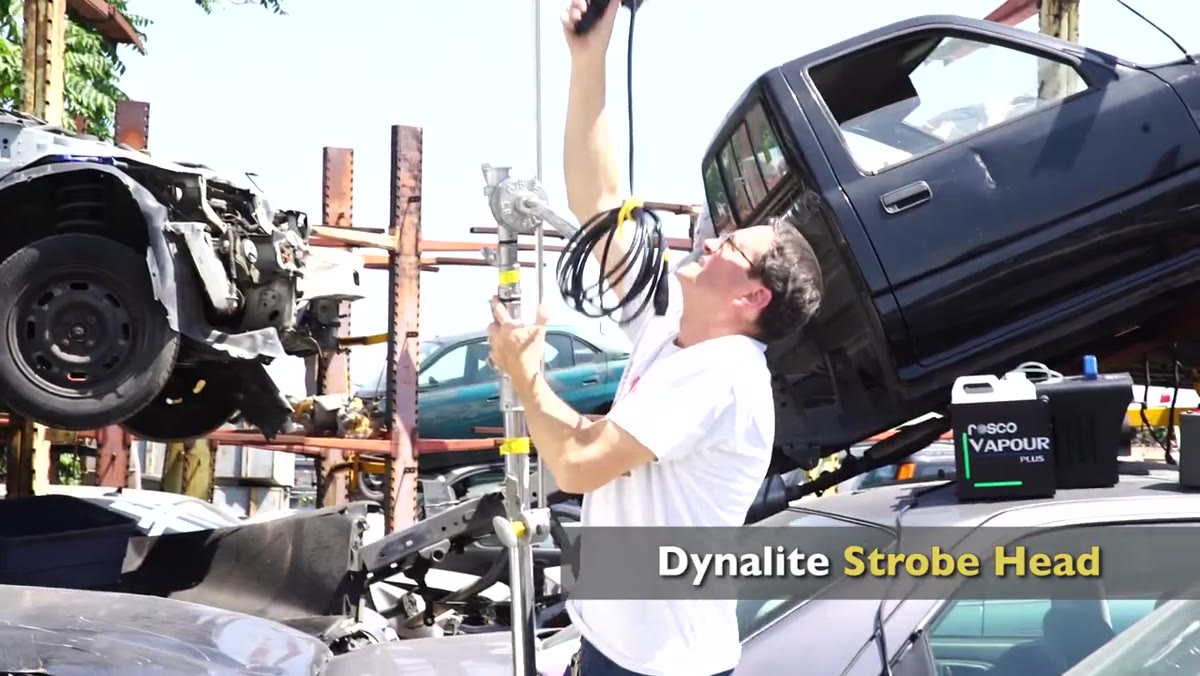
Here’s the core technique. Morgan uses a Dynalite 800Ws pack with a travel head, positioned in the background to simulate the sun flaring directly into the camera. Because he’s working on location over several hours, the actual sun won’t stay in the right position. A strobe does exactly what he tells it to. He accepts that the light stand will be visible in the frame and notes he’ll retouch it later. That’s the right call. Chasing a stand-free frame costs you position, and position matters more than a clean background at the capture stage.
Strobe head positioned behind subjects to simulate sun flare
Here’s the core technique. Morgan uses a Dynalite 800Ws pack with a travel head, positioned in the background to simulate the sun flaring directly into the camera. Because he’s working on location over several hours, the actual sun won’t stay in the right position. A strobe does exactly what he tells it to. He accepts that the light stand will be visible in the frame and notes he’ll retouch it later. That’s the right call. Chasing a stand-free frame costs you position, and position matters more than a clean background at the capture stage.
Step 4: Gel the Background Strobe for Warmth
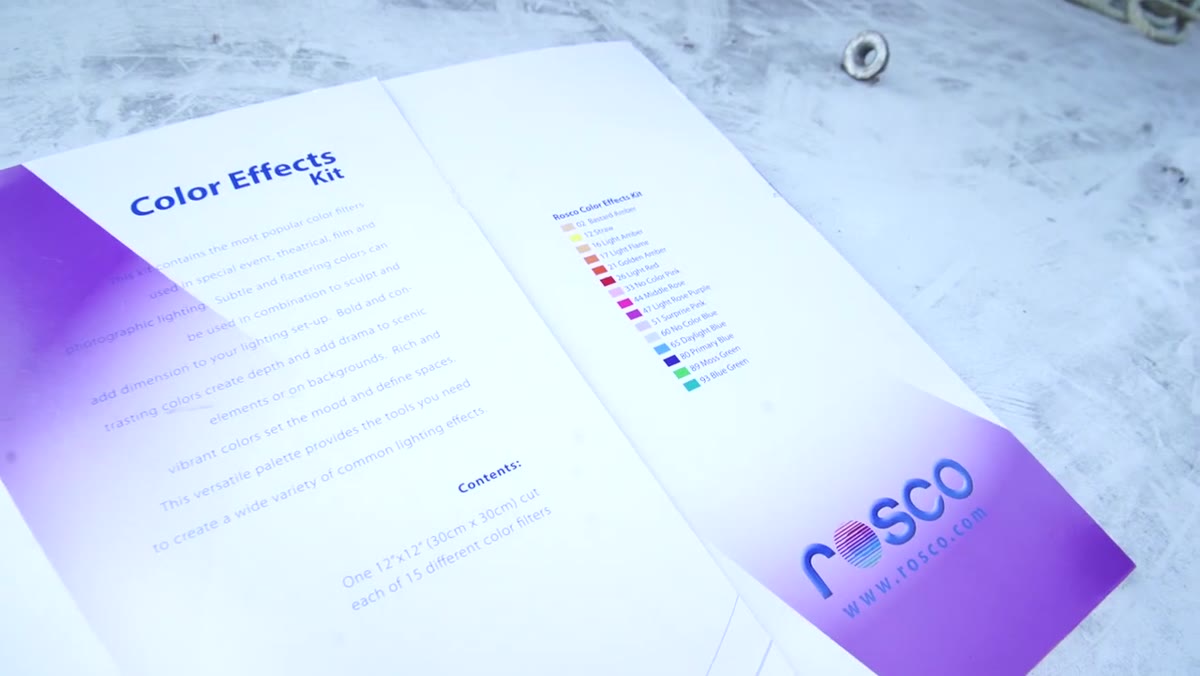 Rosco Straw 12 gel applied to the background strobe head
A bare strobe reads as daylight-balanced, around 5500K. The sun at a low angle or through haze reads much warmer. Morgan applies a Rosco Straw 12 gel to the travel head, which pushes the output into that yellow-amber range you associate with a hot, beating-down sun. The difference between a gelled and ungelled backlight here is the difference between a studio strobe sitting behind two people and an actual environmental narrative. The gel is doing storytelling work. If you don’t have Straw 12, CTO gels in the half or full range will get you into similar territory. Test before you shoot.
Rosco Straw 12 gel applied to the background strobe head
A bare strobe reads as daylight-balanced, around 5500K. The sun at a low angle or through haze reads much warmer. Morgan applies a Rosco Straw 12 gel to the travel head, which pushes the output into that yellow-amber range you associate with a hot, beating-down sun. The difference between a gelled and ungelled backlight here is the difference between a studio strobe sitting behind two people and an actual environmental narrative. The gel is doing storytelling work. If you don’t have Straw 12, CTO gels in the half or full range will get you into similar territory. Test before you shoot.
Step 5: Add a Large Octodome as Your Key Light
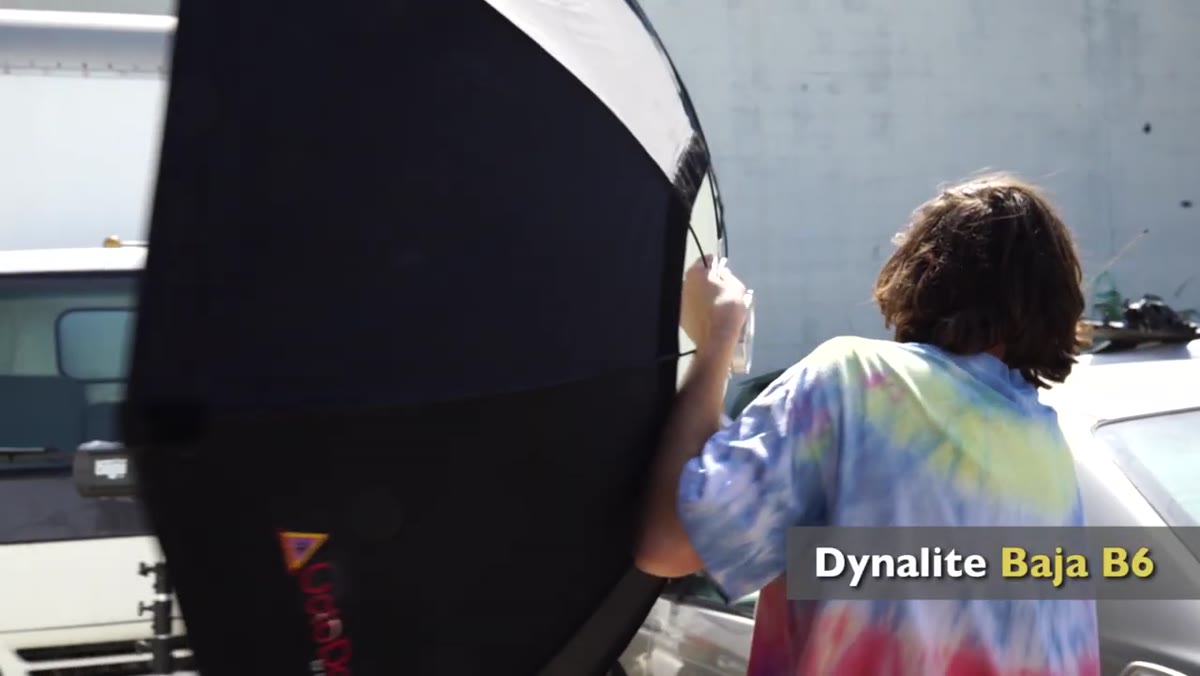 Dyna-Lite Baja B6 with medium octodome positioned as key light
Morgan brings in a Dyna-Lite Baja B6 battery strobe with a medium Photoflex Octodome as his key light. He deliberately chooses a large modifier here because he wants a soft, wrapping light source that can cover both models. What’s worth noting is how he uses it: he’s constantly tilting and panning the octodome, feathering the light to control how much spills onto the ground or the background. He’s not locking it in place and walking away. The light becomes a paintbrush. If you haven’t spent time learning to feather a softbox, this is the technique that makes the difference between flat, even light and light that has direction and mood.
Dyna-Lite Baja B6 with medium octodome positioned as key light
Morgan brings in a Dyna-Lite Baja B6 battery strobe with a medium Photoflex Octodome as his key light. He deliberately chooses a large modifier here because he wants a soft, wrapping light source that can cover both models. What’s worth noting is how he uses it: he’s constantly tilting and panning the octodome, feathering the light to control how much spills onto the ground or the background. He’s not locking it in place and walking away. The light becomes a paintbrush. If you haven’t spent time learning to feather a softbox, this is the technique that makes the difference between flat, even light and light that has direction and mood.
Step 6: Trigger Both Lights Independently
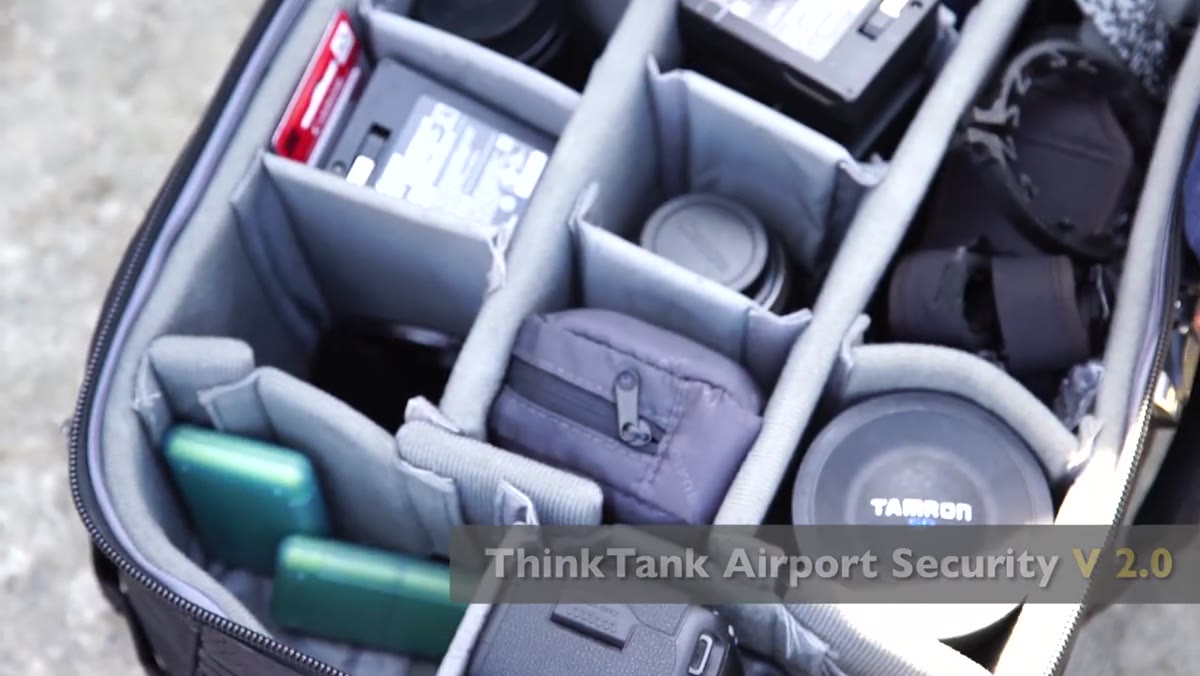 Flex 4 and 616C triggers firing separate strobe systems simultaneously
Morgan is running two different strobe systems, and they require different triggers. His Baja B6 fires from a proprietary 616C trigger, while the background Dynalite 800Ws pack requires a separate Flex 4 trigger. Both fire reliably together. This is a practical note worth filing away: when you’re mixing strobe brands or battery-versus-pack systems on location, verify your trigger compatibility before the shoot day. I keep a trigger test in my pre-shoot checklist specifically because I once lost the first hour of a rooftop session discovering that my new triggers wouldn’t fire my older monolights.
Flex 4 and 616C triggers firing separate strobe systems simultaneously
Morgan is running two different strobe systems, and they require different triggers. His Baja B6 fires from a proprietary 616C trigger, while the background Dynalite 800Ws pack requires a separate Flex 4 trigger. Both fire reliably together. This is a practical note worth filing away: when you’re mixing strobe brands or battery-versus-pack systems on location, verify your trigger compatibility before the shoot day. I keep a trigger test in my pre-shoot checklist specifically because I once lost the first hour of a rooftop session discovering that my new triggers wouldn’t fire my older monolights.
Step 7: Add a Reflector on the Shadow Side
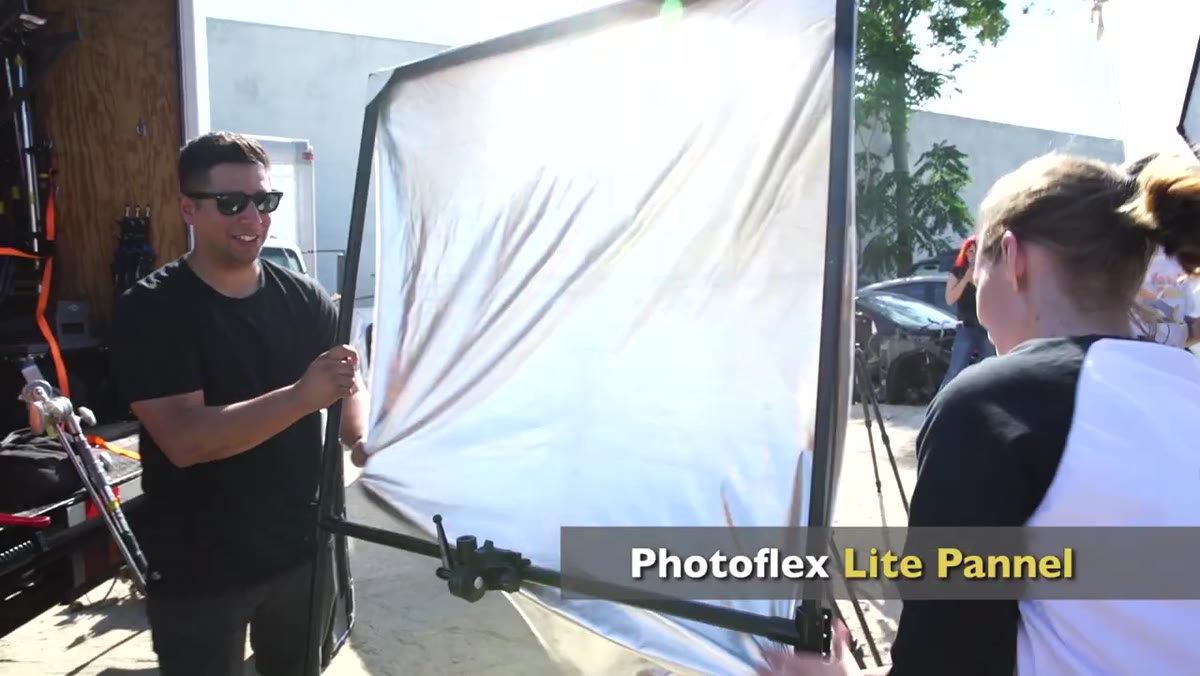 Photoflex Light Panel with hard white cover used as fill reflector
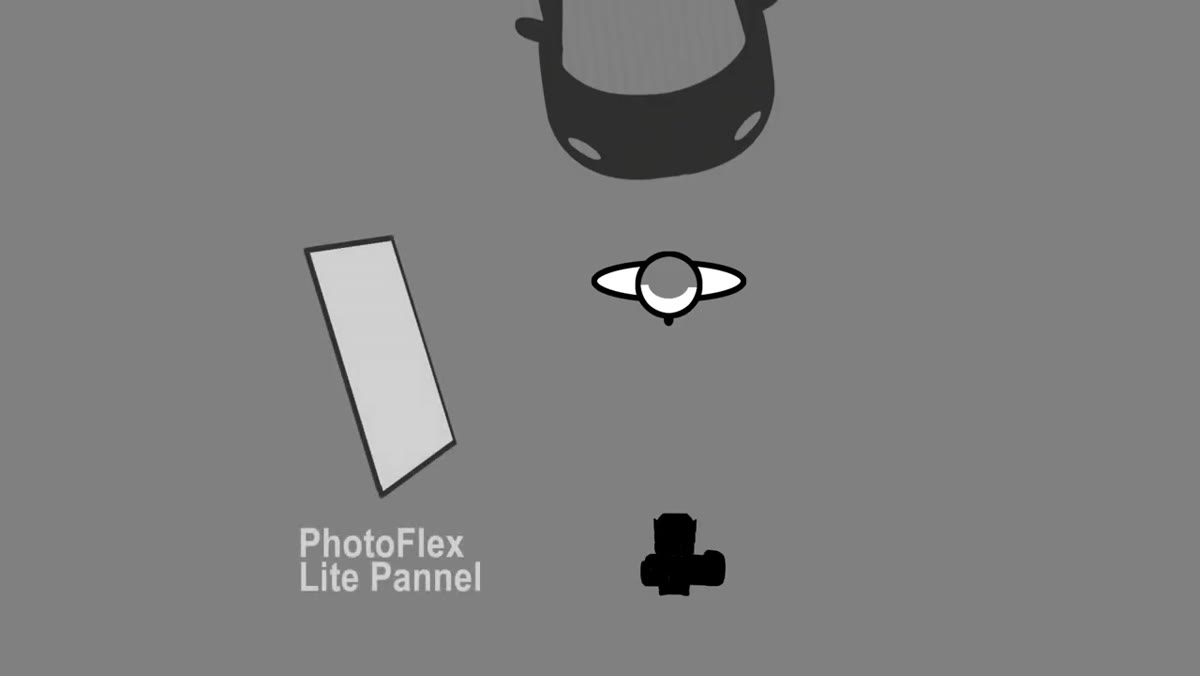
The last lighting element Morgan adds is a Photoflex Light Panel with a hard white cover on the camera-right side, used as a passive reflector. He pushes it in close enough to kick some of the key light back into the shadow side of the subjects’ faces. No additional strobe, no extra power draw, no trigger. Just bounced light opening up the shadows by a stop or so. On a complex location setup like this, a reflector as your fill light is often the smarter call. It responds naturally to your key, and it doesn’t require you to balance a third light source.
Photoflex Light Panel with hard white cover used as fill reflector
The last lighting element Morgan adds is a Photoflex Light Panel with a hard white cover on the camera-right side, used as a passive reflector. He pushes it in close enough to kick some of the key light back into the shadow side of the subjects’ faces. No additional strobe, no extra power draw, no trigger. Just bounced light opening up the shadows by a stop or so. On a complex location setup like this, a reflector as your fill light is often the smarter call. It responds naturally to your key, and it doesn’t require you to balance a third light source.
What I’d Do Differently on a Commercial Shoot
The burn bar Morgan adds for practical fire effect is a great touch, but on a commercial or editorial shoot with a client on set, I’d want to pre-clear any open flame with both the location and the client’s production coordinator well in advance. I’d also add a second gelled strobe on a lower power setting raking across the car in the background to reinforce the “inferno” feeling. One backlight creates a sun. Two create a world on fire. The additional rim detail on the burned metal reads much better in print than in a web-compressed video frame.
The single most important lesson here is that you don’t have to accept the light the location gives you. You accept the ambient as your baseline, then you build on top of it deliberately, one layer at a time. Morgan’s approach is essentially the same methodology I use in studio work, applied outdoors with battery-powered gear. The location changes. The logic doesn’t.
Watch the full tutorial on YouTube to see each lighting layer come together in real time.
Comments
Leave a Comment