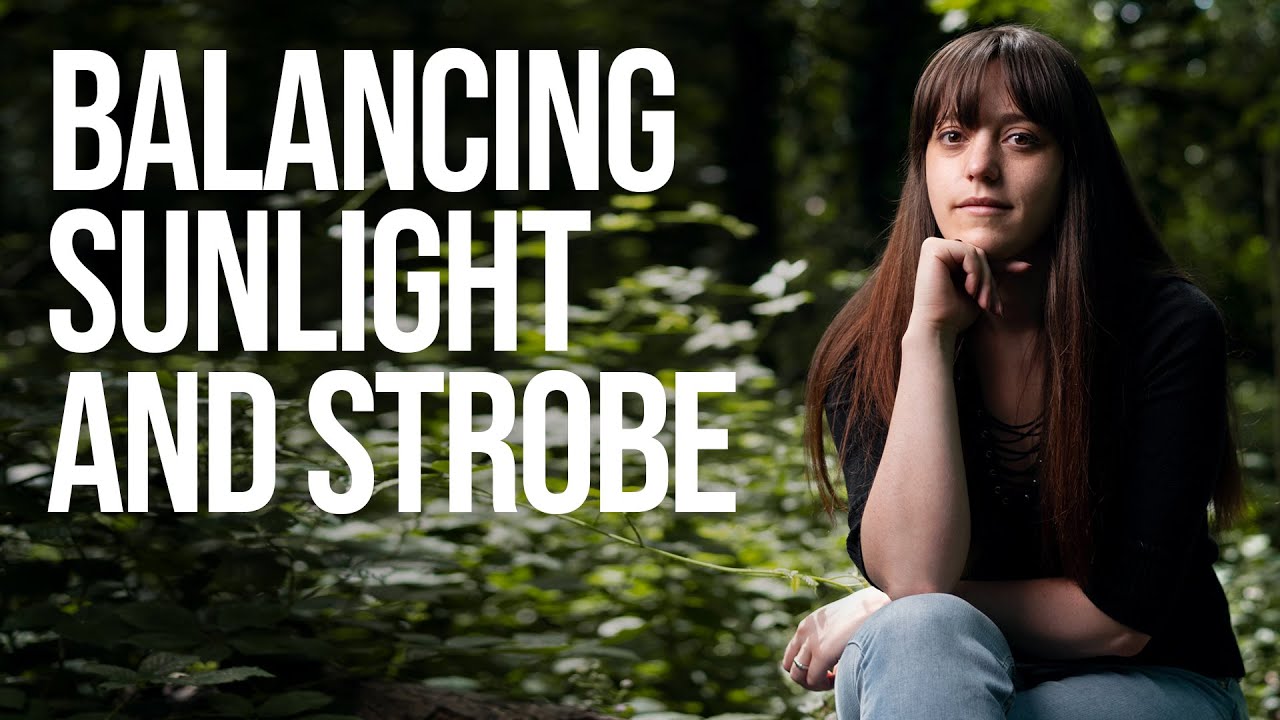
Environmental portraits are where the real money lives, at least in my world. Fashion clients want context. Corporate clients want their executives to look like they actually inhabit their industry. Nobody wants a gray seamless when they could have a story. The problem is that the world does not cooperate with your light meter. You show up on location and the sun is directly overhead, the shadows are brutal, and your subject’s face looks like a police lineup photo. You can’t reschedule. You shoot.
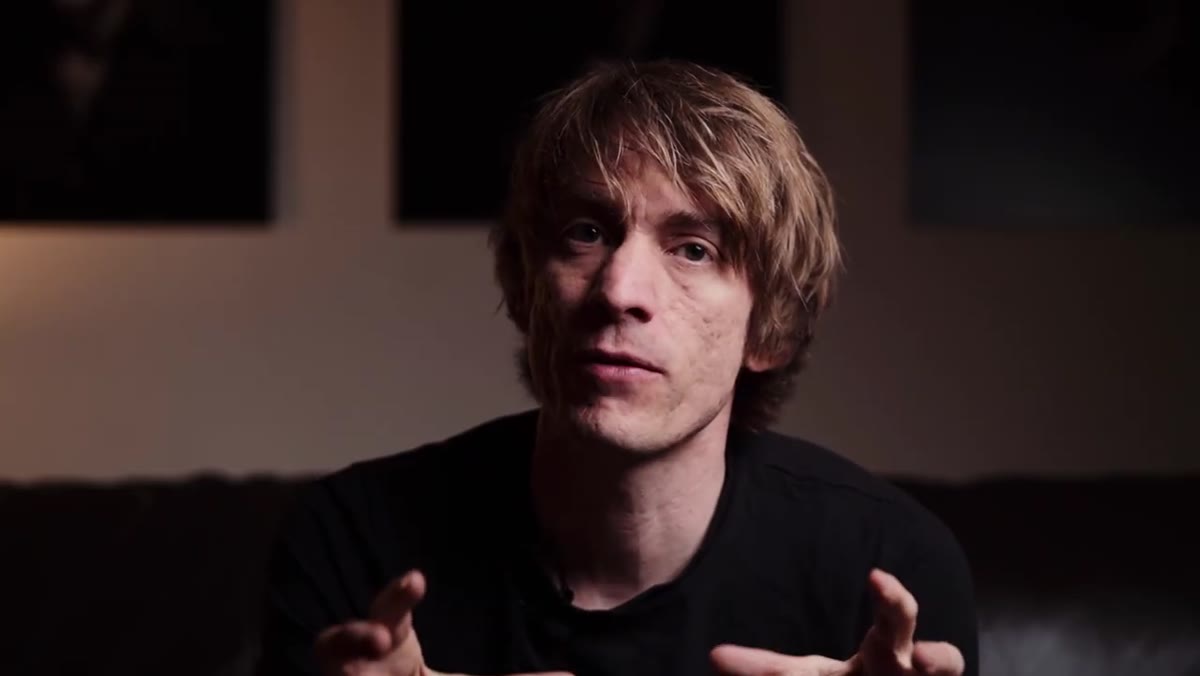
That’s exactly the problem Sean Tucker addresses in this tutorial, which I watched when a client booked me for an outdoor editorial shoot on a rooftop in mid-July. Noon light. No shade. My usual instinct would have been to find a shadow and work in it, but the whole point of the shoot was the skyline behind her. Sean’s approach gave me a framework I could actually use. Watch the full tutorial on YouTube before or after reading this. Both work.
The core idea is straightforward but takes some discipline to execute: you use your camera settings to control the ambient exposure independently, then layer your strobe on top to light the face properly. Two separate problems, two separate solutions. Here’s how it works, step by step.
Step 1: Understand What You’re Actually Solving
 Subject sitting in harsh overhead sunlight with no fill
Before you touch a dial, you need to diagnose the scene correctly. Harsh midday sun creates two problems simultaneously. First, the light on your subject’s face is unflattering, coming from too high an angle and creating deep shadows under the eyes and nose. Second, the background is often blown out or at least very bright, making it hard to expose the scene without either torching the sky or underexposing your subject. You are not solving one exposure problem. You are solving two. The moment I started thinking about ambient and strobe as two separate knobs, my location work improved dramatically.
Subject sitting in harsh overhead sunlight with no fill
Before you touch a dial, you need to diagnose the scene correctly. Harsh midday sun creates two problems simultaneously. First, the light on your subject’s face is unflattering, coming from too high an angle and creating deep shadows under the eyes and nose. Second, the background is often blown out or at least very bright, making it hard to expose the scene without either torching the sky or underexposing your subject. You are not solving one exposure problem. You are solving two. The moment I started thinking about ambient and strobe as two separate knobs, my location work improved dramatically.
Step 2: Choose Gear That Can Actually Compete With the Sun
 Godox AD200 with bare bulb attachment on light stand
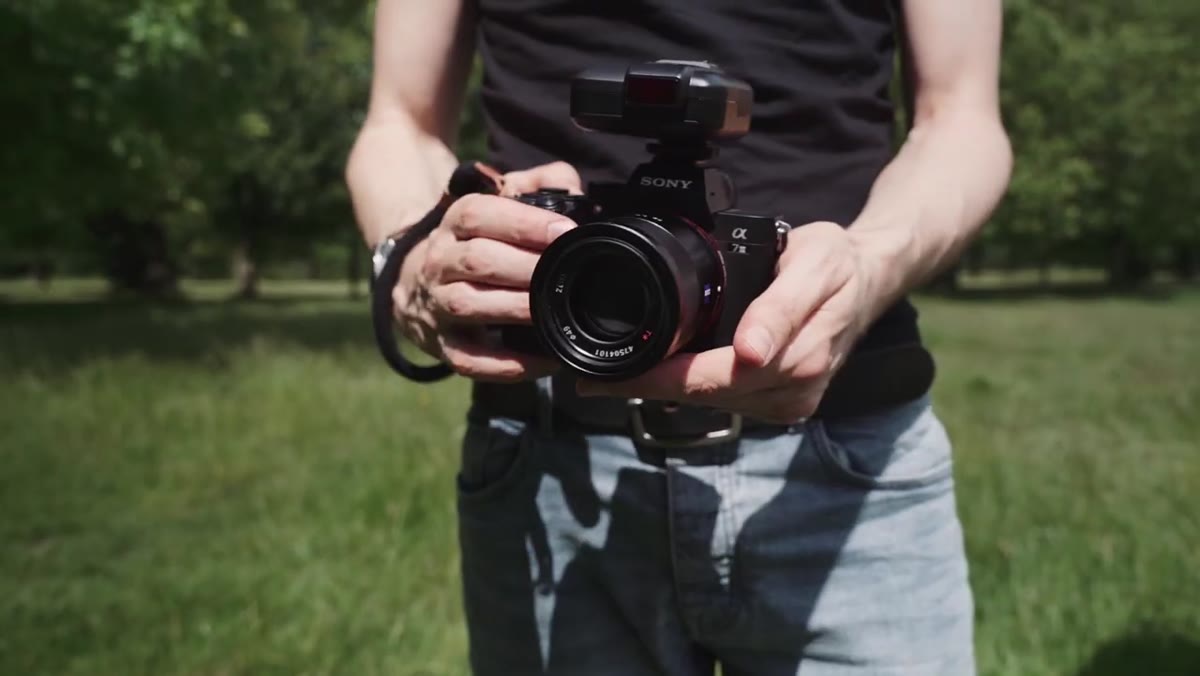
A speedlight mounted on top of your camera is not going to win a fight with the midday sun. Sean uses the Godox AD200 with a bare bulb head, and this matters for specific reasons. The AD200 outputs 200 watt-seconds from a portable, battery-powered unit. The bare bulb configuration fires light in all directions, which is what allows it to efficiently fill a large modifier. For the trigger, he uses the Godox X1T for Sony, and here’s the detail that trips people up: the Godox system has the receiver built into the AD200 itself, so you do not need a separate receiver unit on the flash. Trigger fires, light fires. If you are mixing brands, that built-in receiver assumption breaks down fast. Check compatibility before you’re standing on a windy common in London wishing you had.
Godox AD200 with bare bulb attachment on light stand
A speedlight mounted on top of your camera is not going to win a fight with the midday sun. Sean uses the Godox AD200 with a bare bulb head, and this matters for specific reasons. The AD200 outputs 200 watt-seconds from a portable, battery-powered unit. The bare bulb configuration fires light in all directions, which is what allows it to efficiently fill a large modifier. For the trigger, he uses the Godox X1T for Sony, and here’s the detail that trips people up: the Godox system has the receiver built into the AD200 itself, so you do not need a separate receiver unit on the flash. Trigger fires, light fires. If you are mixing brands, that built-in receiver assumption breaks down fast. Check compatibility before you’re standing on a windy common in London wishing you had.
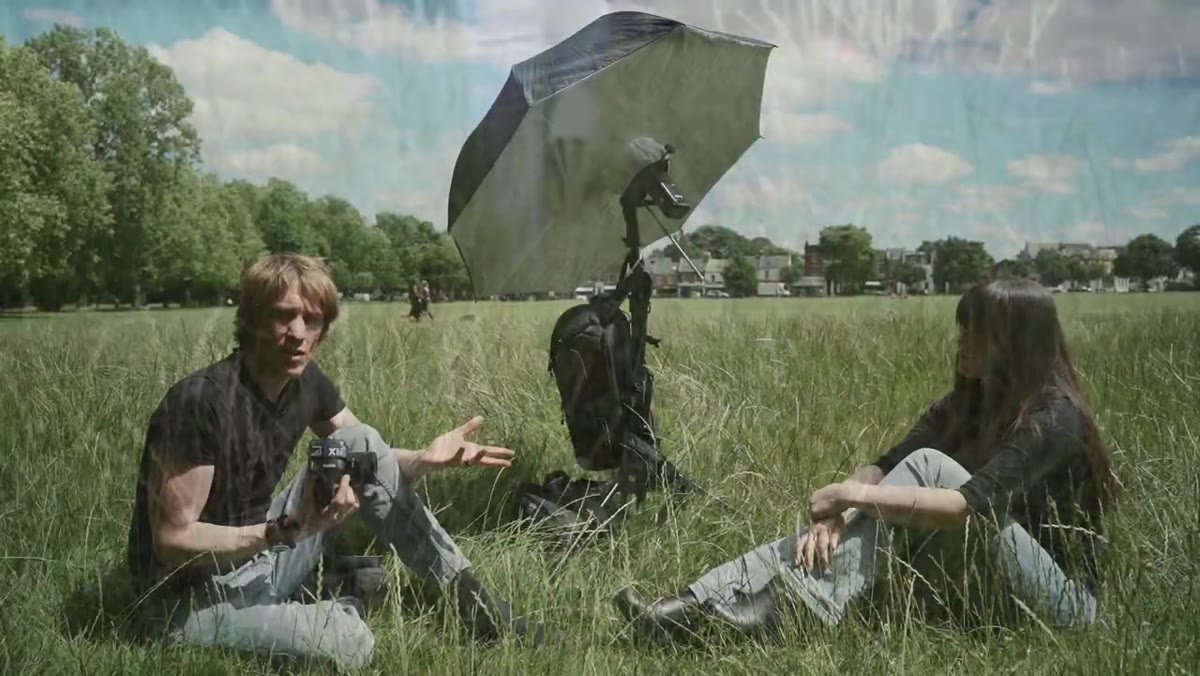
My own preference is to weight the light stand aggressively on any outdoor shoot. I keep a sandbag in the car for exactly this. Sean mentions weighting with a camera bag, which works, but a proper sandbag gives you more confidence when the wind picks up.
Step 3: Set Your Ambient Exposure First, Ignoring the Subject’s Face
 Camera settings being adjusted to darken the background
Meter for the background, not the subject. The goal here is to get the sky and environment looking the way you want them to look in the final image, even if that means your subject goes dark. Think of this as setting the stage. You control ambient exposure through three variables: ISO, aperture, and shutter speed. On a bright day, you want your ISO at base (100 on most cameras), your aperture doing the depth of field work you need aesthetically, and your shutter speed doing the heavy lifting to darken the ambient. Push that shutter speed up and the background darkens without affecting your strobe output.
Camera settings being adjusted to darken the background
Meter for the background, not the subject. The goal here is to get the sky and environment looking the way you want them to look in the final image, even if that means your subject goes dark. Think of this as setting the stage. You control ambient exposure through three variables: ISO, aperture, and shutter speed. On a bright day, you want your ISO at base (100 on most cameras), your aperture doing the depth of field work you need aesthetically, and your shutter speed doing the heavy lifting to darken the ambient. Push that shutter speed up and the background darkens without affecting your strobe output.
Step 4: Enable High-Speed Sync and Push Your Shutter Speed
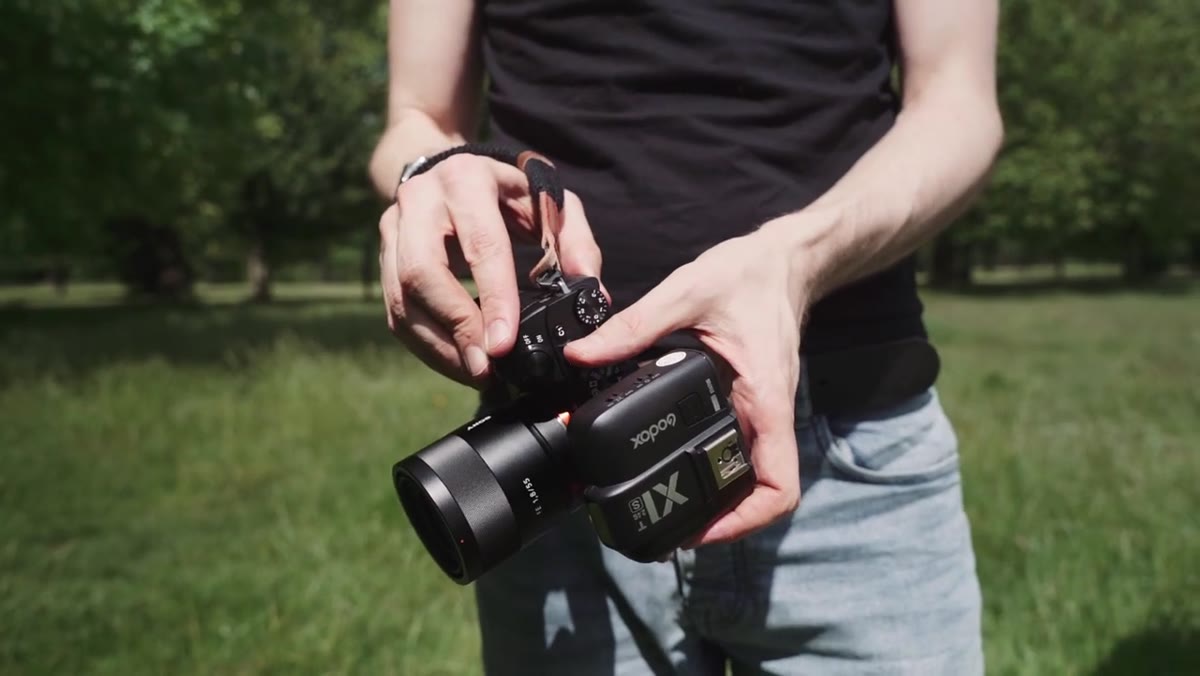 Trigger with high-speed sync enabled on hotshoe
This is the technical hinge the whole technique turns on. Cameras have a sync speed, typically somewhere between 1/160 and 1/250 of a second depending on the body. Shoot above that speed without high-speed sync enabled and you get a black bar across your frame from the shutter curtain. High-speed sync (HSS) allows the flash to fire in a rapid pulse sequence that covers the entire sensor even at shutter speeds of 1/1000, 1/2000, or higher. The tradeoff is that HSS reduces your effective flash power, which is why you need a more powerful unit to begin with. Enable HSS on your trigger, raise your shutter speed until your background looks right, and then address your subject with the strobe.
Trigger with high-speed sync enabled on hotshoe
This is the technical hinge the whole technique turns on. Cameras have a sync speed, typically somewhere between 1/160 and 1/250 of a second depending on the body. Shoot above that speed without high-speed sync enabled and you get a black bar across your frame from the shutter curtain. High-speed sync (HSS) allows the flash to fire in a rapid pulse sequence that covers the entire sensor even at shutter speeds of 1/1000, 1/2000, or higher. The tradeoff is that HSS reduces your effective flash power, which is why you need a more powerful unit to begin with. Enable HSS on your trigger, raise your shutter speed until your background looks right, and then address your subject with the strobe.
Step 5: Position and Power Your Strobe to Balance the Ambient
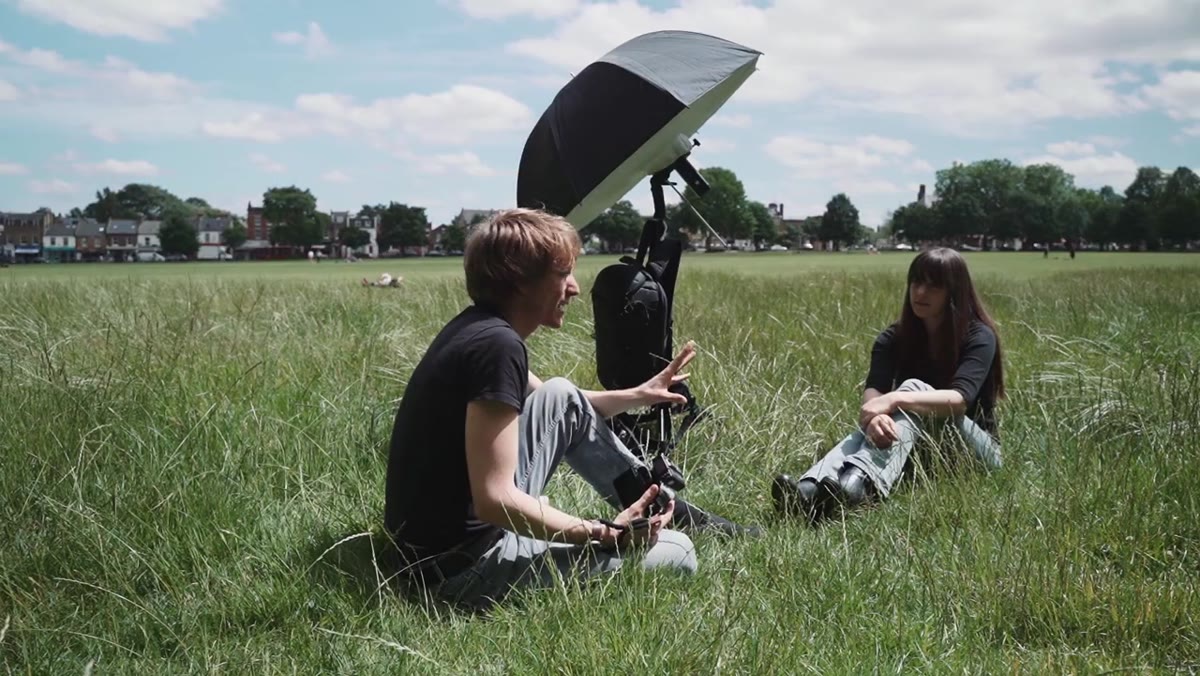 Softbox positioned beside subject, facing the camera direction
With a 109-centimeter octabox, Sean positions the light to camera left and feathers it toward the subject’s face. The large modifier matters here because it creates soft, wrapping light even in a relatively small source. Once your ambient is dialed in, you adjust the strobe power until the subject’s face matches the tonal quality you want relative to the background. Start lower than you think you need and bring it up. The temptation is to overpower the scene and make it look like a studio shot dropped onto a background. Restraint produces something that reads as natural. You want the viewer to feel the environment, not notice the flash.
Softbox positioned beside subject, facing the camera direction
With a 109-centimeter octabox, Sean positions the light to camera left and feathers it toward the subject’s face. The large modifier matters here because it creates soft, wrapping light even in a relatively small source. Once your ambient is dialed in, you adjust the strobe power until the subject’s face matches the tonal quality you want relative to the background. Start lower than you think you need and bring it up. The temptation is to overpower the scene and make it look like a studio shot dropped onto a background. Restraint produces something that reads as natural. You want the viewer to feel the environment, not notice the flash.
Step 6: Use the Subject’s Position to Your Advantage
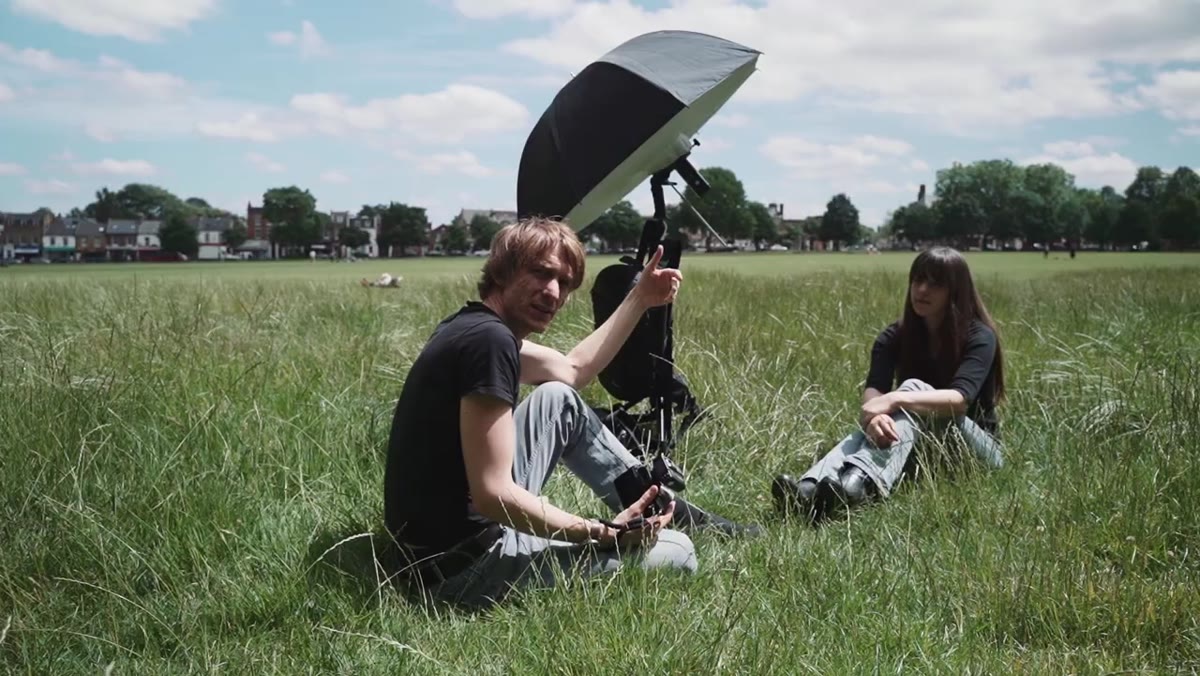 Subject slightly backlit with strobe compensating from front
Position your subject so the sun acts as a hair light or rim light from behind. This does two things: it prevents the harsh overhead sun from destroying the face, and it adds a specular edge that separates the subject from the background and gives the image a sense of depth. The strobe then handles the face, bringing in clean, controllable light from the front or side. The sun stops being your enemy and becomes a free rim light you did not have to set up.
Subject slightly backlit with strobe compensating from front
Position your subject so the sun acts as a hair light or rim light from behind. This does two things: it prevents the harsh overhead sun from destroying the face, and it adds a specular edge that separates the subject from the background and gives the image a sense of depth. The strobe then handles the face, bringing in clean, controllable light from the front or side. The sun stops being your enemy and becomes a free rim light you did not have to set up.
What I’d Add From My Own Experience
The technique Sean demonstrates is clean and portable. Where I’d extend it: pay close attention to color temperature. Sunlight shifts throughout the day and between cloud cover changes. If your strobe is set to daylight and the sun goes behind a cloud mid-shoot, your ambient drops in both brightness and color temperature, and suddenly the strobe looks warm and wrong. I keep a gray card in every location kit now. It’s a habit that came from a painful lesson early in my editorial career when a full set of images came back with mismatched color between flash and ambient across a two-hour shoot.
Also, once you nail the exposure balance, walk around the subject and shoot from multiple angles. The lighting ratio changes as you move. Some of those angles will be more interesting than your original position. Leave room to explore.
The single most transferable idea here is this: ambient and strobe are separate problems with separate solutions. Control one, then control the other. Once that mental model clicks, harsh outdoor light stops being a reason to reschedule and starts being a tool.
Watch the full tutorial on YouTube to see Sean demonstrate the before-and-after in real time. Seeing the difference between the unmodified ambient shot and the balanced strobe result makes the technique land in a way that reading about it cannot fully replicate.
Comments (5)
Shared this with my photography group. Everyone loved it.
Love this. I referenced a similar technique in one of my recent posts. Always good to see other perspectives.
Great breakdown. The step-by-step approach really helps.
Simple but effective. Sometimes that's all you need.
Love this. I referenced a similar technique in one of my recent posts. Always good to see other perspectives.
Leave a Comment