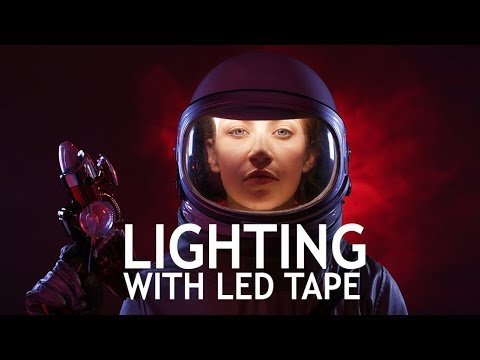
There is a category of lighting problem that no softbox solves. The subject is enclosed, recessed, or otherwise surrounded by something physical that blocks every conventional source you own. A helmet. A car interior. A product inside a box. A model inside a prop. I have stood in front of setups like these with a $3,000 kit and felt completely helpless because none of it was small enough to get where the light needed to go. That is exactly the problem JP Morgan at The Slanted Lens tackles head-on in his tutorial on lighting tight spaces with RoscoLED tape. Watch the full tutorial on YouTube
What makes this tutorial worth your time is that the solution is not theoretical. Morgan is working with an actual subject inside an actual spacesuit helmet, building a complete portrait setup around a strip of LEDs small enough to stick inside the rim. The result looks like a big-budget production still. The technique, once you understand the logic, is transferable to dozens of similar problems you will encounter in commercial and editorial work.
Step 1: Identify the Single Surface That Can Hold a Light
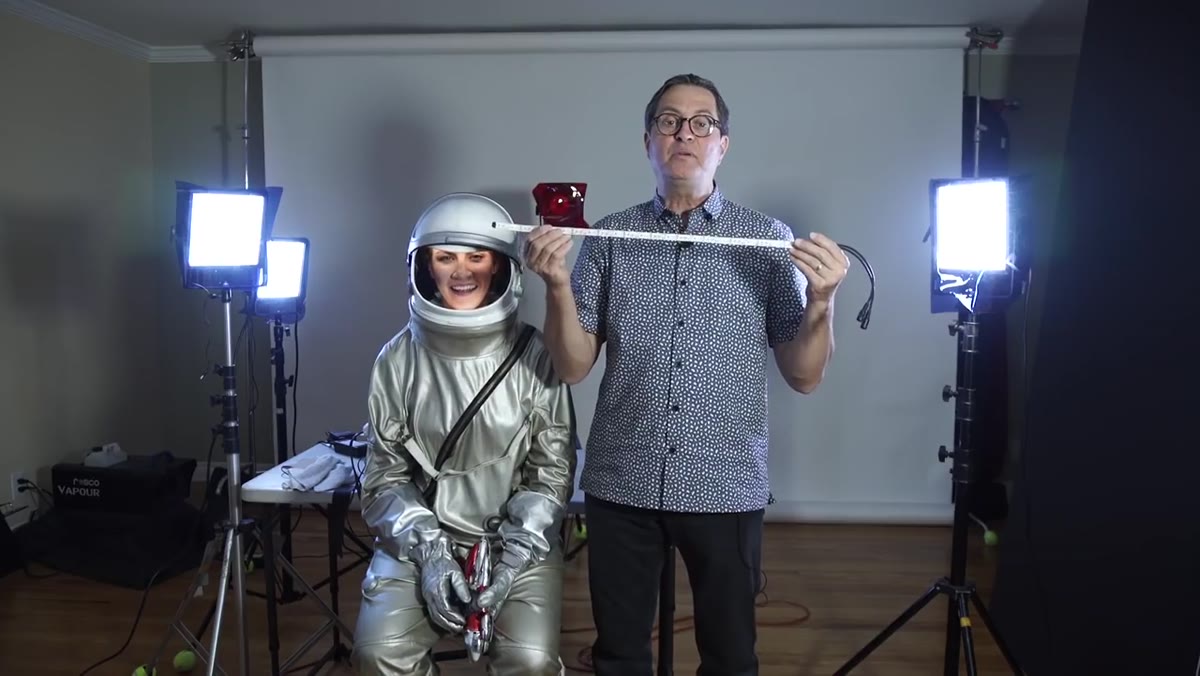 JP Morgan gesturing at the interior rim of the helmet
Before you touch a single light, look at your enclosed space and ask one question: where is there a rim, edge, or interior surface that faces the subject’s skin? In the helmet setup, that surface is the upper interior edge of the helmet, right at forehead level. That is where the first strip of RoscoLED tape goes, running along the top arc of the helmet’s inner rim. The strip is bi-color, meaning you can dial in color temperature via remote, which matters when your subject is also being lit by other sources with different color profiles. Think of this the way you would think about placing a beauty dish: position first, power second.
JP Morgan gesturing at the interior rim of the helmet
Before you touch a single light, look at your enclosed space and ask one question: where is there a rim, edge, or interior surface that faces the subject’s skin? In the helmet setup, that surface is the upper interior edge of the helmet, right at forehead level. That is where the first strip of RoscoLED tape goes, running along the top arc of the helmet’s inner rim. The strip is bi-color, meaning you can dial in color temperature via remote, which matters when your subject is also being lit by other sources with different color profiles. Think of this the way you would think about placing a beauty dish: position first, power second.
Step 2: Add a Second Strip for Fill and Shadow Control
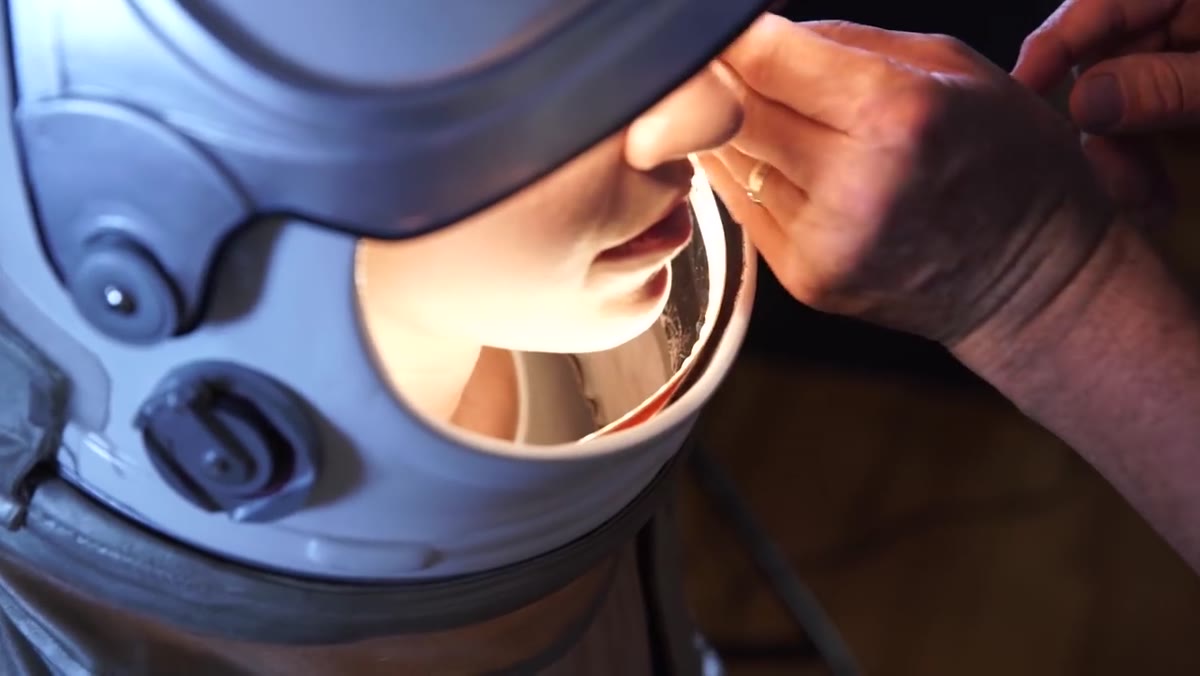 LED tape strip being placed along the bottom inner edge of the helmet
A single strip at the top of the helmet creates top-down light, which reads as dramatic but can hollow out the eye sockets depending on the subject’s bone structure. Morgan counters this by adding a second strip of tape along the lower interior edge of the helmet, underneath the chin line. This gives him independent fill control. He can bring that lower strip up to soften the shadow under the nose or pull it back for more contrast. Two strips, two separate remotes, total control over the ratio inside the helmet before a single external light is even turned on. If you are doing this with a product that has an interior cavity, the same logic applies: top edge for key, bottom edge for fill, control them independently.
LED tape strip being placed along the bottom inner edge of the helmet
A single strip at the top of the helmet creates top-down light, which reads as dramatic but can hollow out the eye sockets depending on the subject’s bone structure. Morgan counters this by adding a second strip of tape along the lower interior edge of the helmet, underneath the chin line. This gives him independent fill control. He can bring that lower strip up to soften the shadow under the nose or pull it back for more contrast. Two strips, two separate remotes, total control over the ratio inside the helmet before a single external light is even turned on. If you are doing this with a product that has an interior cavity, the same logic applies: top edge for key, bottom edge for fill, control them independently.
Step 3: Set Your External Rim Lights and Push the Color
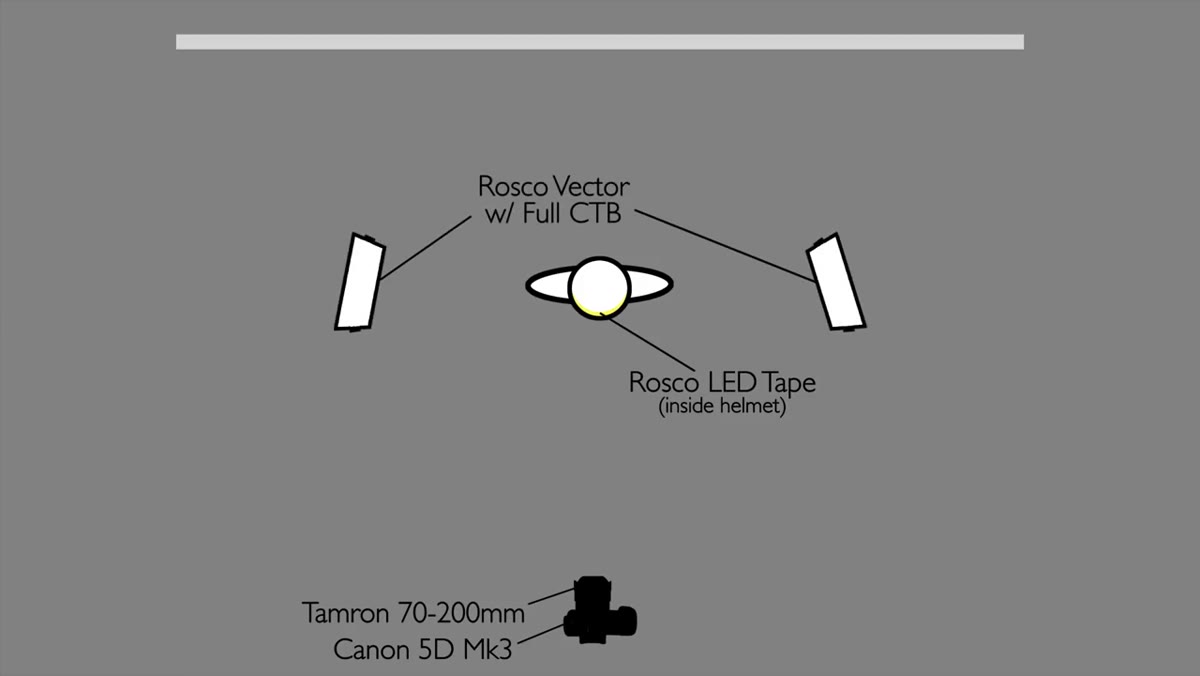 Two Rosco Vectorlights positioned camera left and camera right
Once the face is lit from inside the helmet, the outer lighting becomes about shape and separation. Morgan places a Rosco Vector light on camera left and another on camera right, both acting as rim lights to separate the suit from the background. The lights are already running at roughly 5800K, but he pushes them further into blue by adding a full blue gel. This is a move I use constantly on commercial work: when you want a color to read as “cool” or “cinematic” on screen, a daylight-balanced light alone is not enough. The gel shifts it into territory that reads as theatrical, which is exactly right for a space-themed portrait. At a full blue gel, you are not going for realism. You are going for atmosphere.
Two Rosco Vectorlights positioned camera left and camera right
Once the face is lit from inside the helmet, the outer lighting becomes about shape and separation. Morgan places a Rosco Vector light on camera left and another on camera right, both acting as rim lights to separate the suit from the background. The lights are already running at roughly 5800K, but he pushes them further into blue by adding a full blue gel. This is a move I use constantly on commercial work: when you want a color to read as “cool” or “cinematic” on screen, a daylight-balanced light alone is not enough. The gel shifts it into territory that reads as theatrical, which is exactly right for a space-themed portrait. At a full blue gel, you are not going for realism. You are going for atmosphere.
Step 4: Place a Focused Source for the Background
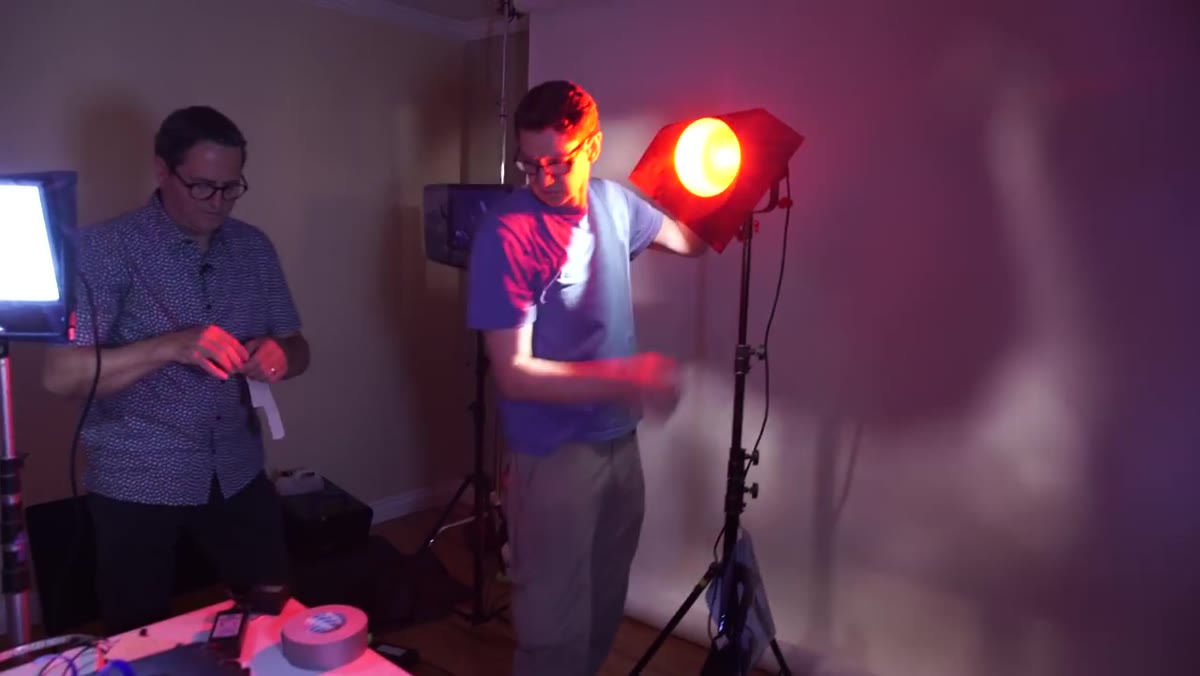 Aperture 120d positioned behind the subject creating a red backlight
The background light here is doing two things: it creates depth by separating the subject from a dark backdrop, and it introduces a second color that contrasts with the blue rim lights. Morgan uses an Aperture 120D for this, specifically because it throws a more focused, concentrated beam compared to the Rosco panels. He notes that the tighter beam of the 120D gives him more control over where the red lands. This is an important distinction. When you need a broad wash of color, a panel light works. When you need a pool of color in a specific area, reach for something with a tighter beam angle. A focused source behind the subject also interacts differently with smoke or haze in the frame, which connects directly to the next step.
Aperture 120d positioned behind the subject creating a red backlight
The background light here is doing two things: it creates depth by separating the subject from a dark backdrop, and it introduces a second color that contrasts with the blue rim lights. Morgan uses an Aperture 120D for this, specifically because it throws a more focused, concentrated beam compared to the Rosco panels. He notes that the tighter beam of the 120D gives him more control over where the red lands. This is an important distinction. When you need a broad wash of color, a panel light works. When you need a pool of color in a specific area, reach for something with a tighter beam angle. A focused source behind the subject also interacts differently with smoke or haze in the frame, which connects directly to the next step.
Step 5: Use Smoke to Build Atmosphere, Not Saturation
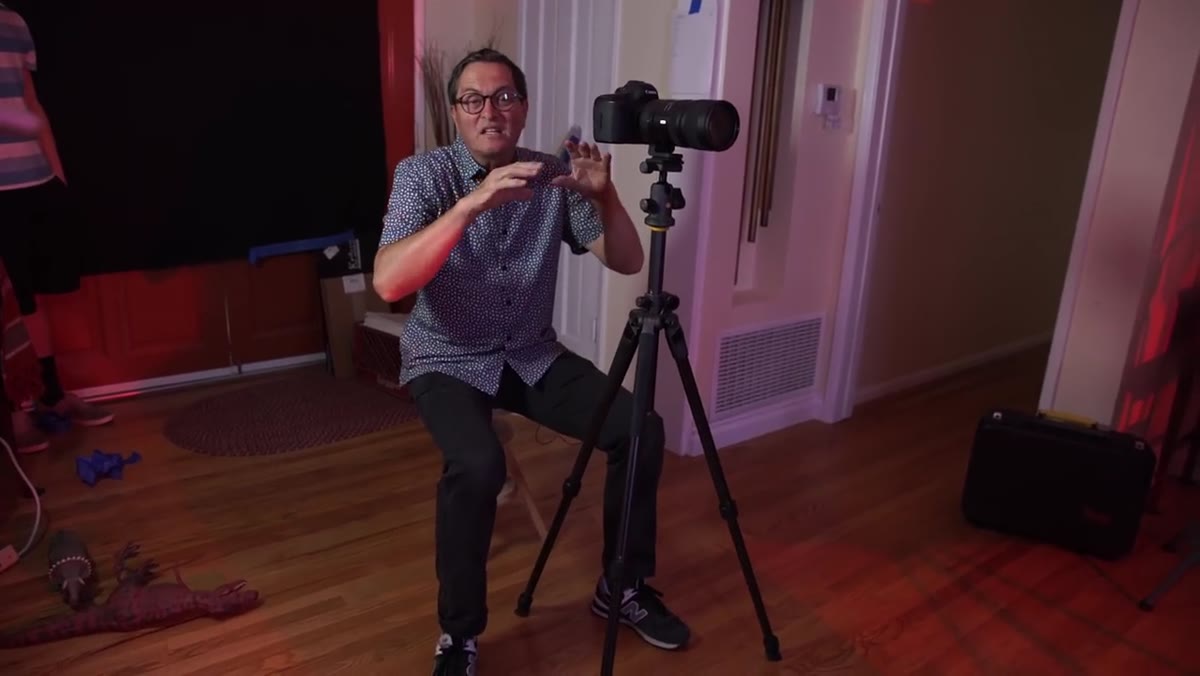 Smoke drifting in still air behind the helmeted subject
Morgan uses a Rosco Vapor machine set to a low output, around level two on the dial. The goal is not a room full of haze. He wants thin drifts of smoke that hang in the still studio air and catch the colored backlights. He deliberately avoids running the smoke through a fan, which would chop it into uniform haze. Instead, someone on the crew waves a flag near the vapor output to nudge the smoke into organic shapes without breaking it apart. The result is atmospheric patterning that looks like something between a dust storm and a nebula. The practical lesson is that smoke at low density is a compositional element, not just a diffusion tool. Let it move slowly and shoot quickly before it dissipates.
Smoke drifting in still air behind the helmeted subject
Morgan uses a Rosco Vapor machine set to a low output, around level two on the dial. The goal is not a room full of haze. He wants thin drifts of smoke that hang in the still studio air and catch the colored backlights. He deliberately avoids running the smoke through a fan, which would chop it into uniform haze. Instead, someone on the crew waves a flag near the vapor output to nudge the smoke into organic shapes without breaking it apart. The result is atmospheric patterning that looks like something between a dust storm and a nebula. The practical lesson is that smoke at low density is a compositional element, not just a diffusion tool. Let it move slowly and shoot quickly before it dissipates.
Step 6: Lean Into Playfulness Without Losing the Lighting Logic
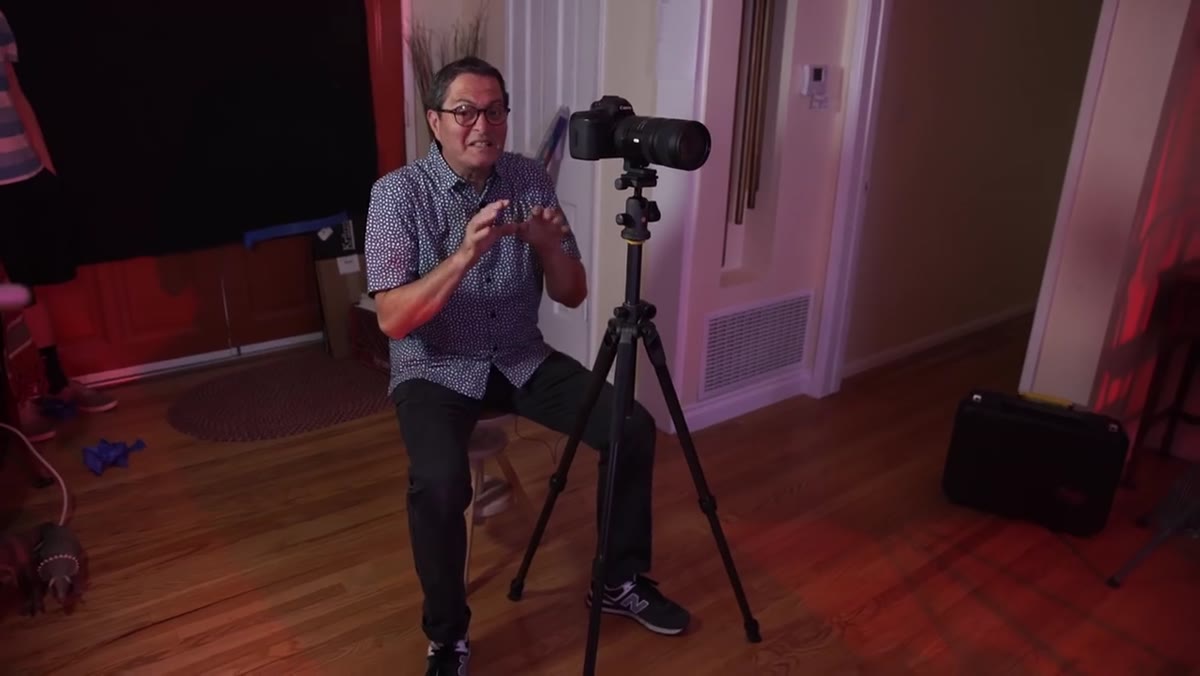 Subject shifting from stoic to playful expression mid-shoot
One of the more useful things Morgan demonstrates, almost in passing, is how quickly the mood of a shoot can shift without changing the lighting at all. He goes from a serious, stoic portrait to an absurd, campy image by simply allowing the subject to break character. The lighting holds. The setup supports both moods because it was built on clean, controllable fundamentals. This is something I have written in my lighting journal more than once: a technically solid setup does not lock you into one emotional register. It frees you to experiment with everything else.
Subject shifting from stoic to playful expression mid-shoot
One of the more useful things Morgan demonstrates, almost in passing, is how quickly the mood of a shoot can shift without changing the lighting at all. He goes from a serious, stoic portrait to an absurd, campy image by simply allowing the subject to break character. The lighting holds. The setup supports both moods because it was built on clean, controllable fundamentals. This is something I have written in my lighting journal more than once: a technically solid setup does not lock you into one emotional register. It frees you to experiment with everything else.
One Caveat From My Own Experience
LED tape is adhesive, and that is mostly convenient, but test your adhesive on the actual surface before a shoot. I have had strips lose grip under studio heat and peel partway off mid-session, shifting the angle of the light in ways that were subtle enough to miss in the moment and obvious in post. On helmet interiors or curved props, I now back up the tape with a small strip of gaffer tape at each end. It takes 30 seconds and has saved me more than once.
The single most important idea in this tutorial is that small LEDs do not just substitute for big lights in tight spaces. They create lighting opportunities that large sources physically cannot reach. When your subject is inside something, the inside becomes your lighting position. RoscoLED tape is the tool that makes that practical.
Watch the full tutorial on YouTube
Comments (2)
I've been looking for exactly this kind of tutorial. Perfect timing.
Would love to see a follow-up going deeper into this topic.
Leave a Comment