I keep a lighting journal. Every setup I shoot, I sketch it out afterward - key light position, modifier choice, distance, the ratio between key and rim. It started as a habit after I nearly tanked a fashion editorial early in my career by mixing daylight-balanced strobes with tungsten practicals and never checking my color temperature against the camera. The journal keeps me honest. So when I sat down with Watch the full tutorial on YouTube this tutorial from JP Morgan at The Slanted Lens, I had my phone out with my lighting diagram app open before he got to the first setup.
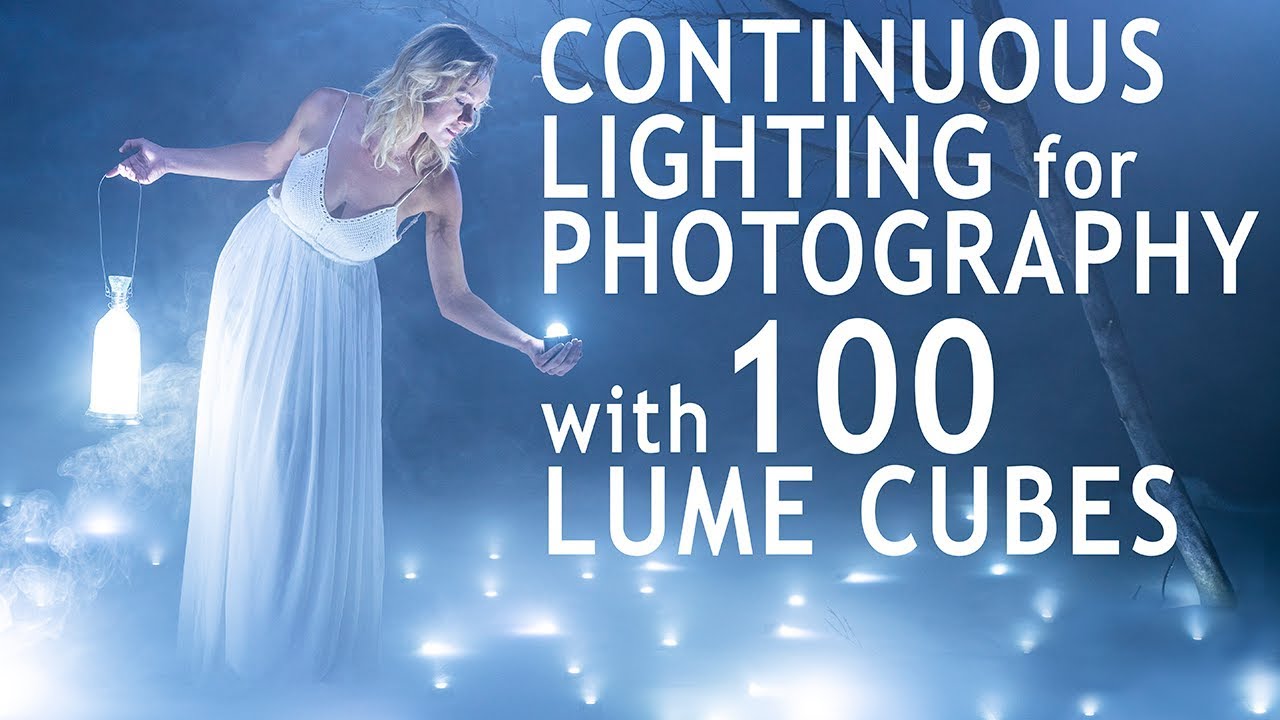
The subject here is continuous LED lighting for still photography - specifically using Lume Cubes at scale, up to 100 units on a large production set. If that number makes you flinch, don’t let it. JP is clear from the start: the principles governing 100 Lume Cubes govern 2 of them just as cleanly. What he’s really teaching is how to think about light output, diffusion, and the stop-by-stop relationship between your sources. That’s something I can use on a commercial beauty shoot with three lights or on a full set build with a dozen. The gear is an illustration of the concept, not the concept itself.
What I find valuable about this particular tutorial is that it treats continuous light as a legitimate choice for still work rather than a compromise. I use strobes for most of my editorial assignments, but there are real reasons to reach for continuous sources - predictability, the ability to see your light before you shoot, and the fact that certain clients and art directors think better when they can see a lit scene in real time rather than chimping between pops.
Step 1: Understand Why Continuous Light Changes How You Think About Exposure
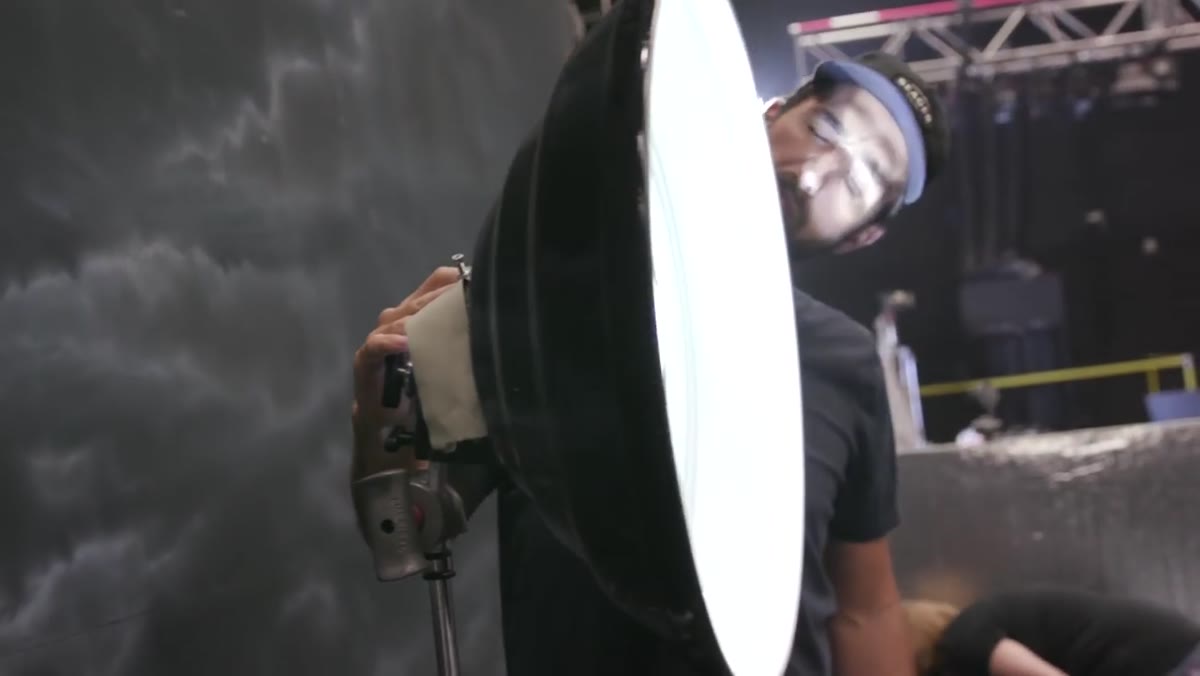 JP explaining the value of continuous light for setup
Before touching any gear, JP lays down the foundational case for continuous sources: what you see is what you get. With strobes, you’re constantly modeling and approximating. With continuous LEDs, the light on your subject is the light in your frame. That changes how you learn to light. You can walk around your subject, watch shadows move, and read the quality of the source in real time.
JP explaining the value of continuous light for setup
Before touching any gear, JP lays down the foundational case for continuous sources: what you see is what you get. With strobes, you’re constantly modeling and approximating. With continuous LEDs, the light on your subject is the light in your frame. That changes how you learn to light. You can walk around your subject, watch shadows move, and read the quality of the source in real time.
For photographers coming from a strobe background, this is the adjustment: you’re not building a scene in your head and confirming it with test pops. You’re reading the scene directly. It’s slower in some ways, more intuitive in others. Treat it as a drawing exercise, not a technical one.
Step 2: Establish Your Key Light First and Set Exposure to Match It
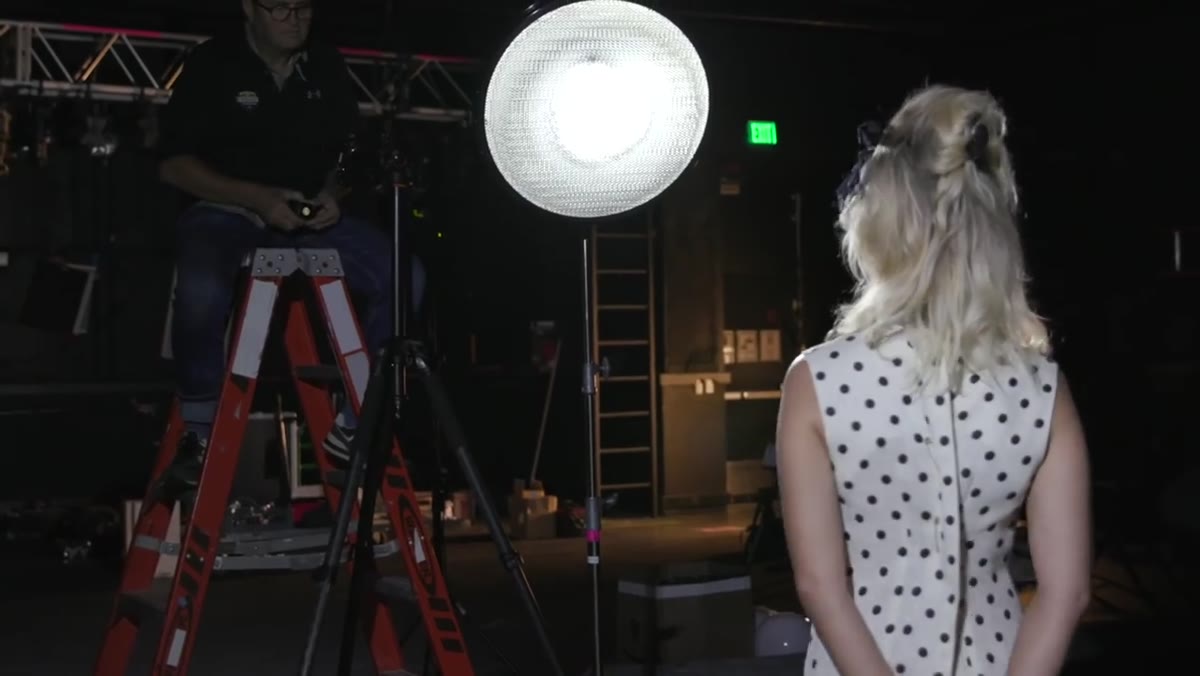 Discussing key light as the anchor for exposure settings
Your key light is your anchor. Set your aperture and shutter speed for the key light, then build every other source around it. This sounds obvious, but it’s the principle most beginners violate first. They add a rim light, decide it looks good, and then try to fix the key to match. That’s working backward and it costs you control.
Discussing key light as the anchor for exposure settings
Your key light is your anchor. Set your aperture and shutter speed for the key light, then build every other source around it. This sounds obvious, but it’s the principle most beginners violate first. They add a rim light, decide it looks good, and then try to fix the key to match. That’s working backward and it costs you control.
JP is specific here: the key light gets your exposure. Everything else is measured in stops relative to that. You’re not setting the rim light to “looks bright enough.” You’re setting it to roughly one stop brighter than your key, which gives you edge separation without blowing out the highlight on the shoulder or cheek.
Step 3: Ratio Your Rim Light One Stop Above the Key
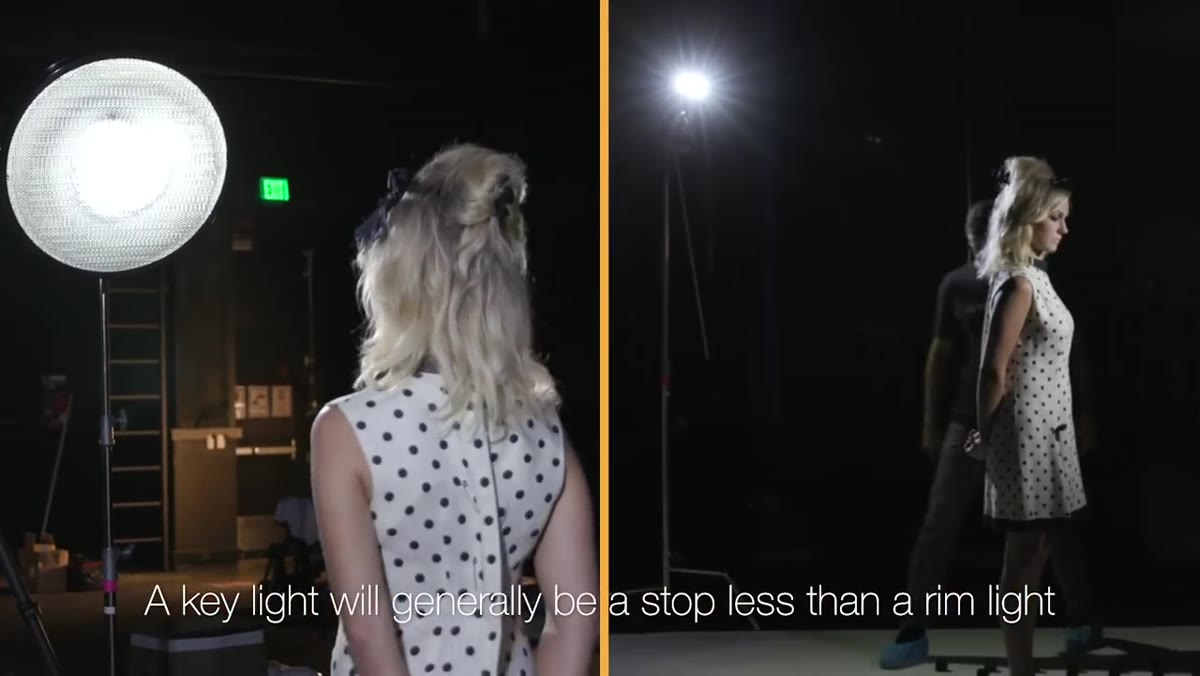 Explaining the one-stop rim light principle
The rim light - the source that separates your subject from the background - wants to be harder and brighter than the key. JP’s rule: roughly one stop hotter. This gives you that clean edge without the rim light washing into the key side of the face. Achieving this with continuous LEDs requires either adding diffusion to the key (which drops its output and lets you run the rim at full power), or adding a second unit to the rim side to push it past the key’s value.
Explaining the one-stop rim light principle
The rim light - the source that separates your subject from the background - wants to be harder and brighter than the key. JP’s rule: roughly one stop hotter. This gives you that clean edge without the rim light washing into the key side of the face. Achieving this with continuous LEDs requires either adding diffusion to the key (which drops its output and lets you run the rim at full power), or adding a second unit to the rim side to push it past the key’s value.
This is the moment where diffusion becomes a practical tool rather than an aesthetic one. Putting diffusion in front of your key light isn’t just softening the source. It’s a way to deliberately reduce its intensity so you have room to run other lights harder without losing the ratio. I label every modifier in my studio with masking tape - the gel type, the diffusion stop value - because once you start working this way, knowing exactly what your diffusion is cutting becomes critical.
Step 4: Use Background Lights Slightly Brighter Than Key for Clean Separation
 Discussing background light brightness and separation
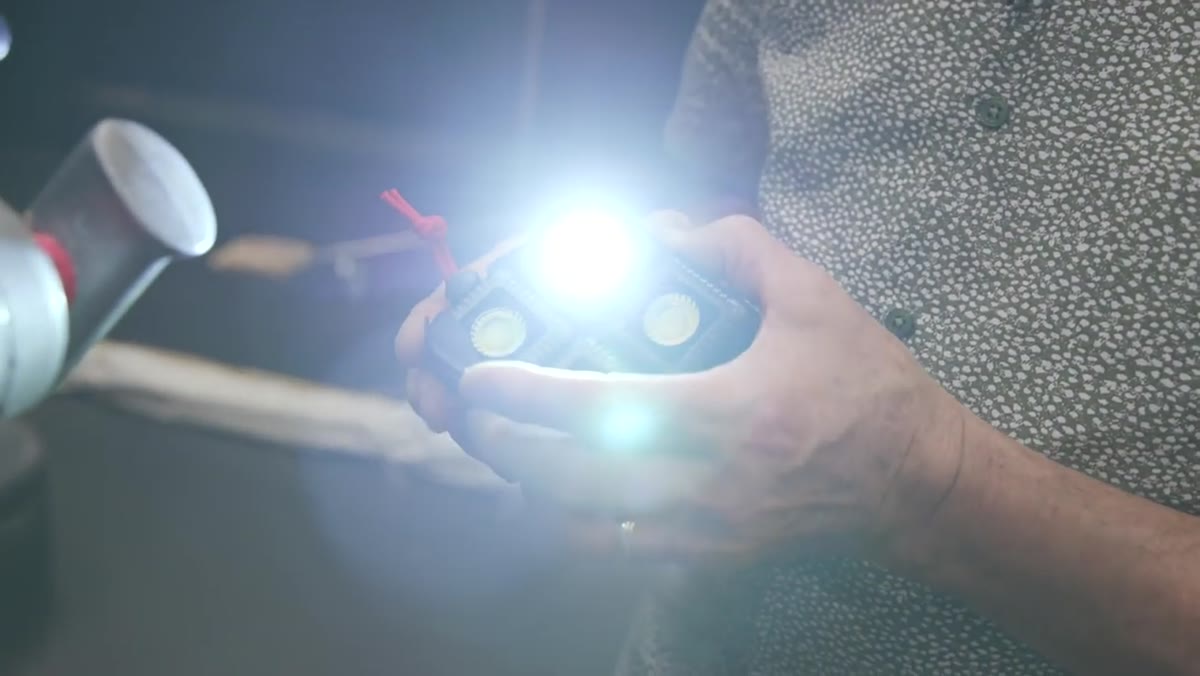
The same one-stop logic applies to your background. A background that matches your key in exposure value tends to flatten your image. Pushing the background slightly hotter than the key creates depth - the subject reads as existing in front of the background rather than against it. JP uses clusters of Lume Cubes at the back of the set to achieve this, but the principle transfers to any source.
Discussing background light brightness and separation
The same one-stop logic applies to your background. A background that matches your key in exposure value tends to flatten your image. Pushing the background slightly hotter than the key creates depth - the subject reads as existing in front of the background rather than against it. JP uses clusters of Lume Cubes at the back of the set to achieve this, but the principle transfers to any source.
Watch your background value carefully with continuous lights because the camera is metering live. Pull the histogram up and make sure the background is riding high but not clipping. A stop above key is a starting point. A stop and a half can look beautiful on a fog-heavy set like the ones in this tutorial.
Step 5: Build Atmosphere with Practical Light Sources and Smoke
 Four Lume Cubes lighting background with fog on set
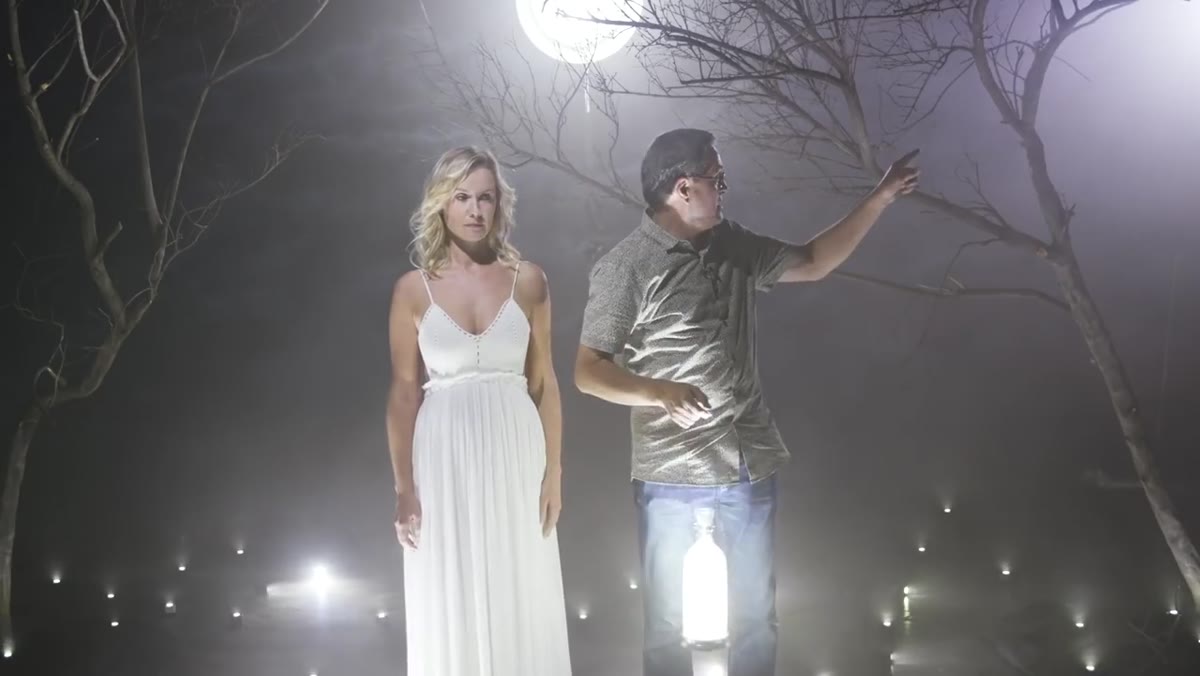
On the large production set in the tutorial, JP treats Lume Cubes not just as key and rim sources but as atmosphere builders. Units on the ground at low power glow through fog. A beauty dish with four units shining through it creates a backlit moon effect on the background. A single unit inside a practical lantern prop, dialed to around 30-40 percent power with diffusion added, puts light directly on the subject’s face from a source that reads as part of the scene.
Four Lume Cubes lighting background with fog on set
On the large production set in the tutorial, JP treats Lume Cubes not just as key and rim sources but as atmosphere builders. Units on the ground at low power glow through fog. A beauty dish with four units shining through it creates a backlit moon effect on the background. A single unit inside a practical lantern prop, dialed to around 30-40 percent power with diffusion added, puts light directly on the subject’s face from a source that reads as part of the scene.
This is the part I find most instructive for production work. The light has a reason to exist within the story of the image. When I shoot beauty campaigns, I try to apply the same thinking - can this source justify itself visually, not just technically? A bare LED pointed at a cheekbone does something different from one shining through a paper lantern, even if the exposure values are similar.
Step 6: Adjust Power Through Addition, Not Just Dimming
 Demonstrating stop increments: f/8 to f/11 to f/16
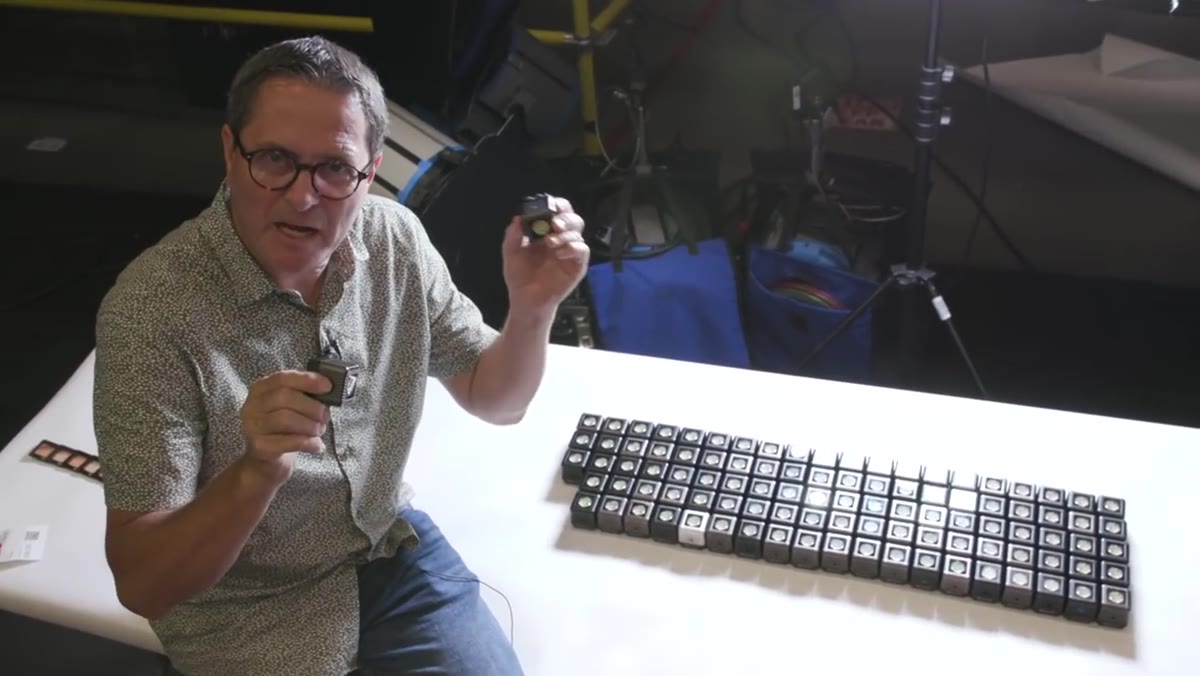
If every source is already at full power, you have no room left to maneuver. JP demonstrates this clearly with the math: f/8 to f/11 to f/16, each stop requiring you to either pull another source down or add a new one. The implication for continuous LED work is that you want to build your setup with some power headroom. Start your key at a moderate output, not maximum. That way your rim and background lights have somewhere to go above it.
Demonstrating stop increments: f/8 to f/11 to f/16
If every source is already at full power, you have no room left to maneuver. JP demonstrates this clearly with the math: f/8 to f/11 to f/16, each stop requiring you to either pull another source down or add a new one. The implication for continuous LED work is that you want to build your setup with some power headroom. Start your key at a moderate output, not maximum. That way your rim and background lights have somewhere to go above it.
With smaller LED units specifically, the temptation is to run everything at 100 percent because the output is modest compared to a large strobe. Resist it. Stacking multiple units at lower individual settings is better than maxing one out and losing your ability to ratio.
What I’d Add from My Own Experience
The tutorial doesn’t spend much time on color temperature consistency, which is the one area where continuous LED arrays can bite you if you’re not careful. When you’re running 10 or more units from the same manufacturer at matched color temperatures, you’re usually fine. Where it gets tricky is when you start mixing brands, or mixing LEDs with any practical tungsten sources on set. I calibrate every light source against an X-Rite ColorChecker before a shoot - it takes 10 minutes and has saved me more than once on jobs where the client wanted deliverables the same day.
If you’re serious about building continuous lighting setups for studio stills, sketch your diagrams as you go. Not after. The habit of drawing the setup mid-build forces you to see the light logically rather than just visually, and that’s where real lighting literacy comes from.
The single most important principle in this tutorial is one you can carry into any studio situation regardless of what lights you own: expose for your key, ratio everything else against it, and never let your rim or background fall below the key if you want depth and separation. Master that relationship and the rest is modifier selection.
Watch the full tutorial on YouTube to see JP walk through all three setups in action - the scale of the production makes the ratios immediately visible in a way that’s hard to appreciate from description alone.
Comments (3)
Shared this with my photography group. Everyone loved it.
Love how you break down complex stuff into manageable steps.
Couldn't agree more. I've seen this make a huge difference in color grading work specifically.
Leave a Comment