There’s a specific kind of problem that comes up when you move from studio work into narrative film or hybrid video, and it’s not about cameras. It’s about committing to lighting setups that have to read as real environments while still looking like something a cinematographer would be proud of. I’ve wrestled with this on commercial jobs where the client wants “cinematic” but the location is a kitchen at 6pm with one window and a builder-grade overhead fixture. You can’t just dump a softbox in the corner and hope it reads as natural.
That’s why I keep coming back to tutorials from working shooters who are actually solving these problems on location, not on a soundstage with a full grip package. In this The Slanted Lens tutorial, Jay P. Morgan walks through the final lighting sequences of a comedic short film about a husband sneaking out to golf. It sounds simple. The setups are not. What he’s actually demonstrating is how to layer practical-looking light across three completely different scenarios, each with its own constraints, using a combination of tungsten, LED, and fluorescent sources. I sketched every setup into my lighting journal after watching it twice.
The video covers three distinct shooting situations: a window exterior sequence, a car wheel rig shot, and a car interior shot. Each one required a different approach to the same core challenge, which is making the viewer feel like the light exists in the world of the scene rather than on a set. Here’s how he built each one.
Step 1: Establish a Motivated Light Source for the Window Scene
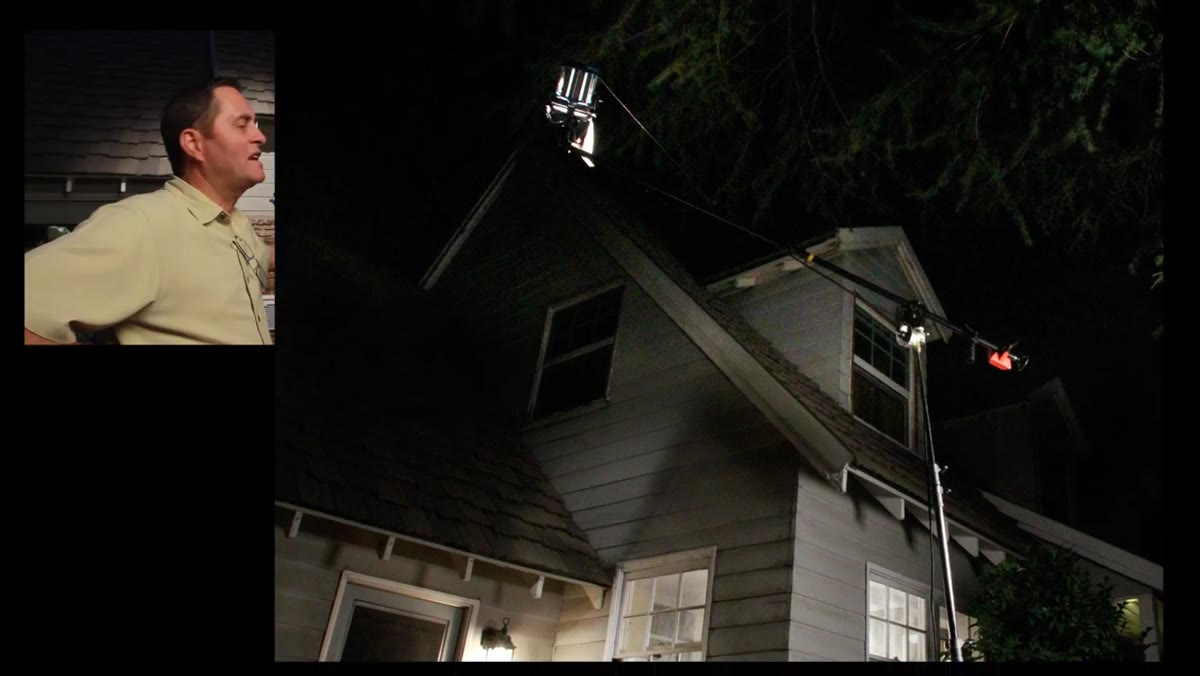 Overhead 1K light positioned above window exterior
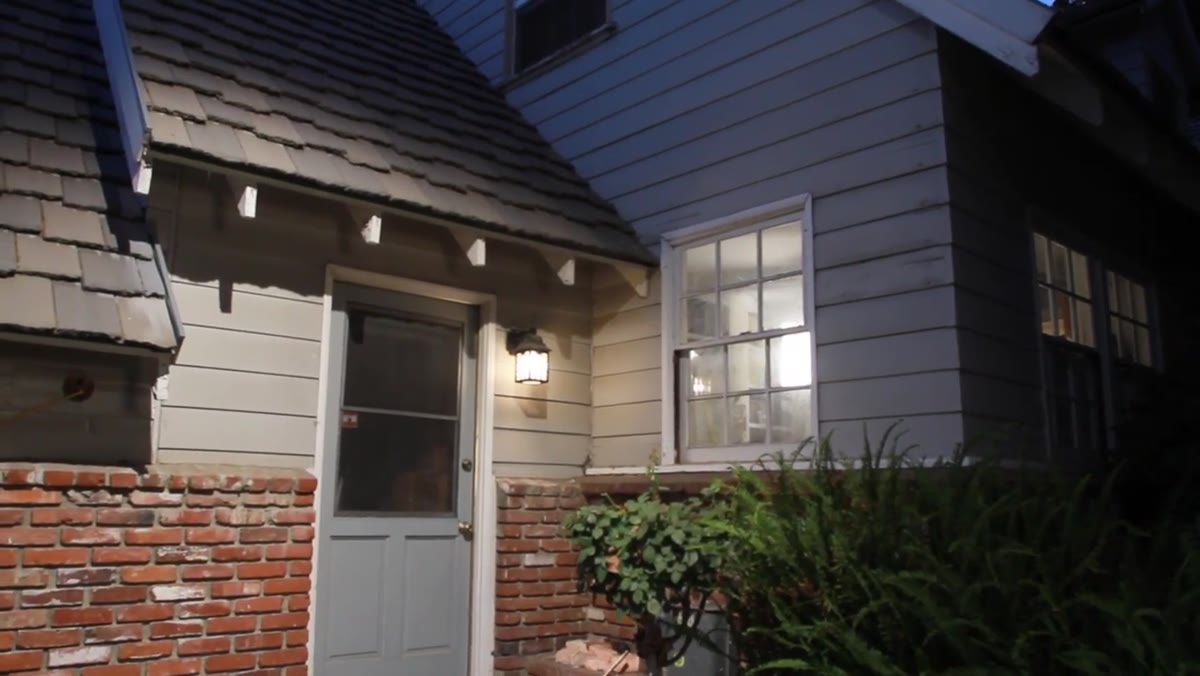
Before a single light gets placed, you need to decide what the audience is supposed to believe is lighting this scene. Morgan’s exterior window setup is built around the logic of pre-dawn light, the kind of flat, directionless grey that exists just before sunrise. To sell that, he positioned a 1K tungsten fixture overhead to give the window itself a soft, ambient glow. The logic is directional: light comes from above at dawn, not from the side. A 1K in this role isn’t blasting the scene, it’s providing just enough to give the window frame and the surrounding exterior surface a faint luminescence that reads as real.
Overhead 1K light positioned above window exterior
Before a single light gets placed, you need to decide what the audience is supposed to believe is lighting this scene. Morgan’s exterior window setup is built around the logic of pre-dawn light, the kind of flat, directionless grey that exists just before sunrise. To sell that, he positioned a 1K tungsten fixture overhead to give the window itself a soft, ambient glow. The logic is directional: light comes from above at dawn, not from the side. A 1K in this role isn’t blasting the scene, it’s providing just enough to give the window frame and the surrounding exterior surface a faint luminescence that reads as real.
Resist the temptation to overlight an exterior darkness scene. The 1K is doing mood work, not exposure work. If you push the output too high, you lose the sense that the scene takes place at an unusual hour. Let the darkness be dark.
Step 2: Add Interior Fill to Motivate the Scene’s Glow
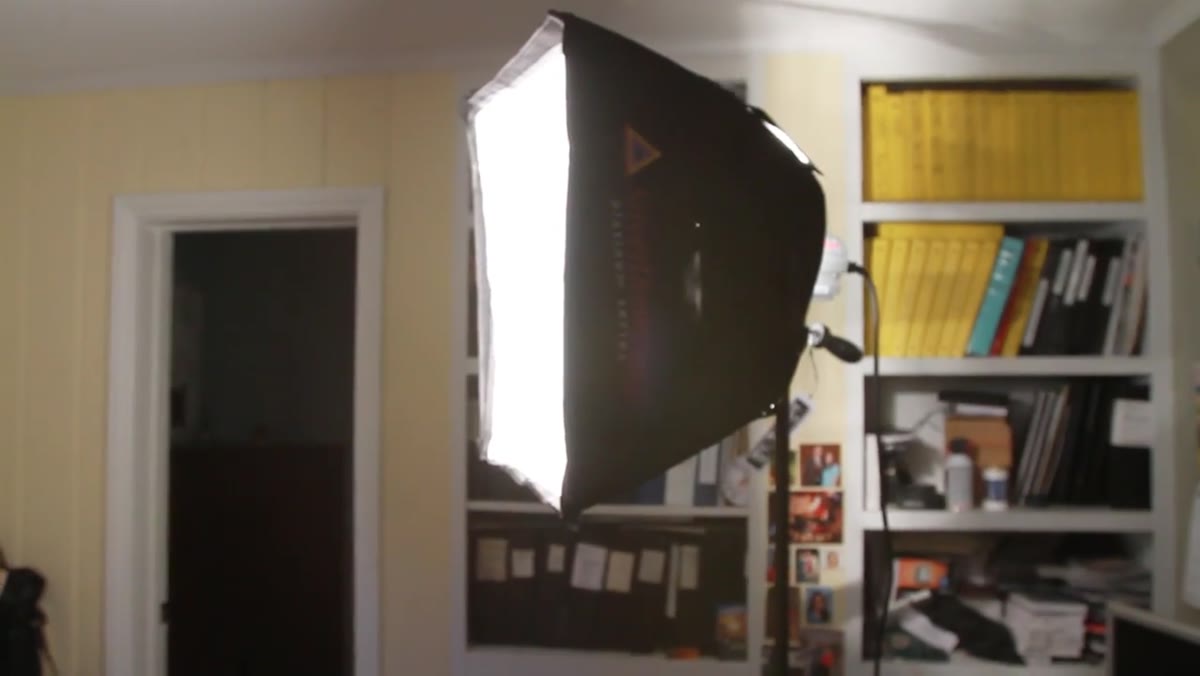 500W softbox inside room illuminating golf clubs
Inside the house, Morgan placed a 500W light in a softbox positioned to throw a warm, interior glow across the room and, critically, to catch the golf clubs as they come through the window. This is exactly the kind of setup I map out in advance when I’m working with props that need to read clearly on camera. The softbox here isn’t lighting the talent, it’s lighting the moment: the clubs, the glass break, the humor of the object. Soft, diffused light from a 500W source at medium distance gives you detail without harsh shadow edges.
500W softbox inside room illuminating golf clubs
Inside the house, Morgan placed a 500W light in a softbox positioned to throw a warm, interior glow across the room and, critically, to catch the golf clubs as they come through the window. This is exactly the kind of setup I map out in advance when I’m working with props that need to read clearly on camera. The softbox here isn’t lighting the talent, it’s lighting the moment: the clubs, the glass break, the humor of the object. Soft, diffused light from a 500W source at medium distance gives you detail without harsh shadow edges.
Pay attention to color temperature. A tungsten softbox running warm alongside a cooler exterior 1K creates a natural temperature split that the camera reads as the difference between inside and outside. That split is doing storytelling work. Don’t correct it out in post.
Step 3: Use a Slider and Follow Focus to Build Kinetic Energy
 Camera on slider with Red Rock Micro follow focus rig
The lighting in this sequence only works if the camera movement supports it. Morgan shot the window sequence with the camera mounted on a slider and a Red Rock Micro rig so he could pull focus as the clubs moved through the frame. A slider adds lateral movement that creates foreground-to-background depth, which is how you make a single-axis action shot feel three-dimensional. The focus pull keeps the audience’s eye on the clubs at the moment of impact.
Camera on slider with Red Rock Micro follow focus rig
The lighting in this sequence only works if the camera movement supports it. Morgan shot the window sequence with the camera mounted on a slider and a Red Rock Micro rig so he could pull focus as the clubs moved through the frame. A slider adds lateral movement that creates foreground-to-background depth, which is how you make a single-axis action shot feel three-dimensional. The focus pull keeps the audience’s eye on the clubs at the moment of impact.
From a lighting standpoint, a moving camera requires your light to work across a range of positions, not just one. A softbox is a better choice here than a hard point source because the quality of the light stays consistent as the camera travels. Test your slider range before you commit to a lighting position.
Step 4: Build a Car Wheel Rig with Practical LED Light
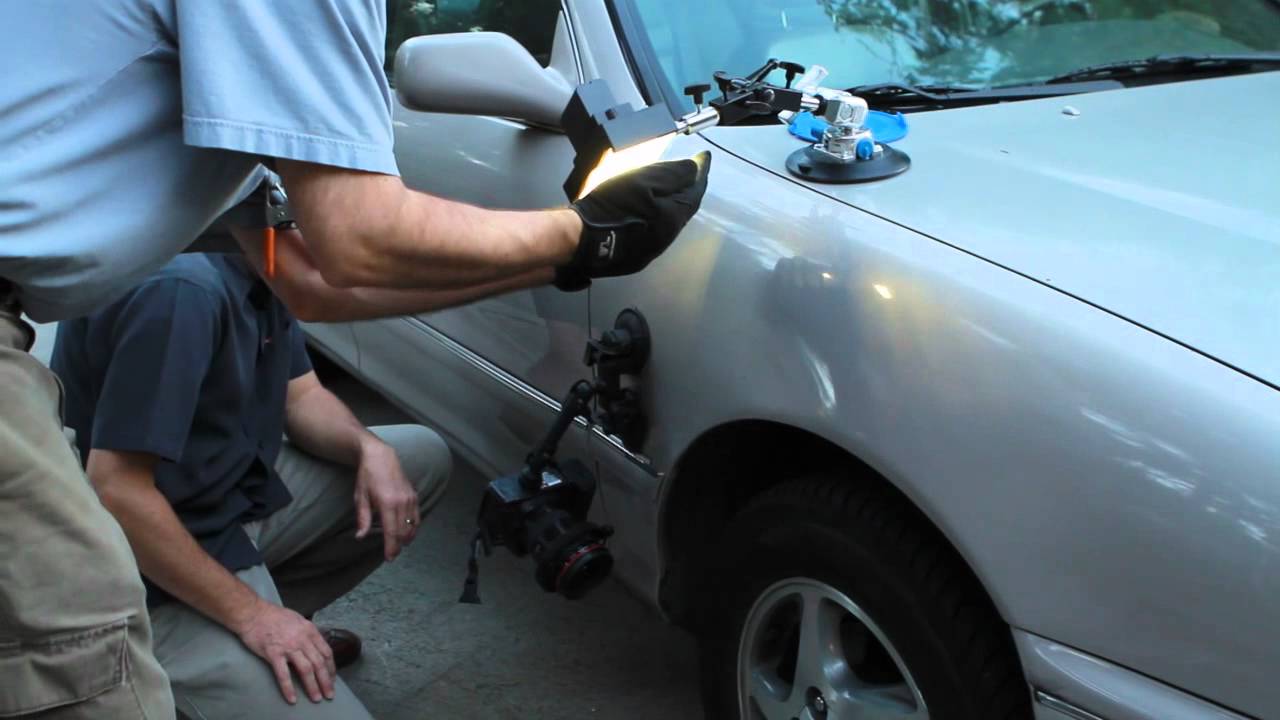
 Camera and LED suction-cupped to car wheel well
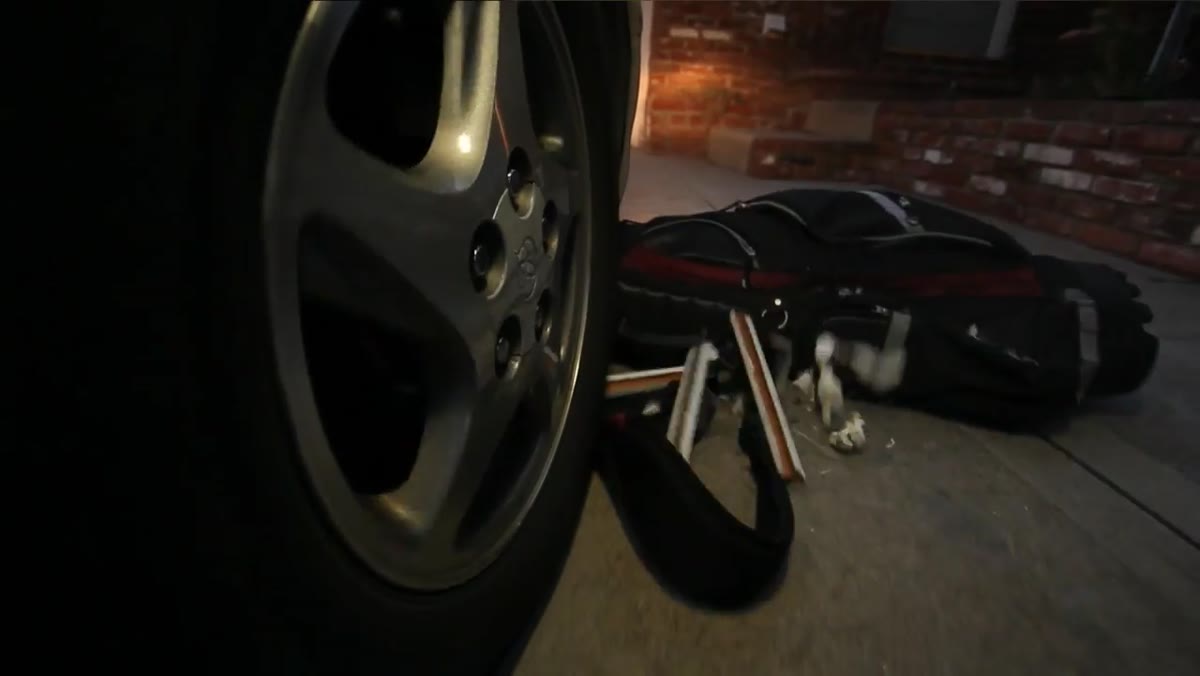
The wheel shot is a good lesson in what “just enough” looks like on a tight production. Morgan mounted a Canon 5D to the car using a suction cup rig, then added a small LED on a rod positioned to throw light onto the wheel and the road surface beneath it. The LED is the only light source in this shot. It’s not there to create drama, it’s there to give the metal of the wheel some surface detail and separate it from the dark ground.
Camera and LED suction-cupped to car wheel well
The wheel shot is a good lesson in what “just enough” looks like on a tight production. Morgan mounted a Canon 5D to the car using a suction cup rig, then added a small LED on a rod positioned to throw light onto the wheel and the road surface beneath it. The LED is the only light source in this shot. It’s not there to create drama, it’s there to give the metal of the wheel some surface detail and separate it from the dark ground.
For road-level or wheel-mounted shots, small LEDs are ideal because they’re low-profile, battery-powered, and can be rigged in positions that a traditional light stand can’t reach. The color temperature of most daylight LEDs works well against exterior asphalt, which tends to read warm. A piece of twine secured the rig, which is a reminder that production improvisation is a skill worth developing.
Step 5: Layer Three Sources for the Car Interior Shot
 LED suction-cupped to car window lighting talent
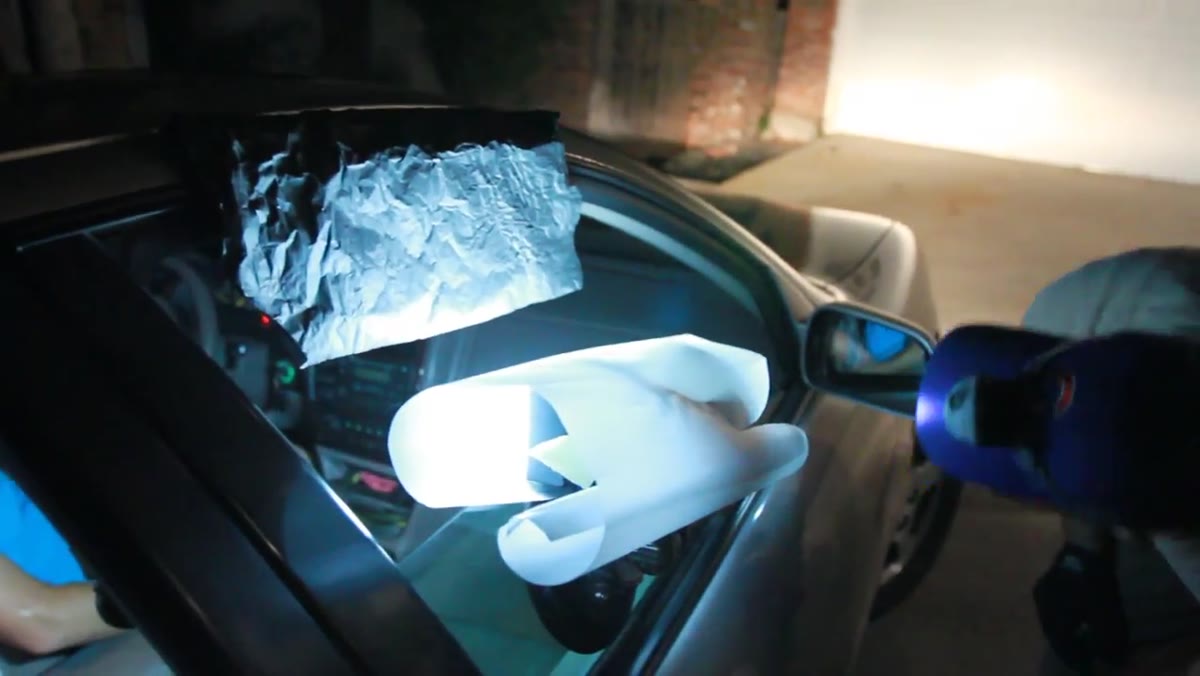
The interior car shot is where the lighting gets most layered. Morgan needed to show the talent in the foreground with the rear window visible behind, while golf clubs come through that window. He split the work across three sources: an LED on a suction cup on the side window for key light on the talent, a fluorescent Kino Flo in the rear window as fill to open up the back of the car, and a 500W softbox on the exterior to give the scene a sense of outside ambient light.
LED suction-cupped to car window lighting talent
The interior car shot is where the lighting gets most layered. Morgan needed to show the talent in the foreground with the rear window visible behind, while golf clubs come through that window. He split the work across three sources: an LED on a suction cup on the side window for key light on the talent, a fluorescent Kino Flo in the rear window as fill to open up the back of the car, and a 500W softbox on the exterior to give the scene a sense of outside ambient light.
The key principle here is separation. You’re dealing with a very shallow environment (the inside of a car) where everything is close together and the background is right behind your subject. The rear fluorescent fill stops the back of the car from going completely black, which would flatten the frame. The exterior softbox provides motivation for why there would be any light outside at all. These three sources each have a job. Don’t collapse them into one.
What I’d Add: Test Your Color Mix Before You Commit
I learned the hard way on an early editorial job that mixing tungsten, LED, and fluorescent sources without checking your color mix under the actual camera settings will ruin your grade. The three-source car interior setup Morgan describes is a version of a problem I’ve photographed my way through in product work: different light types running simultaneously, each with a slightly different green or magenta bias. Before you roll on a setup like this, pull a still frame, drop it into your editing software, and check the color channels. What looks balanced to your eye on a monitor may have a fluorescent green push that only shows up in the shadows.
This is especially true if you’re shooting a lot of coverage. Color inconsistency between setups will cost you more in post than the ten minutes it takes to check before you shoot.
The single most transferable idea in this tutorial is that motivated light beats correct light every time. Morgan isn’t building these setups to hit a technically perfect exposure. He’s building them to make the viewer believe the world exists. That discipline, choosing every source based on what it’s supposed to represent inside the story, is the difference between lighting a scene and just illuminating it.
Watch the full tutorial on YouTube to see the finished film and all three setups in context.
Comments
Leave a Comment