
Corporate portrait work has quietly become one of the more technically demanding things I do on a regular basis. Clients want that outdoor, organic feel - the kind of background that melts into soft color behind a sharp, confident face. Sounds simple until you’re standing in a courtyard with 30 feet of usable space, a sun that’s about to crest the wrong roofline, and someone’s CEO in a blazer waiting for you to look like you know exactly what you’re doing. I’ve sketched that scenario in my lighting journal more than once.
When I came across this tutorial from Jay P. Morgan at The Slanted Lens, I watched it twice before I even touched my gear. Jay walks through an actual on-location corporate shoot - real client, real constraints, real solutions. Watch the full tutorial on YouTube before or after reading this, because seeing the space he’s working with makes every decision he explains land harder.
What I want to do here is pull the technique apart step by step, the way I’d explain it to someone who just walked into a location shoot with me and needed to get up to speed fast.
Step 1: Read the Space Before You Set Anything Up
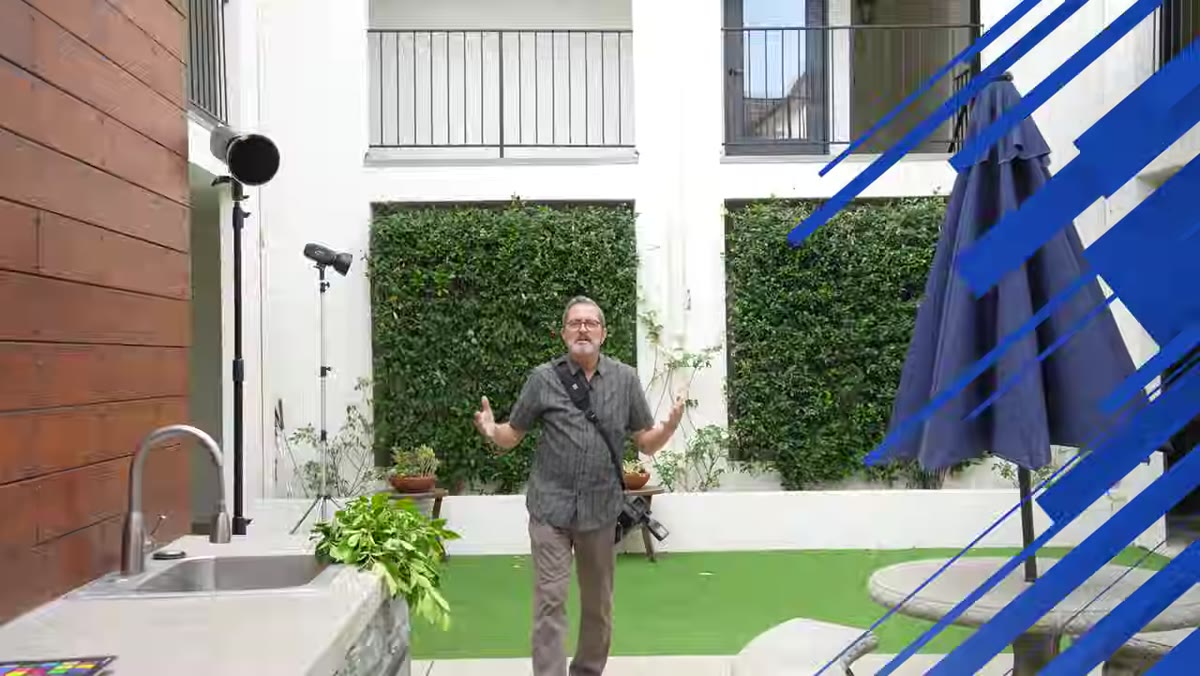 Jay standing in courtyard assessing available background
The first thing Jay does on location isn’t set up a light. It’s assess the background and figure out what has to be managed. In a tight courtyard, you’re not fighting a bad background so much as negotiating with an incomplete one. He identified a green wall worth keeping, a hard white line at the back that would slice through the frame if left alone, and some architectural corners that would look out of place in an organic portrait.
Jay standing in courtyard assessing available background
The first thing Jay does on location isn’t set up a light. It’s assess the background and figure out what has to be managed. In a tight courtyard, you’re not fighting a bad background so much as negotiating with an incomplete one. He identified a green wall worth keeping, a hard white line at the back that would slice through the frame if left alone, and some architectural corners that would look out of place in an organic portrait.
His fixes were simple and smart: small tables placed to interrupt the white line on either side of where the subject would stand, and cut branches laid in to cover a distracting corner. Neither of those choices required extra gear. They required looking. Before you set up a single stand, walk the space and ask what the camera will actually see at your intended focal length and height.
Step 2: Choose Your Focal Length Based on Background Distance, Not Habit
 Jay handling 70-200mm lens and discussing focal length options
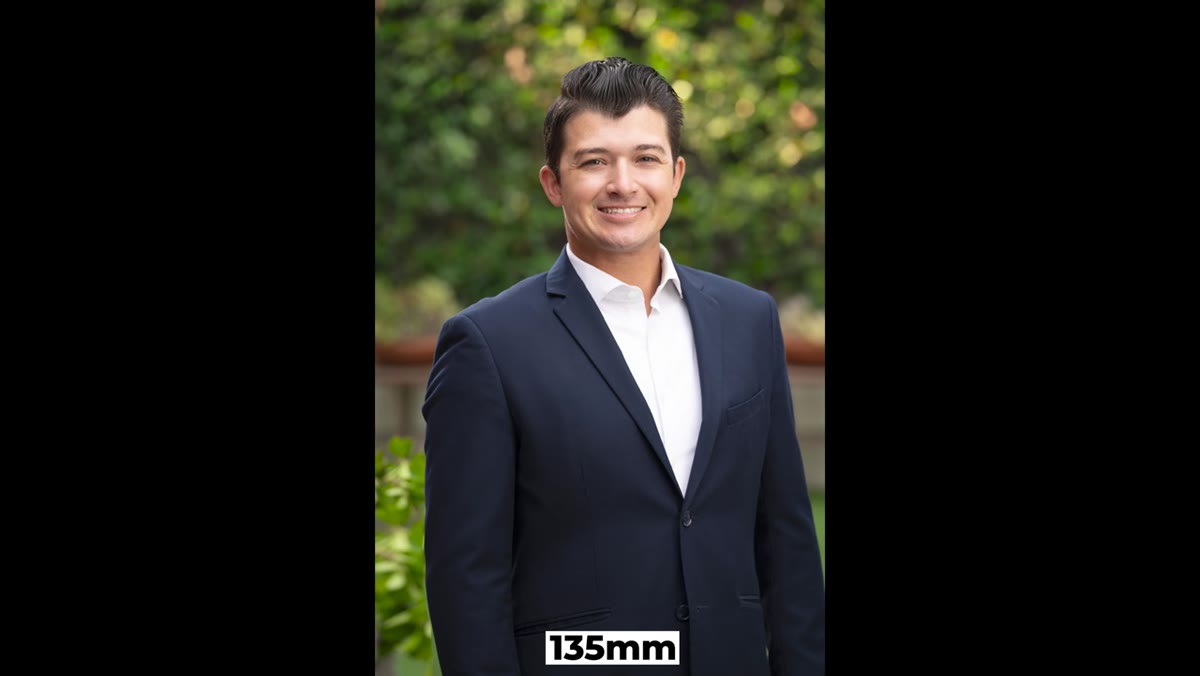
Jay’s default for outdoor corporate work is a 70-200mm zoom, which gives him flexibility to work between 85mm and 135mm depending on what the background is doing. For this particular shoot, the usable background was close - there wasn’t 200 feet of fall-off room - so he pulled the subject forward and went to 135mm to compensate.
Jay handling 70-200mm lens and discussing focal length options
Jay’s default for outdoor corporate work is a 70-200mm zoom, which gives him flexibility to work between 85mm and 135mm depending on what the background is doing. For this particular shoot, the usable background was close - there wasn’t 200 feet of fall-off room - so he pulled the subject forward and went to 135mm to compensate.
This is the part most photographers get backwards. They think longer focal lengths are for compressing distance between subject and background. But Jay’s using 135mm here specifically because the background is close and he needs the lens compression to make that short distance still render as soft, pleasing bokeh. The relationship between focal length and apparent background blur is directly tied to how far the background sits relative to your focus plane. When background distance is limited, reach for more focal length. It’s a cleaner solution than trying to find more room.
Step 3: Set ISO First, Then Let Aperture and Shutter Follow
 Camera settings display showing ISO 100 selection
Jay starts at ISO 100, and I do the same. This is your anchor. Clean files start with the lowest usable ISO, especially outdoors where you have enough light to work with. There’s no creativity happening at this step - it’s just discipline.
Camera settings display showing ISO 100 selection
Jay starts at ISO 100, and I do the same. This is your anchor. Clean files start with the lowest usable ISO, especially outdoors where you have enough light to work with. There’s no creativity happening at this step - it’s just discipline.
From ISO 100, he moved to aperture. His choice here was f/4 rather than f/2.8, even though his lens was capable of the wider opening. The reasoning is practical: at 135mm, f/4 still produces beautiful background separation, but it gives him enough depth of field to keep the subject’s face fully sharp from nose to ear. On close portrait work, f/2.8 can be punishing if focus lands even slightly off - you risk losing an eye or softening one side of the face. f/4 at 135mm is a disciplined sweet spot for professional headshot work where sharpness across the face is non-negotiable.
Step 4: Use a Shutter Speed That Controls Ambient Without Killing Flash Sync
 Camera display showing 1/250th second shutter speed setting
Jay’s starting shutter speed was 1/250th of a second, which for most cameras sits right at or just inside the mechanical sync limit. This is important because he’s using strobes. Go faster than your sync speed and you’ll see a curtain shadow cutting across the frame - a mistake I made on an editorial shoot early in my career that cost me half a day’s work.
Camera display showing 1/250th second shutter speed setting
Jay’s starting shutter speed was 1/250th of a second, which for most cameras sits right at or just inside the mechanical sync limit. This is important because he’s using strobes. Go faster than your sync speed and you’ll see a curtain shadow cutting across the frame - a mistake I made on an editorial shoot early in my career that cost me half a day’s work.
At 1/250th, you’re cutting a meaningful amount of ambient light without losing the ability to sync your flash. That ratio between ambient and strobe output is how you control whether the image looks like available light with a subtle fill, or clearly strobed. Outdoors in daylight, the shutter speed is one of your primary exposure tools because ISO is locked low and aperture is set for depth of field purposes. Adjust shutter to taste once flash power is dialed in.
Step 5: Position Lighting to Work With the Sun, Not Against It
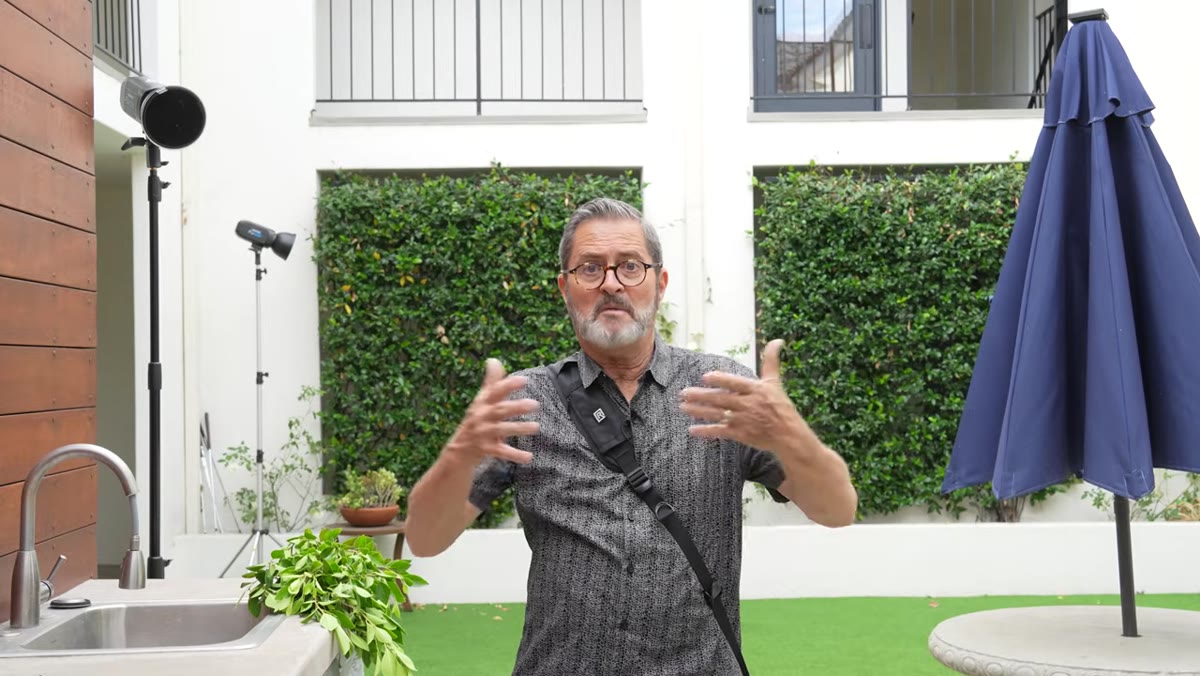 Jay describing sun position relative to subject placement
Jay oriented the subject so the sun would come up behind them as the shoot progressed. That turns a potential problem - harsh backlight - into a free rim light that adds separation between subject and background. The strobes handle the front-facing exposure while the sun does exactly what you’d otherwise spend money on a hair light to achieve.
Jay describing sun position relative to subject placement
Jay oriented the subject so the sun would come up behind them as the shoot progressed. That turns a potential problem - harsh backlight - into a free rim light that adds separation between subject and background. The strobes handle the front-facing exposure while the sun does exactly what you’d otherwise spend money on a hair light to achieve.
This kind of thinking is why location work rewards photographers who scout and plan. The sun isn’t a problem to solve. It’s a light source with a fixed position and a predictable arc. If you know where it’s going to be, you can let it work for you. Position your subject so that arc becomes an asset.
What I’d Add From My Own Work
The one thing Jay doesn’t dig into here - understandably, given the video’s scope - is color temperature management when you’re mixing strobes with ambient daylight. Daylight shifts color temperature throughout the day. Early morning light runs cooler, midday pushes toward neutral, late afternoon gets warm fast. If your strobes are set to 5600K and the ambient is pushing 4200K in open shade, your subject’s face will look different than the background in ways that are annoying to fix in post.
I keep a small color checker card in my kit for exactly this reason. Shoot a reference frame at the start of the session and again any time the light changes significantly. It’s a 30-second habit that has saved hours of retouching on more jobs than I can count. On outdoor corporate work especially, where the client expects clean, consistent results across a batch of individual portraits, consistency in color temperature is as important as consistency in exposure.
The single most important thing in this tutorial is Jay’s logic for choosing f/4 over f/2.8 at 135mm. It sounds like a minor decision. It’s actually the difference between portraits that look controlled and professional, and portraits where you’re apologizing for soft focus in post. When depth of field is this shallow, small aperture choices have large consequences.
Watch the full tutorial on YouTube to see Jay’s lighting setup in full detail and watch how these decisions play out across multiple subjects in the same session.
Comments
Leave a Comment