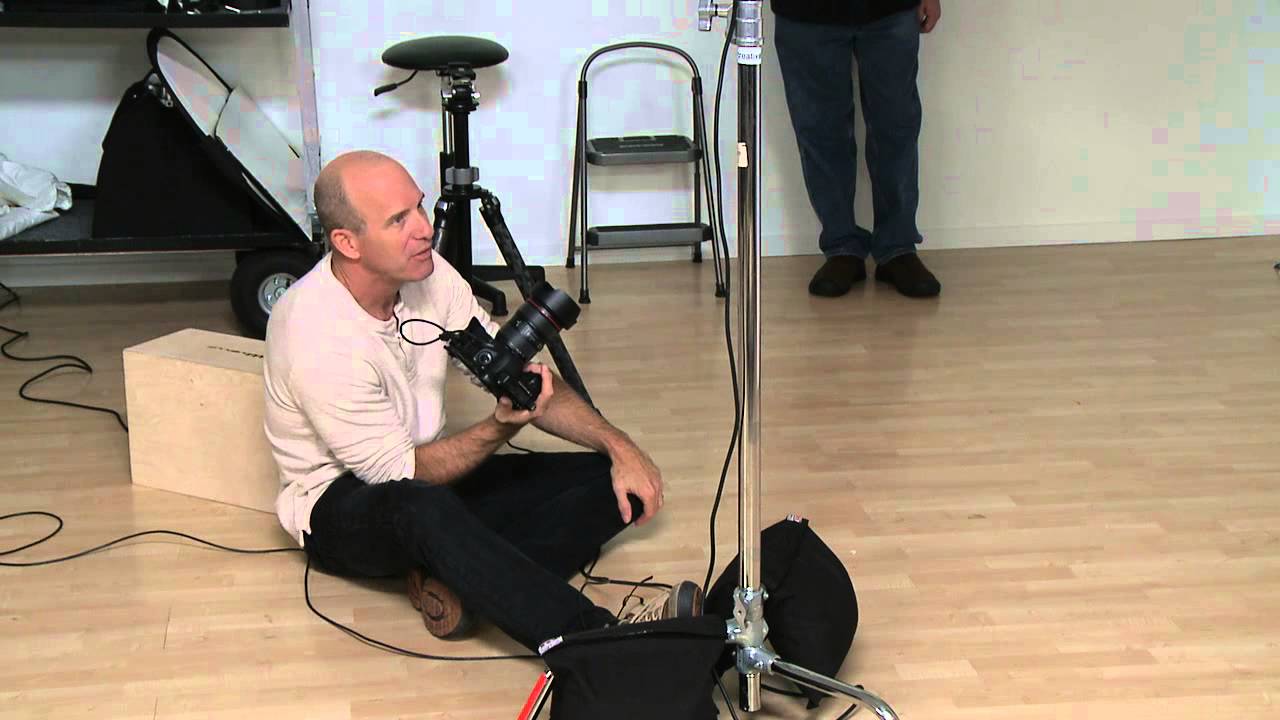
Client calls. They want a basketball player suspended in mid-air, full body, dramatic. Studio shoot. You’ve done plenty of studio work, but capturing genuine hang time with a ball in frame, limbs fully extended, while keeping every edge inside the crop area – that’s a different problem entirely. It’s a timing and communication challenge as much as a lighting one. I had this exact brief land in my lap last spring, and I found myself rewatching a CreativeLive tutorial with Joel Grimes more than once to work out the approach. Watch the full tutorial on YouTube
Grimes is a commercial photographer with deep roots in this kind of work, and what makes his tutorials useful is that he doesn’t perform confidence. He fumbles. He misses the frame. He adjusts. That’s what a real shooting session looks like, and it’s what makes the technique actually transferable. What follows is my breakdown of the method, with the practical notes I added from my own attempts.
Step 1: Assess Your Ceiling Height Before You Touch a Camera
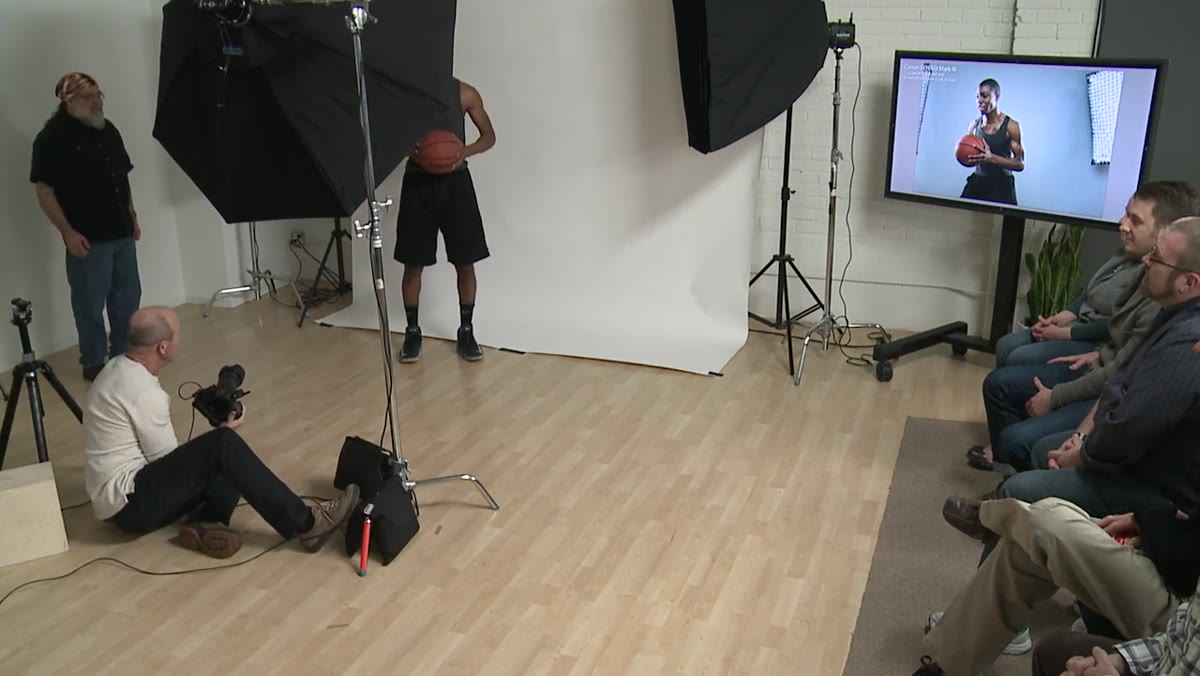 Grimes looking upward, athlete reaching toward ceiling rafters
The first thing Grimes flags – and it catches him off guard on camera – is ceiling height. His subject is tall, the jump is explosive, and suddenly hands are disappearing into the rafters. Before you set up a single light, measure your usable vertical space. Stand your athlete in position and have them raise both arms fully overhead. That ceiling clearance number determines everything: your camera angle, whether you can shoot portrait or landscape orientation, and whether the concept is even viable in that space.
Grimes looking upward, athlete reaching toward ceiling rafters
The first thing Grimes flags – and it catches him off guard on camera – is ceiling height. His subject is tall, the jump is explosive, and suddenly hands are disappearing into the rafters. Before you set up a single light, measure your usable vertical space. Stand your athlete in position and have them raise both arms fully overhead. That ceiling clearance number determines everything: your camera angle, whether you can shoot portrait or landscape orientation, and whether the concept is even viable in that space.
If you’re working in a standard commercial studio with 12-foot ceilings and your subject is 6'4" with a 7-foot wingspan, you have almost no margin. Know this before the client arrives.
Step 2: Get Off the Tripod for Jumping Shots
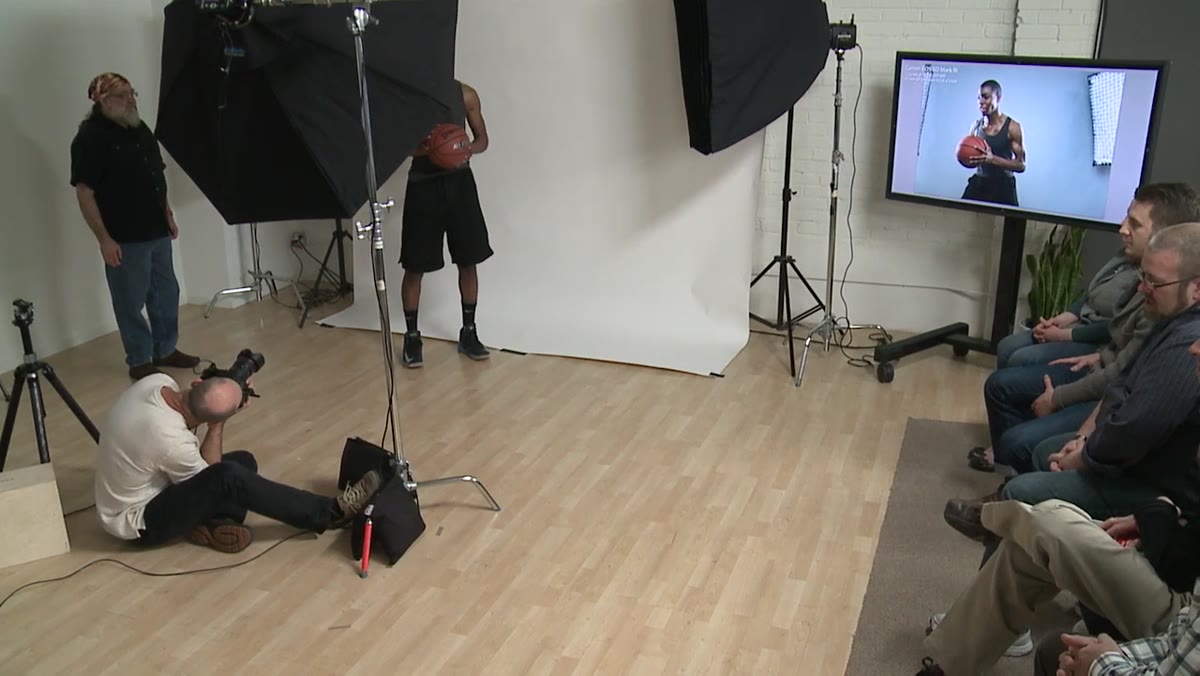 Grimes removing camera from tripod, repositioning lower
Grimes pulls his camera off the tripod to handle this shoot, and that’s the right call. A tripod locks you into one framing, and jumping athletes almost never repeat the same shape twice. You need to be able to drop low, tilt the camera upward slightly, and shift your position laterally when the athlete drifts. Handheld lets you chase the moment rather than hope it comes to you.
Grimes removing camera from tripod, repositioning lower
Grimes pulls his camera off the tripod to handle this shoot, and that’s the right call. A tripod locks you into one framing, and jumping athletes almost never repeat the same shape twice. You need to be able to drop low, tilt the camera upward slightly, and shift your position laterally when the athlete drifts. Handheld lets you chase the moment rather than hope it comes to you.
The trade-off is that you lose the stability that helps with precise framing during a burst. My solution is to shoot with a slightly wider focal length than I think I need, which gives me cropping latitude in post. For this kind of shot I typically stay in the 35-50mm range on a full frame body. Longer lenses compress the action and make the jump look less dynamic.
Step 3: Direct the Athlete Toward a Specific Body Shape, Not Just “Jump”
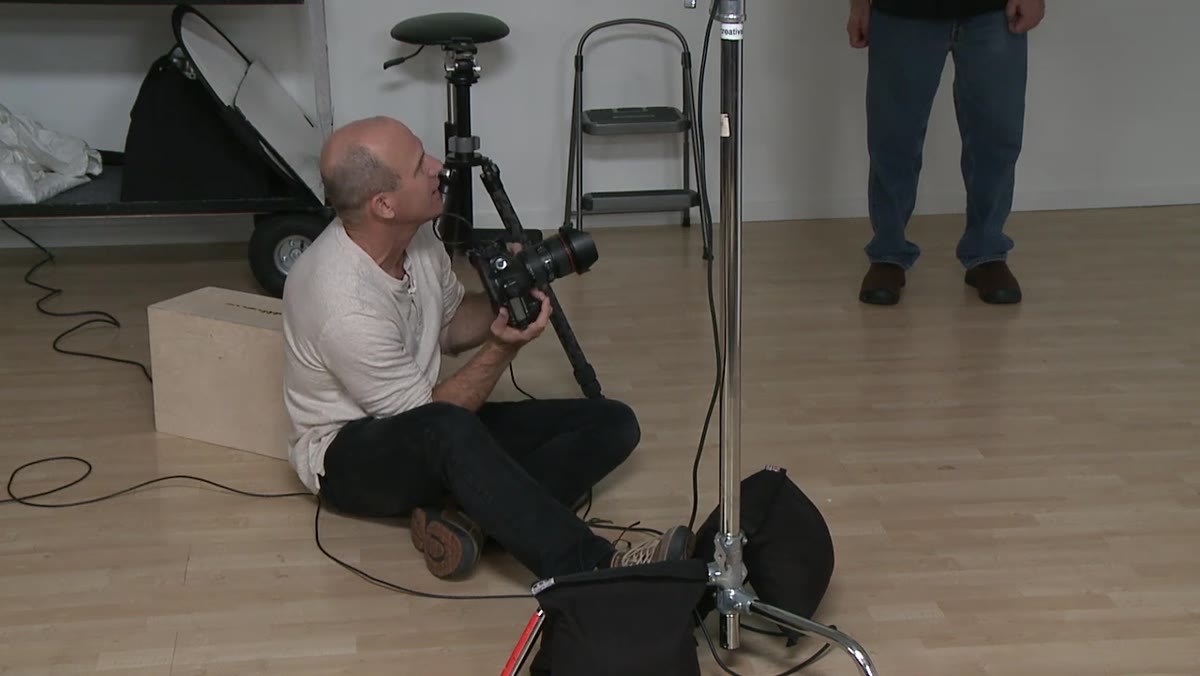 Grimes gesturing to athlete, describing arms-back pose
This is where most photographers lose time. “Jump” is not a direction. Grimes walks his subject through the exact shape he wants – arms back, legs spread wide, body in that recognizable hang-time silhouette. He specifically references Michael Jordan’s iconic spread-eagle pose as a visual shorthand, and it works immediately because the athlete has a reference point locked in his muscle memory.
Grimes gesturing to athlete, describing arms-back pose
This is where most photographers lose time. “Jump” is not a direction. Grimes walks his subject through the exact shape he wants – arms back, legs spread wide, body in that recognizable hang-time silhouette. He specifically references Michael Jordan’s iconic spread-eagle pose as a visual shorthand, and it works immediately because the athlete has a reference point locked in his muscle memory.
Before your shoot, pull reference images. Show your subject exactly what position you’re after: where the arms go, how wide the legs split, what the ball hand looks like at the peak. Spend five minutes on this before the first jump and you’ll burn through far fewer attempts. When I shot a similar project, I taped three reference photos to a reflector stand at eye level so the athlete could glance at them between takes.
Step 4: Call the Shot Early and Account for Shutter Lag and Reaction Time
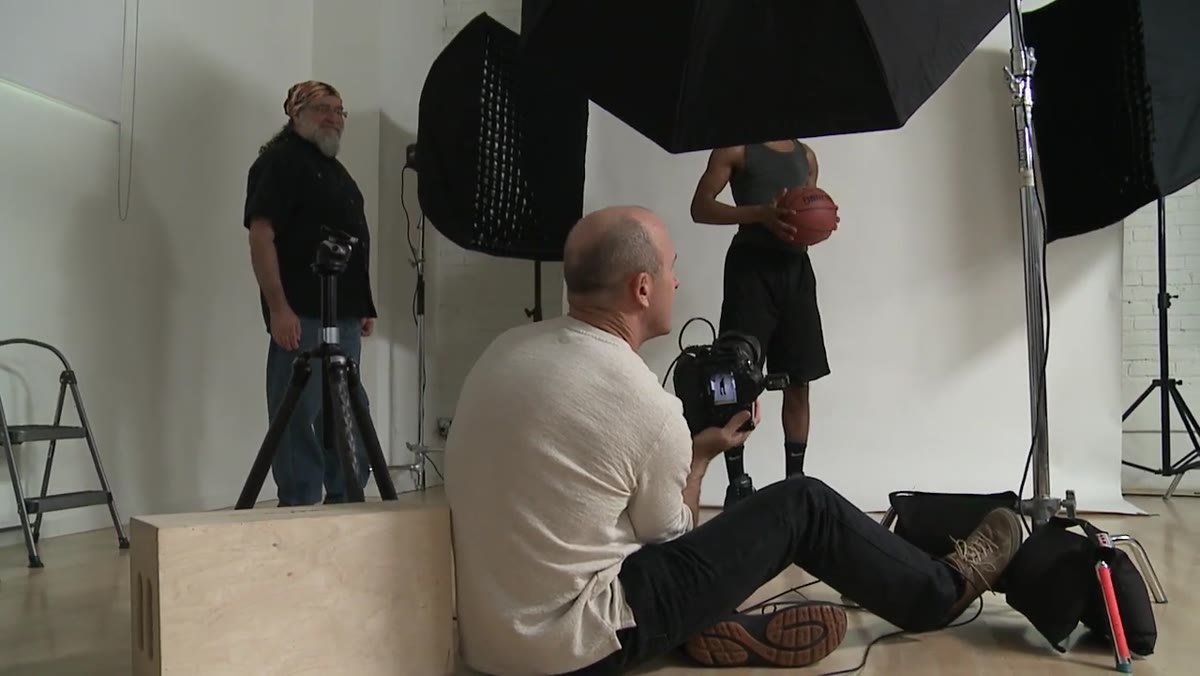 Grimes calling out timing cues to jumping athlete
Grimes misses multiple frames early in the session because he fires either too early or a beat late. He’s honest about it: timing a peak jump is genuinely difficult. The fix is to find a rhythm with your subject. Have them do several practice jumps without firing the camera at all. Watch when they hit peak height. Then establish a verbal cue – Grimes uses simple countdown-style calls – so the athlete knows exactly when to commit to the shape.
Grimes calling out timing cues to jumping athlete
Grimes misses multiple frames early in the session because he fires either too early or a beat late. He’s honest about it: timing a peak jump is genuinely difficult. The fix is to find a rhythm with your subject. Have them do several practice jumps without firing the camera at all. Watch when they hit peak height. Then establish a verbal cue – Grimes uses simple countdown-style calls – so the athlete knows exactly when to commit to the shape.
Set your camera to continuous high burst mode and fire a short burst at the anticipated peak rather than a single frame. On most modern mirrorless systems you’re getting 10-20 frames per second, which gives you a real window. Don’t hold the shutter down for the entire jump – that just generates hundreds of unusable frames and wears out your subject faster.
Step 5: Check for Limbs Trimmed at the Frame Edge After Every Few Takes
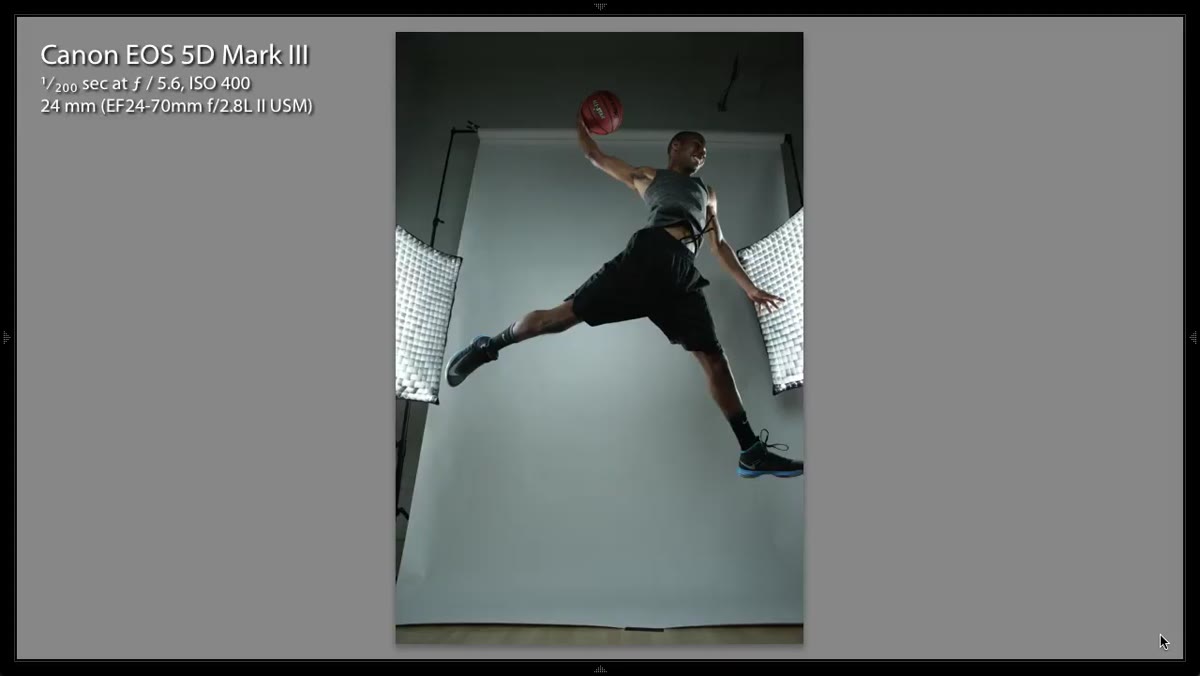 Grimes reviewing LCD, noting trimmed foot at frame edge
Grimes keeps catching a clipped foot or a hand falling outside the frame. He adjusts his position and tries again. This is a rhythm you need to build into the session: shoot a few, chimp for crop issues, adjust framing, repeat. It sounds obvious, but in the energy of a jumping shoot it’s easy to just keep firing and not notice until editing that one foot has been cropped clean off in every usable frame.
Grimes reviewing LCD, noting trimmed foot at frame edge
Grimes keeps catching a clipped foot or a hand falling outside the frame. He adjusts his position and tries again. This is a rhythm you need to build into the session: shoot a few, chimp for crop issues, adjust framing, repeat. It sounds obvious, but in the energy of a jumping shoot it’s easy to just keep firing and not notice until editing that one foot has been cropped clean off in every usable frame.
Check the outermost edges of the frame, not just the focus and exposure. Feet and hands are the first things to fall off the edges when an athlete’s position shifts in the air. If you’re consistently losing one limb, move yourself rather than asking the athlete to compensate – they have enough to think about.
Step 6: Plan the Composite Before You Stop Shooting
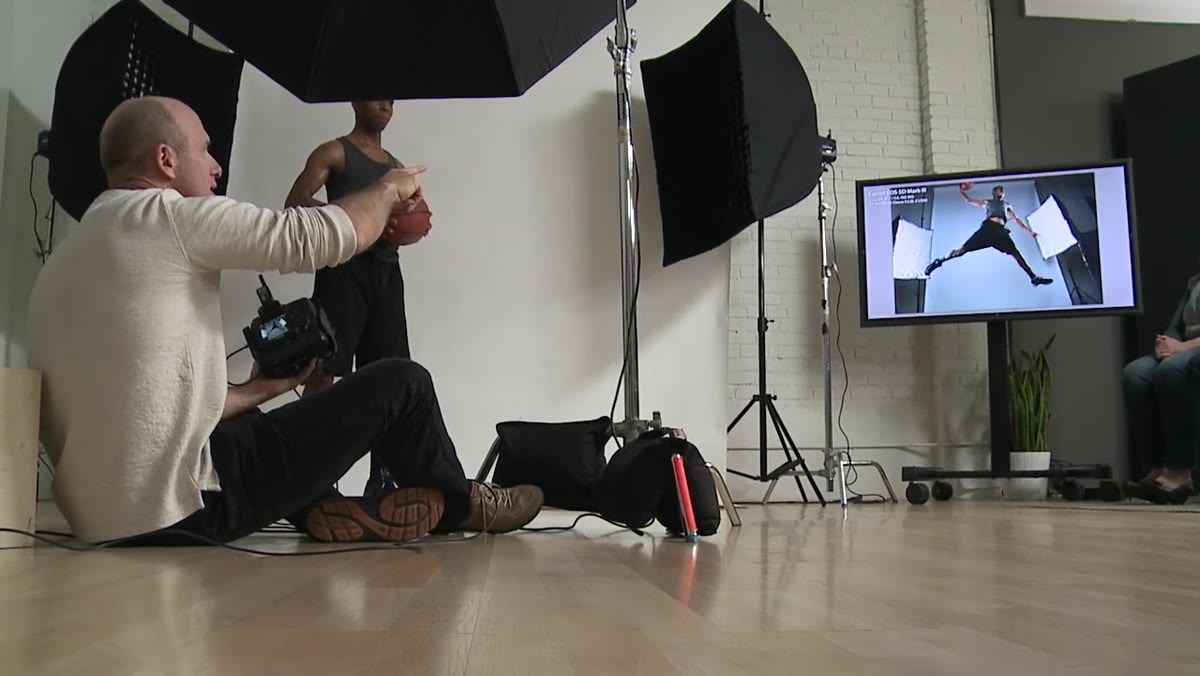 Grimes noting he can combine elements from separate frames
Near the end of the session, Grimes mentions something worth underlining: if you get a frame where the body is perfect but the ball is clipped, you can pull the ball from a different frame and composite it in. He treats this as an obvious option rather than a last resort, and it should free you up mentally during the shoot.
Grimes noting he can combine elements from separate frames
Near the end of the session, Grimes mentions something worth underlining: if you get a frame where the body is perfect but the ball is clipped, you can pull the ball from a different frame and composite it in. He treats this as an obvious option rather than a last resort, and it should free you up mentally during the shoot.
This doesn’t mean get sloppy. It means that if you get 15 takes and one has a perfect body shape with a slightly trimmed prop, you haven’t necessarily failed. Shoot a few clean frames of the prop alone, in position, under the same lighting. That gives you clean source material for the composite later and can save a shot that would otherwise be unusable.
What I’d Add From My Own Studio Work
Athlete fatigue hits faster than you expect. Explosive vertical jumps are exhausting, and after 10 to 12 attempts most subjects are losing height, losing form, or both. I now block the jump portion of any studio sports shoot as the first thing we do, before any other setups, while energy is highest. I also keep a water bottle and a rest minute built into every fourth round of attempts. You’ll get better shapes in attempt 8 if attempt 7 included a 60-second break.
One more thing worth labeling clearly in your session notes: which takes were full-effort jumps and which were practice reps. I keep a shot log on my phone during active shoots, and that habit has saved me more than once when a client asks why frame 47 looks softer than frame 52.
The single most important takeaway from Grimes’s approach is that this kind of shot is an iterative process, not a single decisive moment. You build toward it by communicating clearly, adjusting incrementally, and staying patient through the misses. The athlete tires. The timing is difficult. The framing fights you. But if you stay methodical and keep reviewing after every few takes, the frame you’re after is in there.
Watch the full tutorial on YouTube to see Grimes work through the session in real time – the unedited trial and error is genuinely instructive.
Comments
Leave a Comment