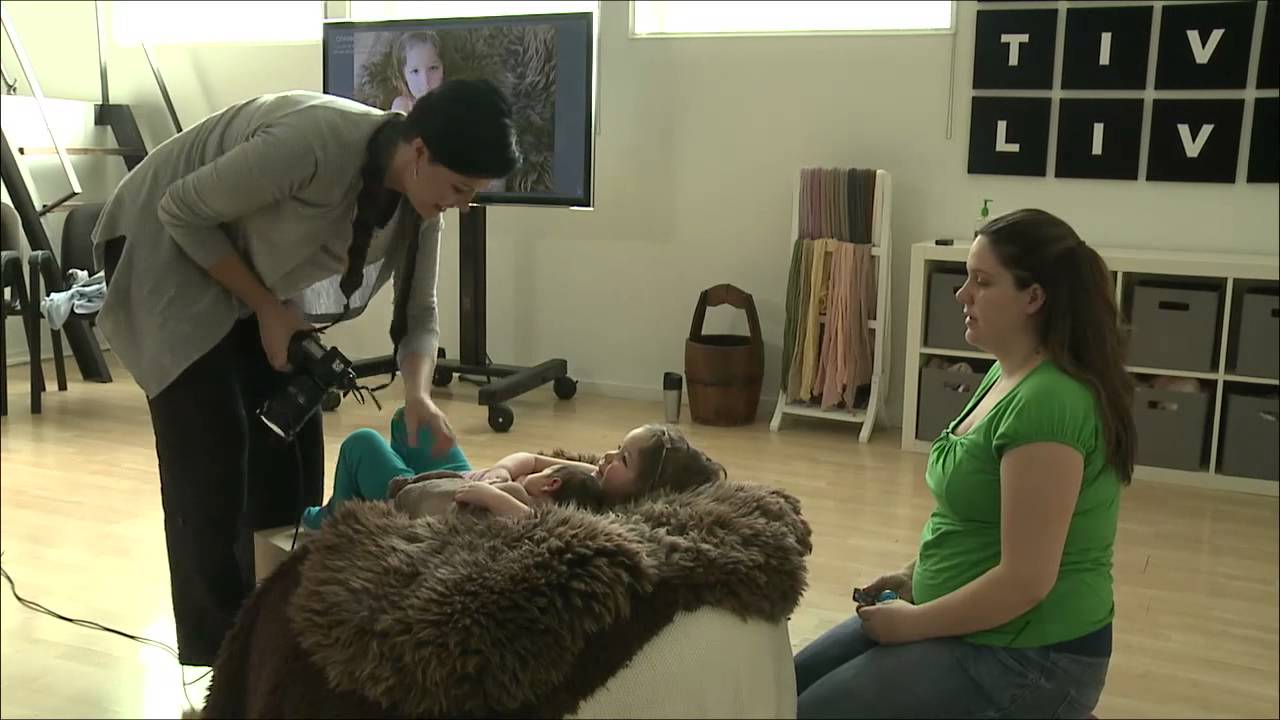
Sibling shots are the ones clients always ask for and the ones that go wrong most often. You have a sleepy, floppy newborn, a toddler who has been sitting still for approximately forty-five seconds of their entire life, and a parent hovering just off-frame radiating anxiety. I have watched otherwise solid studio photographers completely lose control of a session the moment a second child enters the frame. The posing logic that works for a solo newborn does not translate automatically, and improvising in the moment with a family watching you is not where you want to figure that out.
In this CreativeLive tutorial on posing a newborn with a sibling, the photographer works through a real session with a young girl named Scarlet and her baby brother. What I found useful watching it is that the methodology is not just about aesthetics. Every decision, from where the sibling sits to which hand holds what, is solving a specific safety or comfort problem first. The pretty picture is the result of those solutions, not the starting point. I sketched the setup into my lighting journal after watching it twice, and I want to walk through the key moves here so you can follow the logic without needing to pause and rewind.
Watch the full tutorial on YouTube
Step 1: Position the Sibling Before You Bring in the Newborn
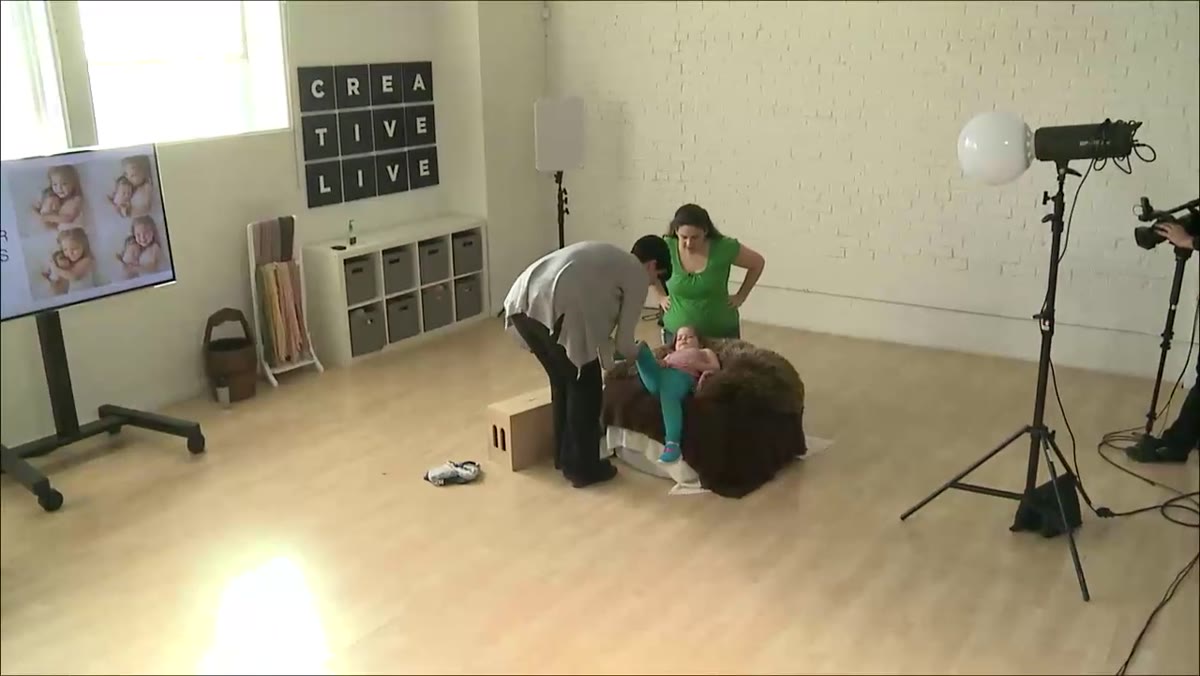 Photographer adjusting the seated sibling’s position on a box
Start with the older child. Get them physically settled, feet supported, bottom positioned where you need it, before the baby is ever in the frame. In the tutorial, a small box is used as a footrest, which does two things: it gives the child something to do with their feet so they are not dangling and fidgeting, and it naturally squares up their hips and lowers their shoulders. A child with unsupported feet is a child who is about to slide, squirm, or both. The footrest is not a prop, it is a stabilizer.
Photographer adjusting the seated sibling’s position on a box
Start with the older child. Get them physically settled, feet supported, bottom positioned where you need it, before the baby is ever in the frame. In the tutorial, a small box is used as a footrest, which does two things: it gives the child something to do with their feet so they are not dangling and fidgeting, and it naturally squares up their hips and lowers their shoulders. A child with unsupported feet is a child who is about to slide, squirm, or both. The footrest is not a prop, it is a stabilizer.
The arm placement comes next. One arm is designated the “strong arm,” positioned to cradle the baby’s weight. This is not decorative. You are engineering a shelf out of a child’s forearm, and you need to set it up before any weight goes on it.
Step 2: Settle the Baby Before You Move Them
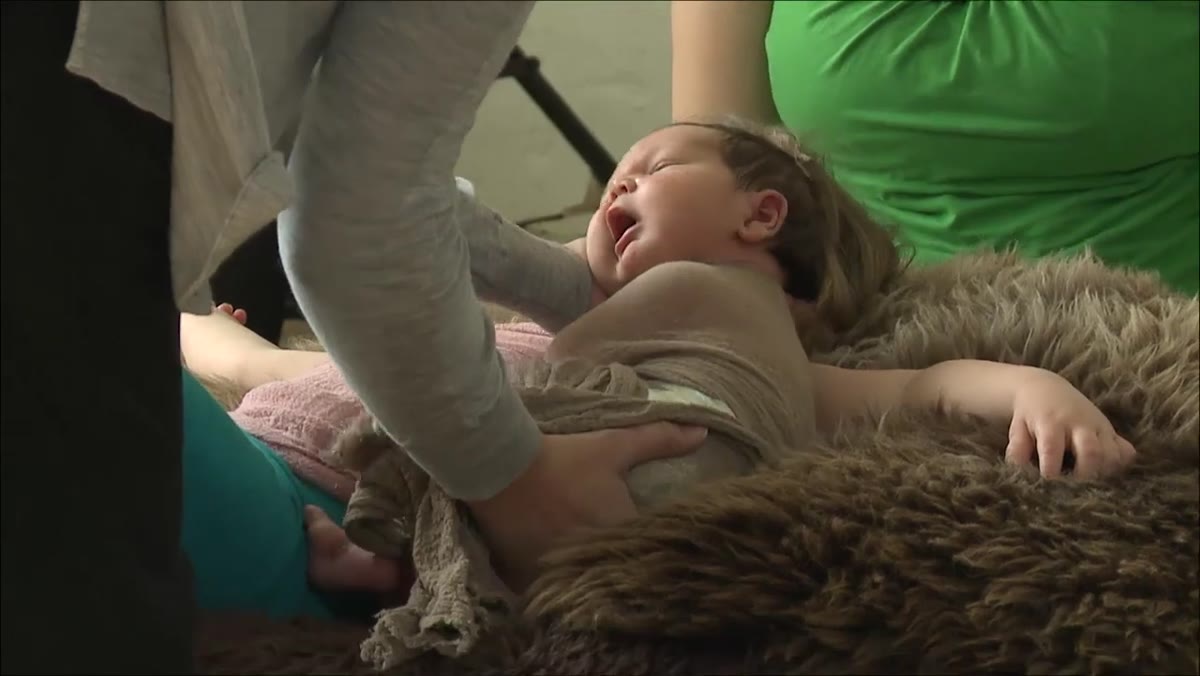 Photographer waiting with hands on swaddled newborn before lifting
This is the part I see photographers rush, and it costs them ten minutes later. Before picking up the newborn and transferring them into the sibling’s arms, wait for the baby to be fully settled. The reasoning in the tutorial is direct: if you keep picking a baby up and putting them back down before they are calm, you are overstimulating them and you will spend the rest of the session chasing a settled state that keeps slipping away. Put your hands on them, let them feel the warmth and pressure, and wait. A fussing baby in a sibling shot is a problem you cannot Lightroom your way out of.
Photographer waiting with hands on swaddled newborn before lifting
This is the part I see photographers rush, and it costs them ten minutes later. Before picking up the newborn and transferring them into the sibling’s arms, wait for the baby to be fully settled. The reasoning in the tutorial is direct: if you keep picking a baby up and putting them back down before they are calm, you are overstimulating them and you will spend the rest of the session chasing a settled state that keeps slipping away. Put your hands on them, let them feel the warmth and pressure, and wait. A fussing baby in a sibling shot is a problem you cannot Lightroom your way out of.
Step 3: Use Cloth Nappies (or Folded Muslins) to Build Hidden Support
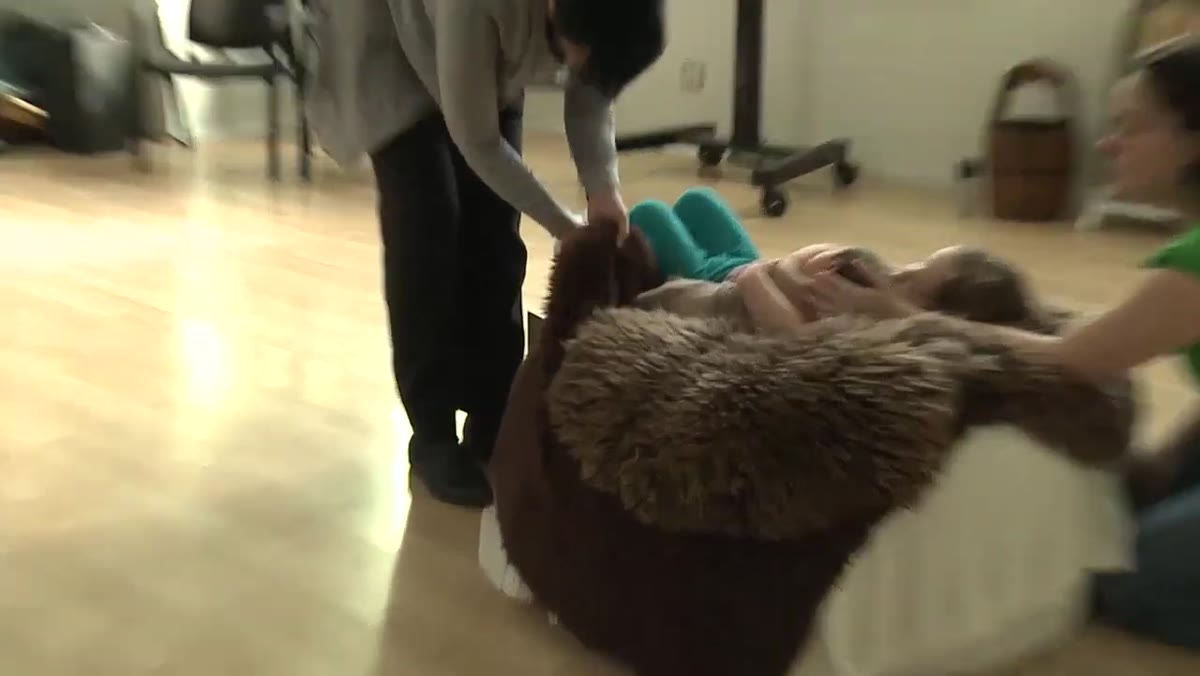 Cloth nappies being tucked under the baby and the sibling’s arm
Once the baby is placed, you will almost certainly find gaps, angles, and contact points that are not quite right. The tutorial uses cloth nappies tucked underneath the baby and beneath the sibling’s arm to close those gaps and provide lift. This is a technique I have replicated using folded muslin squares, which every newborn photographer already has in the studio. You are not padding for aesthetics. You are reducing the load on the child’s arm and removing any instability from the newborn’s position. Tuck, adjust, check that nothing is pulling at the wrap, and then check again from the camera position before you commit.
Cloth nappies being tucked under the baby and the sibling’s arm
Once the baby is placed, you will almost certainly find gaps, angles, and contact points that are not quite right. The tutorial uses cloth nappies tucked underneath the baby and beneath the sibling’s arm to close those gaps and provide lift. This is a technique I have replicated using folded muslin squares, which every newborn photographer already has in the studio. You are not padding for aesthetics. You are reducing the load on the child’s arm and removing any instability from the newborn’s position. Tuck, adjust, check that nothing is pulling at the wrap, and then check again from the camera position before you commit.
Step 4: Bring the Parent’s Hand In as a Hidden Safety Point
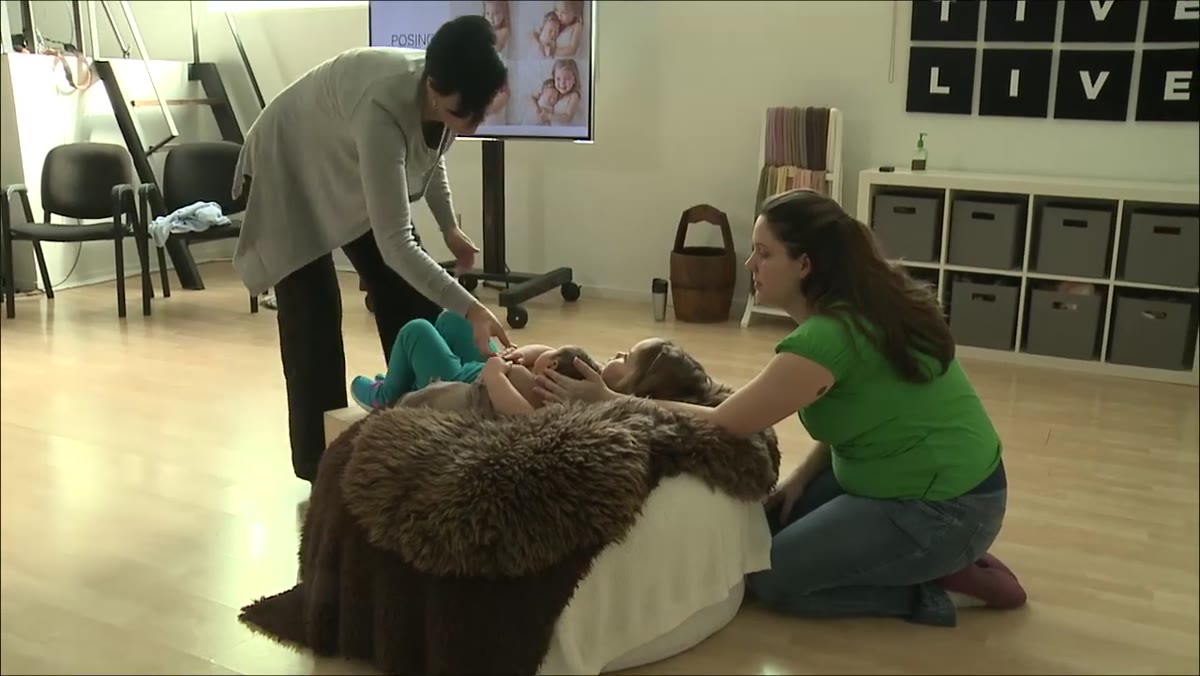 Mother’s hand coming in behind the sibling to support the pose
Mom’s hand comes in behind the sibling to hold the composition together at the back. This is your safety net and it reads as invisible in camera. The parent is not hugging, not leaning in, just providing a firm anchor point so that if the child shifts, nothing collapses. Frame your shot so that hand stays out of the image, or plan to clone it out in post. Either way, do not attempt a sibling pose without at least one parental contact point nearby. The tutorial is clear on this, and I agree completely.
Mother’s hand coming in behind the sibling to support the pose
Mom’s hand comes in behind the sibling to hold the composition together at the back. This is your safety net and it reads as invisible in camera. The parent is not hugging, not leaning in, just providing a firm anchor point so that if the child shifts, nothing collapses. Frame your shot so that hand stays out of the image, or plan to clone it out in post. Either way, do not attempt a sibling pose without at least one parental contact point nearby. The tutorial is clear on this, and I agree completely.
Step 5: Raise the Sibling’s Head to Create Face Connection
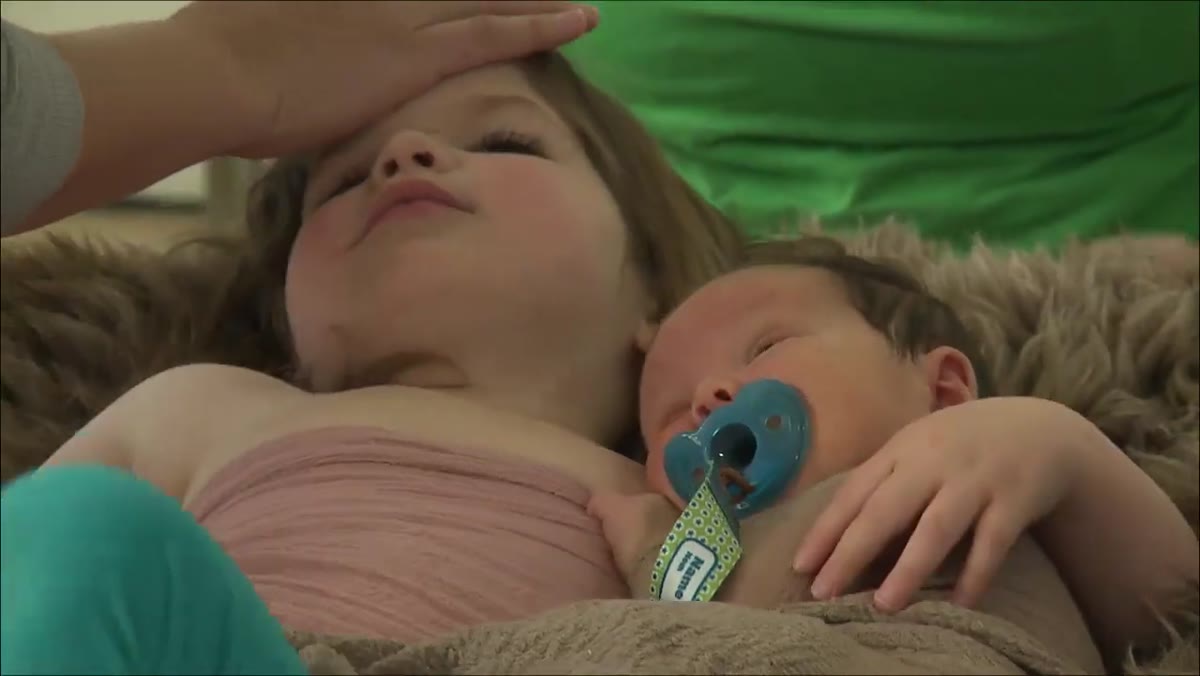 Pillow placed behind sibling’s head to bring chin forward toward baby
This is a small adjustment with a significant visual payoff. A pillow placed behind the sibling’s head tips their chin slightly forward and down toward the baby. Without it, the child tends to look straight ahead or upward, and you get two faces pointing in different directions with no sense of relationship between them. With the chin coming forward, the sibling’s eyeline naturally drops toward the newborn and suddenly the image reads as connection rather than coincidence. Bring the chin toward the baby, not the baby toward the chin.
Pillow placed behind sibling’s head to bring chin forward toward baby
This is a small adjustment with a significant visual payoff. A pillow placed behind the sibling’s head tips their chin slightly forward and down toward the baby. Without it, the child tends to look straight ahead or upward, and you get two faces pointing in different directions with no sense of relationship between them. With the chin coming forward, the sibling’s eyeline naturally drops toward the newborn and suddenly the image reads as connection rather than coincidence. Bring the chin toward the baby, not the baby toward the chin.
Step 6: Turn the Newborn’s Nose Toward the Light Source, Not the Ceiling
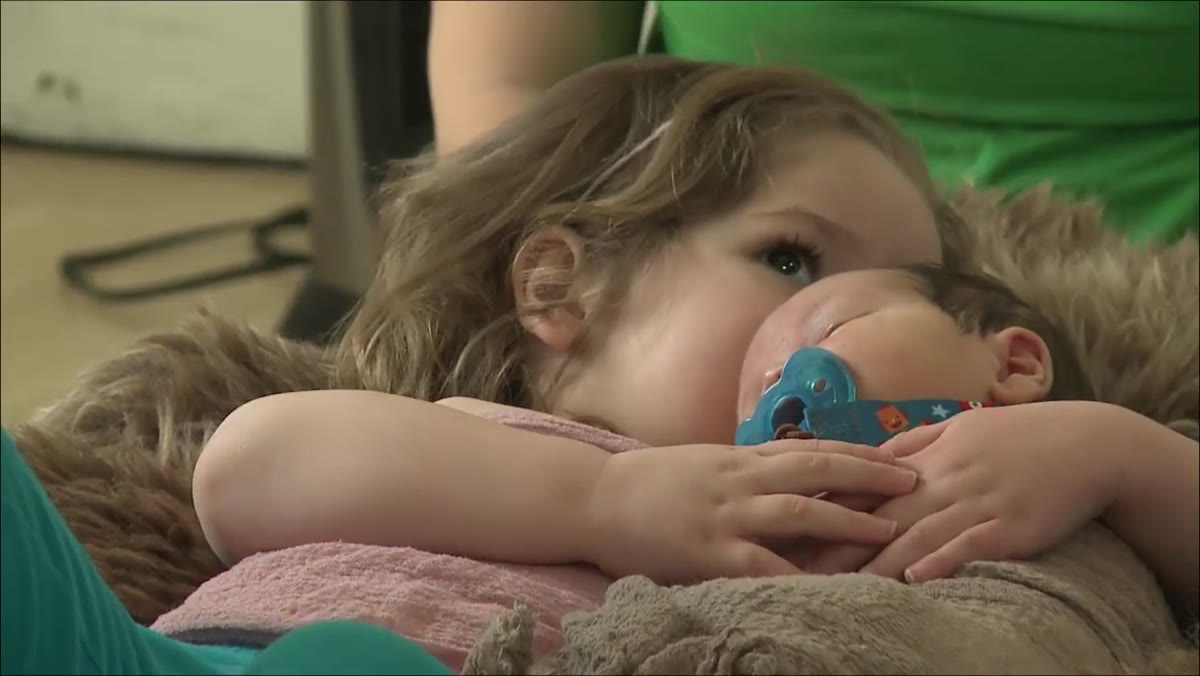 Photographer adjusting baby’s nose angle toward window light
The baby’s face direction is the most fiddly part of this pose and the part where I see the most shortcuts taken. In the tutorial, the photographer does not lift the baby’s head to adjust it. Instead, they work from the hand tucked under the wrap, using minimal movement to rotate the nose toward the window light. Lifting the head risks waking the baby and disrupts the sibling’s hold. Rotating from below keeps the baby settled. The goal is to get a readable face on the newborn without blowing the connection you just built with the sibling’s head position. These two adjustments have to work together.
Photographer adjusting baby’s nose angle toward window light
The baby’s face direction is the most fiddly part of this pose and the part where I see the most shortcuts taken. In the tutorial, the photographer does not lift the baby’s head to adjust it. Instead, they work from the hand tucked under the wrap, using minimal movement to rotate the nose toward the window light. Lifting the head risks waking the baby and disrupts the sibling’s hold. Rotating from below keeps the baby settled. The goal is to get a readable face on the newborn without blowing the connection you just built with the sibling’s head position. These two adjustments have to work together.
Step 7: Lock In Your Exposure With a Test Shot Before Removing the Pacifier
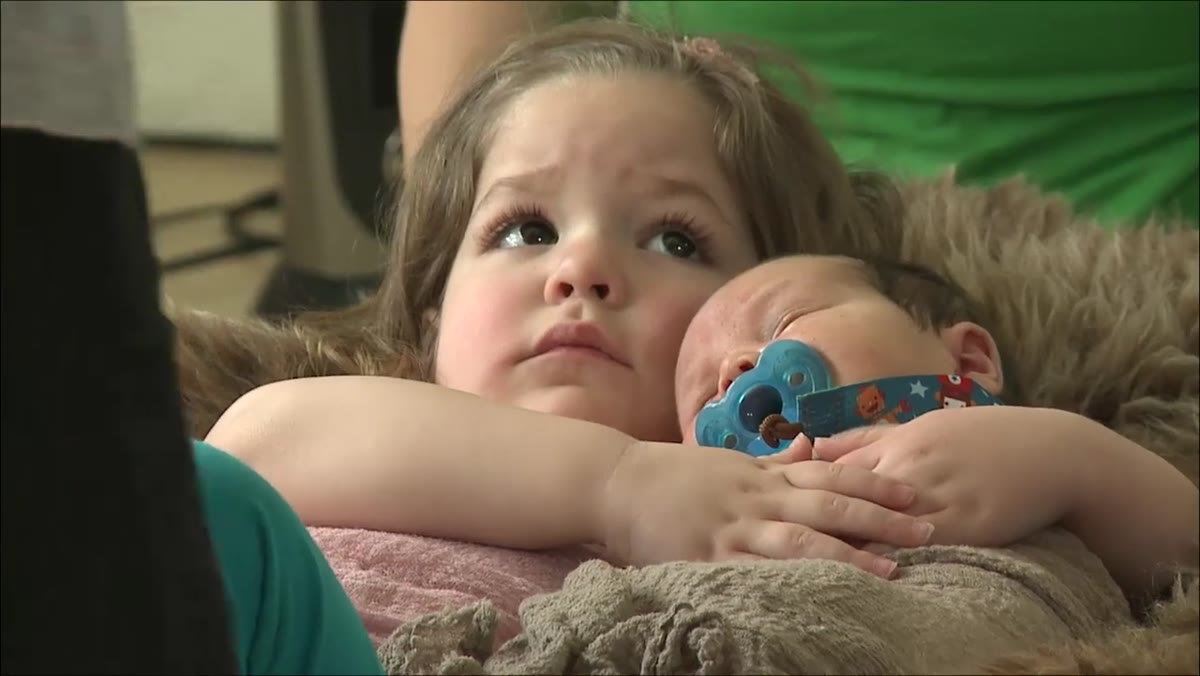 Camera settings being dialed in while baby still has pacifier in
Leave the pacifier in and take a test shot first. In the tutorial, the photographer is working at ISO 640, f/3.5, with a third of a stop of positive exposure compensation to account for the window light conditions in the room. Get your histogram where you want it before you pull the dummy. Removing it resets the baby’s state slightly, and you want to be ready to shoot the moment it comes out, not fiddling with exposure compensation while the baby works back toward fussing. Dial in your settings during the pacifier phase, confirm the test frame, then remove it and shoot.
Camera settings being dialed in while baby still has pacifier in
Leave the pacifier in and take a test shot first. In the tutorial, the photographer is working at ISO 640, f/3.5, with a third of a stop of positive exposure compensation to account for the window light conditions in the room. Get your histogram where you want it before you pull the dummy. Removing it resets the baby’s state slightly, and you want to be ready to shoot the moment it comes out, not fiddling with exposure compensation while the baby works back toward fussing. Dial in your settings during the pacifier phase, confirm the test frame, then remove it and shoot.
What I Would Add From My Own Studio Work
The tutorial is shot in available window light, which is beautiful and works perfectly for the warm, organic feel of newborn work. In my studio I do not always have that luxury, especially with late afternoon bookings when the light through my north-facing windows drops fast. My solution for replicating this quality artificially is a large octabox positioned high and to the side, feathered so the edge of the light source is doing the work rather than the center. The falloff is softer and the shadows on the baby’s face stay gentle. If you are working in a room without reliable window light, that is the configuration I would test first.
The single most important thing I took from this tutorial is the sequencing: child first, baby settled second, hidden supports third, faces last. That order is not arbitrary. Each step creates the conditions for the next one to work. If you try to do it in a different order, you will be solving problems instead of making pictures.
Watch the full tutorial on YouTube and pay attention to how long the photographer waits at each stage. The patience is the technique.
Comments
Leave a Comment