Kids are the great humbler of studio photographers. I can light a beauty dish to within an inch of its life, label every cable in my grip kit, and still completely fall apart the moment a seven-year-old decides she’s done cooperating. My whole system, the one I’ve refined over years of commercial work, assumes a subject who will hold still when asked. Children do not hold still when asked. They hold still when they forget they’re being photographed.
That’s the core problem this tutorial addresses. In this CreativeLive tutorial, photographer Shannon Sewell works through a live session with a young girl surrounded by balloons and props, and what she demonstrates isn’t just posing. It’s direction. It’s the specific language and pacing that keeps a child subject present and responsive without turning the session into a standoff. Watch the full tutorial on YouTube before or after reading this breakdown. Sewell’s live commentary is worth hearing in her own words.
What I took from watching her work is something I wish someone had mapped out for me earlier: posing kids is less about body placement and more about emotional state management. If the kid is emotionally engaged, the body follows. Here’s how she does it.
Step 1: Lead with the Prop, Not the Pose
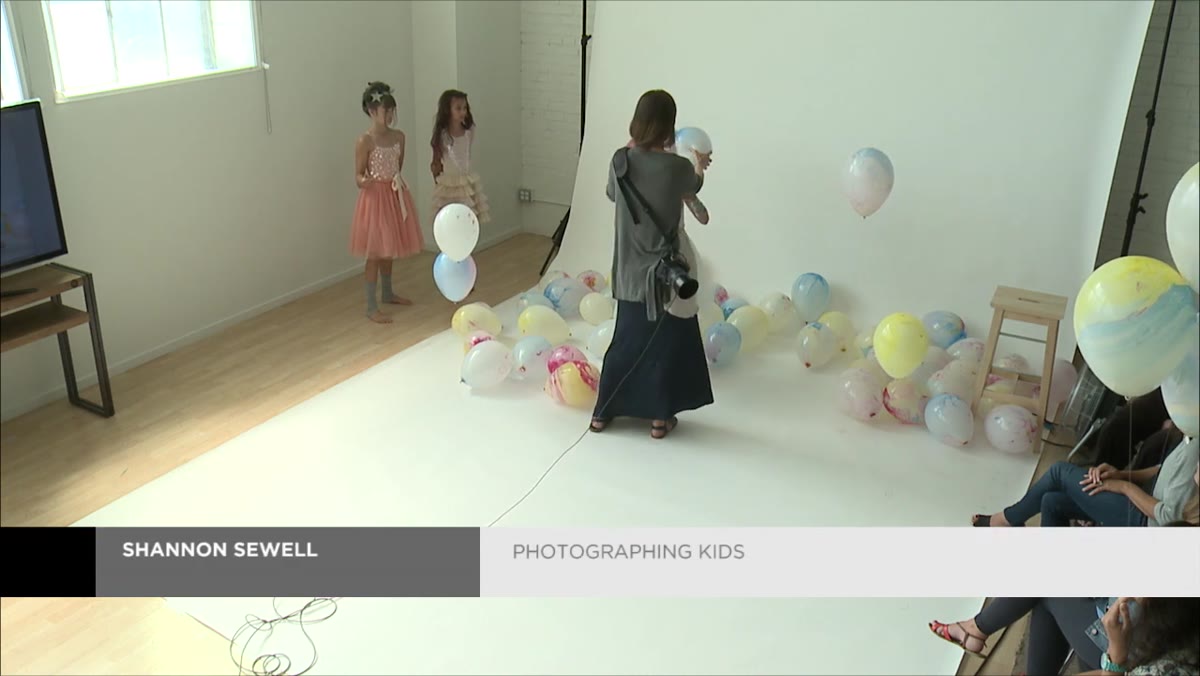 Photographer positioning child’s hands around a chalk balloon
Sewell opens by giving the subject something specific to interact with rather than a position to hold. She puts the prop directly in the child’s hands and gives her a clear, physical instruction around that object. The pose emerges from the interaction, not the other way around. In practical terms, this means your first instruction should never be “stand here and do this.” It should be “hold this right here” or “look at what’s happening to this thing.” Once their hands have a job, the rest of the body relaxes into something workable.
Photographer positioning child’s hands around a chalk balloon
Sewell opens by giving the subject something specific to interact with rather than a position to hold. She puts the prop directly in the child’s hands and gives her a clear, physical instruction around that object. The pose emerges from the interaction, not the other way around. In practical terms, this means your first instruction should never be “stand here and do this.” It should be “hold this right here” or “look at what’s happening to this thing.” Once their hands have a job, the rest of the body relaxes into something workable.
This is a principle I now apply even when I’m not shooting kids. On commercial shoots, giving a subject something to physically interact with, a product, a piece of wardrobe, anything, immediately shifts their attention off the camera and onto a task. The self-consciousness drops. You can pull the pose out of the resulting natural body language.
Step 2: Use Specificity to Replace Vagueness
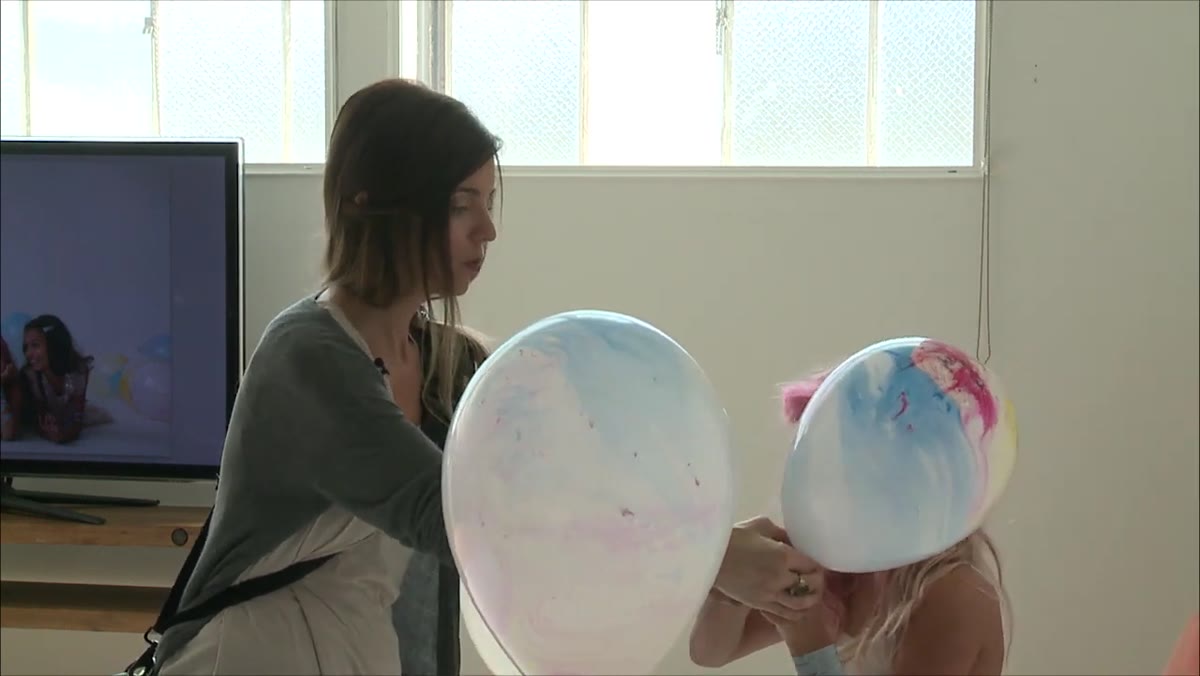 Photographer directing the child to drop one arm and look forward
Sewell doesn’t say “relax your arms.” She says drop this arm, pinch right there, look forward. Each instruction is a single, concrete action. Kids cannot process vague direction. Telling a child to “look natural” is meaningless to them. Telling a child to drop her right arm straight down and look directly at the camera lens is something she can actually execute.
Photographer directing the child to drop one arm and look forward
Sewell doesn’t say “relax your arms.” She says drop this arm, pinch right there, look forward. Each instruction is a single, concrete action. Kids cannot process vague direction. Telling a child to “look natural” is meaningless to them. Telling a child to drop her right arm straight down and look directly at the camera lens is something she can actually execute.
Build your verbal directions in small units and pause between them. Give one instruction. Let it land. Confirm it. Then add the next. If you stack too many adjustments at once, you’ll lose them. I keep a mental checklist during sessions: feet, then hips, then arms, then face. Work bottom-up, one piece at a time, and check each before you move on.
Step 3: Script the Emotion, Not the Expression
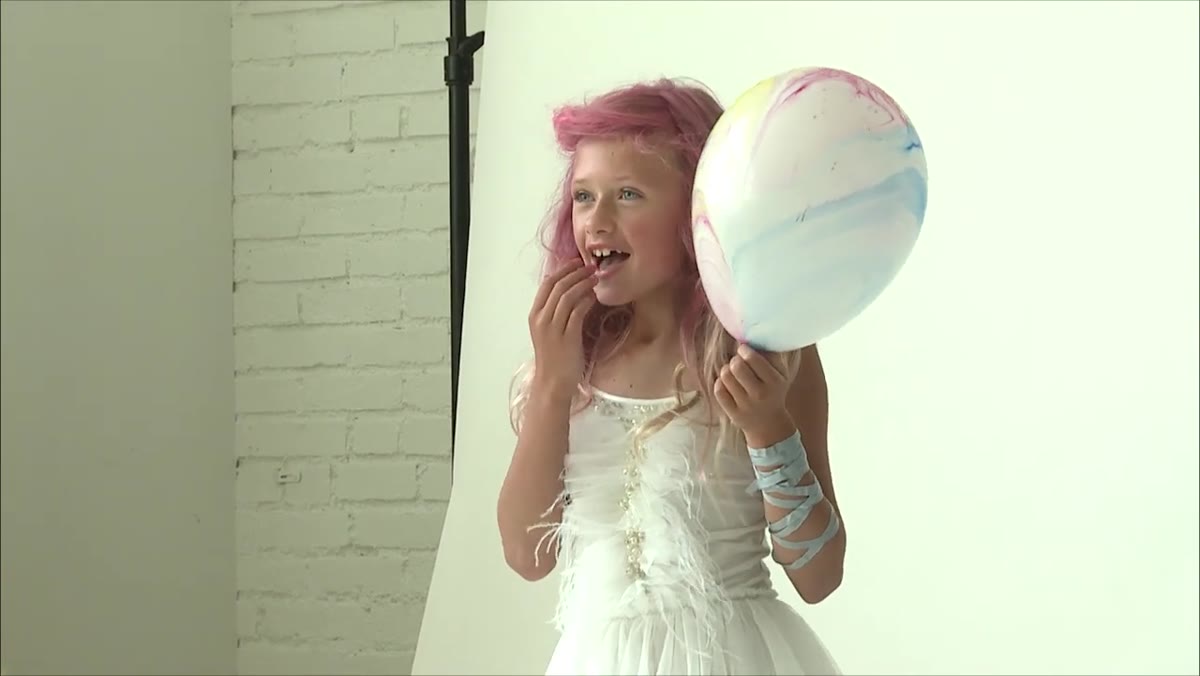 Photographer describing a surprise party scenario to prompt genuine reaction
This is the step most photographers skip, and it’s the one that produces the difference between a posed smile and an actual one. Rather than asking for a smile directly, Sewell constructs a scenario. She tells the child to imagine she’s just walked into a surprise party with a pony, a hundred presents, and a cake. The expression that follows comes from a real emotional trigger, not from the instruction “smile big.”
Photographer describing a surprise party scenario to prompt genuine reaction
This is the step most photographers skip, and it’s the one that produces the difference between a posed smile and an actual one. Rather than asking for a smile directly, Sewell constructs a scenario. She tells the child to imagine she’s just walked into a surprise party with a pony, a hundred presents, and a cake. The expression that follows comes from a real emotional trigger, not from the instruction “smile big.”
The specific imagery matters. The more concrete and ridiculous the scenario, the better. Ponies work. So does describing something genuinely funny that happened earlier in the session. What doesn’t work is anything abstract. “Think of something happy” produces a blank face. “Imagine you just opened the present you wanted most and it’s actually in there” produces a real reaction. Script the story, and the face takes care of itself.
Step 4: Capture the Giggle, Then Shoot the Reset
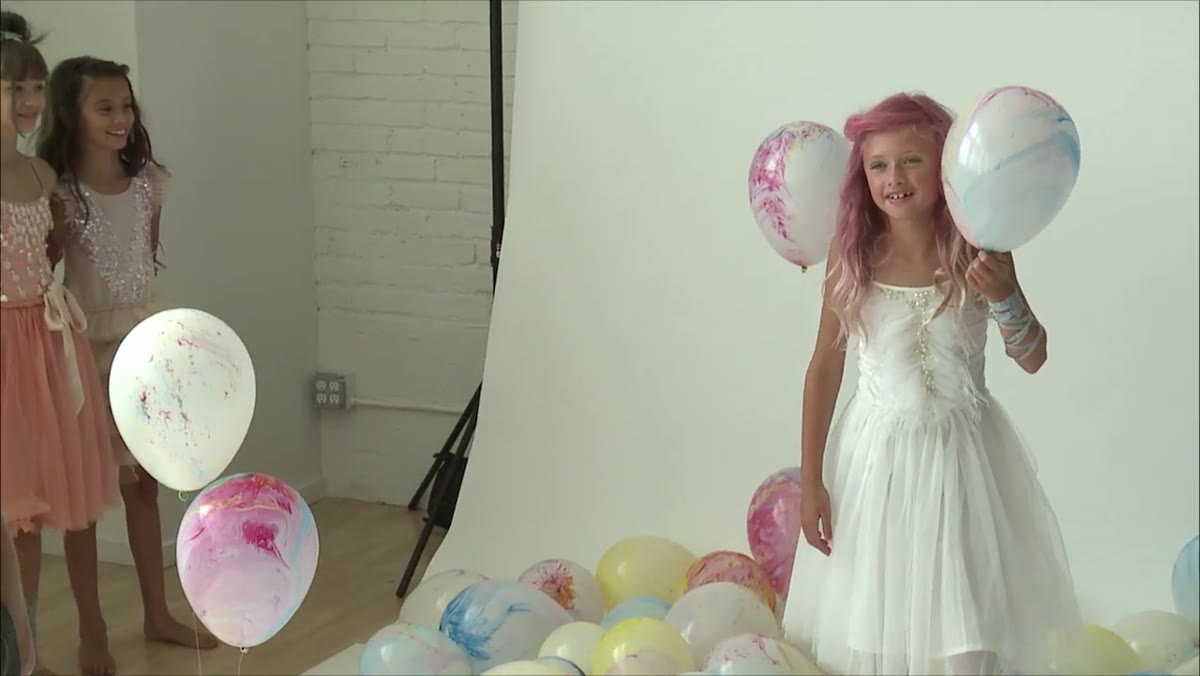 Child laughing naturally after the countdown prompt
Sewell uses a countdown to time the peak of the laugh. She calls the scenario, gets the giggle, and shoots it. But she also specifically calls for the giggle to come back after the peak, because kids will often produce their most usable expression in the two or three seconds after the big laugh settles. The reset face, where they’re still smiling but it’s softening back to natural, is frequently the best frame.
Child laughing naturally after the countdown prompt
Sewell uses a countdown to time the peak of the laugh. She calls the scenario, gets the giggle, and shoots it. But she also specifically calls for the giggle to come back after the peak, because kids will often produce their most usable expression in the two or three seconds after the big laugh settles. The reset face, where they’re still smiling but it’s softening back to natural, is frequently the best frame.
Train yourself to keep shooting through the laugh and past it. Set your drive speed appropriately, this isn’t the place for single-shot mode. The frame right after the peak is often cleaner than the peak itself.
Step 5: Vary the Prop Configuration, Not Just the Pose
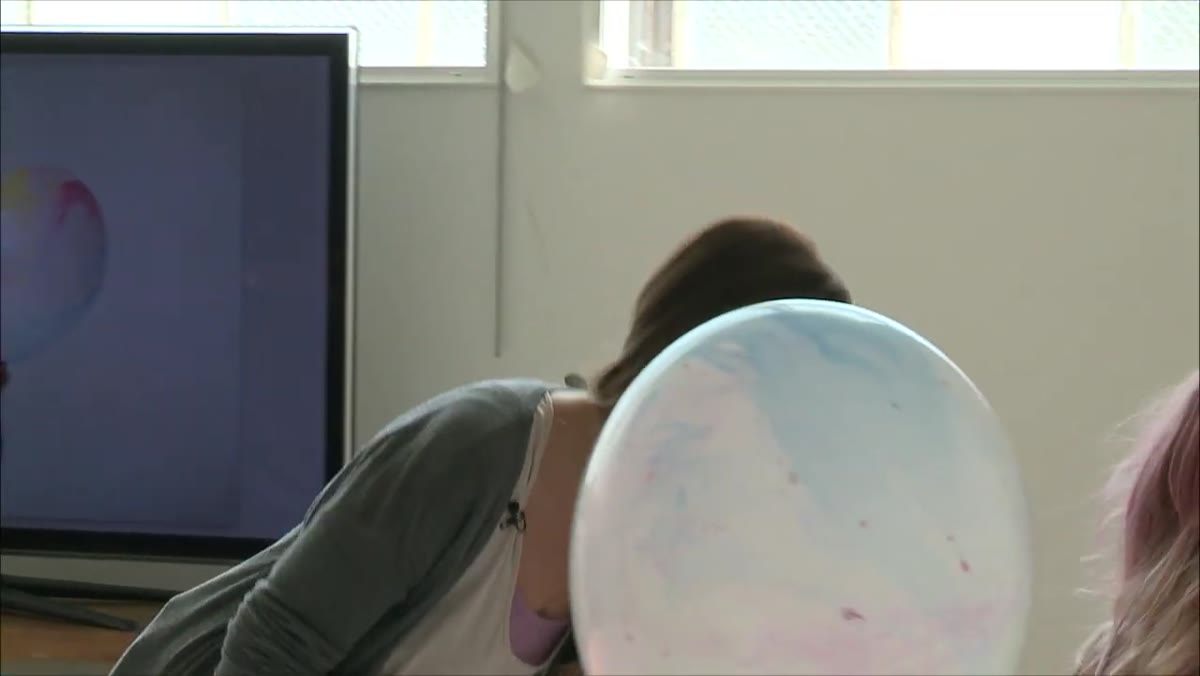 Photographer selecting a second balloon with better color coordination
Sewell pivots to a different balloon specifically because the color works better for the subject’s coloring. This is a small detail that has outsized impact on finished images. She’s thinking about the final frame the whole time, not just the pose. She then changes how the prop is held, moving from a vertical position to a lateral one, which gives her a completely different silhouette without requiring the child to do anything dramatically different.
Photographer selecting a second balloon with better color coordination
Sewell pivots to a different balloon specifically because the color works better for the subject’s coloring. This is a small detail that has outsized impact on finished images. She’s thinking about the final frame the whole time, not just the pose. She then changes how the prop is held, moving from a vertical position to a lateral one, which gives her a completely different silhouette without requiring the child to do anything dramatically different.
When you’re working with props in a set, plan at least three configurations before you start: one where the prop is held at chest height, one where it’s held low or dropped to one side, one where the subject is looking at the prop rather than the camera. Those three alone give you visual variety without requiring major resets.
Step 6: Direct Interaction Between Subjects to Unlock Natural Reactions
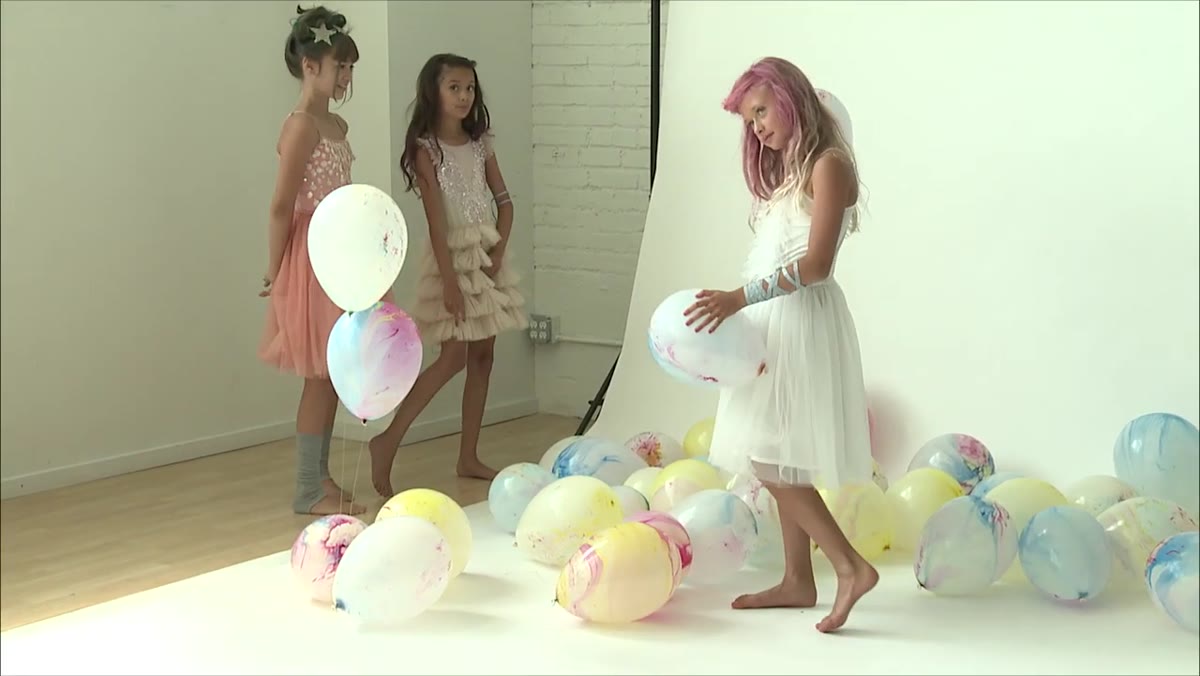
 Child turning to laugh over her shoulder at another person off-frame
When Sewell wants a genuinely spontaneous expression, she redirects the subject’s attention to another person in the room. She asks the child to look back and laugh at an assistant or a peer. The resulting reaction is genuine because the subject is now engaged with a real human relationship rather than performing for a lens.
Child turning to laugh over her shoulder at another person off-frame
When Sewell wants a genuinely spontaneous expression, she redirects the subject’s attention to another person in the room. She asks the child to look back and laugh at an assistant or a peer. The resulting reaction is genuine because the subject is now engaged with a real human relationship rather than performing for a lens.
This works even in solo shoots if you have an assistant present. Put the assistant just off-frame and have them do something ridiculous. The camera catches the authentic response. It takes staging, but the result looks completely unstaged.
Step 7: Watch Your Background Elements Actively
 Photographer repositioning angle to prevent balloon appearing behind child’s head
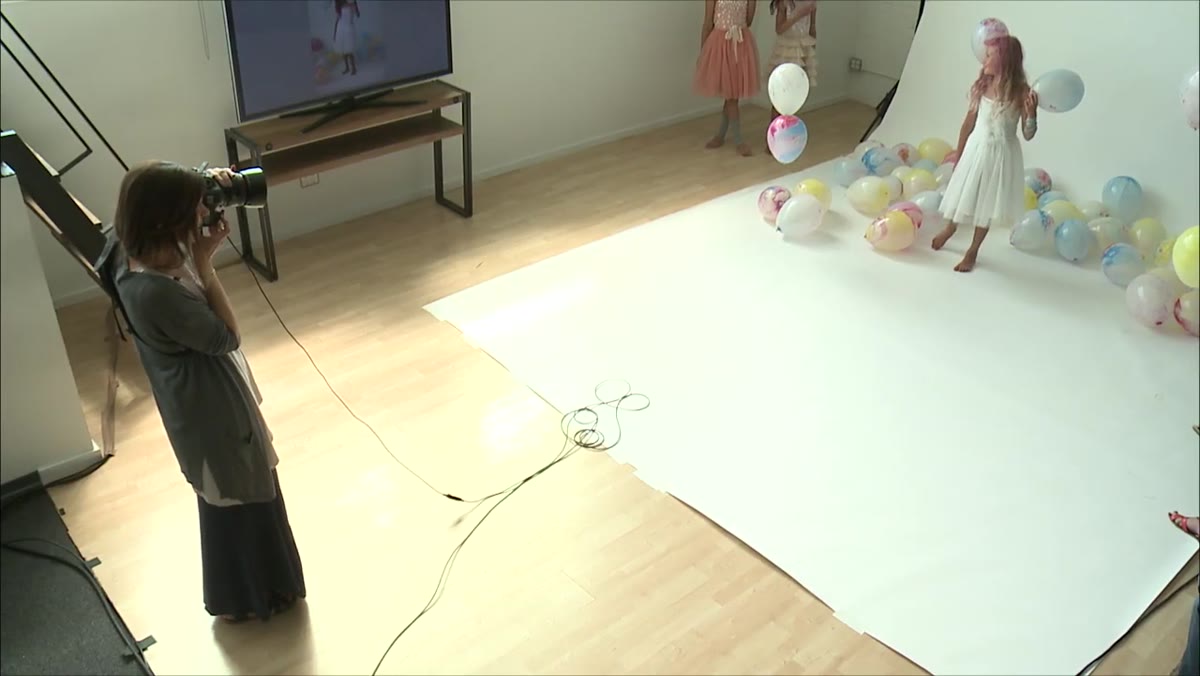
Sewell specifically calls out that balloons on a set will migrate into the frame in unflattering ways. She catches one appearing directly behind the subject’s head and adjusts her shooting angle to clear it before firing. This is active set management, not something you fix in post.
Photographer repositioning angle to prevent balloon appearing behind child’s head
Sewell specifically calls out that balloons on a set will migrate into the frame in unflattering ways. She catches one appearing directly behind the subject’s head and adjusts her shooting angle to clear it before firing. This is active set management, not something you fix in post.
During any set-heavy shoot, I now do a dedicated background scan every five to ten frames. I’ll shoot a frame, then step back and look at the full image to check for anything growing out of the subject’s head or shoulders. A balloon, a light stand, a cable, it all reads the same way in a final image.
What I’d Add from My Own Experience
Kids lose patience with technical delays faster than any adult subject. When I shoot children in studio, I move my light positioning and my camera settings before the child enters the set. I test with an assistant standing in, dial everything in, and only then bring the child in. From the moment they step onto the set, the camera should be ready and I should be talking, not adjusting. Every second I spend looking at my meter or my histogram is a second the child decides this is boring. Sewell’s session works as smoothly as it does partly because she is never mid-adjustment. She is always directing.
The single most transferable lesson from Sewell’s session is this: the pose is a byproduct of the emotional state, not the other way around. Set the emotion first, and the body will give you something worth photographing. Trying to manufacture the pose and then inject emotion into it is working backwards, and children will make that obvious faster than any other subject will.
Watch the full tutorial on YouTube to see Sewell’s pacing and language in real time. The transcript doesn’t fully capture how quickly she moves between instruction and capture, and that rhythm is a big part of what makes the approach work.
Comments
Leave a Comment