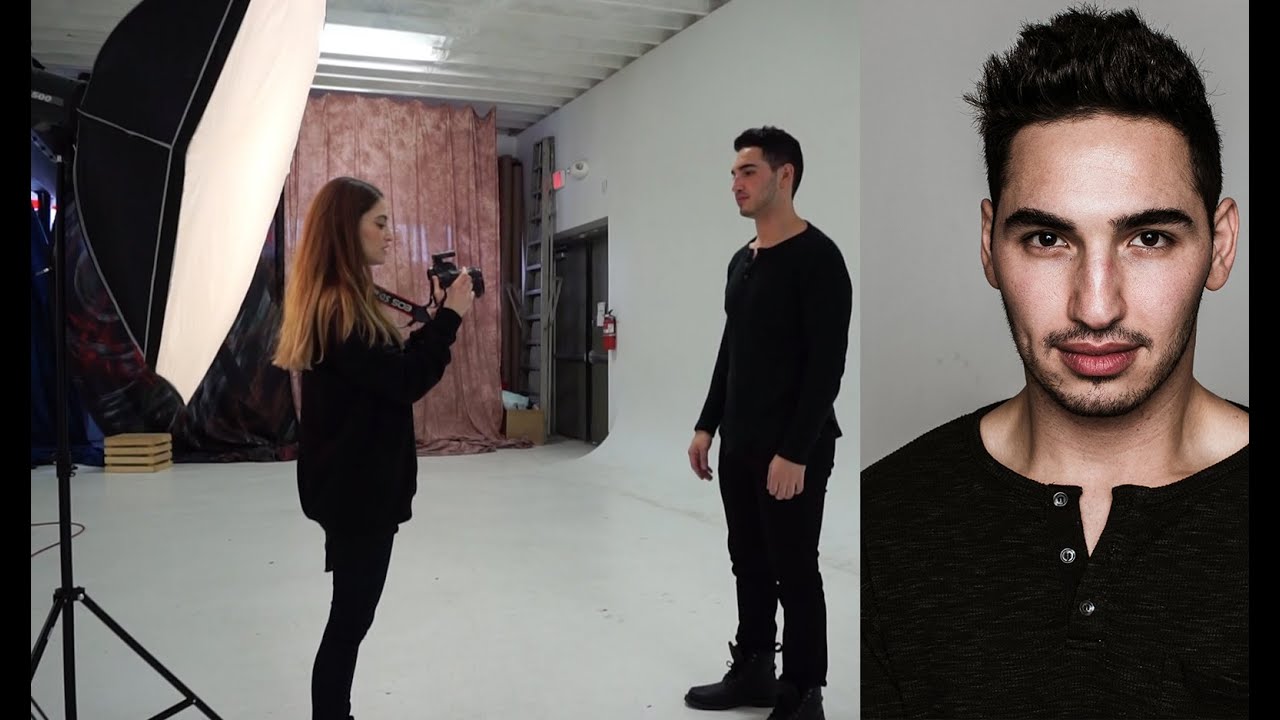
Male subjects are, without question, the harder posing problem. Not because men are difficult to work with, but because the margin for error is smaller. A slightly hunched shoulder reads as insecure. A stiff jaw reads as uncomfortable. A flat, straight-on stance reads as a passport photo. I’ve shot enough corporate headshots and editorial work to know that most photographers who struggle with male portraits aren’t making lighting mistakes. They’re making posing mistakes and blaming the light.
That’s why I keep coming back to this tutorial from Jessica Kobeissi. Watch the full tutorial on YouTube before or after reading this, because watching her interact with her subject in real time teaches things that bullet points can’t fully capture. What she does well, and what I want to unpack here, is the way she combines simple, repeatable lighting with small, specific posing cues that add up to polished, natural-looking portraits of a male subject.
Her subject in the video is a tall, charismatic model and singer who presents exactly the kind of challenge that makes this tutorial genuinely useful. He’s comfortable in front of the camera, but that ease can tip into loose posture fast. Watching Kobeissi manage that is itself a lesson.
Step 1: Build a Simple, Clean Two-Light Setup
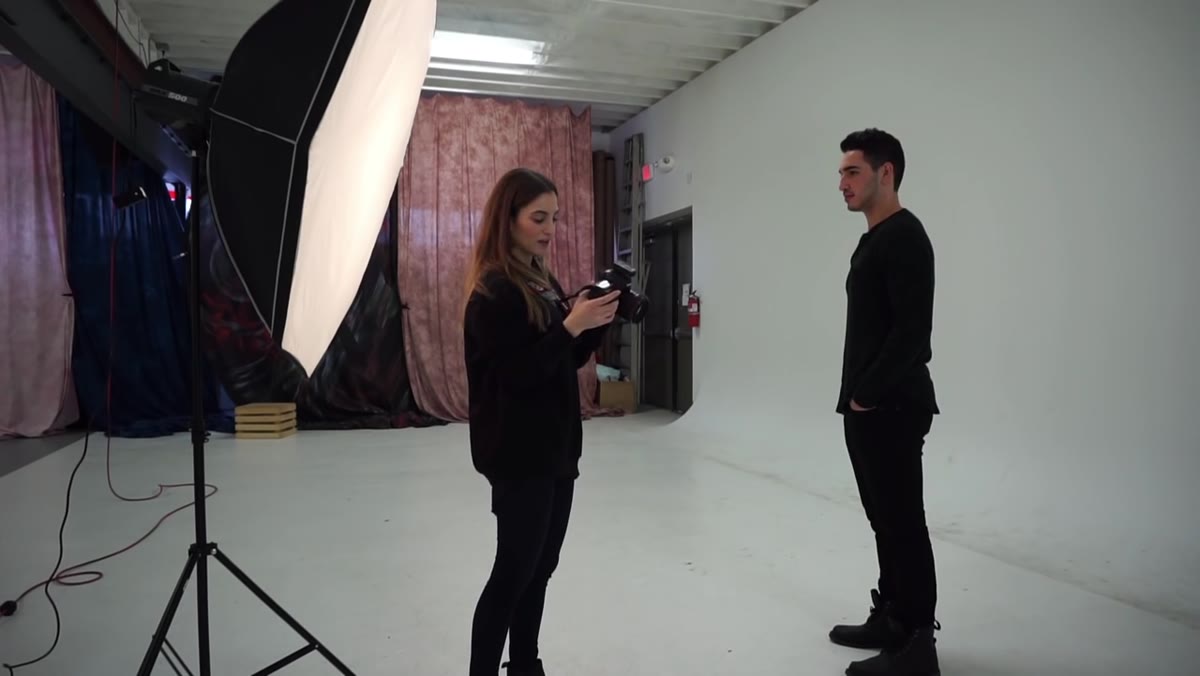
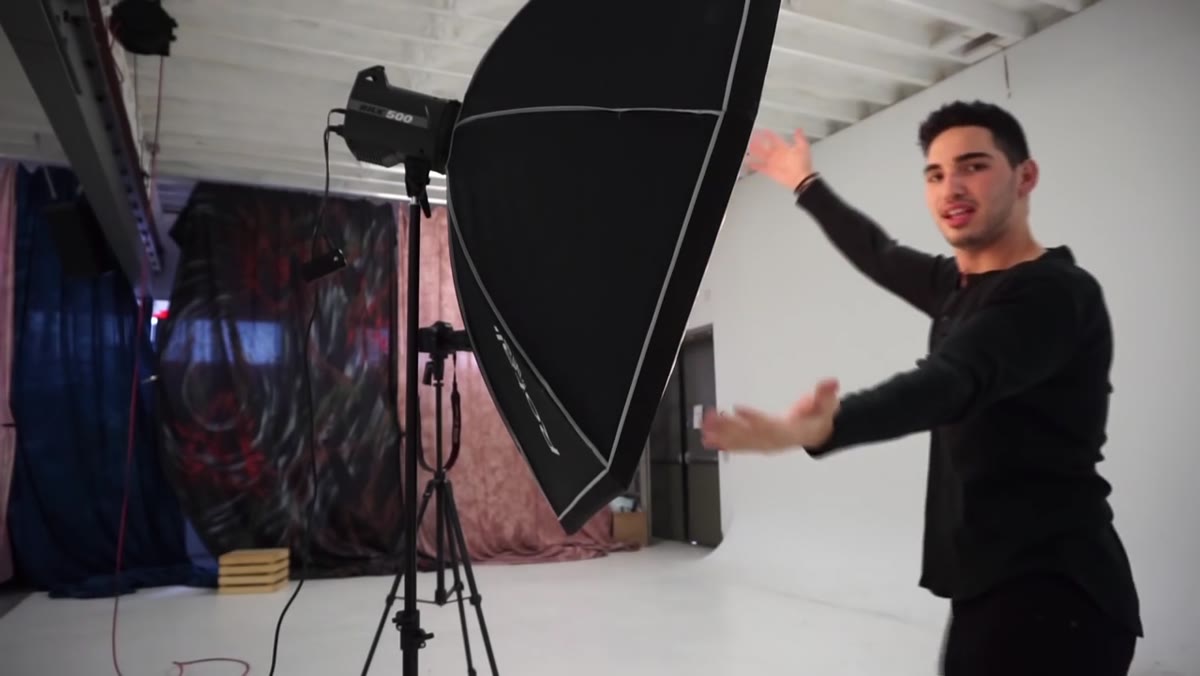 OctaBox and BRX 500 positioned in studio
Kobeissi’s setup here is not complicated, and that’s the point. She’s running an Elinchrom Rotalux Octa as her main light, with an Elinchrom BRX 500 as a secondary source behind the subject. Her main is set to 4.2 on the Elinchrom scale. She’s shooting on a Canon 5D Mark III with an 85mm f/1.2 lens, which compresses the background and flatters the face without distorting features the way wider glass would.
OctaBox and BRX 500 positioned in studio
Kobeissi’s setup here is not complicated, and that’s the point. She’s running an Elinchrom Rotalux Octa as her main light, with an Elinchrom BRX 500 as a secondary source behind the subject. Her main is set to 4.2 on the Elinchrom scale. She’s shooting on a Canon 5D Mark III with an 85mm f/1.2 lens, which compresses the background and flatters the face without distorting features the way wider glass would.
If you’re building this setup for the first time, the key decision is the octa’s position relative to the subject’s face. I label every light in my studio with masking tape, including its default height for headshots, because this is the kind of detail that gets forgotten between jobs. For a male subject, I typically start with the main light slightly above eye level and angled down about 15 to 20 degrees. That angle creates enough shadow on the cheek to give the face structure without going dramatic. The secondary light behind the subject separates them from the background and adds depth.
Step 2: Shoot the Straight-On Headshot First
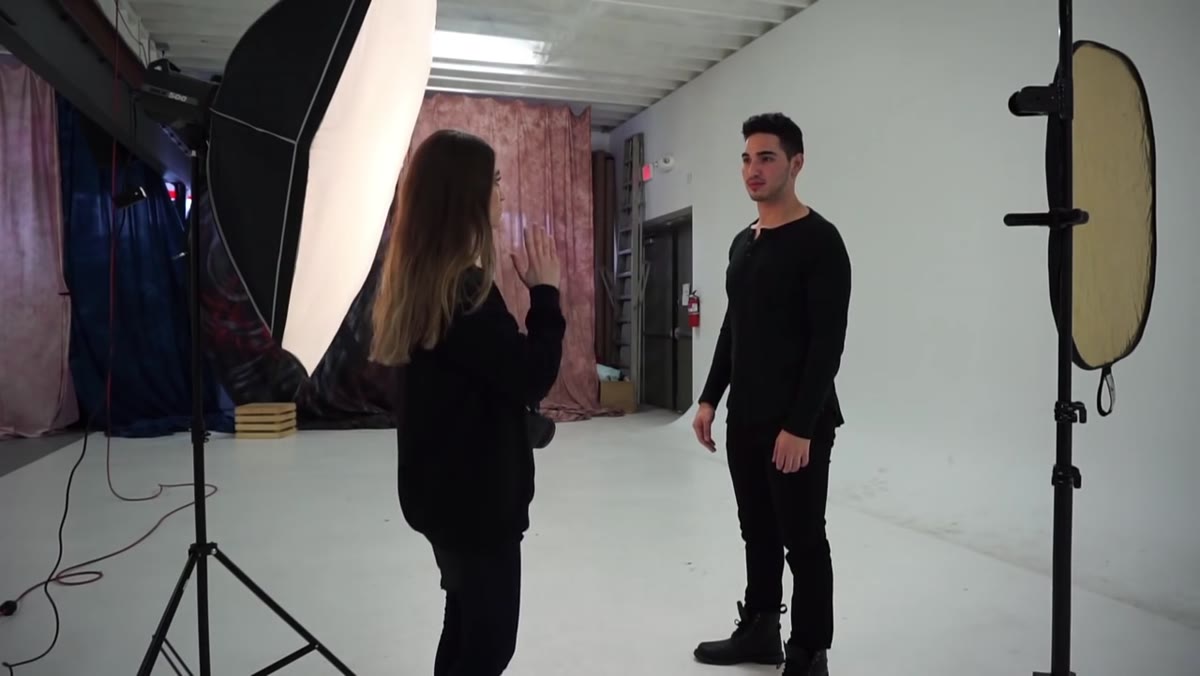 Subject facing camera directly, tight headshot framing
For the first set of frames, Kobeissi positions herself directly in front of the subject for a close-up, straight-on headshot. She deliberately skips the reflector for this setup. That’s a choice worth noting, because a reflector would have filled shadows further and softened the image. Without it, the light has a bit more dimension, which tends to read better on masculine features.
Subject facing camera directly, tight headshot framing
For the first set of frames, Kobeissi positions herself directly in front of the subject for a close-up, straight-on headshot. She deliberately skips the reflector for this setup. That’s a choice worth noting, because a reflector would have filled shadows further and softened the image. Without it, the light has a bit more dimension, which tends to read better on masculine features.
For this framing, she’s working waist-up. The tip she gives here is practical and often overlooked: have the subject hold onto their jacket or shirt. It sounds minor, but it gives the hands something to do, which prevents that tense, arms-at-the-sides rigidity that kills headshots. It also slightly adjusts posture, pulling the shoulders into a more natural position.
Step 3: Cue the Shoulder Angle
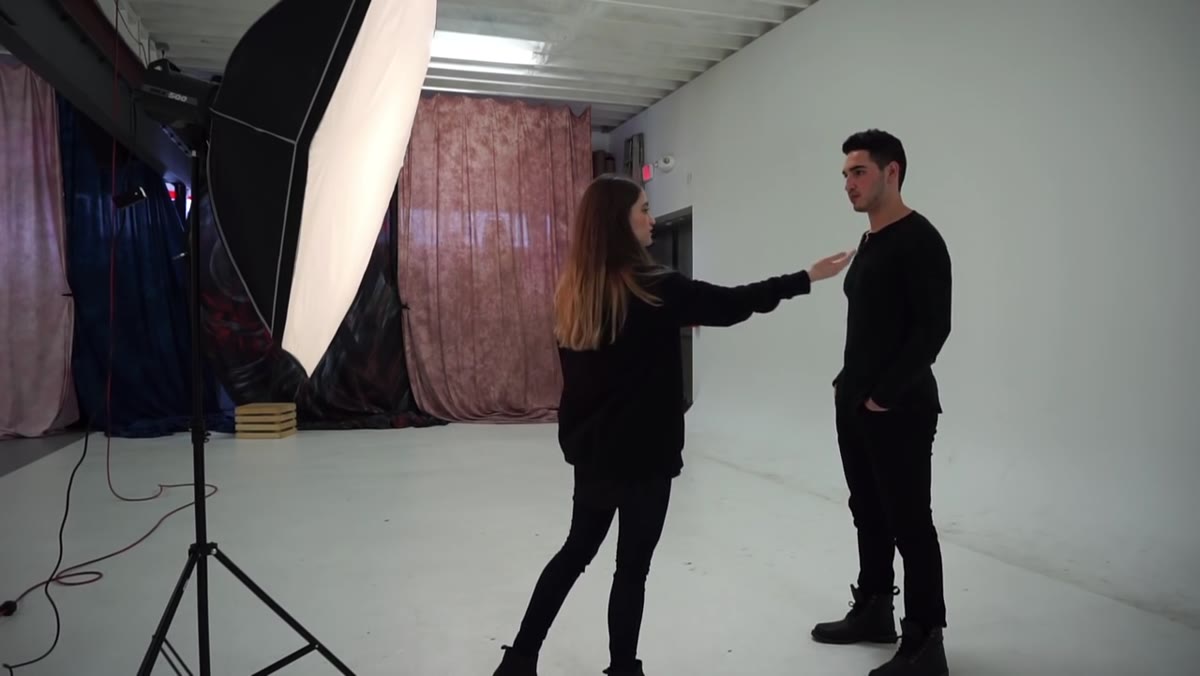 Photographer adjusting subject’s shoulder position slightly
One of the most useful physical cues in the entire video is the shoulder adjustment. Kobeissi lightly rotates the subject’s shoulder so it’s no longer perfectly square to the camera. This single adjustment does a lot. A squared-off body reads wide and confrontational. A slight shoulder rotation creates a diagonal line through the frame and makes the subject look more relaxed without looking posed.
Photographer adjusting subject’s shoulder position slightly
One of the most useful physical cues in the entire video is the shoulder adjustment. Kobeissi lightly rotates the subject’s shoulder so it’s no longer perfectly square to the camera. This single adjustment does a lot. A squared-off body reads wide and confrontational. A slight shoulder rotation creates a diagonal line through the frame and makes the subject look more relaxed without looking posed.
Pair this with a direct instruction to drop and relax the shoulders. A lot of people, especially those who don’t model regularly, hold tension in their traps without realizing it. If you see a subject’s shoulders creeping up toward their ears, ask them to take a breath and consciously let the shoulders fall. Then shoot immediately, before the tension comes back.
Step 4: Lock Focus on the Eyes, Every Time
 Close-up framing showing sharp focus on subject’s eyes
Kobeissi is explicit about this and I’ll repeat it because it’s non-negotiable: focus on the eyes. On an 85mm at f/1.2, you have a razor-thin depth of field. If your focus point drifts to the tip of the nose or the ear, the eyes go soft and the portrait is unusable. I set a single focus point and place it directly on the near eye every time. It’s a small discipline that saves you during the cull.
Close-up framing showing sharp focus on subject’s eyes
Kobeissi is explicit about this and I’ll repeat it because it’s non-negotiable: focus on the eyes. On an 85mm at f/1.2, you have a razor-thin depth of field. If your focus point drifts to the tip of the nose or the ear, the eyes go soft and the portrait is unusable. I set a single focus point and place it directly on the near eye every time. It’s a small discipline that saves you during the cull.
For headshots specifically, sharp eyes carry the entire emotional weight of the image. Everything else can be slightly soft and the portrait still works. The reverse is never true.
Step 5: Introduce the Stool for Seated Poses
 Subject seated on stool, photographer directing from front
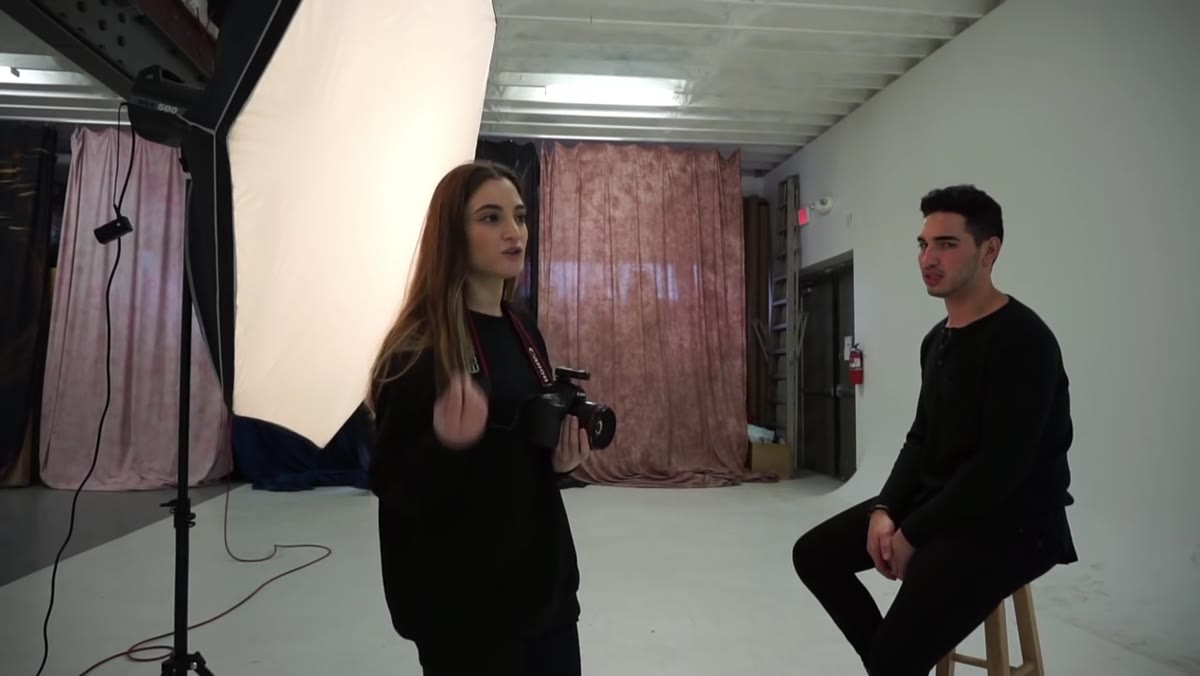
Midway through the shoot, Kobeissi brings in a simple stool. Seated poses solve several problems at once for male subjects. They lower the eye line if the subject is very tall, they create natural lean options, and they change the energy of the shot from formal to approachable. For corporate headshots, a seated pose on a stool often reads as confident but not aggressive.
Subject seated on stool, photographer directing from front
Midway through the shoot, Kobeissi brings in a simple stool. Seated poses solve several problems at once for male subjects. They lower the eye line if the subject is very tall, they create natural lean options, and they change the energy of the shot from formal to approachable. For corporate headshots, a seated pose on a stool often reads as confident but not aggressive.
The key here is to keep the posture from collapsing. When people sit on a stool without back support, they tend to round forward. Cue the subject to sit tall, press their feet flat to the floor, and lean slightly forward from the hips rather than the shoulders. That forward lean reads as engaged and present in the final image.
Step 6: Direct with Emotion, Not Just Mechanics
 Photographer giving emotional direction to subject
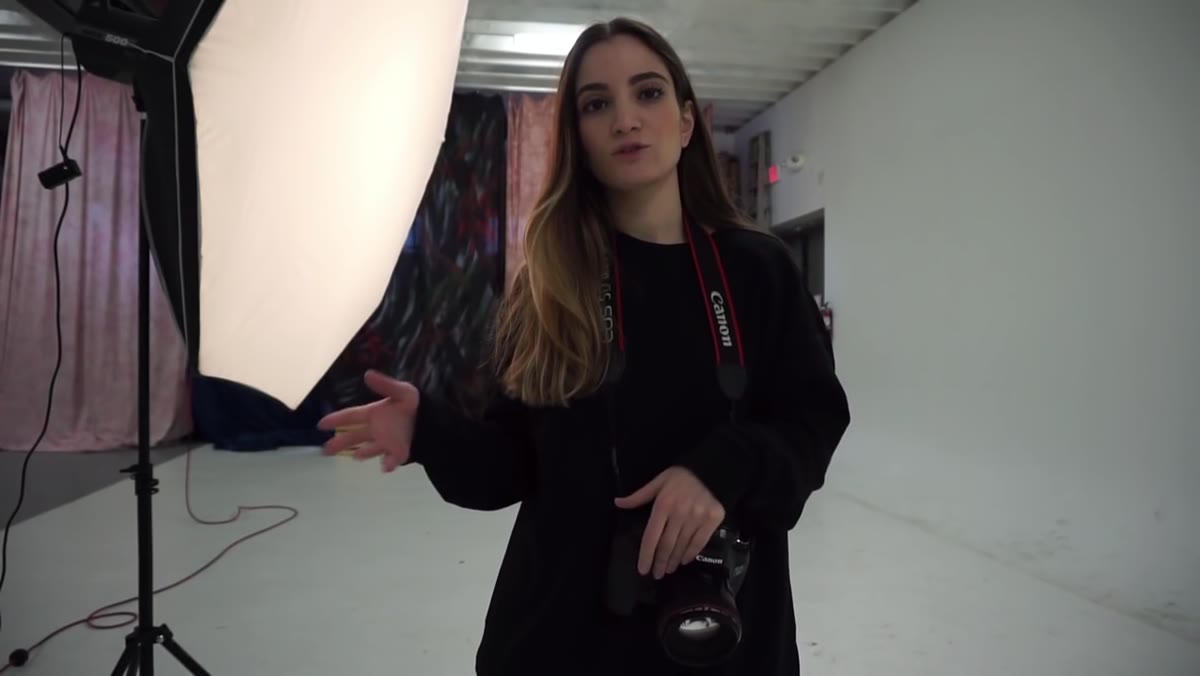
This is where Kobeissi’s method gets interesting. Rather than telling the subject to “look serious” or “give me something,” she gives them an emotional scenario to inhabit. She describes it as directing them toward a specific feeling, something sad, something they care about. The subject thinks about that feeling, and the camera captures the result.
Photographer giving emotional direction to subject
This is where Kobeissi’s method gets interesting. Rather than telling the subject to “look serious” or “give me something,” she gives them an emotional scenario to inhabit. She describes it as directing them toward a specific feeling, something sad, something they care about. The subject thinks about that feeling, and the camera captures the result.
This technique is underused in headshot work, where photographers often default to mechanical instructions. Give the jaw a natural engagement, relax the lips slightly, look just past the camera. These are useful, but they produce a technical result, not an emotional one. Giving a subject something to actually feel bypasses the self-consciousness that makes so many headshots look stiff.
Step 7: Use Motion to Break Stiffness
 Subject mid-step, motion shot being captured
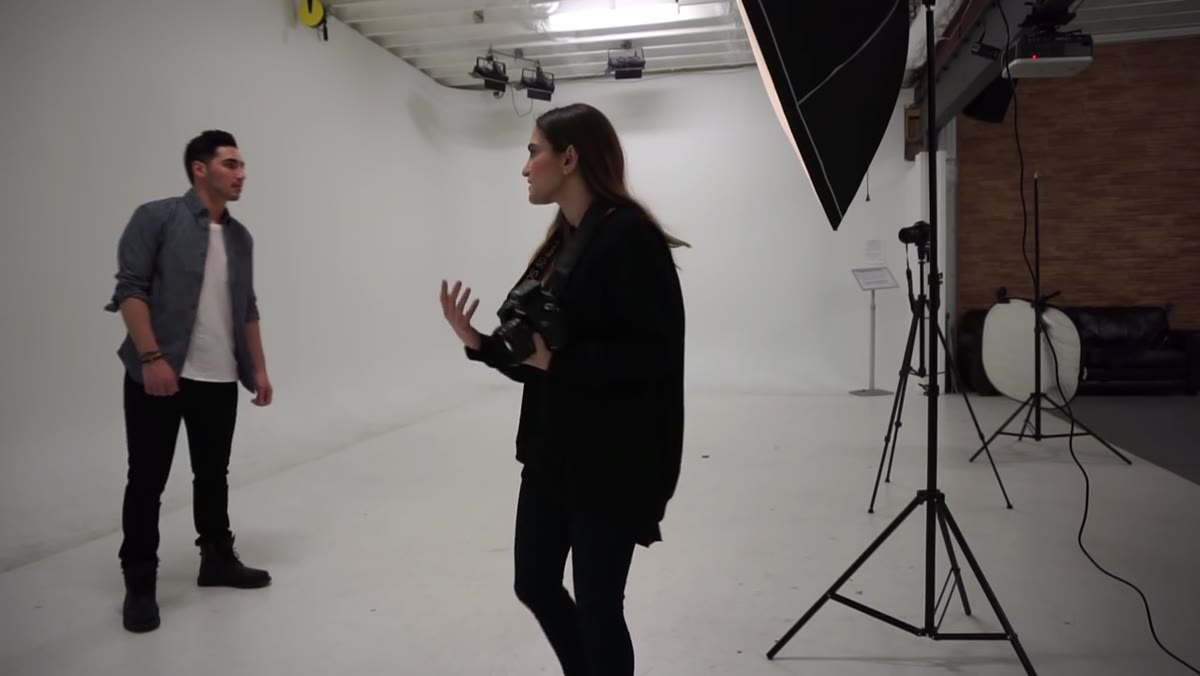
For the final setup, Kobeissi raises and pulls the octa back further from the subject to spread the light across more of the frame. She then asks the subject to take two slow steps toward the camera, and she fires during the movement. The goal is to catch the body in a natural walking moment rather than a static pose.
Subject mid-step, motion shot being captured
For the final setup, Kobeissi raises and pulls the octa back further from the subject to spread the light across more of the frame. She then asks the subject to take two slow steps toward the camera, and she fires during the movement. The goal is to catch the body in a natural walking moment rather than a static pose.
The trick is asking for slow, deliberate steps rather than natural walking speed. At normal walking speed, the motion blurs. At half speed, the body is still in a recognizably natural position but the frame is sharp. This technique works especially well when a subject is locking up in static poses. Movement resets the nervous system and the next frame is almost always better.
What I’d Add from My Own Experience
The one thing this tutorial doesn’t address directly is what to do when the subject’s natural expression defaults to a flat, neutral face. In my commercial work, I’ve found that the most reliable fix is to give the subject something specific to think about right before the frame, not an emotion exactly, but a thought. “Picture the last time something went exactly right.” It creates a subtle internal response that reads as genuine confidence or warmth. Manufactured smiles are the worst outcome in a headshot session. This approach sidesteps them.
The lighting here is clean and replicable. I’ve sketched a version of this two-light setup into my lighting journal and used it as a starting point on several corporate headshot days. What Kobeissi shows is that strong male portraits aren’t about dramatic lighting. They’re about small, specific adjustments to posture, eye focus, and emotional direction stacked together.
Watch the full tutorial on YouTube and pay attention to how she talks to her subject between frames. That rhythm, the adjustment, the shot, the next cue, is as much of the technique as any camera setting.
Comments
Leave a Comment