
Clients started asking me for double exposure portraits about three years ago. Fashion editorial, beauty campaigns, album covers - the technique was everywhere, and every art director had a reference image they’d pulled from Pinterest. My instinct was to handle it in post, the way most photographers do. Composite two frames in Photoshop, blend the layers, call it done. But the results always looked slightly assembled, like two photographs politely sharing the same space rather than actually belonging together. That bothered me enough to start experimenting with doing it in-camera instead.
In this CreativeLive tutorial, the instructor walks through a live studio double exposure session with a subject named Raymond. It is one of the cleaner demonstrations of the technique I have seen, because you can watch him think through the framing problem in real time rather than just presenting a finished result. Watch the full tutorial on YouTube. What follows is my breakdown of the method, with the settings and logic spelled out so you can apply it in your own studio without needing to pause and rewind.
Step 1: Set Your Exposure for Mood, Not Just Accuracy
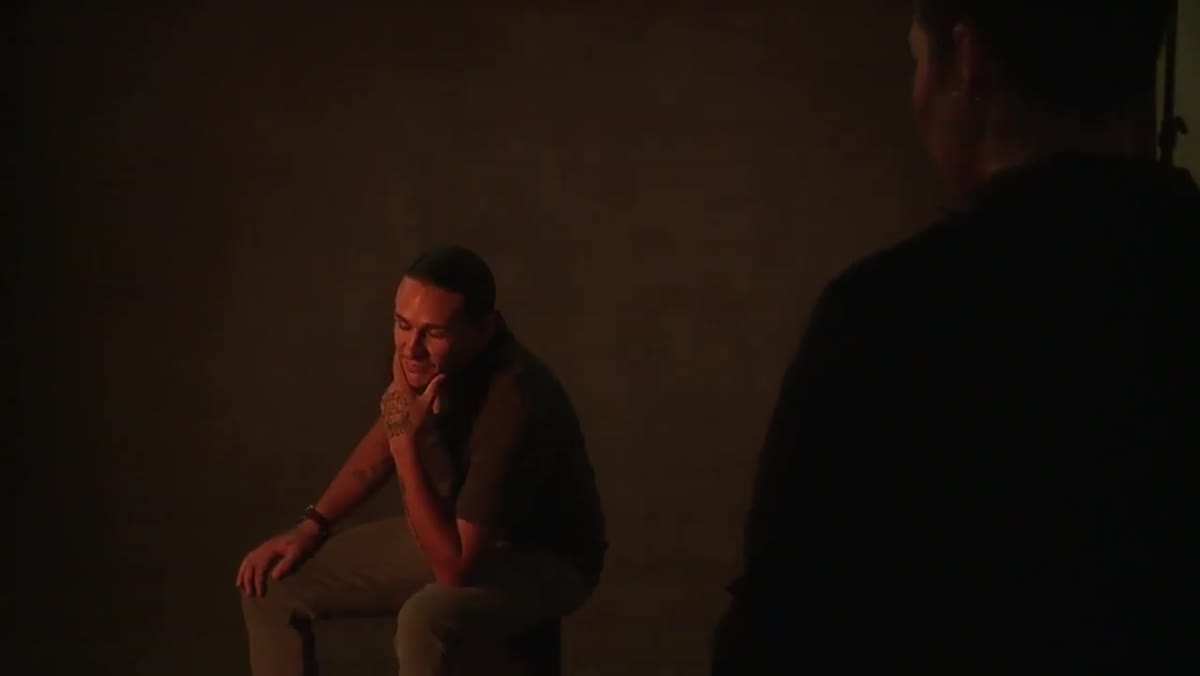 Photographer announcing aperture, ISO, and shutter speed settings
The instructor shoots the first frame at f/4, ISO 100, and 1/3.2 second. Those are conservative numbers, and deliberately so. He is not trying to get a technically correct exposure. He wants the image to read dark and moody, because a double exposure built on an already-bright base image tends to blow out and lose detail in the final composite. Think of the first frame as the foundation of a building - if it is already too tall, you have no room to add anything on top.
Photographer announcing aperture, ISO, and shutter speed settings
The instructor shoots the first frame at f/4, ISO 100, and 1/3.2 second. Those are conservative numbers, and deliberately so. He is not trying to get a technically correct exposure. He wants the image to read dark and moody, because a double exposure built on an already-bright base image tends to blow out and lose detail in the final composite. Think of the first frame as the foundation of a building - if it is already too tall, you have no room to add anything on top.
When I shoot double exposures in my studio, I typically underexpose the base frame by at least one stop from where I would normally land. The second image gets layered on top, and the two frames interact. If your first frame is too hot, the overlay has nowhere to go.
Step 2: Adjust Posing and Position for the Frame You Are Planning, Not the Frame You Are Taking
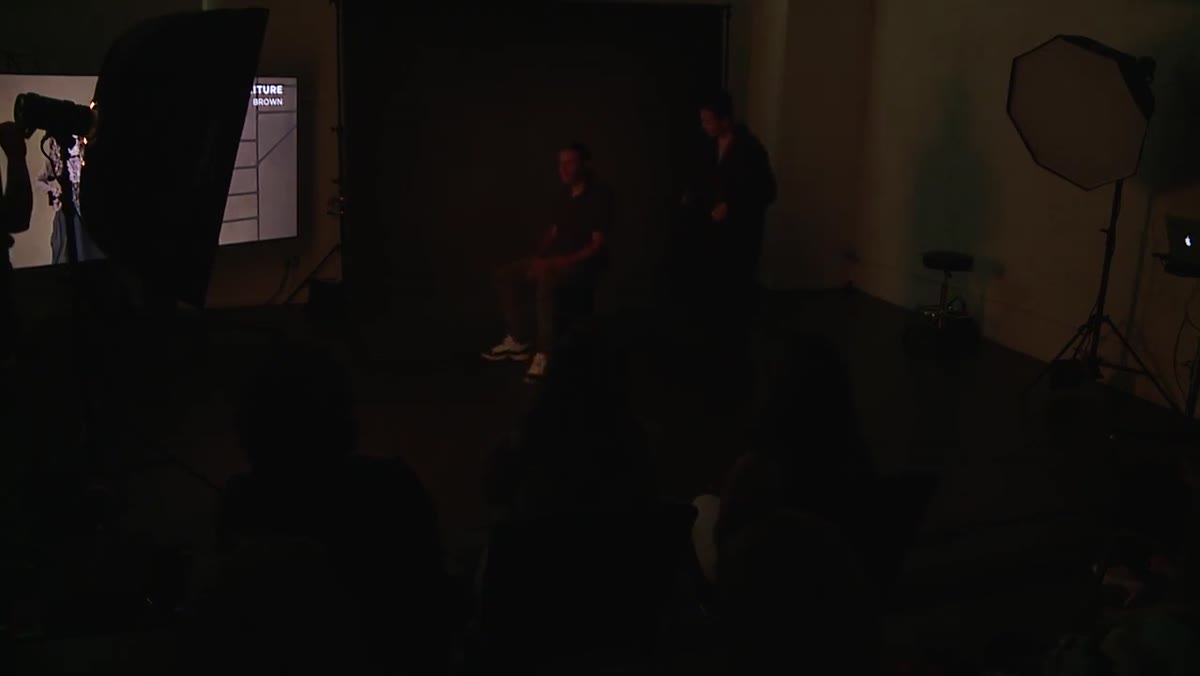 Photographer directing subject to lean forward and raise hand to face
Before he takes a single frame, the instructor asks Raymond to lean forward, bring a hand toward his face, and turn his body toward the camera. He also calls for an apple box to raise Raymond’s feet slightly, which lifts the knee, which in turn raises the chin. That is a small posing chain that makes a real difference in how authoritative a seated subject reads in the frame.
Photographer directing subject to lean forward and raise hand to face
Before he takes a single frame, the instructor asks Raymond to lean forward, bring a hand toward his face, and turn his body toward the camera. He also calls for an apple box to raise Raymond’s feet slightly, which lifts the knee, which in turn raises the chin. That is a small posing chain that makes a real difference in how authoritative a seated subject reads in the frame.
The more important point is this: he is positioning Raymond not just for how he looks right now, but for where he needs to sit in the final layered image. He mentions leaving deliberate negative space on one side of the frame. That space is reserved for the second exposure. If you fill the frame edge to edge with your first subject, you have no room to add anything without the two images fighting each other. Plan the composition of both frames before you shoot either one.
Step 3: Enable Multiple Exposure Mode in Camera
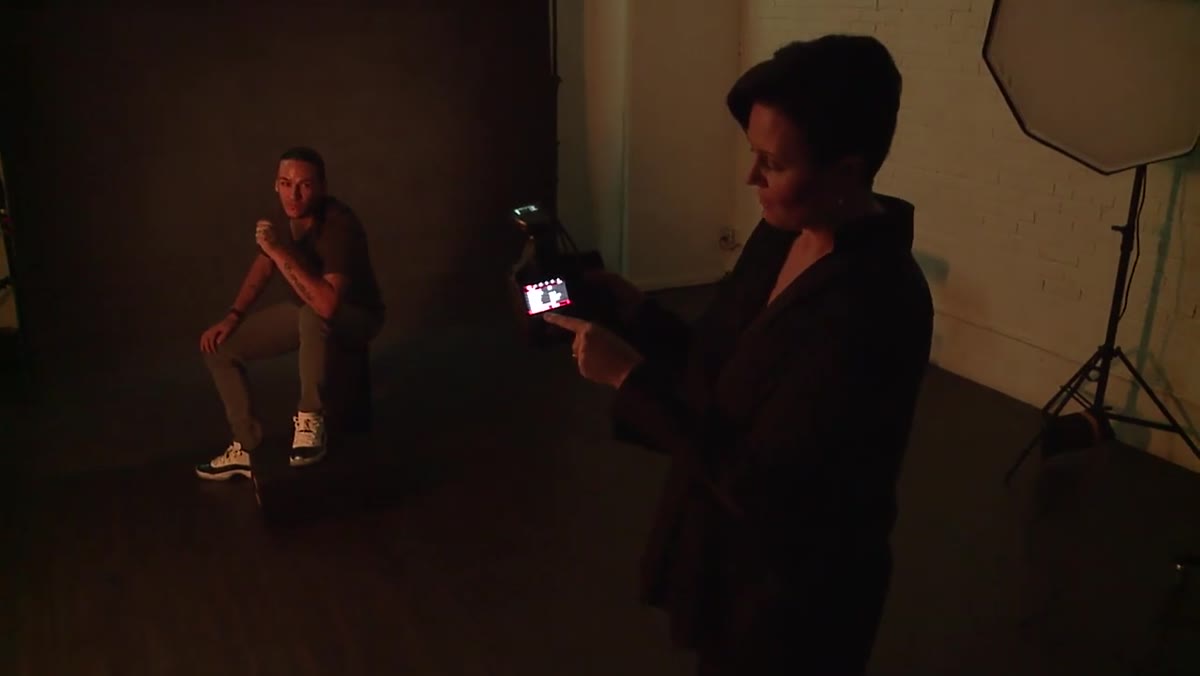 Camera menu open showing Multiple Exposure settings and options
Inside the camera’s manual menu, he navigates to the Multiple Exposure setting, which is disabled by default. He enables it and sets the function to “Additive” rather than the default “Average.” This is the setting that matters most, so I want to be clear about what each option actually does.
Camera menu open showing Multiple Exposure settings and options
Inside the camera’s manual menu, he navigates to the Multiple Exposure setting, which is disabled by default. He enables it and sets the function to “Additive” rather than the default “Average.” This is the setting that matters most, so I want to be clear about what each option actually does.
Average blends the two frames by splitting the exposure between them - each image contributes 50 percent of the final exposure value. Additive layers the brightness values on top of each other, which means bright areas from both frames accumulate. For portraits where you want texture or a secondary image to glow through, Additive tends to produce more visually interesting results. He also confirms the exposure count is set to two, which is the standard for a classic double exposure. Some cameras allow three or more, which opens up different creative territory but also complicates the exposure math considerably.
Step 4: Use Live View to Build Your Base Plate Reference
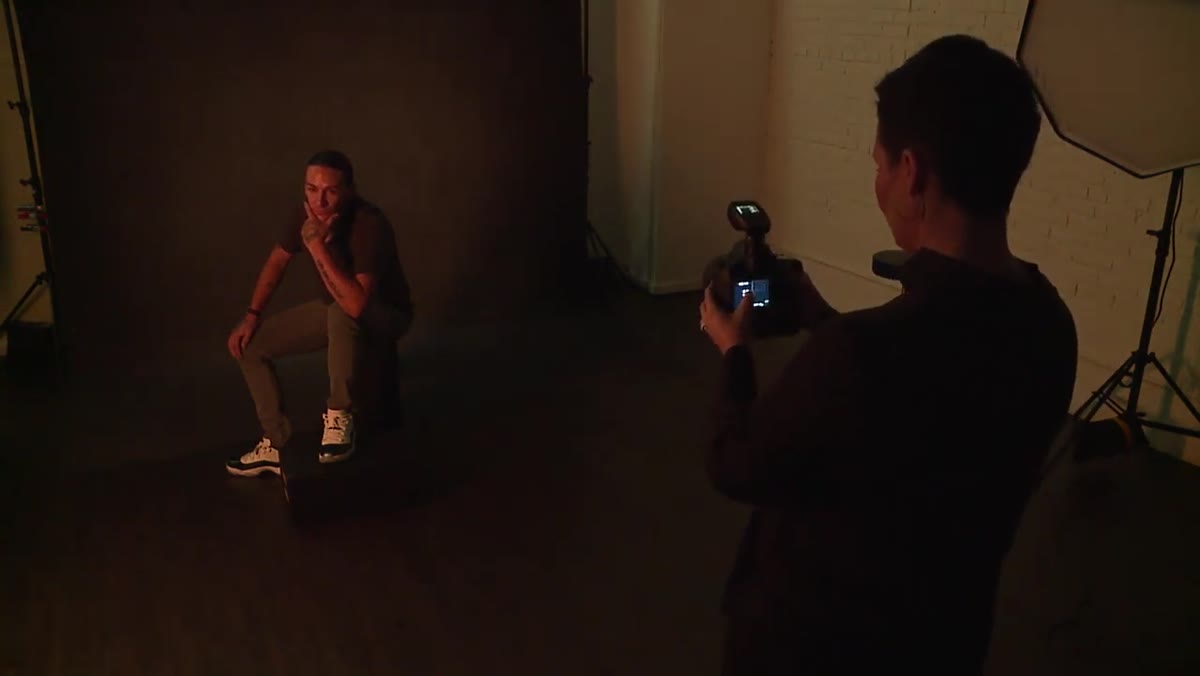 Live view screen showing darkened first exposure on camera back
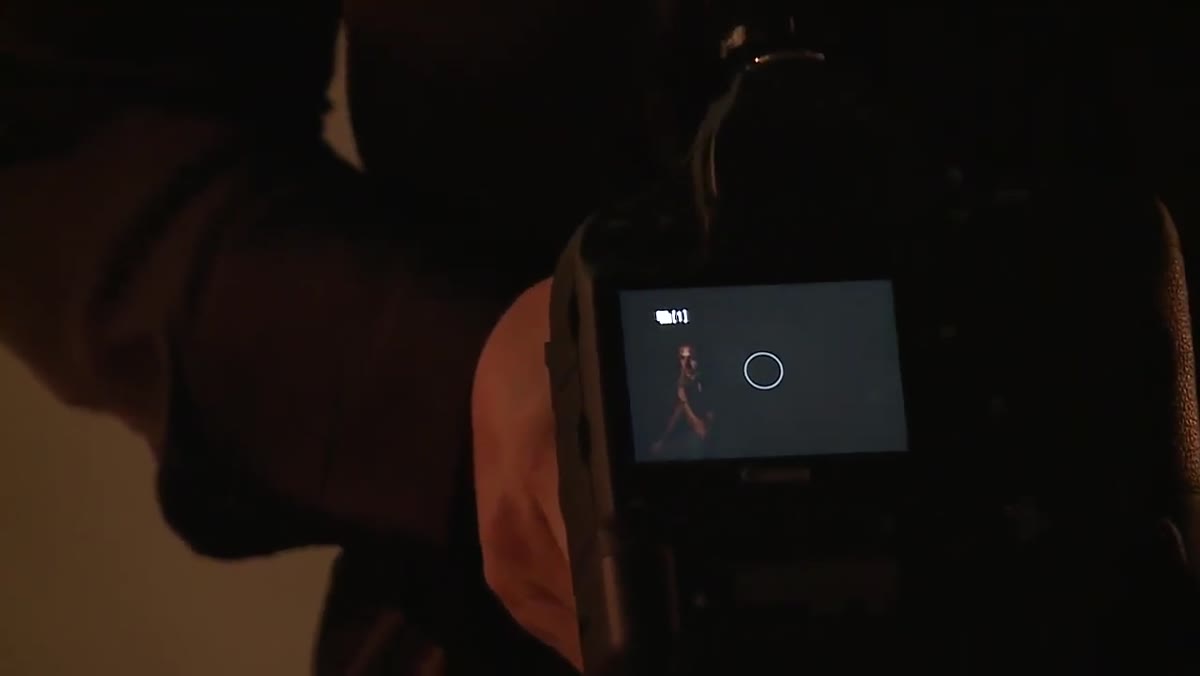
After the first frame is captured, the camera stores it as what he calls the “base plate.” In Live View mode, that base plate image appears as a ghost overlay on the screen while you compose your second shot. You are essentially looking through the camera at your new scene while simultaneously seeing the faint outline of your first image. That overlay is what allows you to line up the two frames intentionally rather than just guessing.
Live view screen showing darkened first exposure on camera back
After the first frame is captured, the camera stores it as what he calls the “base plate.” In Live View mode, that base plate image appears as a ghost overlay on the screen while you compose your second shot. You are essentially looking through the camera at your new scene while simultaneously seeing the faint outline of your first image. That overlay is what allows you to line up the two frames intentionally rather than just guessing.
He notes that Live View is not strictly required for this technique - you can shoot the second frame using the viewfinder if you have a strong mental map of where the first subject sat in the frame. But for anyone learning this method, or for shoots where precise alignment matters, the Live View ghost overlay removes a significant amount of guesswork. I would call it essential until the technique is second nature.
Step 5: Reframe Deliberately for the Second Exposure
 Photographer repositioning camera to align second shot with base plate
The instructor makes a point that I think gets overlooked: he does not worry much about standing in the exact same spot to take the second frame. What he is focused on is moving the camera until the second subject lands exactly where he wants them relative to the base plate ghost. The camera position is a tool for placement, not something to lock down with gaffer tape on the floor.
Photographer repositioning camera to align second shot with base plate
The instructor makes a point that I think gets overlooked: he does not worry much about standing in the exact same spot to take the second frame. What he is focused on is moving the camera until the second subject lands exactly where he wants them relative to the base plate ghost. The camera position is a tool for placement, not something to lock down with gaffer tape on the floor.
This is where double exposure shoots live or die. The relationship between the two images has to feel considered. A face overlapping a landscape, a silhouette sitting inside a cityscape, a hand appearing within negative space - these work when they are placed intentionally. Let the base plate guide you.
What I Add From My Own Studio Practice
The tutorial does not get into lighting setup in detail, but in my experience the two frames in a double exposure should not be lit identically. When both images have the same light direction and quality, the final result can look like a mistake rather than a choice. I usually light the first frame with a single large source to create a clean, defined subject, then switch to something harder and more directional for the second frame. The contrast between lighting styles helps the viewer’s eye understand that two separate images are intentionally sharing the same space. I sketch this in my lighting journal before every double exposure shoot, mapping out both setups side by side so I can move between them quickly when the subject changes outfits or positions.
Also: shoot more base plates than you think you need. The second frame locks your options. The first frame is where you have flexibility.
The single most important thing this tutorial reinforced for me is that in-camera double exposure is a compositional decision first and a technical one second. The menu settings take about 90 seconds to learn. The hard part is training yourself to plan two images at once before you press the shutter the first time.
Watch the full tutorial on YouTube to see the technique demonstrated live from the camera back.
Comments (2)
Would love to see a follow-up going deeper into this topic.
Finally someone explains this in a way that actually makes sense.
Leave a Comment