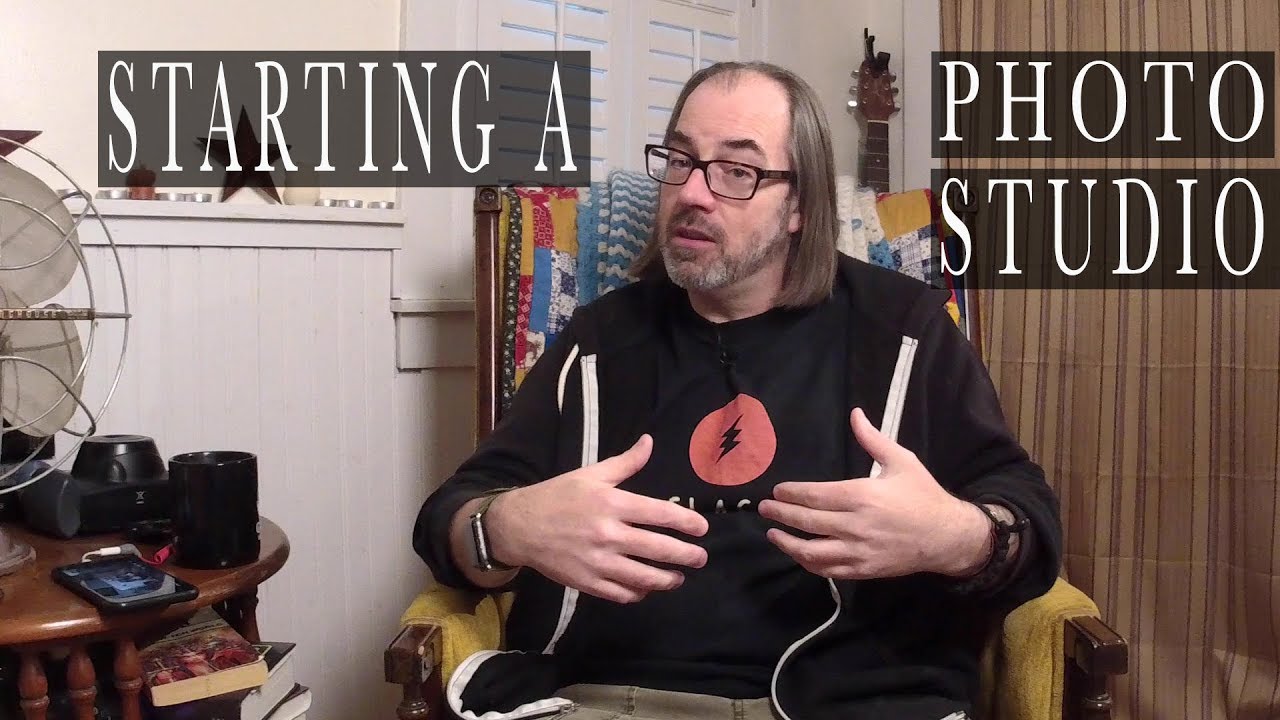
Every photographer I know who shoots commercially eventually hits the same wall. A client wants a controlled environment, or you want to test a new lighting setup, and suddenly your garage or spare bedroom isn’t cutting it anymore. I’ve been there. When I was first building my studio practice in Los Angeles, the question wasn’t just “do I need a studio?” but “what kind of studio makes sense for where I actually am right now?” In this Daniel Norton Photographer tutorial, Daniel lays out four distinct paths for getting into studio work, and the framework he uses is genuinely practical because it’s built around your business model first, not your gear wishlist.
What I appreciate about Daniel’s approach is that he doesn’t assume everyone needs the same solution. Studio photography isn’t one size fits all. A wedding photographer who wants a controlled space for engagement portraits has completely different requirements than a commercial shooter producing fashion lookbooks. The smartest move you can make early is to figure out which category you’re actually in before you sign a lease or start building out a space.
Step 1: Figure Out Whether You Actually Need a Studio
 Daniel explains different photography types and studio needs
Before you spend a single dollar, be honest about your business model. Daniel makes a sharp distinction here: some photography types genuinely require a dedicated studio, others work perfectly on location, and others fall in the middle where renting by the day covers everything you need. Portrait photographers, product shooters, and beauty clients tend to fall into the “needs controlled light” category. Event photographers and photojournalists rarely do.
Daniel explains different photography types and studio needs
Before you spend a single dollar, be honest about your business model. Daniel makes a sharp distinction here: some photography types genuinely require a dedicated studio, others work perfectly on location, and others fall in the middle where renting by the day covers everything you need. Portrait photographers, product shooters, and beauty clients tend to fall into the “needs controlled light” category. Event photographers and photojournalists rarely do.
Write down your last ten paid jobs and ask how many of them would have been better served by a studio environment. If the answer is two or fewer, a permanent studio is probably a financial anchor, not an asset. If the answer is six or more, you have a legitimate case for a dedicated space.
Step 2: Rent by the Day for Low-Volume Needs
 Discussion of renting studio space by the day
The lowest-commitment entry point is renting an existing studio by the hour or day. This works especially well if you’re still building your client base or doing test shoots to develop your lighting vocabulary. In Los Angeles, I can find day-rate spaces ranging from bare-bones cyclorama rentals to fully-equipped studios with every modifier I could want already in the room.
Discussion of renting studio space by the day
The lowest-commitment entry point is renting an existing studio by the hour or day. This works especially well if you’re still building your client base or doing test shoots to develop your lighting vocabulary. In Los Angeles, I can find day-rate spaces ranging from bare-bones cyclorama rentals to fully-equipped studios with every modifier I could want already in the room.
The practical upside is you get professional infrastructure without the overhead. The downside is that you’re working in someone else’s space with someone else’s gear, and if you’re particular about your setups, that inconsistency costs you time. I used to label every light position on a diagram before I left so I could recreate the setup next time. If you’re renting, photograph the room layout and your light positions at the end of every shoot. That’s your setup map for next time.
Step 3: Use a Home Studio If Your Situation Allows It
 Daniel describes a wedding photographer’s garage studio setup
Daniel shares an early career example of a wedding photographer who used a walled-off section of a three-car garage as a portrait studio. This is more viable than most people admit. A dedicated room or garage space means zero commute, lights you can leave rigged between shoots, and overhead that basically disappears into your mortgage or rent.
Daniel describes a wedding photographer’s garage studio setup
Daniel shares an early career example of a wedding photographer who used a walled-off section of a three-car garage as a portrait studio. This is more viable than most people admit. A dedicated room or garage space means zero commute, lights you can leave rigged between shoots, and overhead that basically disappears into your mortgage or rent.
The caveats are real, though. You need to check local zoning regulations for running a business out of a residential property. You also have to be comfortable with clients knowing where you live, which is a personal decision, not just a logistical one. That said, if the work is mostly standard portrait sessions and headshots, a home setup with a decent backdrop system and two or three lights can handle a serious volume of work. The tax write-off for a dedicated home workspace is also worth talking to your accountant about.
Step 4: Share a Rented Studio Space With Other Photographers
 Sharing studio space as a cost-splitting strategy
This is the option Daniel recommends most for photographers who are past the testing phase but not yet generating the revenue to carry a full lease alone. The model is straightforward: two or three photographers split a commercial studio rental, dividing the monthly cost and scheduling their shoot days so they don’t overlap.
Sharing studio space as a cost-splitting strategy
This is the option Daniel recommends most for photographers who are past the testing phase but not yet generating the revenue to carry a full lease alone. The model is straightforward: two or three photographers split a commercial studio rental, dividing the monthly cost and scheduling their shoot days so they don’t overlap.
I’ve done versions of this arrangement and the key is finding collaborators whose work doesn’t directly compete with yours and who share your standards for how a shared space should be maintained. Set clear expectations about resetting the studio, replacing consumables, and scheduling conflicts before you sign anything together. A shared space with the right partners cuts your fixed costs dramatically and gives you a professional address and environment without the full financial exposure of going solo.
Step 5: Take on a Full Studio Lease Yourself
 Taking on the full burden of a studio lease independently
If your shoot volume justifies it, a dedicated commercial lease gives you the most control. You set the hours, you choose the gear, you build the space around how you actually work. For commercial and editorial work especially, having a permanent address where clients can visit is a legitimacy signal that matters.
Taking on the full burden of a studio lease independently
If your shoot volume justifies it, a dedicated commercial lease gives you the most control. You set the hours, you choose the gear, you build the space around how you actually work. For commercial and editorial work especially, having a permanent address where clients can visit is a legitimacy signal that matters.
The math has to work, though. Take your projected monthly studio cost and divide it by your average day rate. That’s how many shoot days per month you need just to break even on the space, before paying yourself anything. In cities like New York or Los Angeles, that number can be uncomfortably high. Many photographers who take this path sub-rent their studio on days they’re not shooting, which turns the space into a partial revenue stream and lowers the effective monthly cost.
What Daniel Doesn’t Cover: The In-Between Moves
The video focuses on broad structural options, which is exactly right for its scope. But in practice, most working photographers don’t stay cleanly in one category. I spent two years renting by the day, then shared a space for another year, and only signed my own lease when I had enough recurring commercial clients to justify it. The transitions between phases matter as much as the phases themselves.
One move I’d add: even when you’re renting by the day, build a relationship with one studio. Regulars often get preferred scheduling, sometimes better rates, and the staff gets to know how you work. Familiarity with a single room means you stop wasting setup time relearning the space and can focus entirely on the light.
The single most important takeaway from this tutorial is that the right studio setup is the one that matches your current revenue, not your future ambitions. Start at the level you can sustain, prove the model, then scale. Locking yourself into overhead you can’t cover is the fastest way to kill a studio practice before it has a chance to grow.
Watch the full tutorial on YouTube to hear Daniel walk through his own experience building a studio practice in New York City.
Comments
Leave a Comment