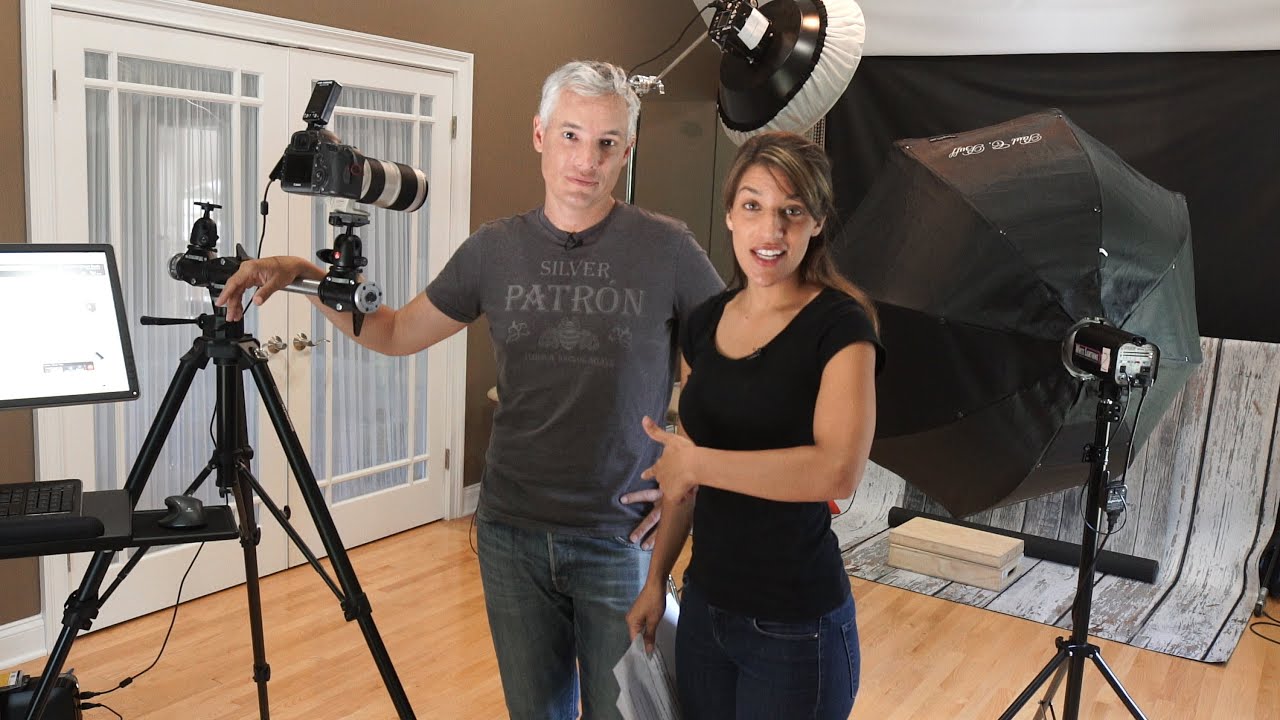
Every time I walk into my studio in Los Angeles, I spend the first ten minutes doing a checklist before a single client arrives. Sandbags on every stand. Numbers on every light. Tethering cable routed so nobody trips over it. It took me years to build that habit, and most of it came from mistakes that were embarrassing and expensive in equal measure. So when I came across Watch the full tutorial on YouTube - the Tony and Chelsea Northrup portrait studio tour - I recognized immediately that this was the kind of walkthrough I wish had existed when I was setting up my first real space.
What makes this tutorial valuable is not that it covers exotic gear. It covers the decisions behind ordinary gear, and that is far more useful. Chelsea and Tony work out of a real working studio with a mix of old and new equipment, bought used and bought carefully, and they explain why each piece earns its place. That mirrors exactly how I think about my own kit. The best studio is not the most expensive one. It is the one where you know the reason for every choice.
The walkthrough runs about ten minutes and covers camera and tethering setup, strobe selection, light modifiers, stands, and stability. I have broken it into steps below with enough detail that you can apply it directly to your own space.
Step 1: Anchor Your Camera System on a Quality Tripod and Tethering Station
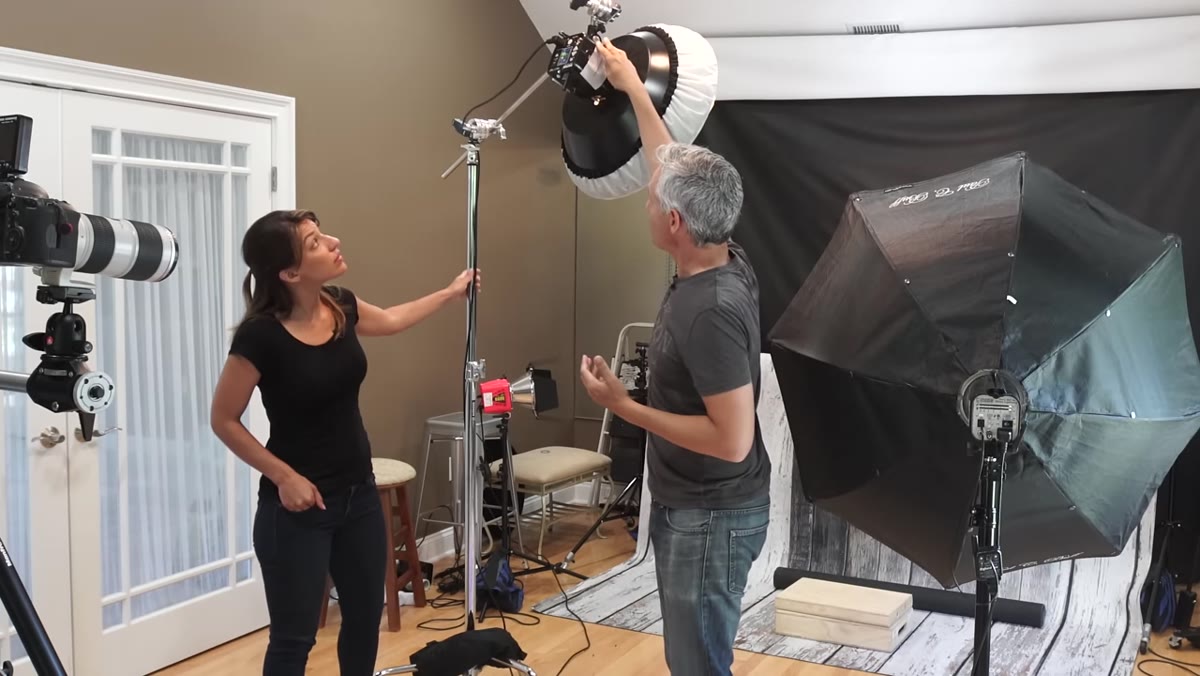
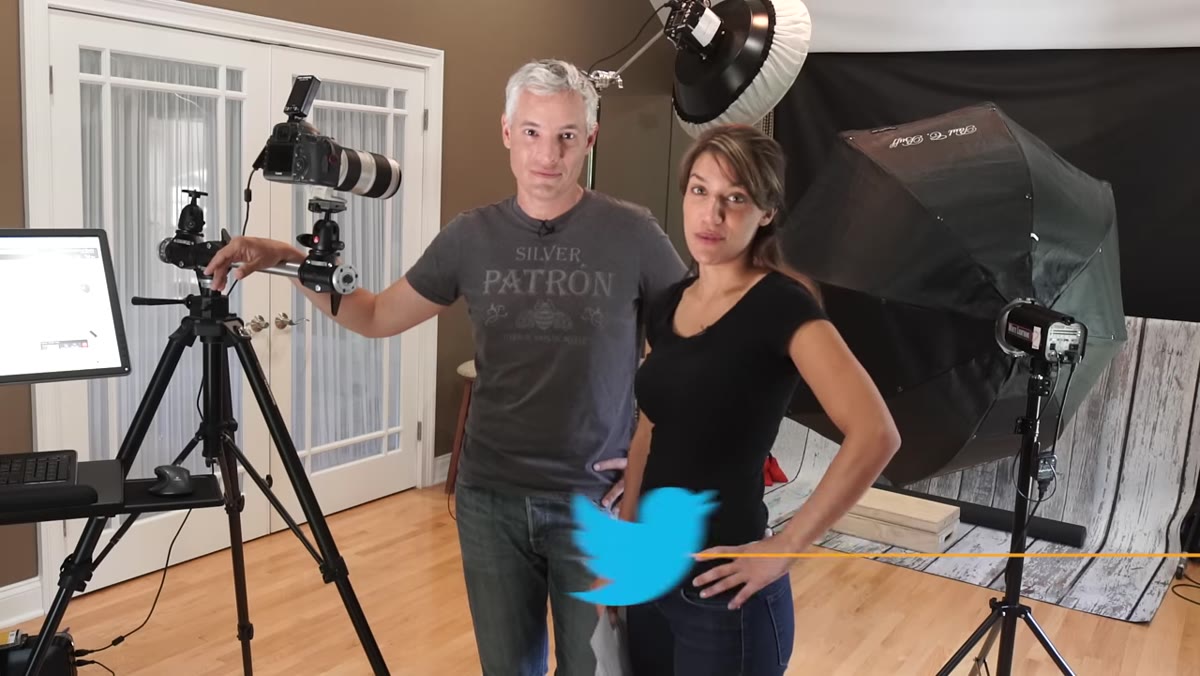 Camera mounted on Manfrotto tripod next to rolling monitor cart
For studio portrait work, a camera on a tripod is not optional - it is a consistency tool. Tony and Chelsea shoot with a high-resolution body on a Manfrotto ball head, and the whole system rolls on a cart alongside a 4K monitor for tethered review. The monitor is the part most photographers skip when they are starting out, and it is the part that changes everything. Reviewing images on a 4K display at full size while the subject is still in position lets you catch focus misses, catchlight placement, and flyaway hairs before the shot is gone.
Camera mounted on Manfrotto tripod next to rolling monitor cart
For studio portrait work, a camera on a tripod is not optional - it is a consistency tool. Tony and Chelsea shoot with a high-resolution body on a Manfrotto ball head, and the whole system rolls on a cart alongside a 4K monitor for tethered review. The monitor is the part most photographers skip when they are starting out, and it is the part that changes everything. Reviewing images on a 4K display at full size while the subject is still in position lets you catch focus misses, catchlight placement, and flyaway hairs before the shot is gone.
If you are new to tethering, the short version is: use a quality cable, route it so it cannot be yanked out by someone walking through, and shoot directly into Lightroom or Capture One so your client can see results in real time. The psychological effect on clients when they see themselves on a large screen mid-shoot is significant. They relax, they trust you, and the session moves faster.
Step 2: Choose Your Main Strobe Based on Flash Duration, Not Just Power
 Einstein E640 strobe mounted on C-stand with beauty dish attached
The centerpiece of their lighting setup is the Paul C. Buff Einstein E640. It runs around $500 new, though Tony mentions buying his used. The reason it is the main light rather than one of the cheaper units comes down to flash duration. A shorter flash duration freezes motion more cleanly, which matters most on your key light because that is the source doing the most work. Their other strobes, which are less expensive, have longer durations - meaning there is a small window where the flash is still trailing off, and any subject movement during that window registers as softness in the image.
Einstein E640 strobe mounted on C-stand with beauty dish attached
The centerpiece of their lighting setup is the Paul C. Buff Einstein E640. It runs around $500 new, though Tony mentions buying his used. The reason it is the main light rather than one of the cheaper units comes down to flash duration. A shorter flash duration freezes motion more cleanly, which matters most on your key light because that is the source doing the most work. Their other strobes, which are less expensive, have longer durations - meaning there is a small window where the flash is still trailing off, and any subject movement during that window registers as softness in the image.
The second advantage of the Einstein is color consistency. Cheaper strobes can shift color temperature slightly between pops, which creates a headache in post when you are trying to match frames in a sequence. When I ruined my first big editorial shoot by using mismatched heads on a multi-light setup and couldn’t reconcile the skin tones in editing, I learned this lesson permanently. Spend your money on the light that matters most - the key - and fill in the rest of the setup with budget options if you need to.
Step 3: Use a Beauty Dish With a Diffusion Sock for Flattering Skin Texture
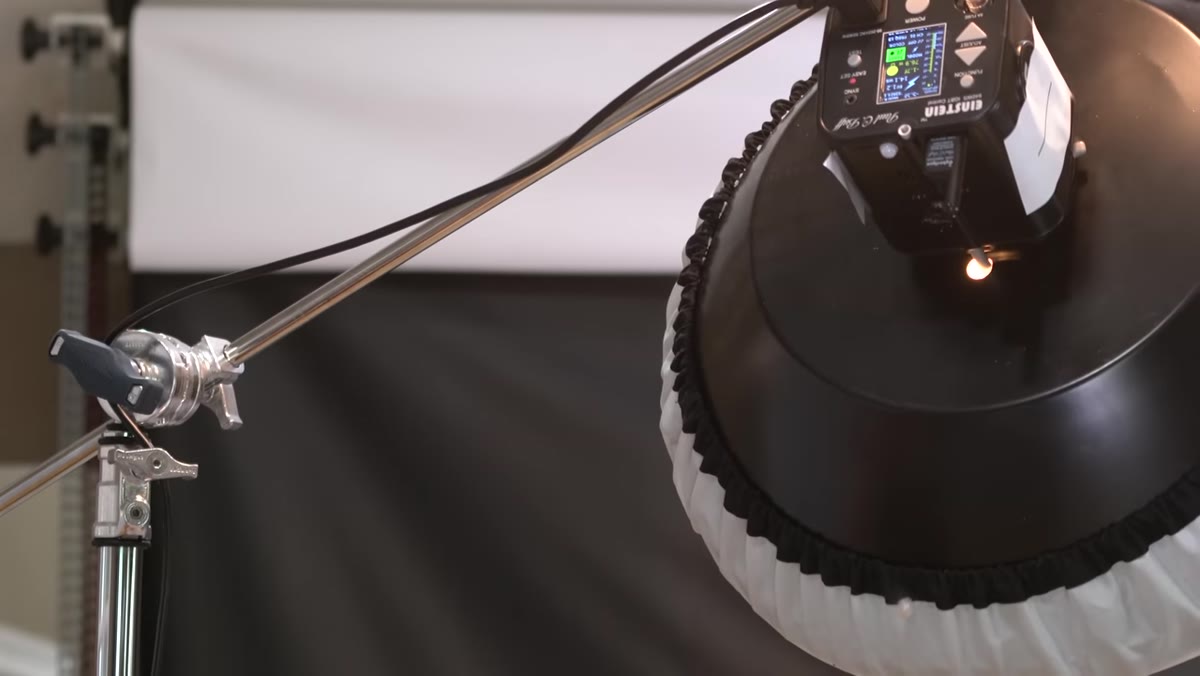
 Beauty dish with white diffusion sock shown from side angle
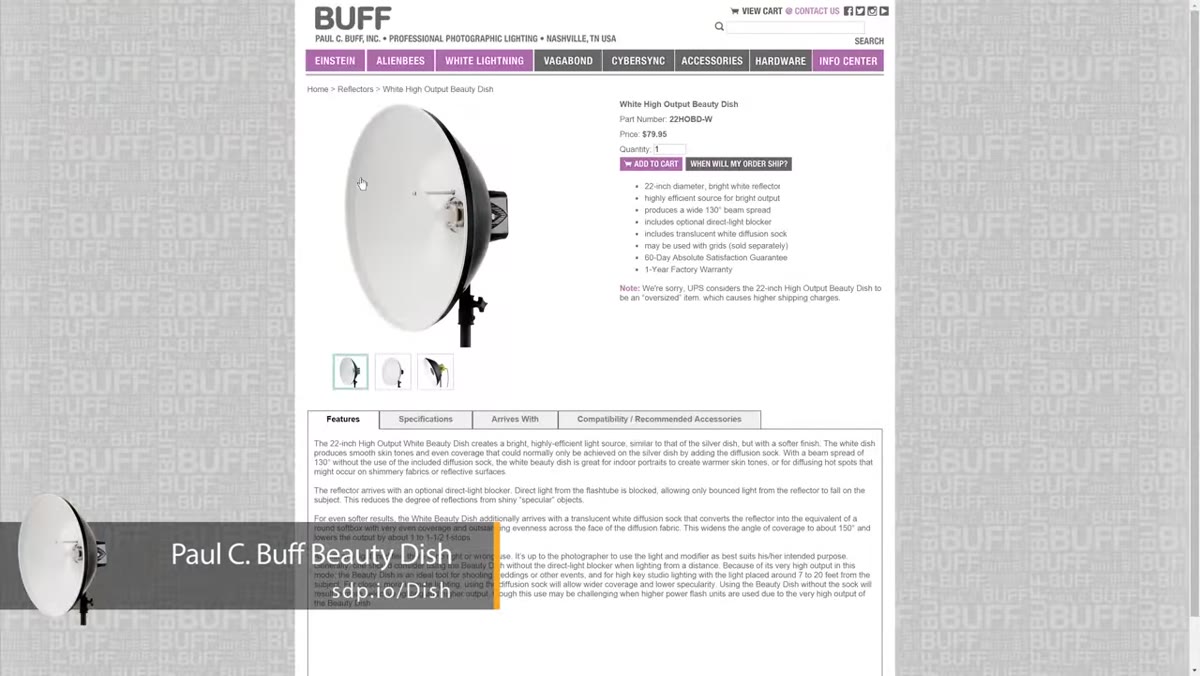
Chelsea and Tony have a beauty dish fitted to the Einstein with a fabric diffusion sock stretched over the front. The beauty dish occupies a useful middle ground between a softbox and a bare strobe. It produces light that is soft enough to be flattering but directional enough to retain shadow under the cheekbones, jawline, and brow. That shadow structure is what gives a portrait dimension. A large softbox placed too close will erase that dimension entirely and leave skin looking flat.
Beauty dish with white diffusion sock shown from side angle
Chelsea and Tony have a beauty dish fitted to the Einstein with a fabric diffusion sock stretched over the front. The beauty dish occupies a useful middle ground between a softbox and a bare strobe. It produces light that is soft enough to be flattering but directional enough to retain shadow under the cheekbones, jawline, and brow. That shadow structure is what gives a portrait dimension. A large softbox placed too close will erase that dimension entirely and leave skin looking flat.
The sock adds an extra layer of diffusion that takes the edge off the center hot spot that a bare beauty dish produces. If you are shooting beauty or fashion work and you do not own a beauty dish, this is the modifier I would prioritize over a second softbox. I test every new modifier on arrival - usually on myself against a plain wall - and the beauty dish with a sock was the one that immediately changed how I approached close-up portrait work.
Step 4: Label Every Light With a Number for Remote Control Efficiency
 Sticky paper with number “1” taped to Einstein E640 body
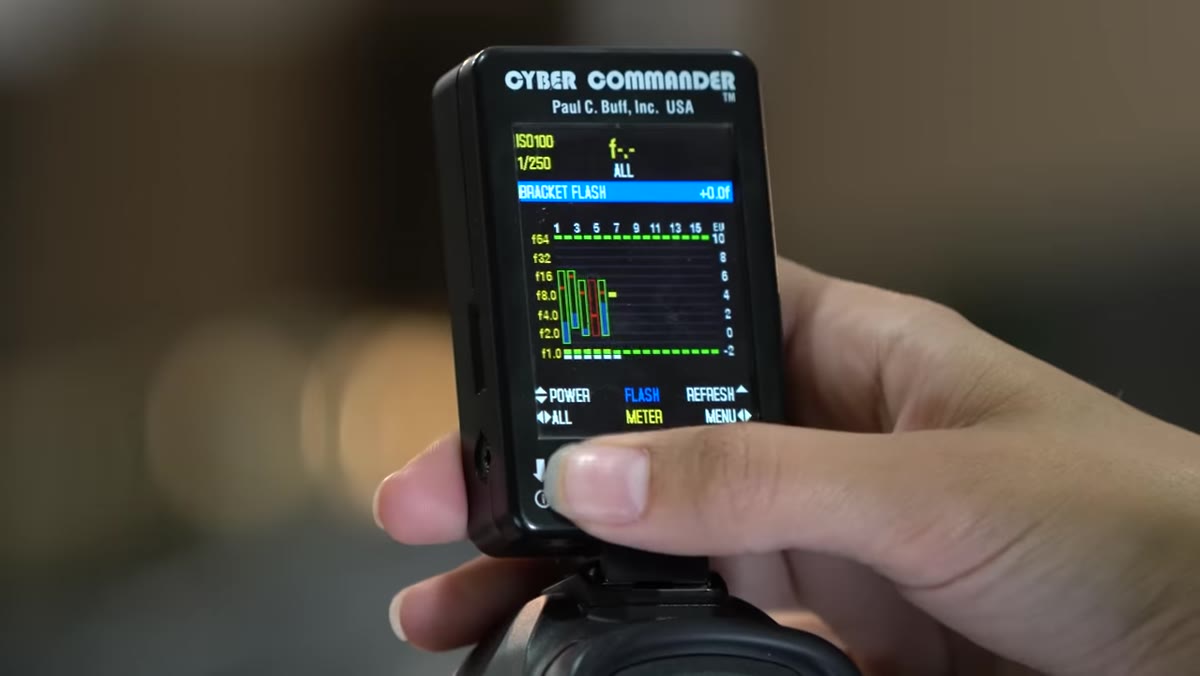
This one sounds trivial and is not. Tony and Chelsea use the Paul C. Buff Cyber Commander, a wireless controller that can manage up to 16 lights and store lighting presets. When you are adjusting ratios mid-shoot, you need to know which physical unit corresponds to which channel on the controller without walking over to check. Their solution is a piece of sticky paper with the channel number written on it, placed directly on the light body.
Sticky paper with number “1” taped to Einstein E640 body
This one sounds trivial and is not. Tony and Chelsea use the Paul C. Buff Cyber Commander, a wireless controller that can manage up to 16 lights and store lighting presets. When you are adjusting ratios mid-shoot, you need to know which physical unit corresponds to which channel on the controller without walking over to check. Their solution is a piece of sticky paper with the channel number written on it, placed directly on the light body.
I use masking tape for this in my own studio, written in marker, replaced whenever it gets dirty. Every light, every modifier arm, every cable has a label. It costs nothing and saves real time during a shoot. If you use preset groups on a wireless controller, build a reference card that lives on your tethering cart so you can recall your standard setups without scrolling through menus.
Step 5: Invest in a Quality C-Stand and Sandbag Every Single Light
 Avenger C-stand with circular sandbag around the base
Tony and Chelsea are direct about this: they went through three C-stands before buying an Avenger, and the cheaper ones either failed at the knuckle joint or let the arm drop slowly under load. A C-stand with a boom arm is carrying significant weight at an offset distance, and that leverage will expose any weak point in the casting or the tightening mechanism. Buy quality once rather than budget twice.
Avenger C-stand with circular sandbag around the base
Tony and Chelsea are direct about this: they went through three C-stands before buying an Avenger, and the cheaper ones either failed at the knuckle joint or let the arm drop slowly under load. A C-stand with a boom arm is carrying significant weight at an offset distance, and that leverage will expose any weak point in the casting or the tightening mechanism. Buy quality once rather than budget twice.
The sandbag advice is equally firm and comes with a practical note: fill them with gravel, not sand. Fine sand migrates through seams in the bag, gets into everything, and will scratch your floors over time. Gravel stays put. Every light stand in their studio is sandbagged, and they are clear that this habit was learned the hard way - an unsandbagged stand tipped by a moving subject means a broken bulb and a wasted session. Casters on your stands give you the mobility to reposition quickly. Sandbags give you the stability to do it without risk. Run both.
What I Would Add: Build a Numbered Preset System Before You Need It
The Cyber Commander’s ability to store lighting configurations is something I would push further than the tutorial covers. Before any recurring client type - headshots, product, fashion editorial - build a baseline preset and label it. I keep a lighting journal where I sketch every setup I use on a shoot, and I cross-reference those sketches with saved controller presets. When a client comes back six months later and wants “the same look as last time,” I can recall it in two minutes rather than rebuilding from memory. That reliability is part of what professional studio work sells.
The single most important takeaway from this tutorial is that studio reliability is a system, not a single piece of gear. It is numbered lights, sandbagged stands, tethered review, and quality hardware in the positions that take the most load. The creative decisions happen faster and better when the infrastructure holds without thinking about it.
Watch the full tutorial on YouTube to see the full studio walkthrough, including their complete lighting setup and the rest of their modifier collection.
Comments (4)
Just used this on a wedding shoot edit. Client was thrilled.
Really solid breakdown. This pairs perfectly with the photoshop work I've been writing about.
This should be required reading for anyone starting out.
Never thought of approaching it this way. Really creative.
Leave a Comment