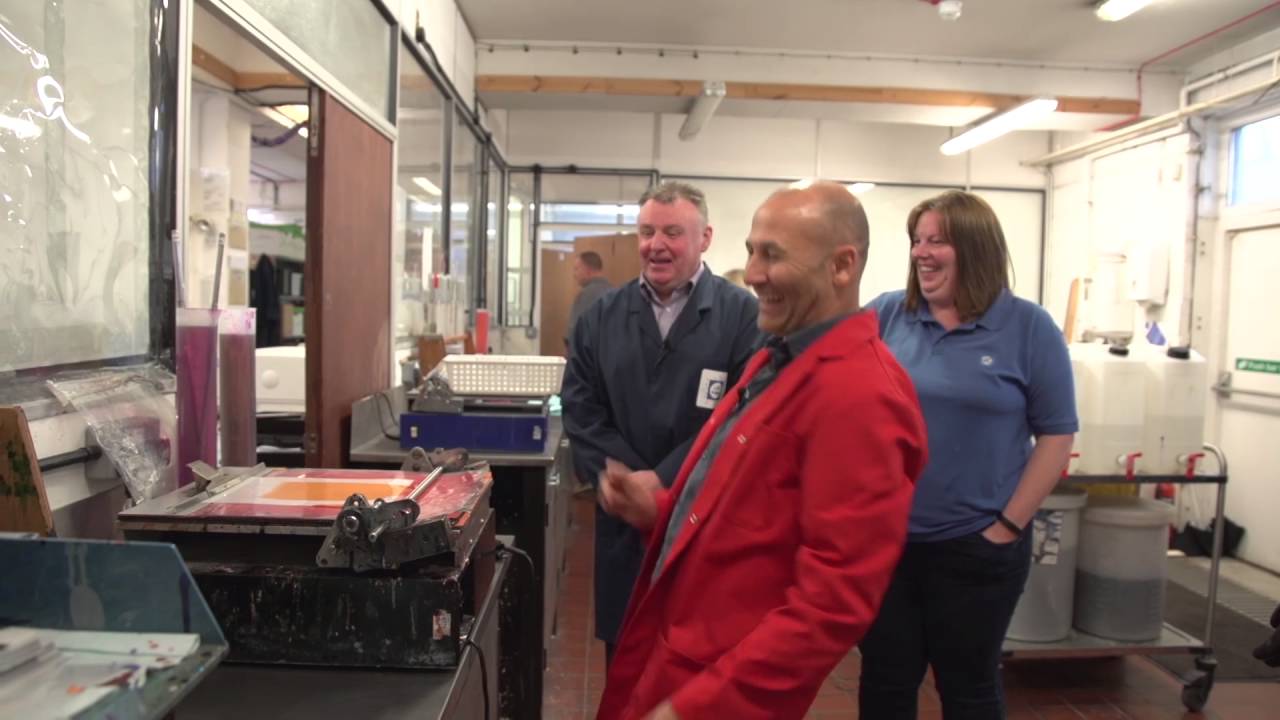
Color has burned me before. Early in my commercial career, I walked into an editorial shoot confident in my gel choices, only to realize halfway through the day that the reds I was using were shifting warm under heat from the fixture. The prints came back muddy. The client was patient, but I was not. That experience sent me down a rabbit hole of understanding not just how gels behave, but how they are actually built. Which is why, when I came across this Visual Education tutorial on professional lighting gel manufacturing, I stopped everything and watched it twice. Watch the full tutorial on YouTube
Most photographers treat gels as interchangeable commodity products. You buy a pack, you tape one over a fixture, you move on. But the difference between a gel that holds its stated color value across a full shoot day and one that doesn’t comes down to manufacturing decisions made long before the product reaches your lighting kit. This tutorial pulls back the curtain on those decisions in a way I have never seen documented on camera before. It is part factory tour, part quality control masterclass, and the hands-on coating demonstration at the end is genuinely illuminating for anyone who has ever wondered why premium gels cost what they do.
What follows is my breakdown of the key steps shown in the video, translated into practical knowledge for working photographers and cinematographers. I have added context from my own experience shooting fashion and beauty, where color accuracy under mixed lighting is non-negotiable.
Step 1: Understand What the Coating Machine Is Actually Doing
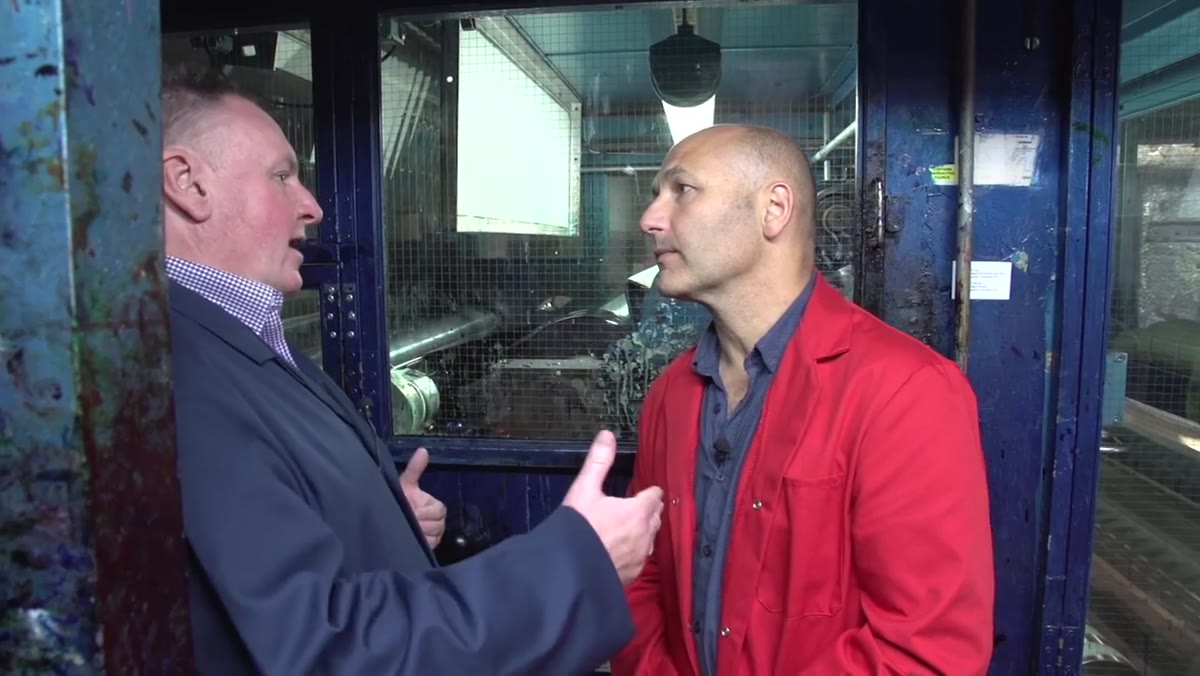 Industrial coating head machine applying dye to polyester film roll
The manufacturing process begins at what the facility calls the coating head. This is the machine responsible for applying dye directly onto polyester film, which is the base material for every gel you have ever used. The polyester itself is colorless. It is the dye layer that gives the filter its optical properties. Knowing this matters because polyester is dimensionally stable, meaning it resists stretching and shrinking under heat, which is exactly what you want when a gel is sitting in front of a hot tungsten source for hours.
Industrial coating head machine applying dye to polyester film roll
The manufacturing process begins at what the facility calls the coating head. This is the machine responsible for applying dye directly onto polyester film, which is the base material for every gel you have ever used. The polyester itself is colorless. It is the dye layer that gives the filter its optical properties. Knowing this matters because polyester is dimensionally stable, meaning it resists stretching and shrinking under heat, which is exactly what you want when a gel is sitting in front of a hot tungsten source for hours.
Step 2: Recognize Why Double-Sided Coating Is the Quality Differentiator
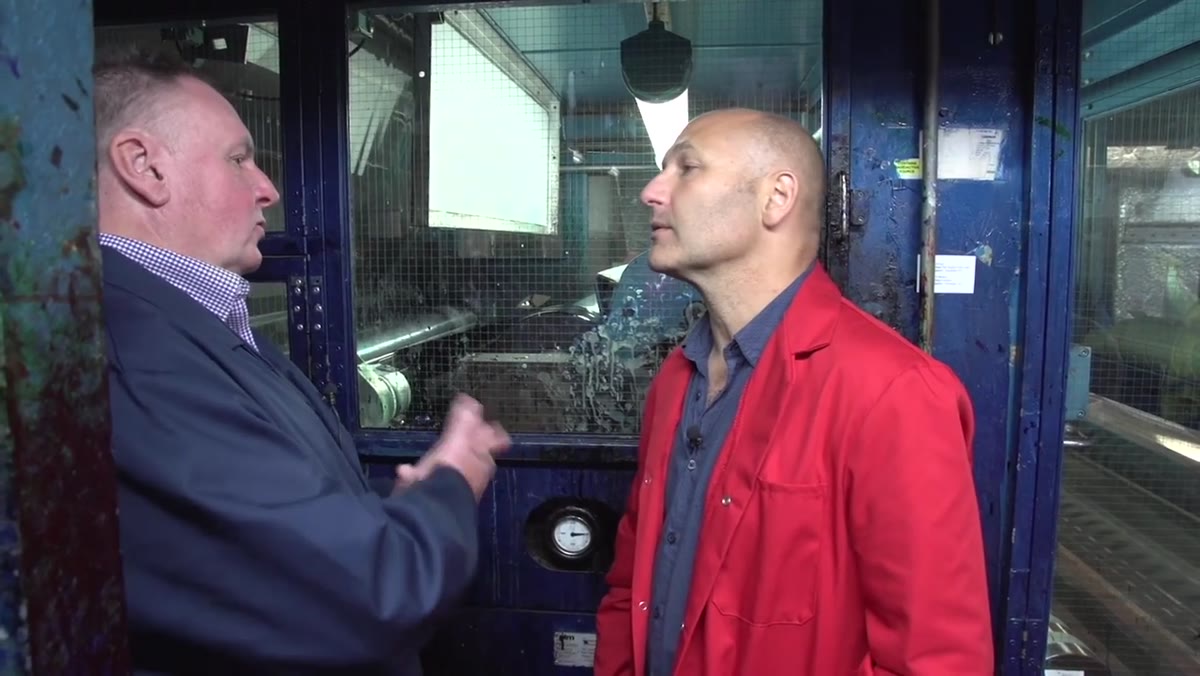 Explanation of reversed double-sided dye application process
Here is where premium gels separate themselves from the budget alternatives. The coating process shown in this tutorial applies dye to both sides of the film, reversing the application on the second pass. This double-sided approach gives the manufacturer significantly tighter control over the final color output compared to single-sided coating. When I first heard this, it clicked immediately. A single dye layer can shift slightly depending on the angle of light passing through it. Two layers, balanced against each other, produce a much more neutral and consistent transmission. If you have ever noticed that a cheap gel looks slightly different depending on whether you are viewing it from the front or the back of a fixture, this is why.
Explanation of reversed double-sided dye application process
Here is where premium gels separate themselves from the budget alternatives. The coating process shown in this tutorial applies dye to both sides of the film, reversing the application on the second pass. This double-sided approach gives the manufacturer significantly tighter control over the final color output compared to single-sided coating. When I first heard this, it clicked immediately. A single dye layer can shift slightly depending on the angle of light passing through it. Two layers, balanced against each other, produce a much more neutral and consistent transmission. If you have ever noticed that a cheap gel looks slightly different depending on whether you are viewing it from the front or the back of a fixture, this is why.
Step 3: Follow the Material From Coating to Conversion
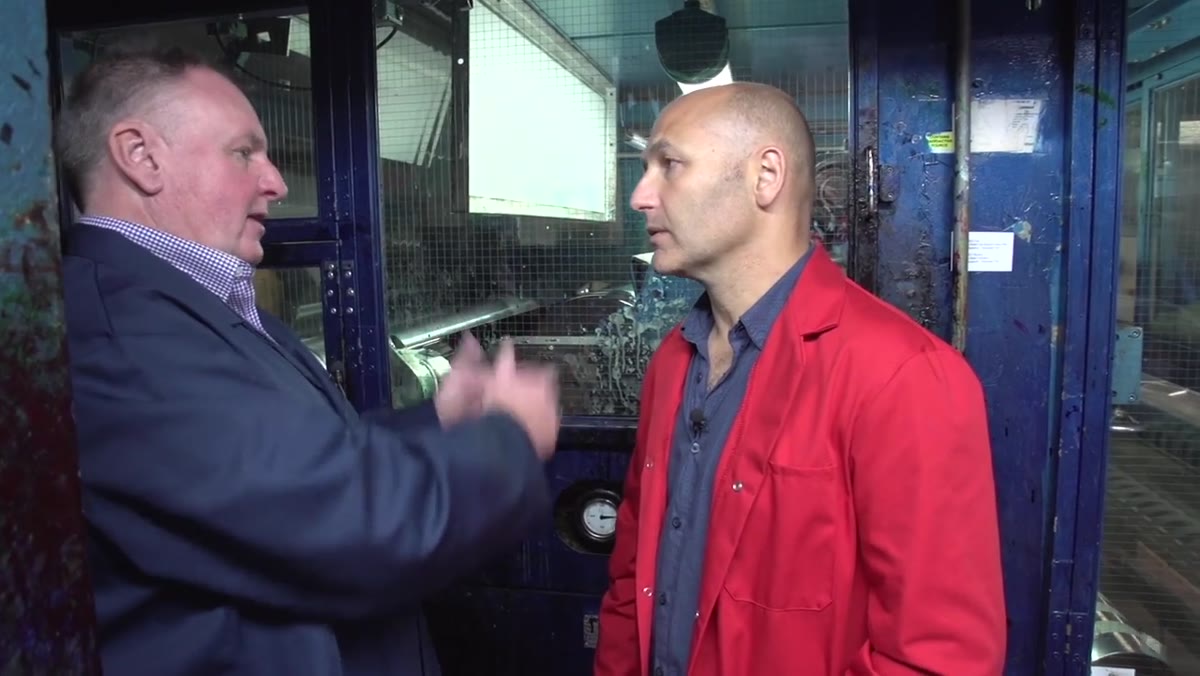 Description of transfer from coating area to rolls and sheets conversion
Once the film comes off the coating machine, it moves to a conversion area where it is cut into the rolls and sheets that end up in retail packaging. This step is worth understanding because it tells you something about how gels are sized and why you get the dimensions you get. Rolls are typically used for large-format applications like cyclorama lighting or big practical windows on set. Sheets are cut for standard fixtures. The conversion process is not just slicing. It is a controlled step that follows the same quality standards as the coating itself.
Description of transfer from coating area to rolls and sheets conversion
Once the film comes off the coating machine, it moves to a conversion area where it is cut into the rolls and sheets that end up in retail packaging. This step is worth understanding because it tells you something about how gels are sized and why you get the dimensions you get. Rolls are typically used for large-format applications like cyclorama lighting or big practical windows on set. Sheets are cut for standard fixtures. The conversion process is not just slicing. It is a controlled step that follows the same quality standards as the coating itself.
Step 4: Learn What Happens in the Lab Before Any Full Run
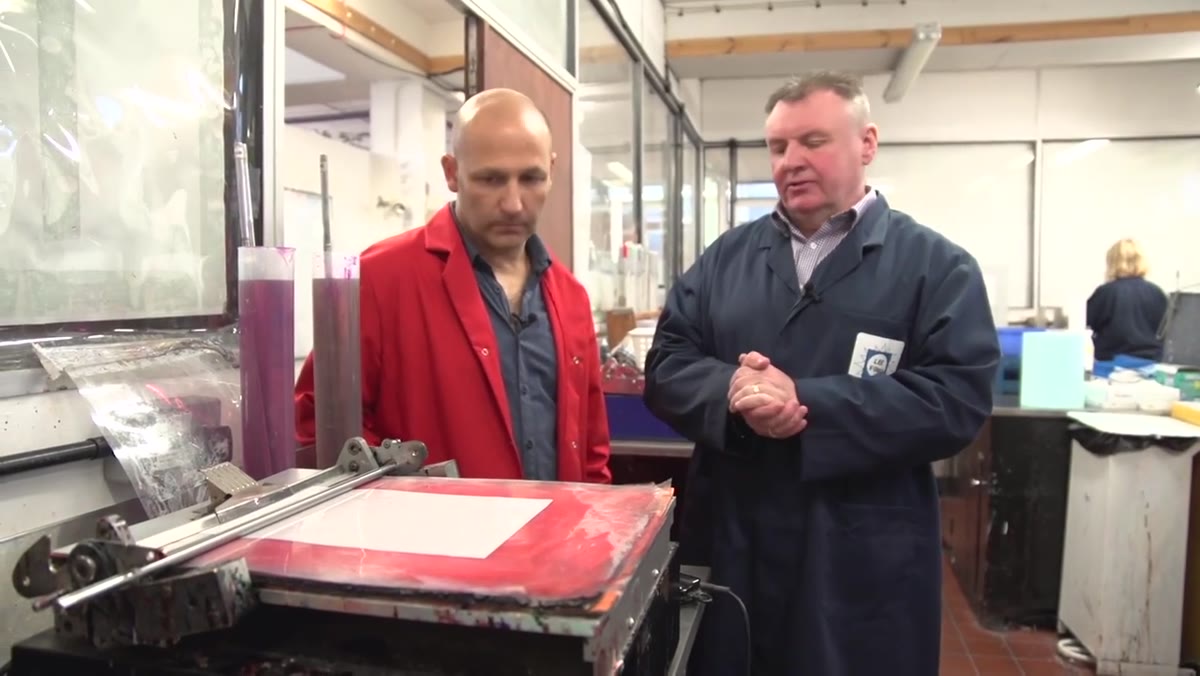 Quality control lab area with coating test apparatus
Before committing to a full production reel, the team does a test coating using a miniaturized version of the same bar system used on the large machine. The bar controls how much lacquer and dye is deposited onto the film surface. The test sample is then taken into a lab and measured against reference coatings from previous approved runs. This is not a visual check. It is a measured, tolerance-based comparison. For photographers working in film or high-end commercial production where a specific gel color is a contractual deliverable, this is the process that guarantees you get the same orange today that you got six months ago on the previous job.
Quality control lab area with coating test apparatus
Before committing to a full production reel, the team does a test coating using a miniaturized version of the same bar system used on the large machine. The bar controls how much lacquer and dye is deposited onto the film surface. The test sample is then taken into a lab and measured against reference coatings from previous approved runs. This is not a visual check. It is a measured, tolerance-based comparison. For photographers working in film or high-end commercial production where a specific gel color is a contractual deliverable, this is the process that guarantees you get the same orange today that you got six months ago on the previous job.
Step 5: Watch the Hand Coating Demonstration Closely
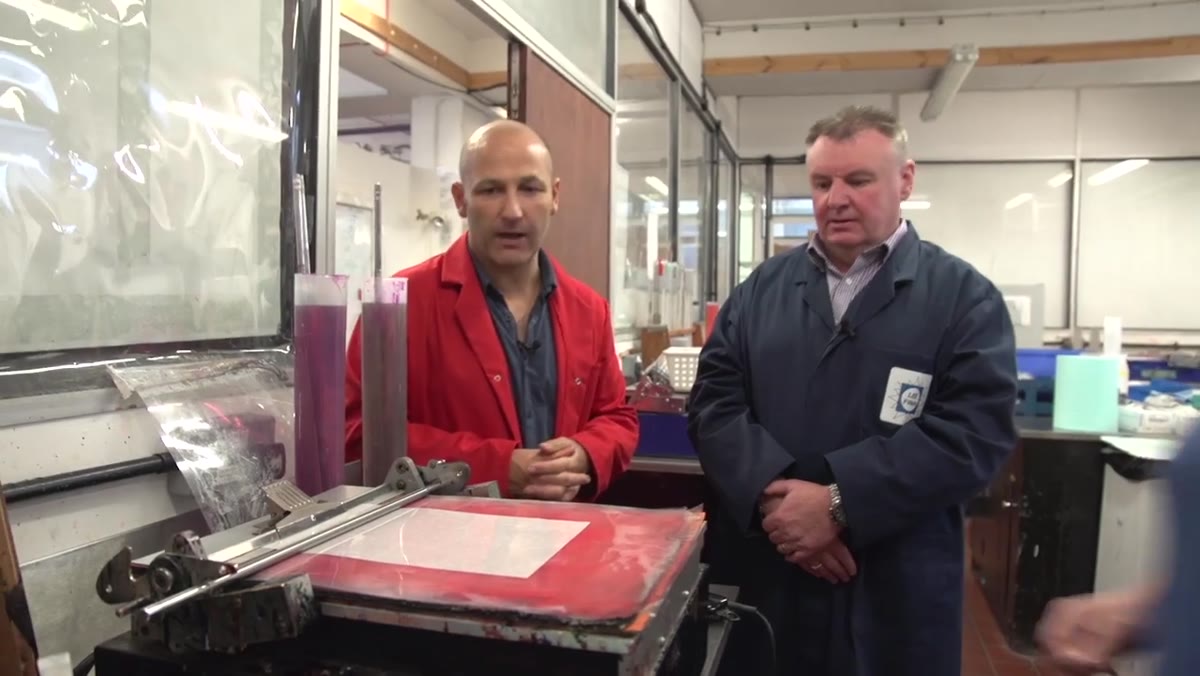 Becky demonstrating hand coating technique with dye and bar tool
The hands-on coating demonstration is the most instructive part of the video for understanding how dye behaves on film. The process involves scooping a measured amount of dye, loading it against the bar, and drawing the bar across the film in a single controlled pass. The bar sits in a track, which keeps it level and ensures even dye distribution across the width of the film. Speed and pressure matter. The machine replicates this movement mechanically at scale, which is why machine-coated gels are more consistent than anything done by hand. The hand coating shown here is purely a quality check tool, not a production method.
Becky demonstrating hand coating technique with dye and bar tool
The hands-on coating demonstration is the most instructive part of the video for understanding how dye behaves on film. The process involves scooping a measured amount of dye, loading it against the bar, and drawing the bar across the film in a single controlled pass. The bar sits in a track, which keeps it level and ensures even dye distribution across the width of the film. Speed and pressure matter. The machine replicates this movement mechanically at scale, which is why machine-coated gels are more consistent than anything done by hand. The hand coating shown here is purely a quality check tool, not a production method.
Step 6: Understand the Single-Sided Test vs. Final Double-Sided Product
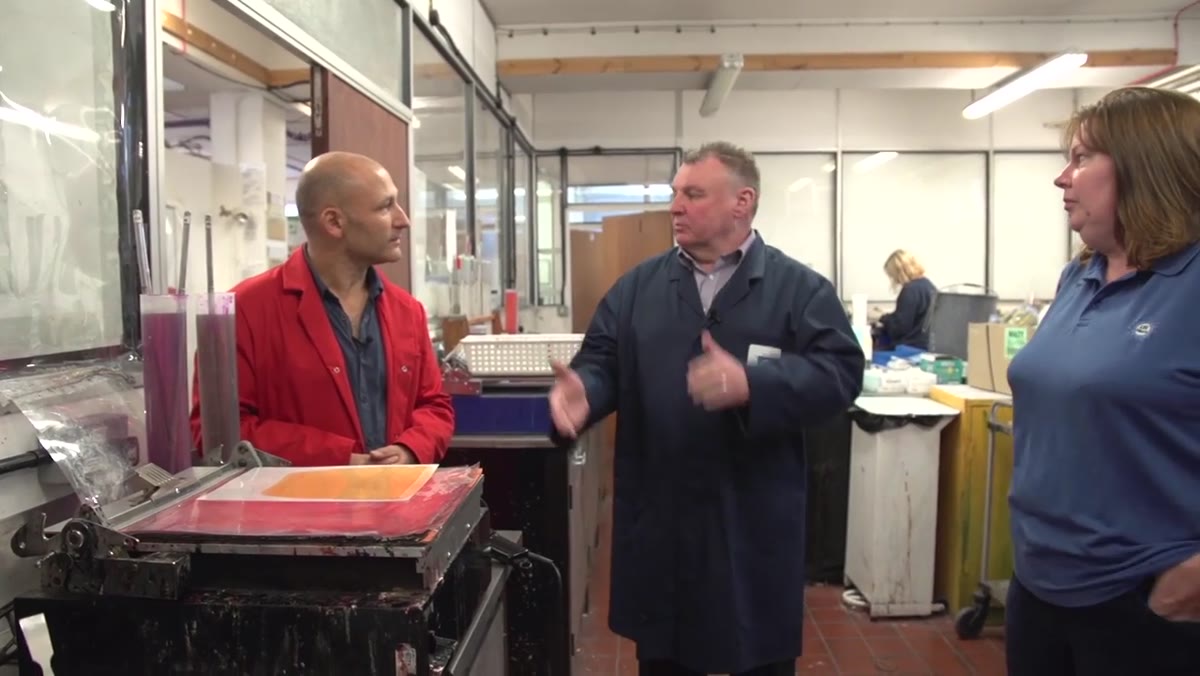 Single-sided coating result explained as a test sample only
The test coating shown in the demonstration is single-sided, which the facility makes clear is only for the purpose of validating the color direction before the double-sided production run. Do not confuse this with the finished product. A single-sided test gel will read differently than the final double-coated version. The lab comparison step accounts for this. If you were ever tempted to DIY a gel using photographic gels or colored acetate, this should give you a clear picture of why the results are unpredictable. Consistent transmission requires controlled layering, and controlled layering requires equipment and reference data that simply does not exist outside a production facility.
Single-sided coating result explained as a test sample only
The test coating shown in the demonstration is single-sided, which the facility makes clear is only for the purpose of validating the color direction before the double-sided production run. Do not confuse this with the finished product. A single-sided test gel will read differently than the final double-coated version. The lab comparison step accounts for this. If you were ever tempted to DIY a gel using photographic gels or colored acetate, this should give you a clear picture of why the results are unpredictable. Consistent transmission requires controlled layering, and controlled layering requires equipment and reference data that simply does not exist outside a production facility.
What This Means for How I Actually Buy and Use Gels
I have been using a lighting journal for years, sketching every setup from every shoot with notes on which gels I used and what the results looked like. After watching this tutorial, I added a new column: manufacturer. Not brand. Manufacturer. The way a gel is coated directly affects how reliably you can reproduce a setup weeks or months later. I now prioritize gels that use double-sided coating processes for any job where color matching across multiple fixtures is critical. For beauty work especially, where the difference between a warming gel and a skin-tone disaster is subtle, I want to know I am working with a product built to a measurable standard.
If you are stocking a studio kit or putting together a location package, pay attention to how the gels you buy are actually made. The manufacturing process is not marketing copy. It is the reason one gel holds its rated color shift across a full shoot day and another one does not.
The single most important takeaway from this tutorial is that professional gel consistency comes from a validated, double-sided coating process checked against laboratory reference standards, not from the color printed on the packaging. Understanding that changes how you evaluate every gel product on the market.
Watch the full tutorial on YouTube to see the coating machine, lab process, and hand demonstration in full detail.
Comments (2)
Been doing this wrong for years apparently. Thanks for the wake-up call.
Tried this technique this morning. Game changer for real.
Leave a Comment