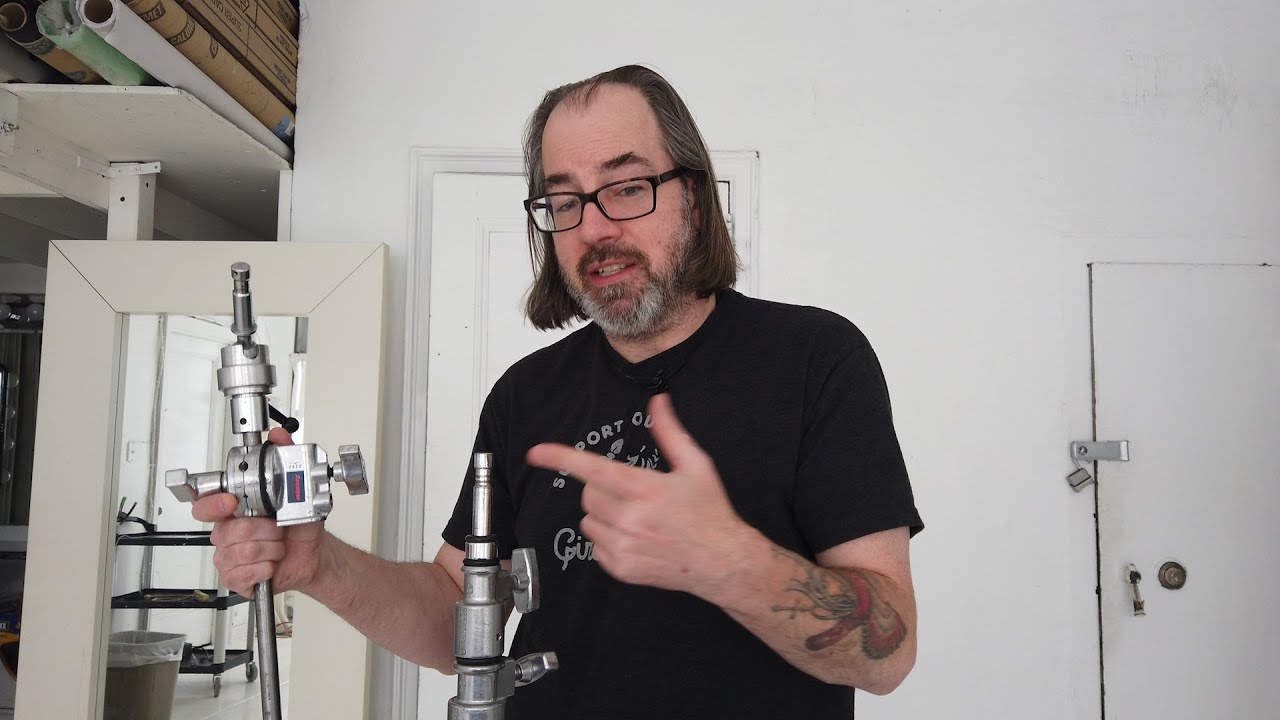
I keep a roll of masking tape in every corner of my studio. Labels on lights, labels on cables, labels on adapter pouches. That habit started because I once spent twenty minutes on a paid shoot hunting for the right fitting to mount a strobe to a C-stand arm, and the client was watching me do it. Never again. The unglamorous truth about studio photography is that the gear has to work before the light can work, and that means knowing your sizes cold, before you’re under pressure. In this Daniel Norton Photographer tutorial on common stand and thread sizes, Norton runs through the exact measurements that hold a professional studio together. Watch the full tutorial on YouTube
Norton’s breakdown is deceptively simple, but that’s the point. These aren’t exotic specs. They’re the handful of measurements that show up on almost every piece of lighting gear you’ll ever own, and if you can hold them in your head, you can walk into any rental house, any hardware store, or any grip truck and solve a rigging problem on the spot. If you’re DIY-ing stands or adapters, this knowledge is the difference between a solution and a guess.
Step 1: Start With 5/8-Inch (Baby) - The Size That Runs the Studio
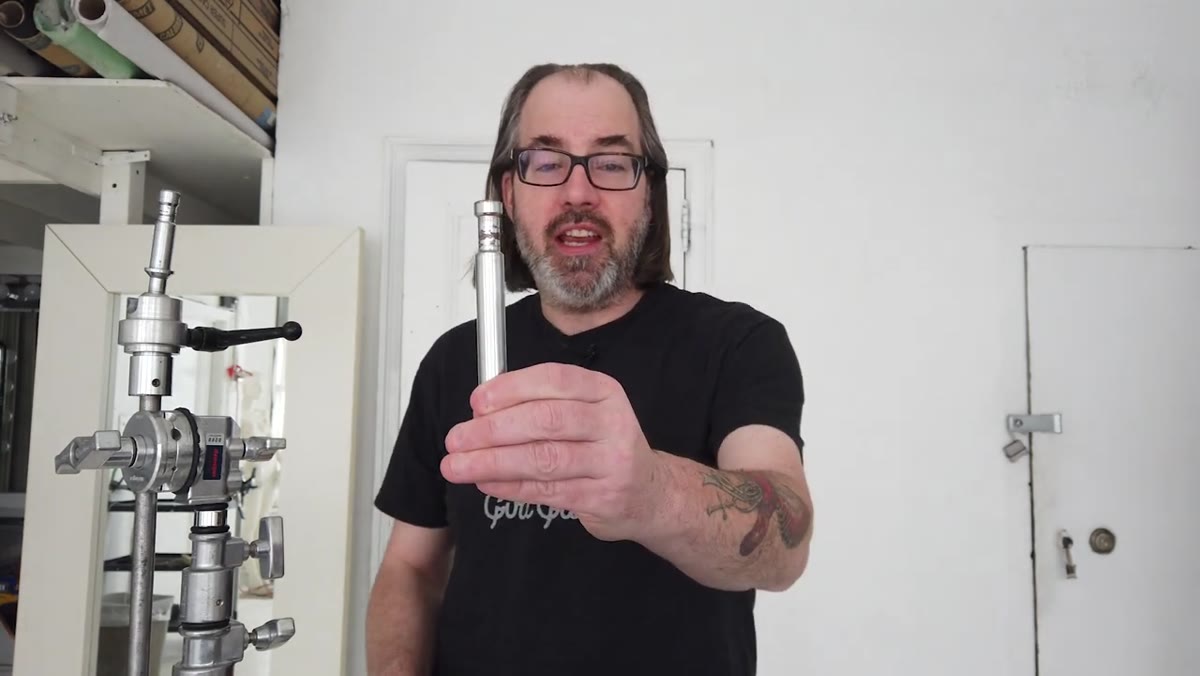 Baby pin on C-stand arm held up to camera
The 5/8-inch pin, universally called “baby” in the industry, is the single most common connection point in studio lighting. Norton demonstrates it using a C-stand with an Avenger pin, and the reason this size dominates is simple: it fits almost everything smaller than a theatrical fixture. Standard light stands have a baby pin on top. C-stand arms terminate in baby. Magic fingers are built around baby. If a piece of lighting gear has a round receiver on it, there is a strong chance it accepts a 5/8-inch pin.
Baby pin on C-stand arm held up to camera
The 5/8-inch pin, universally called “baby” in the industry, is the single most common connection point in studio lighting. Norton demonstrates it using a C-stand with an Avenger pin, and the reason this size dominates is simple: it fits almost everything smaller than a theatrical fixture. Standard light stands have a baby pin on top. C-stand arms terminate in baby. Magic fingers are built around baby. If a piece of lighting gear has a round receiver on it, there is a strong chance it accepts a 5/8-inch pin.
Think of it in terms of male and female: the pin is male, the receiver on your light or modifier is female, and they mate together to put light where you need it. The vast majority of studio monolights, LED panels, and small flash heads are designed around this standard. When a piece of gear doesn’t fit a baby pin natively, you add an adapter rather than rethink your whole stand setup.
Step 2: Adapt Small Flash to Baby With a Cold Shoe Adapter
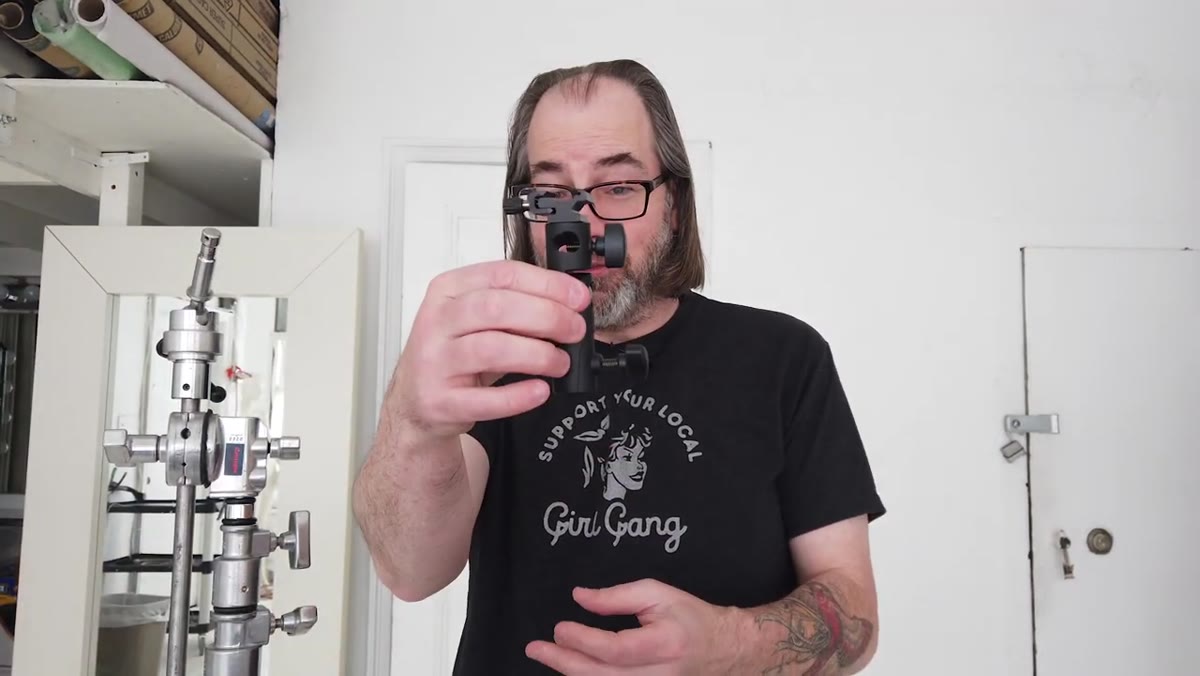 Hot shoe adapter with baby pin base shown in hand
Speedlights and small flashes use a hot shoe or cold shoe mount at their base, which means they don’t drop directly onto a baby pin. Norton shows the fix: a simple adapter with a cold shoe bracket on top and a baby pin receiver on the bottom. Slide the flash into the shoe, tighten the thumbscrew, drop the whole assembly onto your light stand, and you’re done.
Hot shoe adapter with baby pin base shown in hand
Speedlights and small flashes use a hot shoe or cold shoe mount at their base, which means they don’t drop directly onto a baby pin. Norton shows the fix: a simple adapter with a cold shoe bracket on top and a baby pin receiver on the bottom. Slide the flash into the shoe, tighten the thumbscrew, drop the whole assembly onto your light stand, and you’re done.
This adapter costs almost nothing and it belongs in your kit bag permanently. I keep two of them because I’ve loaned one out on a shoot and watched it disappear into someone’s bag. If you’re shooting small product work or using a portable strobe as a hair light, this is the connector that makes it happen without drama.
Step 3: Recognize Baby on Specialty Mounts, Including Ceiling Rigs
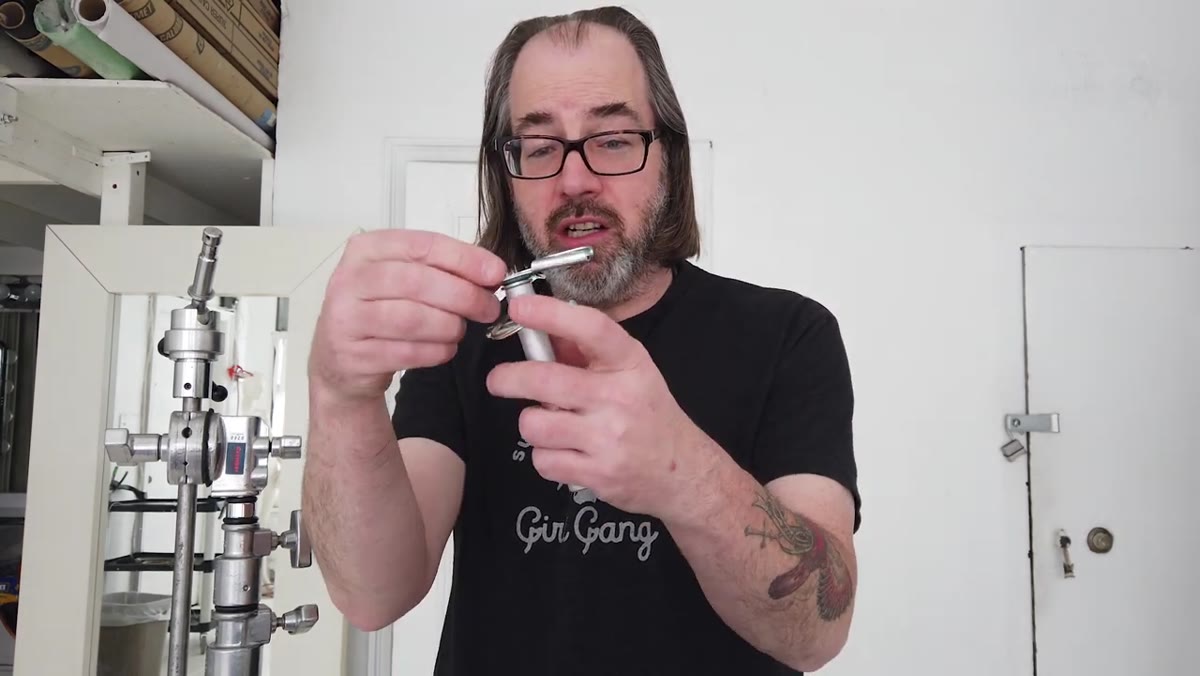 Drop ceiling adapter with baby pin fitting shown
One of the more useful points Norton makes is that the 5/8-inch standard extends well beyond floor stands. He holds up a drop ceiling adapter, the kind you clip into a suspended ceiling grid to hang a light overhead, and it uses the same baby pin connection. Knowing this means you can walk into an unfamiliar space, look at the ceiling grid, and immediately know whether your existing hardware will work.
Drop ceiling adapter with baby pin fitting shown
One of the more useful points Norton makes is that the 5/8-inch standard extends well beyond floor stands. He holds up a drop ceiling adapter, the kind you clip into a suspended ceiling grid to hang a light overhead, and it uses the same baby pin connection. Knowing this means you can walk into an unfamiliar space, look at the ceiling grid, and immediately know whether your existing hardware will work.
This matters on location more than in a controlled studio. If you’re shooting in an office, a showroom, or a retail space with drop ceilings, these adapters let you get light up high without rolling in a second C-stand. Same connector, totally different application.
Step 4: Learn 1/4-20 - The Thread That Lives on Your Camera
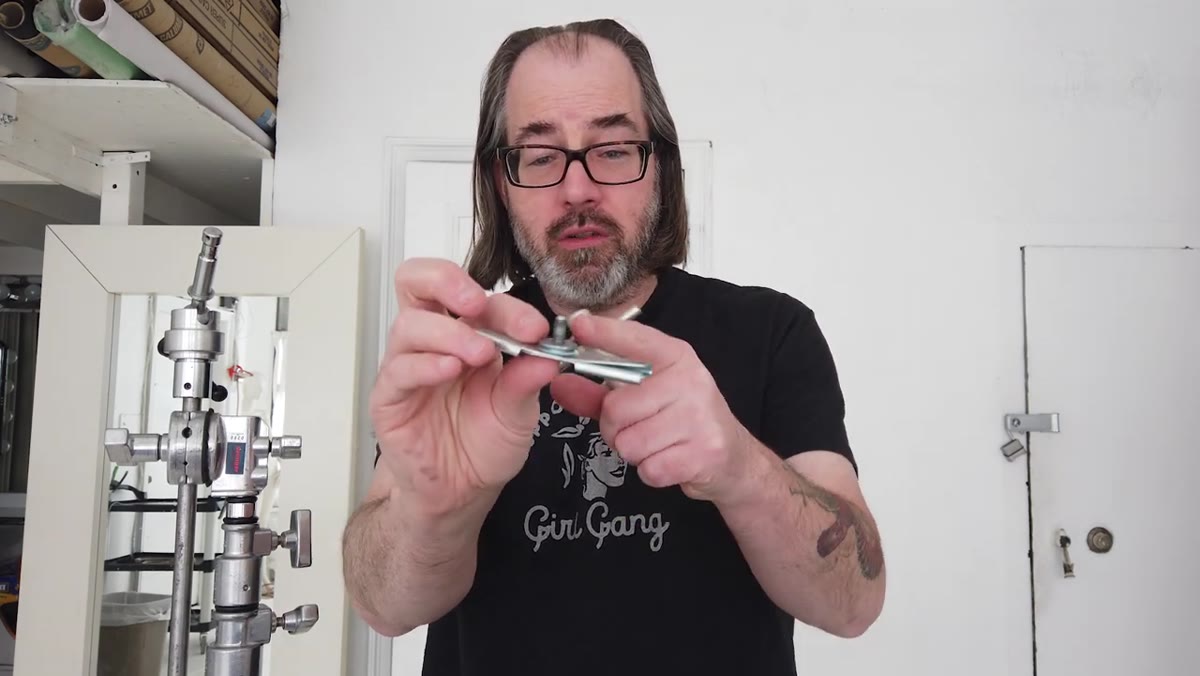 Quarter-20 threaded fitting being unscrewed from adapter
Norton shifts to threaded sizes here, and the first one is 1/4-20. The naming convention is straightforward: 1/4 is the diameter of the threaded shaft in inches, and 20 is the number of threads per inch. This is the same thread size as the tripod socket on the bottom of virtually every camera body ever made. If you’ve ever screwed a camera onto a ballhead, you’ve used 1/4-20 without thinking about it.
Quarter-20 threaded fitting being unscrewed from adapter
Norton shifts to threaded sizes here, and the first one is 1/4-20. The naming convention is straightforward: 1/4 is the diameter of the threaded shaft in inches, and 20 is the number of threads per inch. This is the same thread size as the tripod socket on the bottom of virtually every camera body ever made. If you’ve ever screwed a camera onto a ballhead, you’ve used 1/4-20 without thinking about it.
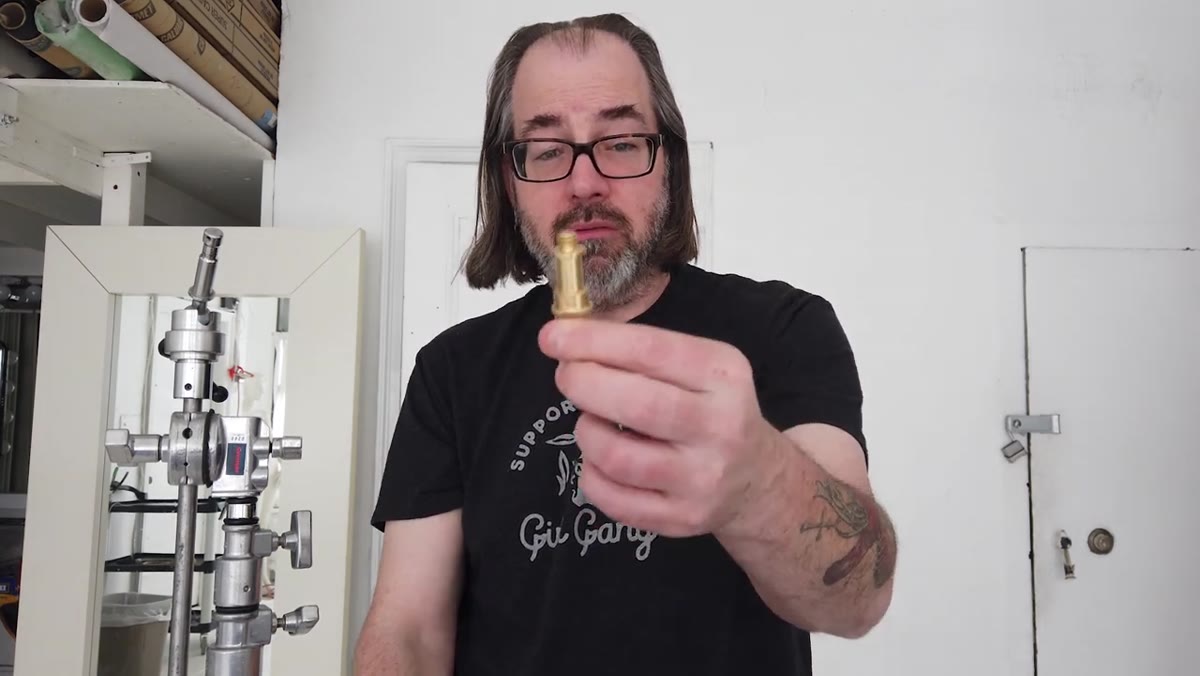
Where this becomes practically useful is in adapters. Norton shows a small brass fitting that accepts a 1/4-20 thread and sits atop a baby pin post. That combination means one piece of hardware can hold either a light or a camera, depending on what the shoot requires. When you’re building out a DIY rig or sourcing generic hardware from a machine shop or home improvement store, 1/4-20 is the specification you need to ask for.
Step 5: Move Up to 3/8-16 for Heavier Loads and Tripod Heads
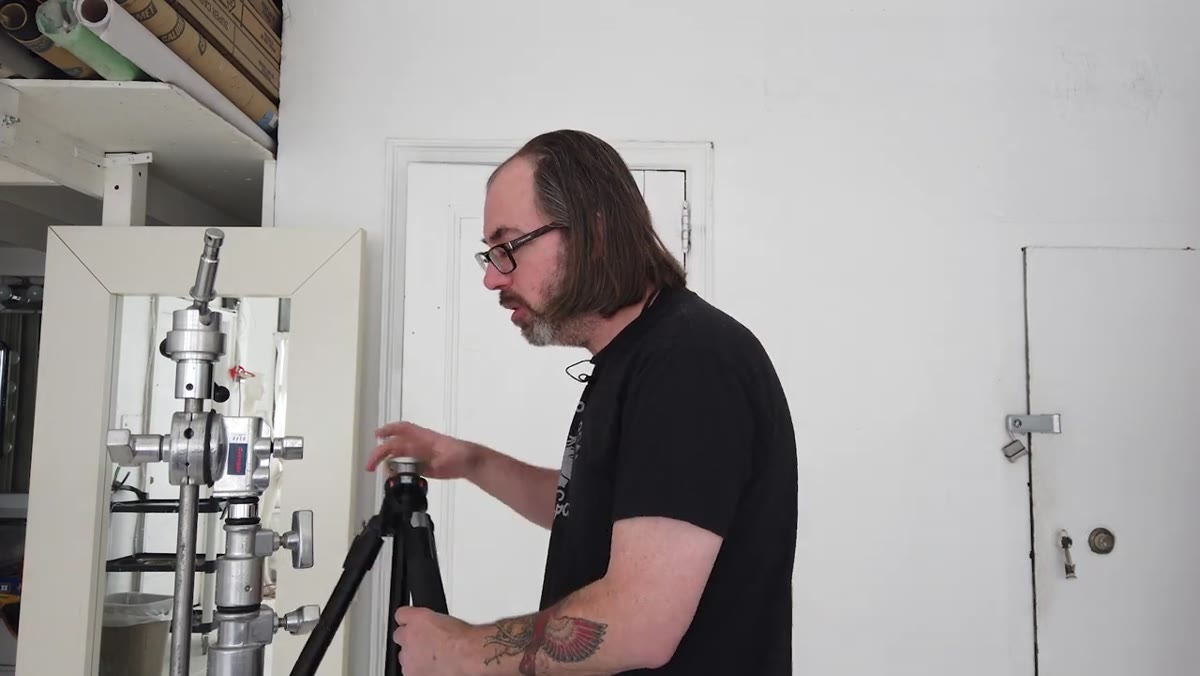
 Tripod head connection demonstrating 3/8 thread size
The 3/8-16 thread follows the same naming logic: 3/8-inch diameter, 16 threads per inch. It’s a physically larger, stronger thread designed for connections that carry more weight or need more rotational grip. Norton points to tripod heads as the most common place photographers encounter this size. Remove the head from any full-size tripod and you’ll almost certainly find a 3/8-16 stud waiting for it.
Tripod head connection demonstrating 3/8 thread size
The 3/8-16 thread follows the same naming logic: 3/8-inch diameter, 16 threads per inch. It’s a physically larger, stronger thread designed for connections that carry more weight or need more rotational grip. Norton points to tripod heads as the most common place photographers encounter this size. Remove the head from any full-size tripod and you’ll almost certainly find a 3/8-16 stud waiting for it.
The fewer threads per inch also mean each turn engages more material, which is part of why this connection feels more solid than a 1/4-20 joint under load. For heavy monolights, large beauty dishes, or anything you’re genuinely worried about shifting or loosening, the 3/8 connection is the appropriate choice when your hardware supports it.
Step 6: Use Bushings to Move Between Thread Sizes
 Bushing adapter for converting between thread sizes
Because studios contain gear made across decades and sourced from multiple countries, you will regularly encounter a situation where your male fitting is one size and your female receiver is another. The solution is a bushing, a short threaded adapter that steps one size down (or up) to the other. The most common version converts 3/8-16 down to 1/4-20, and Norton notes these are standard enough that rental houses stock them freely.
Bushing adapter for converting between thread sizes
Because studios contain gear made across decades and sourced from multiple countries, you will regularly encounter a situation where your male fitting is one size and your female receiver is another. The solution is a bushing, a short threaded adapter that steps one size down (or up) to the other. The most common version converts 3/8-16 down to 1/4-20, and Norton notes these are standard enough that rental houses stock them freely.
Buy a handful and keep them in a small labeled pouch in your kit. They weigh nothing and they’ve saved more than a few setups of mine when rented gear didn’t match what I had on the truck.
What I’d Add From My Own Shooting
Hardware stores are underrated as a photography resource. Once you know that 1/4-20 and 3/8-16 are standard machine thread specifications, not photography-specific ones, you realize that bolts, wing nuts, threaded rod, and brass fittings at a hardware store are completely compatible with your studio gear. I’ve built improvised camera mounts, boom counterweights, and overhead rigs using nothing but off-the-shelf hardware and these thread sizes. The savings compared to buying “photography” branded versions of the same thing are significant, and the hardware store stock is often better quality.
The single thing I want you to walk away knowing: 5/8-inch baby pin for lights, 1/4-20 for cameras and small adapters, 3/8-16 for tripod heads and heavy connections. Three numbers. They unlock almost every rigging decision you’ll make in a studio. Norton covers all of them clearly with real hardware in hand, and it’s worth watching the full video to see exactly how the pieces connect physically.
Watch the full tutorial on YouTube
Comments
Leave a Comment