
Toddlers will expose every weakness in your technical setup. They don’t hold poses, they don’t follow directions, and the moment you’re chimping your LCD to check exposure, they’ve moved three feet to the left. I’ve watched grown adults with years of professional experience freeze up on set the moment a two-year-old enters the picture. The problem is almost never the lighting. It’s that photographers haven’t locked in their settings before the session starts, so they spend the entire shoot chasing their tail instead of chasing the kid.
That’s exactly why I keep coming back to this kind of foundational tutorial content. In this The Slanted Lens tutorial on child studio portrait photography, JP walks through lens selection, camera settings, and the logic behind each decision in a way that’s genuinely useful for working photographers, not just beginners looking for a checklist. Watch the full tutorial on YouTube before or alongside this breakdown.
What I appreciate most is that JP treats each technical decision as a cascade. One choice opens or closes the next. That’s how I think about studio work too. You don’t pick settings randomly. You start with one anchor and build outward from there.
Step 1: Choose Your Focal Length with Intention
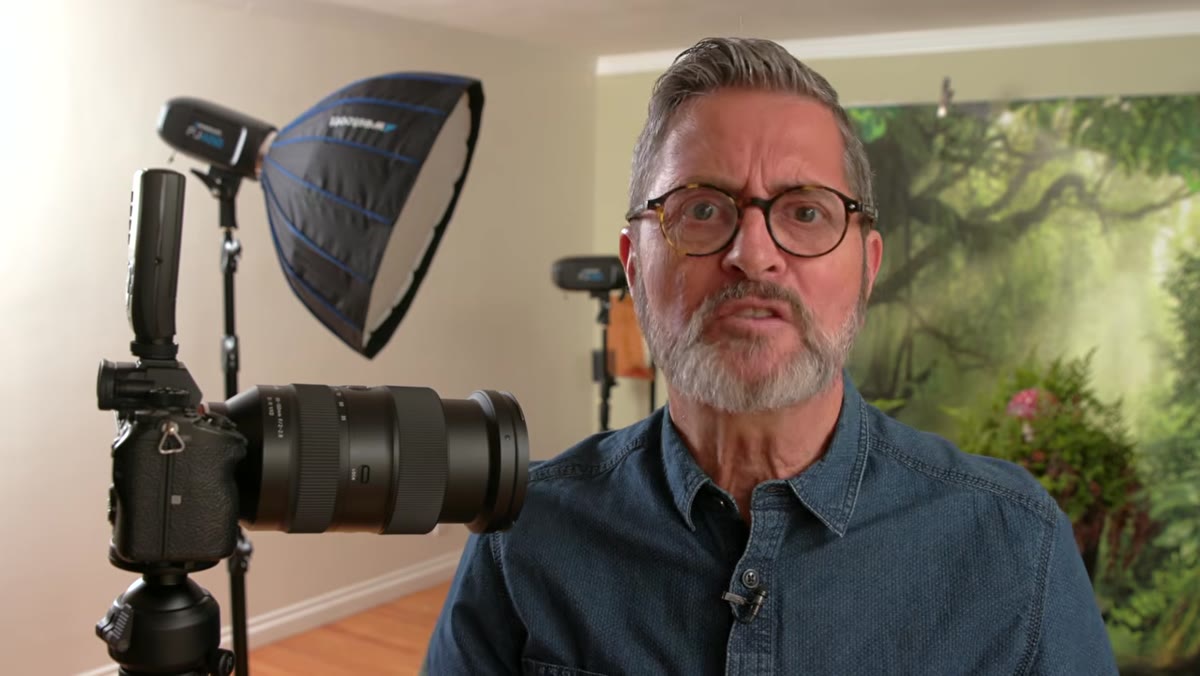 JP discussing lens choice on set with toddler subject
The lens JP lands on for this shoot is 100mm, and the reasoning goes deeper than “medium telephoto looks nice.” At 100mm, your angle of view narrows significantly compared to a 35mm or 85mm. That narrower field of view means you can physically push your background further from your subject while still filling the frame. The greater the distance between subject and background, the more out of focus that background becomes, even at the same aperture. You get separation without needing a massive seamless or a large studio footprint.
JP discussing lens choice on set with toddler subject
The lens JP lands on for this shoot is 100mm, and the reasoning goes deeper than “medium telephoto looks nice.” At 100mm, your angle of view narrows significantly compared to a 35mm or 85mm. That narrower field of view means you can physically push your background further from your subject while still filling the frame. The greater the distance between subject and background, the more out of focus that background becomes, even at the same aperture. You get separation without needing a massive seamless or a large studio footprint.
Most major manufacturers make a 100mm f/2.8 macro that doubles beautifully as a portrait lens. It’s sharp, it’s fast, and it gives you just enough working distance to not crowd a small child. If you’re shooting on a crop sensor body, something around 60-70mm will get you into similar territory. The principle is what matters: a longer focal length is a tool for controlling background focus, not just subject compression.
Step 2: Set ISO First and Leave It Alone
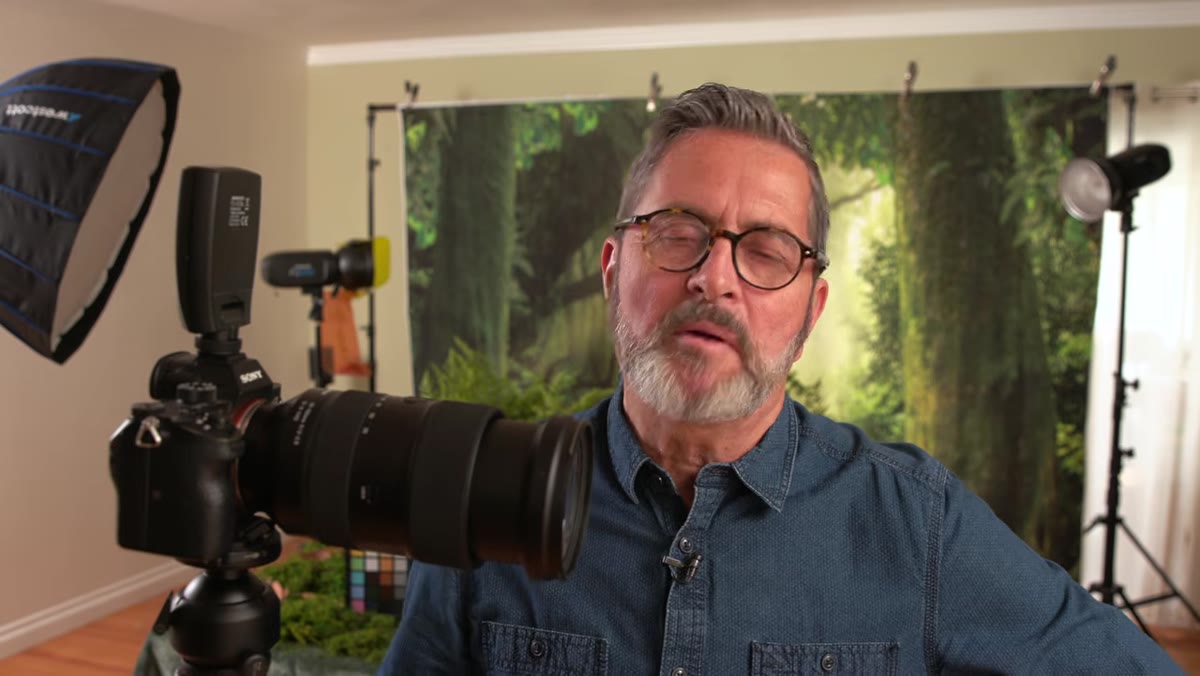 Camera display showing ISO 100 setting
In a controlled studio environment with strobes, there is no argument for shooting anything other than ISO 100. JP sets it and doesn’t touch it again. That’s the right call. ISO 100 gives you the cleanest possible file from your sensor. There’s no noise, no loss of dynamic range, and no detail degradation in the shadows. The strobes are doing the heavy lifting on exposure, so the sensor doesn’t need to compensate with added sensitivity.
Camera display showing ISO 100 setting
In a controlled studio environment with strobes, there is no argument for shooting anything other than ISO 100. JP sets it and doesn’t touch it again. That’s the right call. ISO 100 gives you the cleanest possible file from your sensor. There’s no noise, no loss of dynamic range, and no detail degradation in the shadows. The strobes are doing the heavy lifting on exposure, so the sensor doesn’t need to compensate with added sensitivity.
I learned this the hard way early in my career. I’d come from shooting events and had developed a habit of bumping ISO as a first response to any exposure problem. In studio work, that’s backwards. Fix the light, fix the aperture, fix the power settings on your strobes. ISO is the last knob you ever touch, and in most studio situations, you never touch it at all.
Step 3: Dial In Aperture for the Right Depth of Field
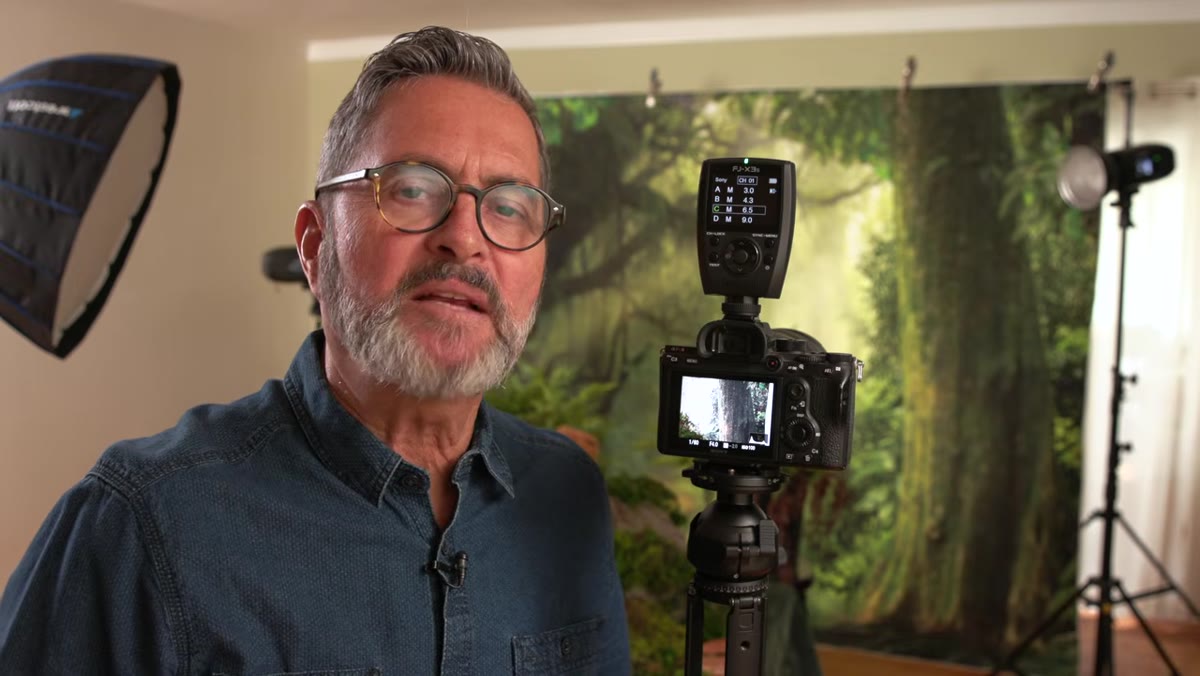 Side-by-side comparison of f/2.8, f/4, and f/5.6 on subject
JP does something in this section I find genuinely instructive: he shows the same shot at f/2.8, f/4, and f/5.6 side by side and talks through what he’s actually seeing in each frame. At f/2.8, the background separation is beautiful but the plane of focus on a moving toddler is too razor-thin to be reliable. At f/5.6, the background starts to come back into the image in a way that competes with the subject. f/4 hits the sweet spot. Enough depth of field to keep most of the child in focus across a full-body or three-quarter shot, while still keeping the background soft and clean.
Side-by-side comparison of f/2.8, f/4, and f/5.6 on subject
JP does something in this section I find genuinely instructive: he shows the same shot at f/2.8, f/4, and f/5.6 side by side and talks through what he’s actually seeing in each frame. At f/2.8, the background separation is beautiful but the plane of focus on a moving toddler is too razor-thin to be reliable. At f/5.6, the background starts to come back into the image in a way that competes with the subject. f/4 hits the sweet spot. Enough depth of field to keep most of the child in focus across a full-body or three-quarter shot, while still keeping the background soft and clean.
On a full-frame sensor at 100mm, f/4 gives you a workable but shallow depth of field. That’s important to understand because the same aperture will behave differently on a crop sensor at the same focal length. If you’re shooting crop, you may need to open up slightly to achieve equivalent background separation. Run your tests before the kid is in front of you.
Step 4: Use Single-Point Autofocus on the Face
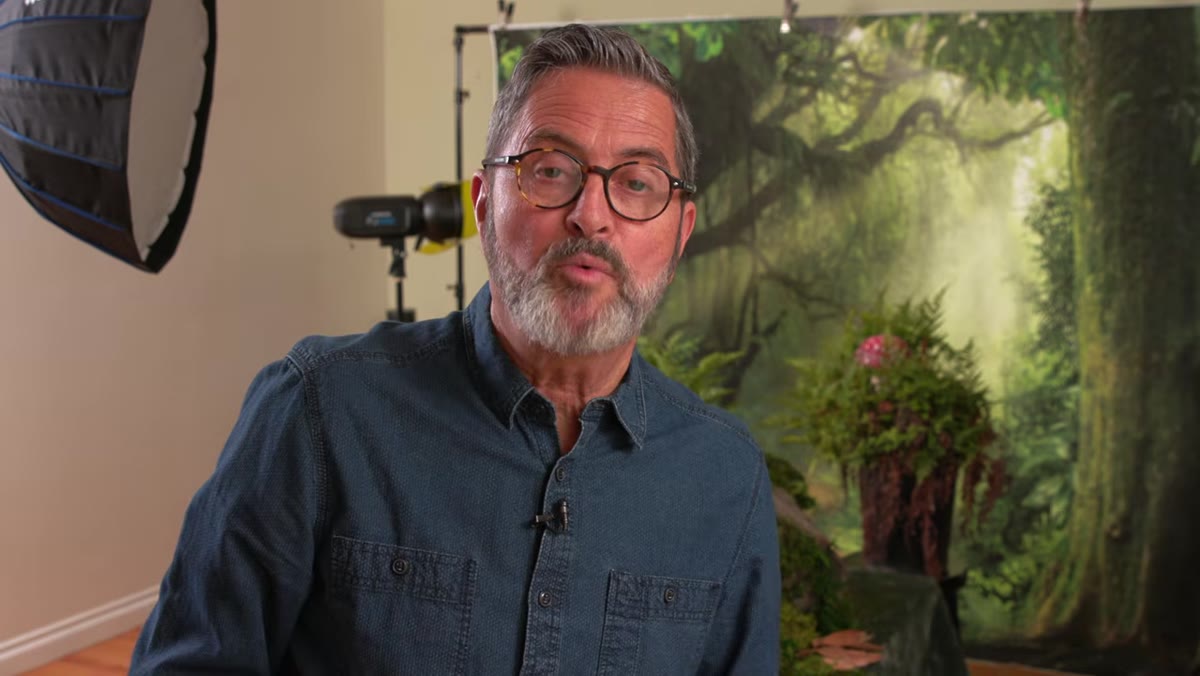 Autofocus point positioned on child’s face in viewfinder
Zone or wide-area autofocus is a liability with toddlers. The camera will hunt across the frame and happily lock onto a teddy bear, the backdrop stand, or the edge of a prop before it finds the child’s face. JP keeps it simple: single-point autofocus, positioned on the face, moved manually as needed. That precision is the difference between a sharp portrait and a sharp background with a soft subject.
Autofocus point positioned on child’s face in viewfinder
Zone or wide-area autofocus is a liability with toddlers. The camera will hunt across the frame and happily lock onto a teddy bear, the backdrop stand, or the edge of a prop before it finds the child’s face. JP keeps it simple: single-point autofocus, positioned on the face, moved manually as needed. That precision is the difference between a sharp portrait and a sharp background with a soft subject.
This is also why a fast lens matters here. At f/4 with a reliable single-point lock, you have enough margin that a slight shift in subject distance won’t blow the focus entirely. Keep your single point set before the session starts, and practice repositioning it quickly. When a toddler is moving, you don’t have time to navigate menus.
Step 5: Set Shutter Speed to Kill Ambient Light
 Camera settings showing 1/200th shutter speed
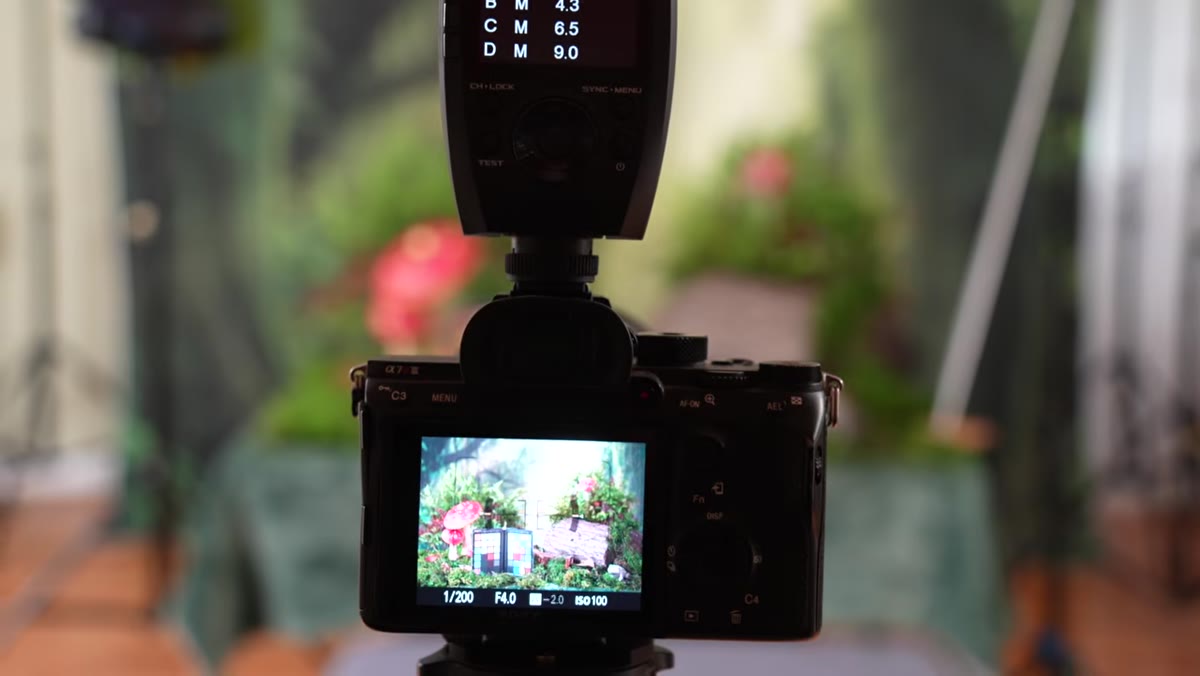
JP shoots at 1/200th of a second. This is the standard strobe-sync logic most studio photographers know, but it’s worth stating clearly: the goal of this shutter speed is not to freeze motion. Strobes freeze motion. Their flash duration is typically much shorter than your shutter. The goal of 1/200th is to ensure that ambient room light, ceiling fixtures, windows, whatever is in the space, contributes nothing to the exposure. Your image is lit entirely by what you’ve placed and controlled. That’s the whole point of studio work.
Camera settings showing 1/200th shutter speed
JP shoots at 1/200th of a second. This is the standard strobe-sync logic most studio photographers know, but it’s worth stating clearly: the goal of this shutter speed is not to freeze motion. Strobes freeze motion. Their flash duration is typically much shorter than your shutter. The goal of 1/200th is to ensure that ambient room light, ceiling fixtures, windows, whatever is in the space, contributes nothing to the exposure. Your image is lit entirely by what you’ve placed and controlled. That’s the whole point of studio work.
Push above your camera’s sync speed and you’ll get a dark band across the frame. Drop down to 1/60th or slower and ambient light starts bleeding in, shifting your color balance and muddying the look you’ve built. Find your camera’s native sync speed and stay right at or just below it.
What I’d Add from My Own Studio Work
The settings JP outlines are a solid, repeatable foundation, and I’d use them almost exactly as described. The one area I’d push further is color temperature consistency. When I’m doing portrait sessions, especially with young kids where the pace is unpredictable, I always do a white balance calibration with a gray card at the start. I’ve had sessions where a parent brings a bright yellow jacket into frame and it throws a cast across everything. Getting a locked custom white balance before you start means your color is accurate regardless of what chaos enters the set. I actually keep a small laminated gray card clipped to my light stand as a reminder to shoot it before every session. The settings JP covers give you technical control. A locked white balance gives you color control. Together, they mean you’re correcting nothing in post.
The single most important takeaway from this tutorial is that professional studio control comes from making decisions before your subject arrives, not during the shoot. Every setting JP walks through was chosen in advance, tested against a stand-in, and locked before the toddler stepped on set. That preparation is what makes it possible to follow a moving child and still get clean, well-exposed portraits.
Watch the full tutorial on YouTube to see JP demonstrate the full lighting setup and his on-set approach to working with young children.
Comments
Leave a Comment