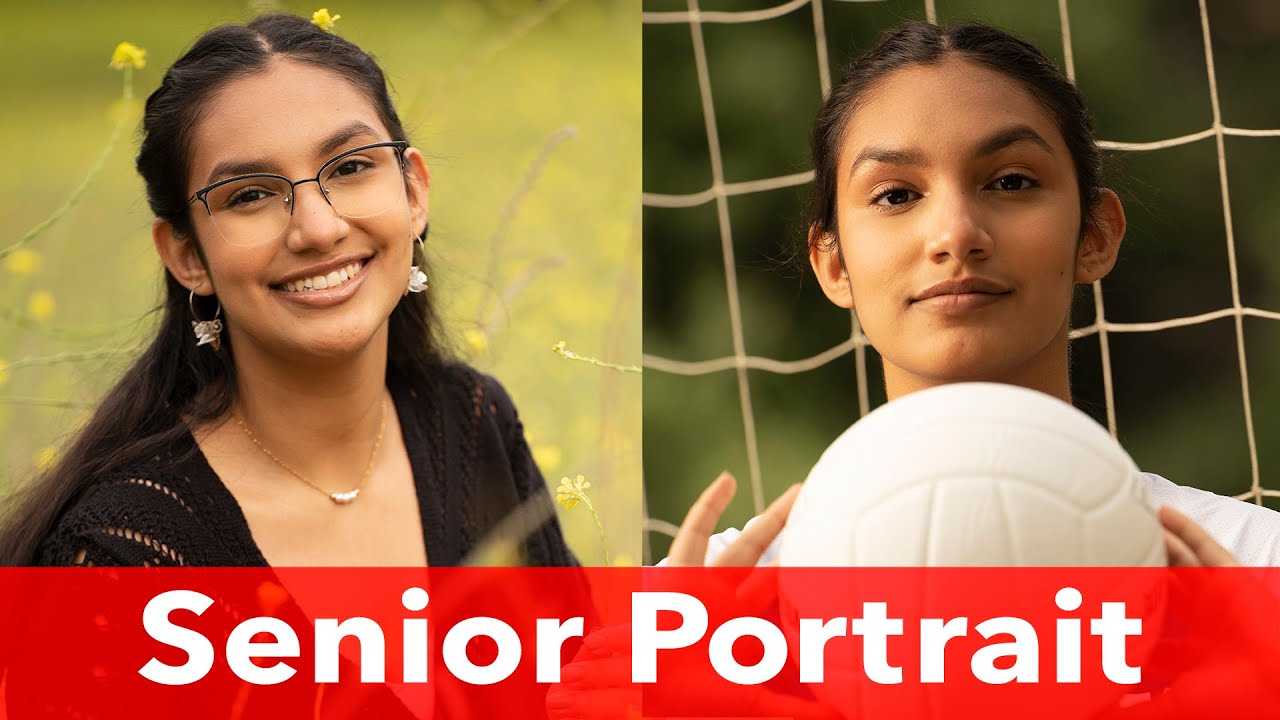
Every outdoor portrait session I’ve ever botched came down to the same problem: I was fighting the ambient light instead of controlling it. You either blow out the background chasing exposure, or you wrestle with high-speed sync and lose half your strobe power in the process. It’s a solvable problem, but the solution requires making a few deliberate decisions before you ever fire a frame. That’s exactly what Jay P. Morgan walks through in this tutorial from The Slanted Lens, covering lens choice, camera settings, and strobe balance for a full senior portrait session shot entirely outdoors. Watch the full tutorial on YouTube
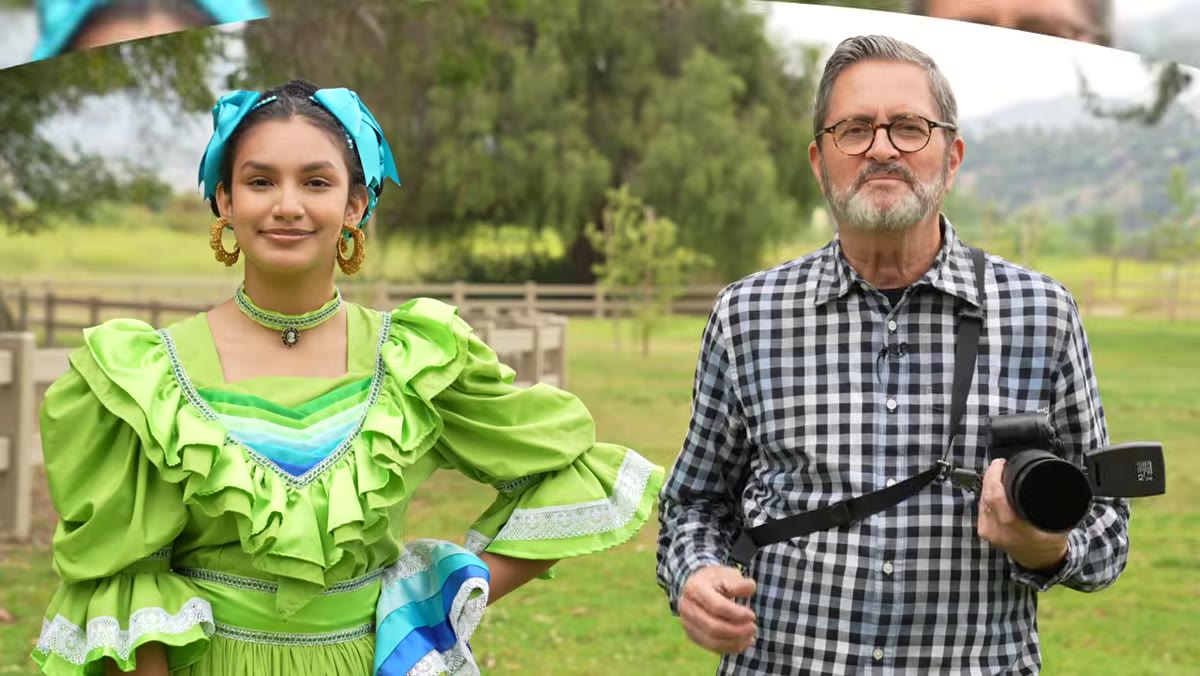
What I appreciate about Jay P.’s approach is that it reads like a recipe. He’s not improvising on location. He shows up with a system, and that system scales from a volleyball court to a parking lot to a patch of open shade. After watching it a few times and sketching the setup into my lighting journal, I wanted to break it down step by step for anyone who wants to bring the same kind of control to their own outdoor work.
Step 1: Choose the Right Lens for Subject Isolation
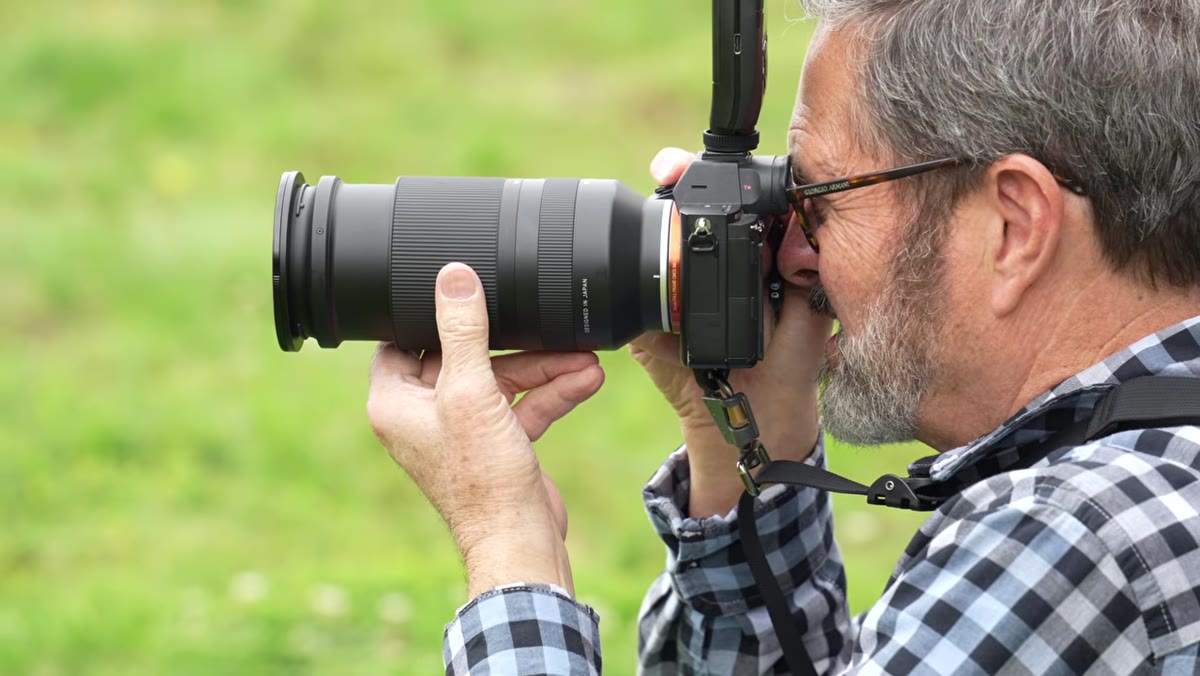
 Tamron 70-180mm f/2.8 lens discussed on camera
The lens decision here is not aesthetic, it’s structural. Jay P. reaches for a 70-200mm f/2.8 (he’s shooting the Tamron 70-180mm f/2.8 on Sony) specifically because the focal length range gives him two tools in one. At 200mm, he can stand well back from his subject and let the background compress and blur into near-abstraction. At around 100mm, he’s in classic portrait territory, the kind of compression that flatters faces without the distortion you get from wider glass. For full-body senior portraits where you want a clean, uncluttered background without moving your subject to a better location, this range is the practical answer. I’ve been shooting a similar setup for editorial work for years, and the 70-200 is the one lens that almost never comes off the camera during an outdoor people session.
Tamron 70-180mm f/2.8 lens discussed on camera
The lens decision here is not aesthetic, it’s structural. Jay P. reaches for a 70-200mm f/2.8 (he’s shooting the Tamron 70-180mm f/2.8 on Sony) specifically because the focal length range gives him two tools in one. At 200mm, he can stand well back from his subject and let the background compress and blur into near-abstraction. At around 100mm, he’s in classic portrait territory, the kind of compression that flatters faces without the distortion you get from wider glass. For full-body senior portraits where you want a clean, uncluttered background without moving your subject to a better location, this range is the practical answer. I’ve been shooting a similar setup for editorial work for years, and the 70-200 is the one lens that almost never comes off the camera during an outdoor people session.
Step 2: Set Your Camera to Manual and Lock in Your Base Exposure
 Camera settings discussion, f/2.8 and 1/60th mentioned
Jay P. shoots fully manual and builds his exposure from the strobe outward, not from the ambient light. He sets f/2.8 for maximum subject separation, and he drops his shutter to 1/60th of a second. That shutter speed sits safely within sync range, which is the entire point. His ISO stays between 100 and 200, pushed slightly only if the light conditions demand it. The reason this specific combination matters is that it gives his strobes something to work with. A fast shutter in bright sun eats strobe power. At 1/60th, even a modest strobe output can compete with and shape the light on the subject.
Camera settings discussion, f/2.8 and 1/60th mentioned
Jay P. shoots fully manual and builds his exposure from the strobe outward, not from the ambient light. He sets f/2.8 for maximum subject separation, and he drops his shutter to 1/60th of a second. That shutter speed sits safely within sync range, which is the entire point. His ISO stays between 100 and 200, pushed slightly only if the light conditions demand it. The reason this specific combination matters is that it gives his strobes something to work with. A fast shutter in bright sun eats strobe power. At 1/60th, even a modest strobe output can compete with and shape the light on the subject.
Step 3: Use a 3-Stop ND Filter to Tame Ambient Light Without High-Speed Sync
 Three stops of ND filter referenced while shooting outdoors
This is the move that makes the whole system work, and it’s the one most photographers skip when they’re just starting to add strobe to outdoor work. Rather than enabling high-speed sync and accepting the significant power penalty that comes with it, Jay P. puts a 3-stop ND filter on the lens. That filter cuts the ambient light enough that he can hold a 1/60th shutter at f/2.8 in full daylight. Without the ND, keeping f/2.8 in bright sun would force the shutter up past the sync limit, and then you’re either in high-speed sync mode or you’re stopped down and losing that background separation. The ND filter keeps you in the sweet spot: wide open, syncing cleanly, and not draining your battery pack chasing power.
Three stops of ND filter referenced while shooting outdoors
This is the move that makes the whole system work, and it’s the one most photographers skip when they’re just starting to add strobe to outdoor work. Rather than enabling high-speed sync and accepting the significant power penalty that comes with it, Jay P. puts a 3-stop ND filter on the lens. That filter cuts the ambient light enough that he can hold a 1/60th shutter at f/2.8 in full daylight. Without the ND, keeping f/2.8 in bright sun would force the shutter up past the sync limit, and then you’re either in high-speed sync mode or you’re stopped down and losing that background separation. The ND filter keeps you in the sweet spot: wide open, syncing cleanly, and not draining your battery pack chasing power.
Step 4: Dial In Your Strobe Power to Match the Exposure
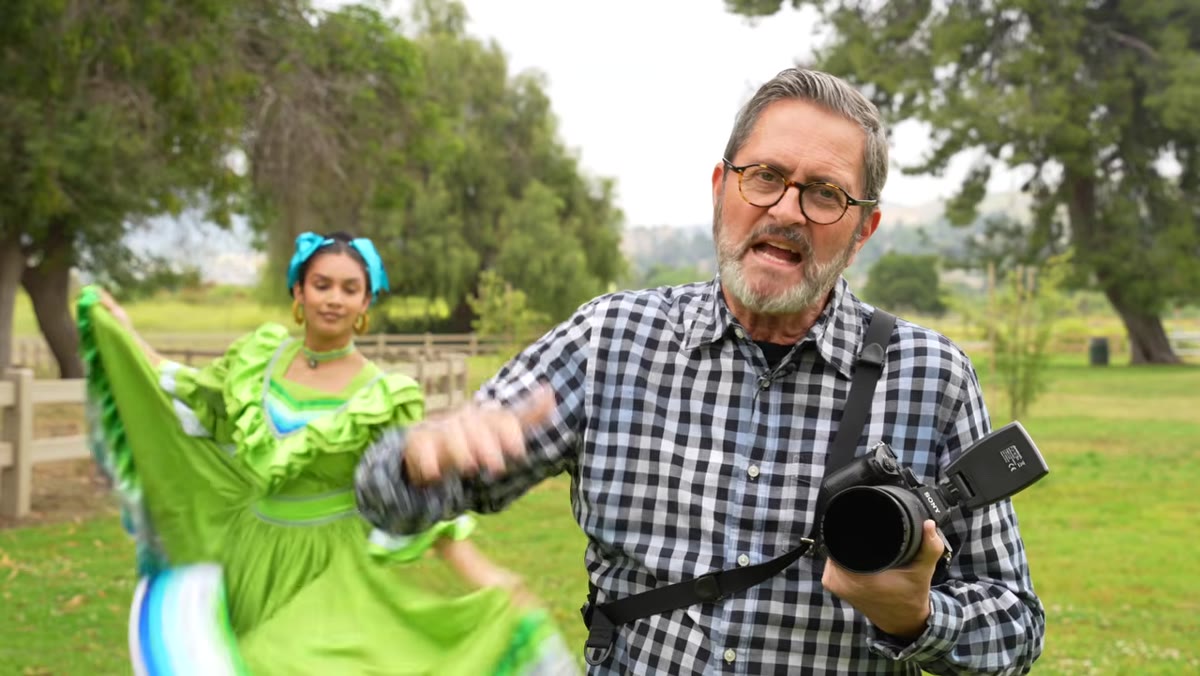 Strobe being introduced and balanced to camera settings
Once the camera is locked, the strobe becomes the only variable Jay P. is actively adjusting. Because the ambient is already tamed by the ND, he doesn’t need a huge amount of strobe output. He’s filling and shaping, not overpowering. This is a cleaner way to work than the reverse approach, where you crank the strobe and then chase the ambient with your shutter. When I first started doing outdoor commercial work, I had it backwards for longer than I’d like to admit. Getting the ambient under control first means your strobe can do its actual job, which is adding direction, quality, and dimension to the light on your subject’s face.
Strobe being introduced and balanced to camera settings
Once the camera is locked, the strobe becomes the only variable Jay P. is actively adjusting. Because the ambient is already tamed by the ND, he doesn’t need a huge amount of strobe output. He’s filling and shaping, not overpowering. This is a cleaner way to work than the reverse approach, where you crank the strobe and then chase the ambient with your shutter. When I first started doing outdoor commercial work, I had it backwards for longer than I’d like to admit. Getting the ambient under control first means your strobe can do its actual job, which is adding direction, quality, and dimension to the light on your subject’s face.
Step 5: Use Eye-Detect Autofocus and Wide Area Coverage
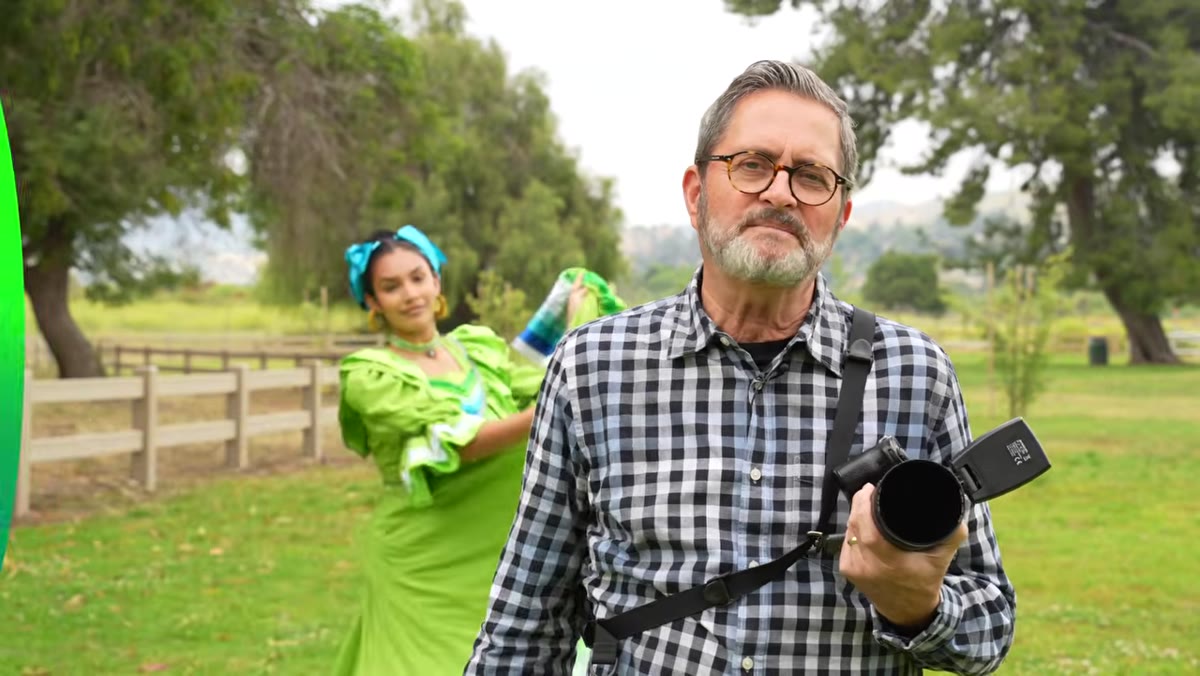 Sony camera with eye-detect autofocus shown tracking subject
Jay P. is shooting Sony and leans on the eye-detect autofocus with wide area coverage for a reason that’s specific to senior portrait work. When a subject is moving, laughing, or shifting position between poses, you don’t want to be hunting for focus manually. The eye-detect locks onto the nearest visible eye and holds it, even when the subject is wearing glasses. He notes seeing sharp eyelashes through the lenses at full resolution, which is the real test of whether the system is actually working. For any photographer coming from a Canon or Nikon background, this is the setting that will change how you feel about shooting candid-adjacent portraits outdoors.
Sony camera with eye-detect autofocus shown tracking subject
Jay P. is shooting Sony and leans on the eye-detect autofocus with wide area coverage for a reason that’s specific to senior portrait work. When a subject is moving, laughing, or shifting position between poses, you don’t want to be hunting for focus manually. The eye-detect locks onto the nearest visible eye and holds it, even when the subject is wearing glasses. He notes seeing sharp eyelashes through the lenses at full resolution, which is the real test of whether the system is actually working. For any photographer coming from a Canon or Nikon background, this is the setting that will change how you feel about shooting candid-adjacent portraits outdoors.
What I’d Add: Build a Location Shot List Before You Arrive
The tutorial focuses tightly on technique, which is exactly what it should do. But the thing I’d layer on top of everything Jay P. demonstrates is the value of arriving with a rough shot list tied to the location. I keep a lighting diagram app on my phone and I’ll often sketch two or three setups before I ever see the location in person, based on the time of day I’m scheduled to shoot and the direction of the sun. When you’ve already worked out your ambient-to-strobe ratio in your head, and you know roughly what the ND filter will do to your exposure at that hour, you spend a lot less time tweaking on location and a lot more time actually directing your subject. Senior portrait clients especially need to feel like you know exactly what you’re doing. Hesitation costs you their confidence, and their confidence is half of what makes the pose work.
The single most transferable idea in this tutorial is the ND filter as a sync-preservation tool. Stop thinking of it as something you use when the scene is too bright. Start thinking of it as something you use to protect your sync speed so your strobe stays relevant. That shift in framing changes how you plan every outdoor strobe session.
Watch the full tutorial on YouTube to see Jay P. work through the full senior portrait session, including the posing and multiple location setups.
Comments
Leave a Comment